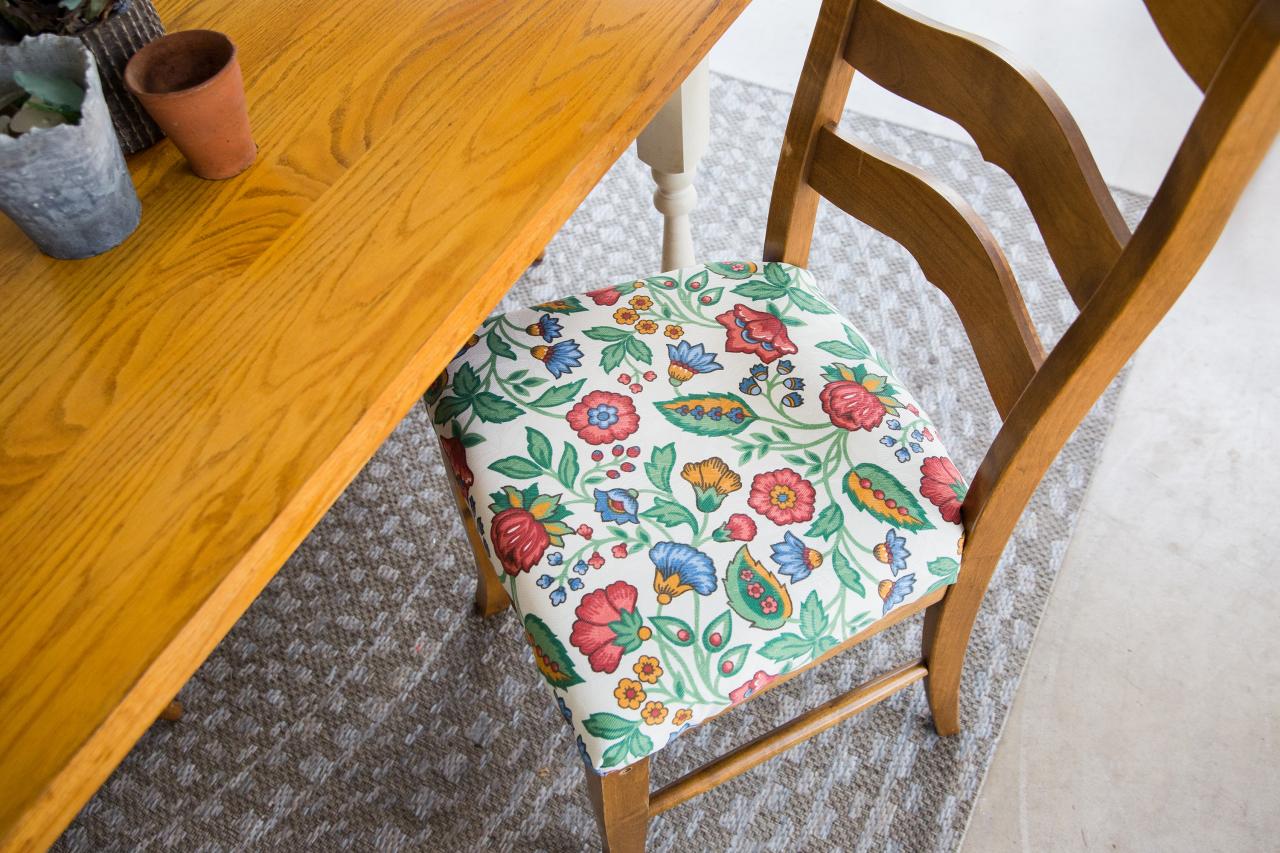
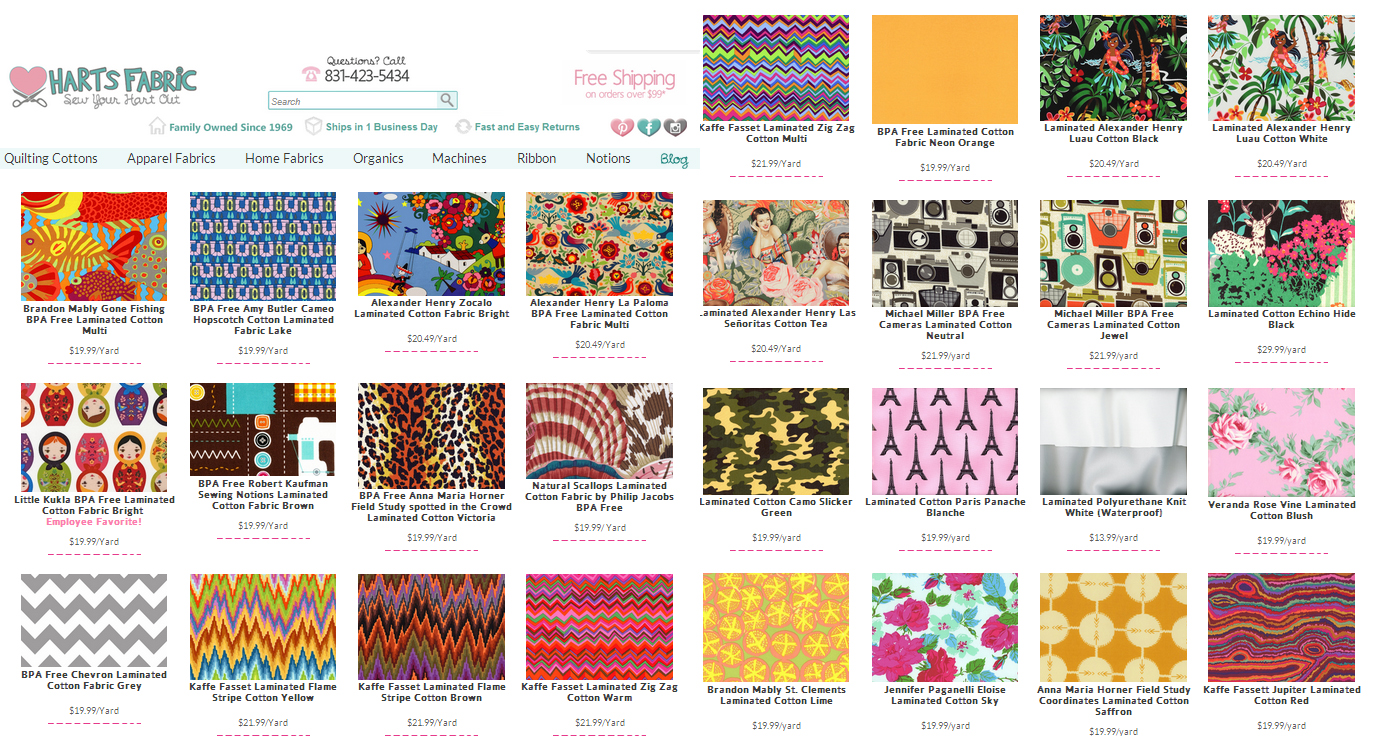
Recently my husband and I bought a set of Ikea Borge chairs for our dining room. The chairs looked great, but I knew the white canvas seats they come with wouldn’t last long in a house with two little boys and frequent dinner guests! I did some searching online and came to the Harts Fabric website. After looking at their fantastic selection of fabrics and laminated cotton, I contacted Harts to see if they’d be interested in partnering with me for this post. Luckily they were!
You can also find various dining room chair covers at various price points here on Amazon.
I tried covering the chairs two ways, so I’ll lead you through either stapling the fabric directly to the chair seat or sewing a slipcover with elastic. These instructions include measurements specifically for the Ikea Borge chairs, but they could be modified for whatever chair you have.
Stapled Seat Cover
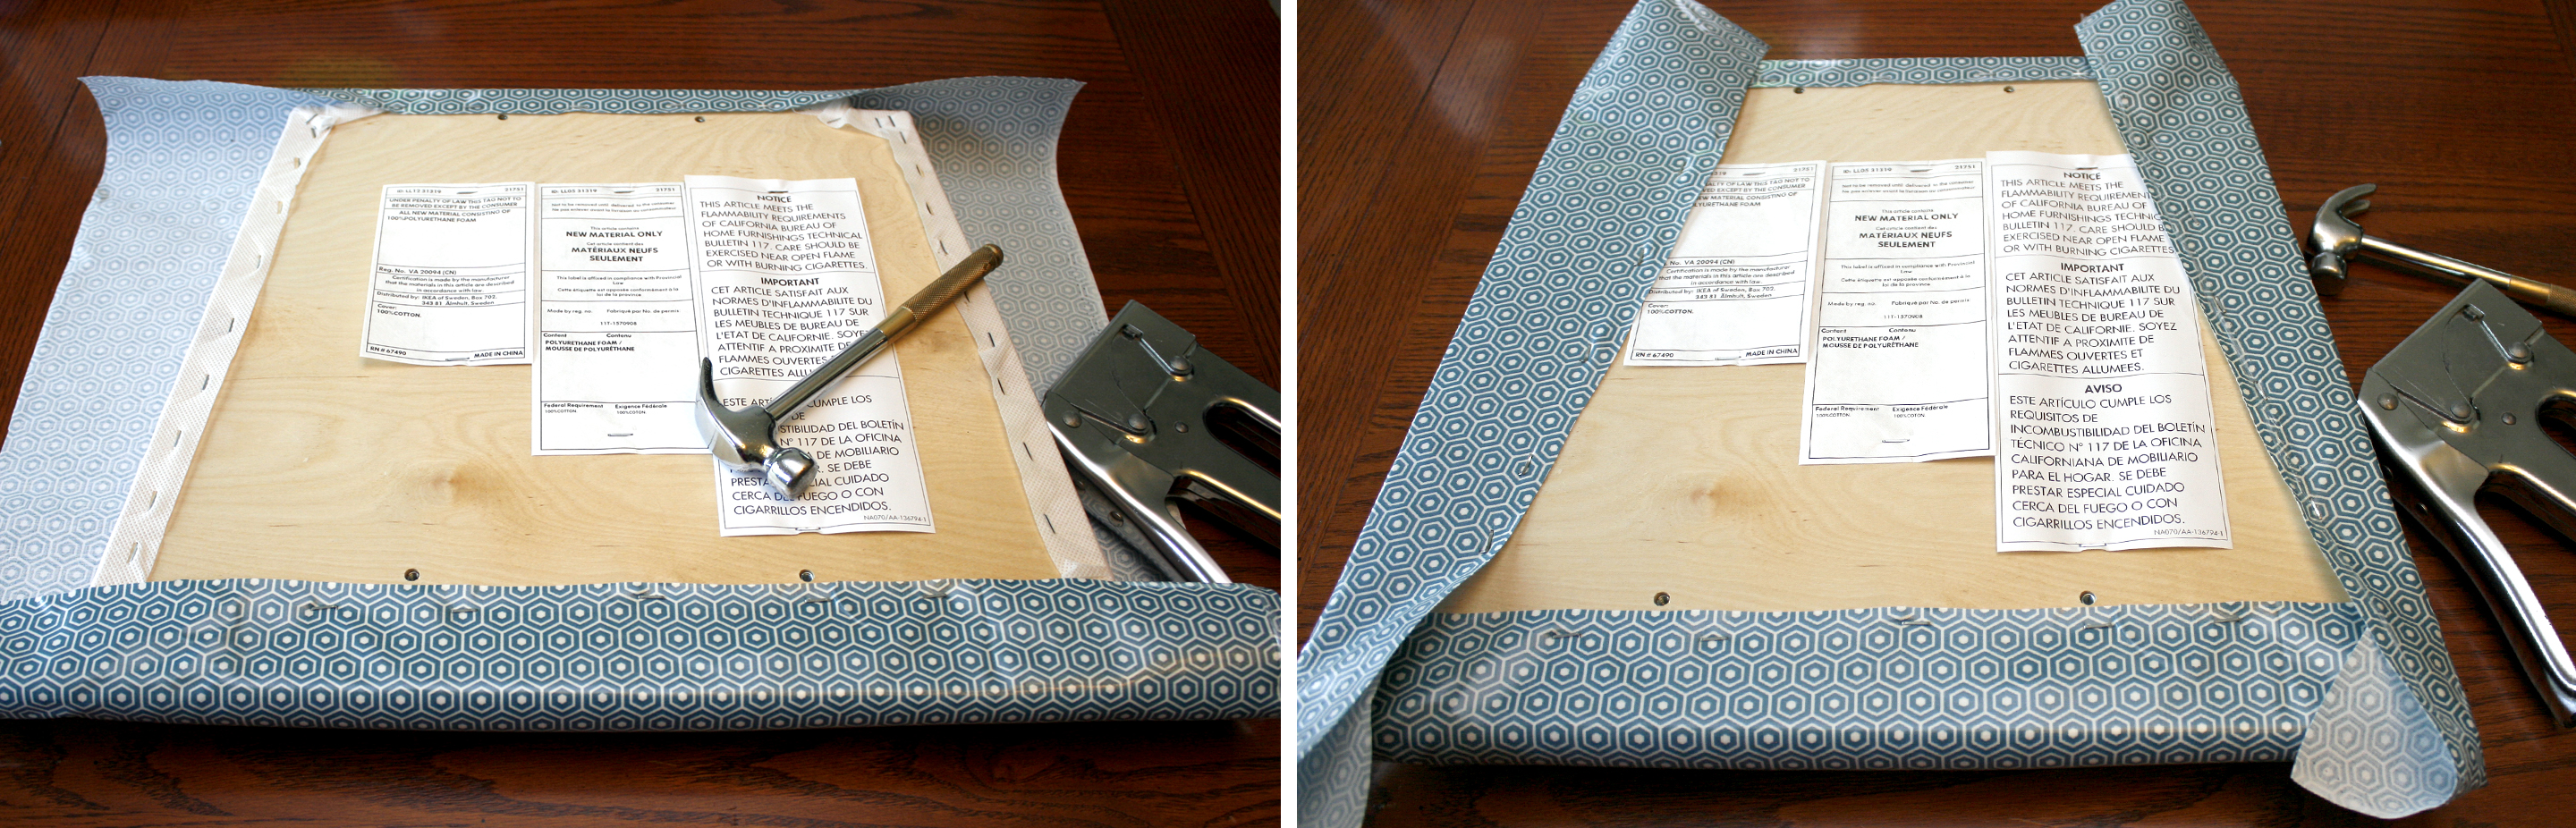
Let’s begin with the easy one, stapling! I used my Upholstery Staple Gun Heavy Duty with 1/4″ staples. For each seat, cut a rectangle 22″ wide (the total fabric width is 44″ so you can get 2 widthwise) by 20.5″ long (this measurement is along the selvage edge). These measurements give you 2″ to wrap around the back of the chair and 2 1/2″ for the other 3 sides.
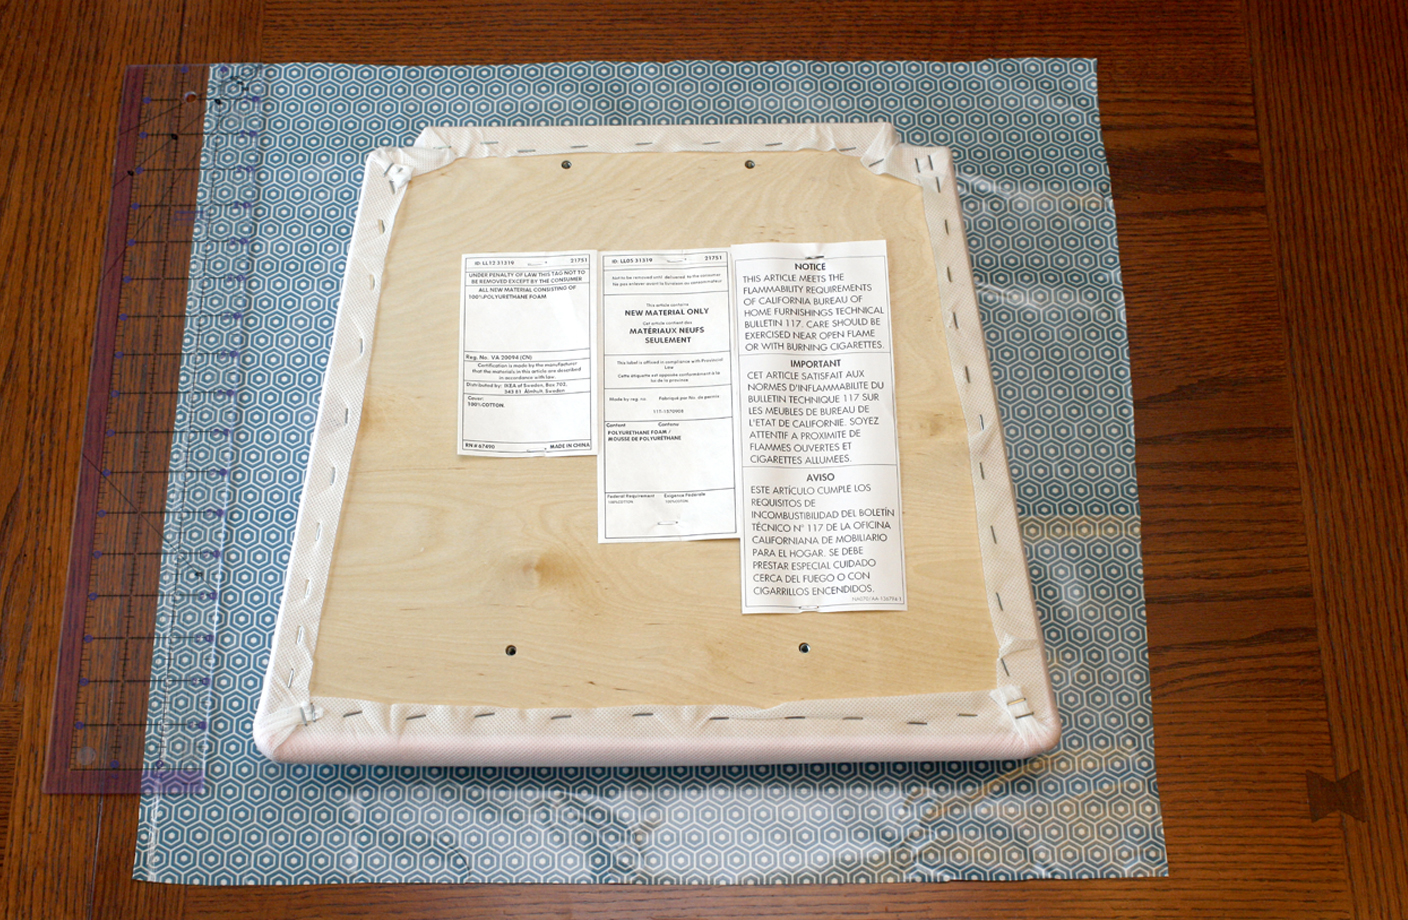
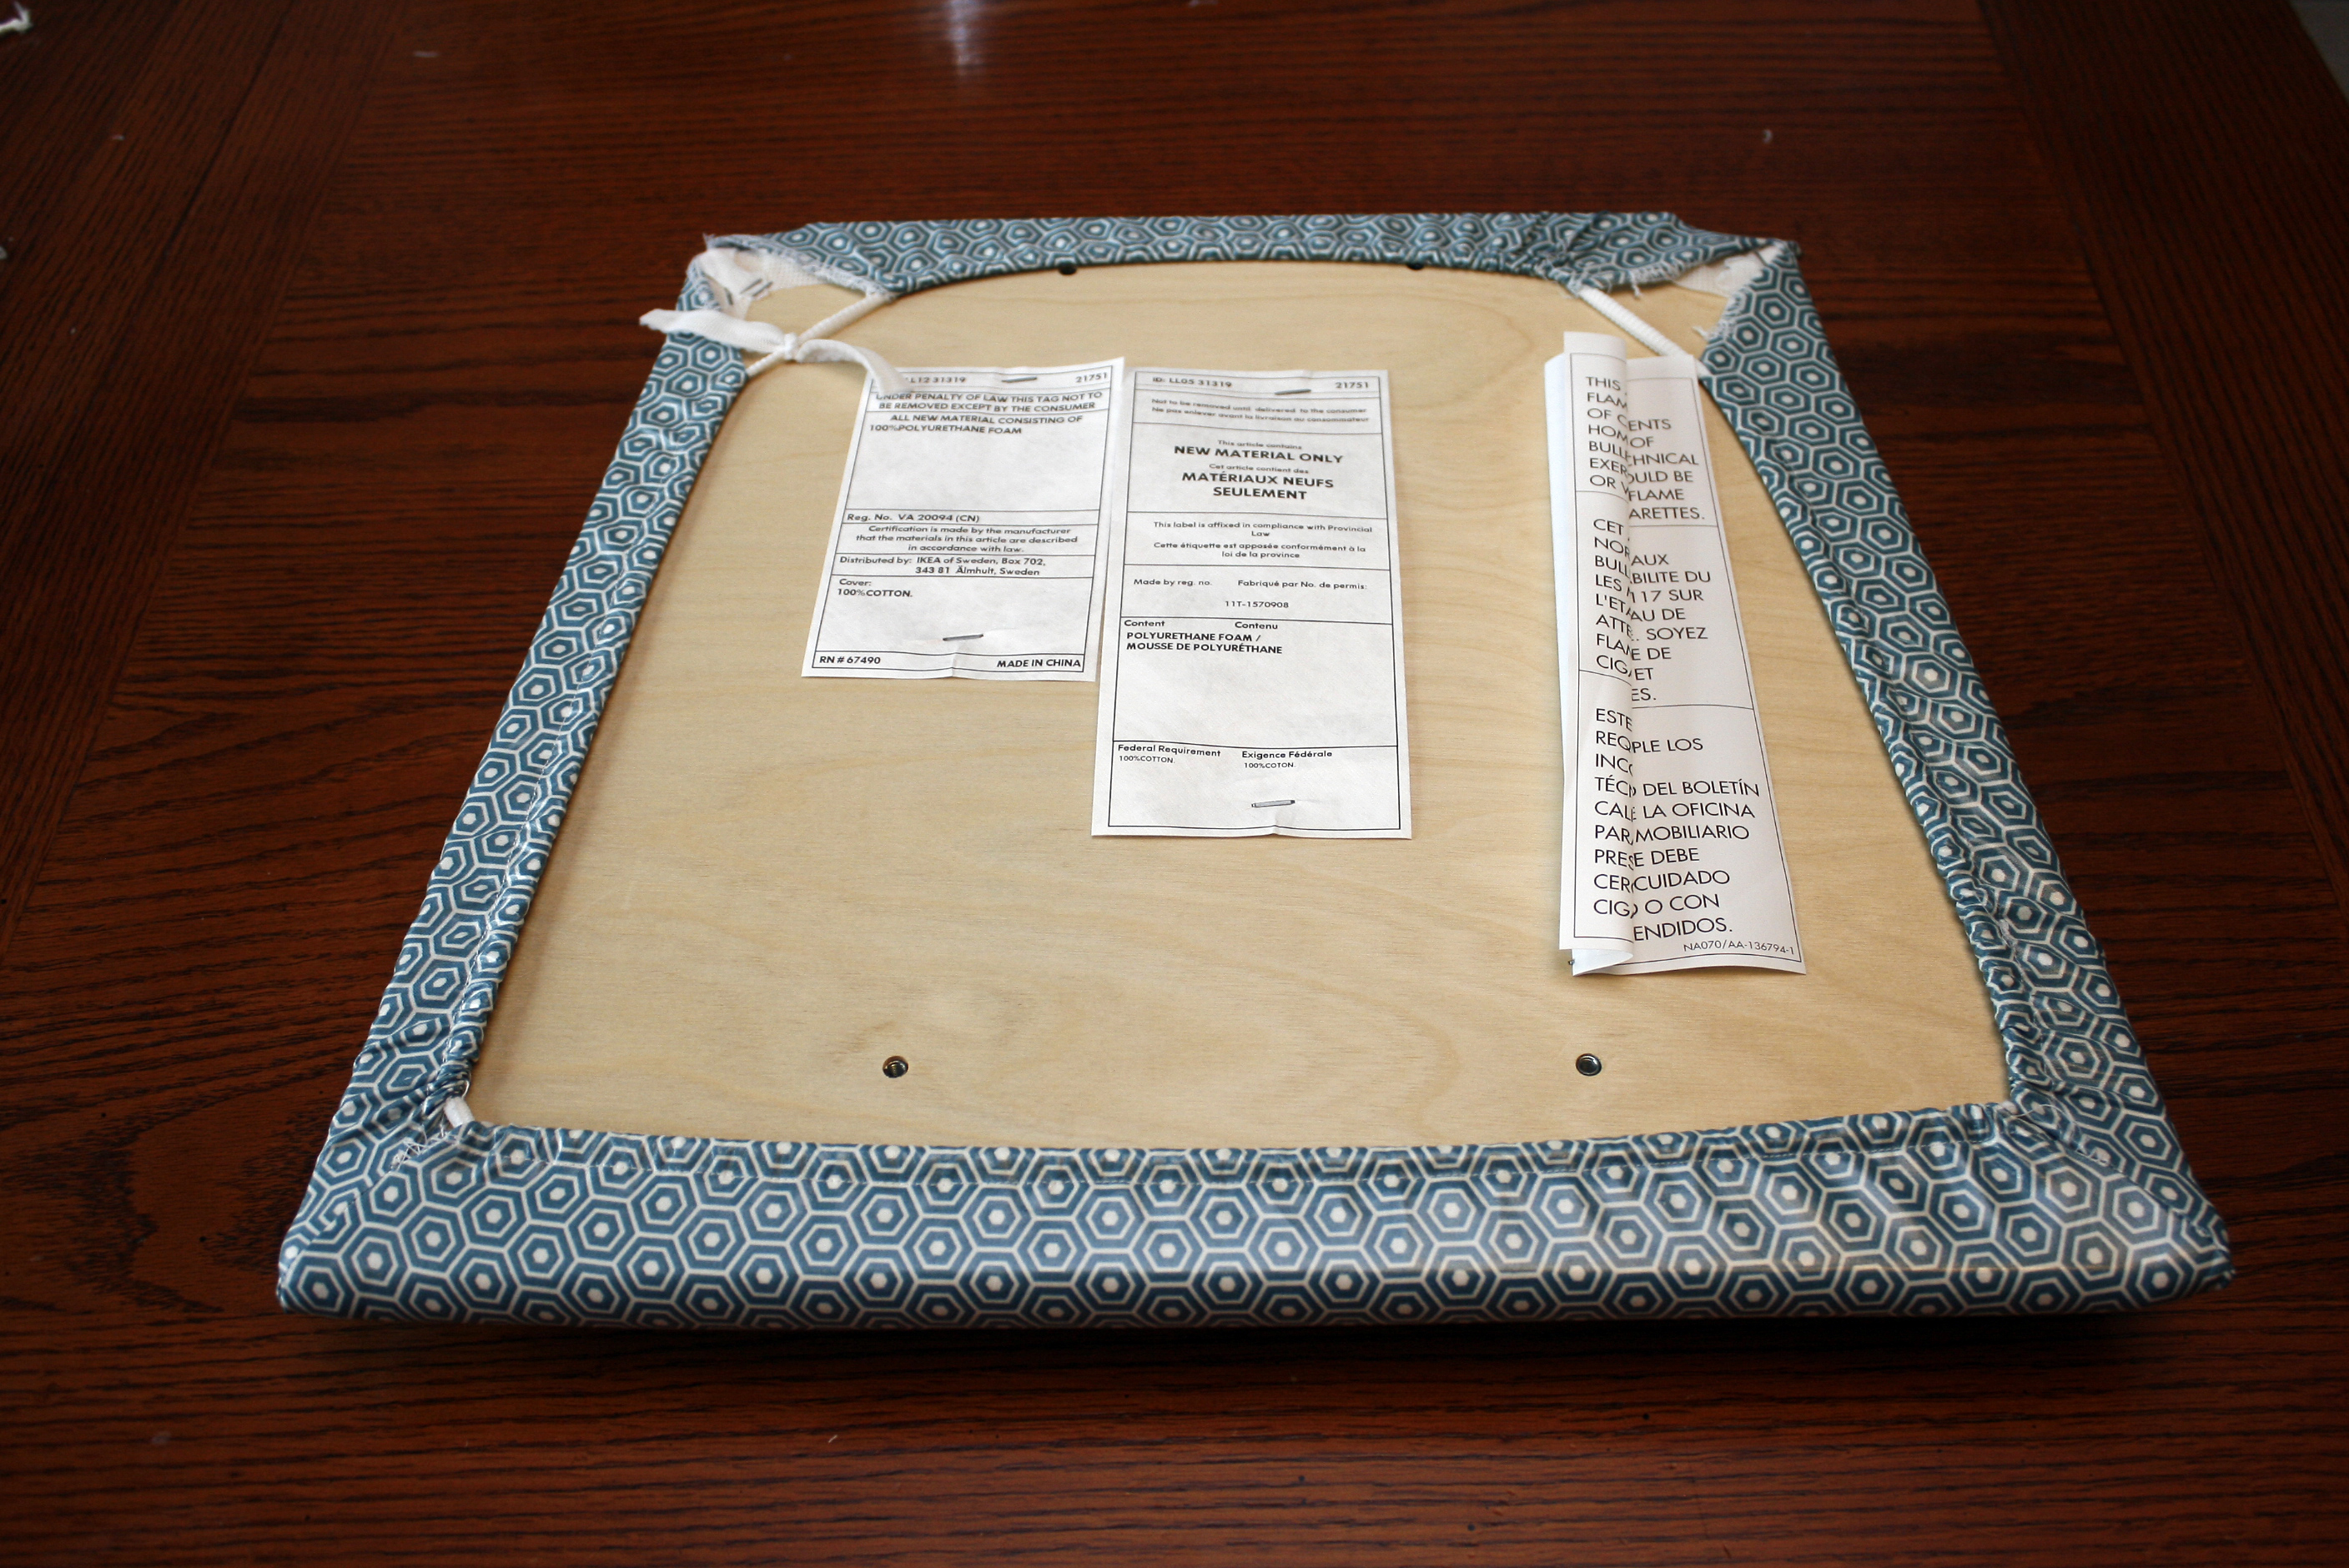
To begin, lay the seat’s top against the fabric’s wrong side. Position the 22″ side of the fabric just beyond the screw holes at the back of the seat and place one staple in the center. Then put 2 more staples to either side of the center, one for a total of 5 staples about 1 1/2″ apart—Hammer down any staples that are sticking up.
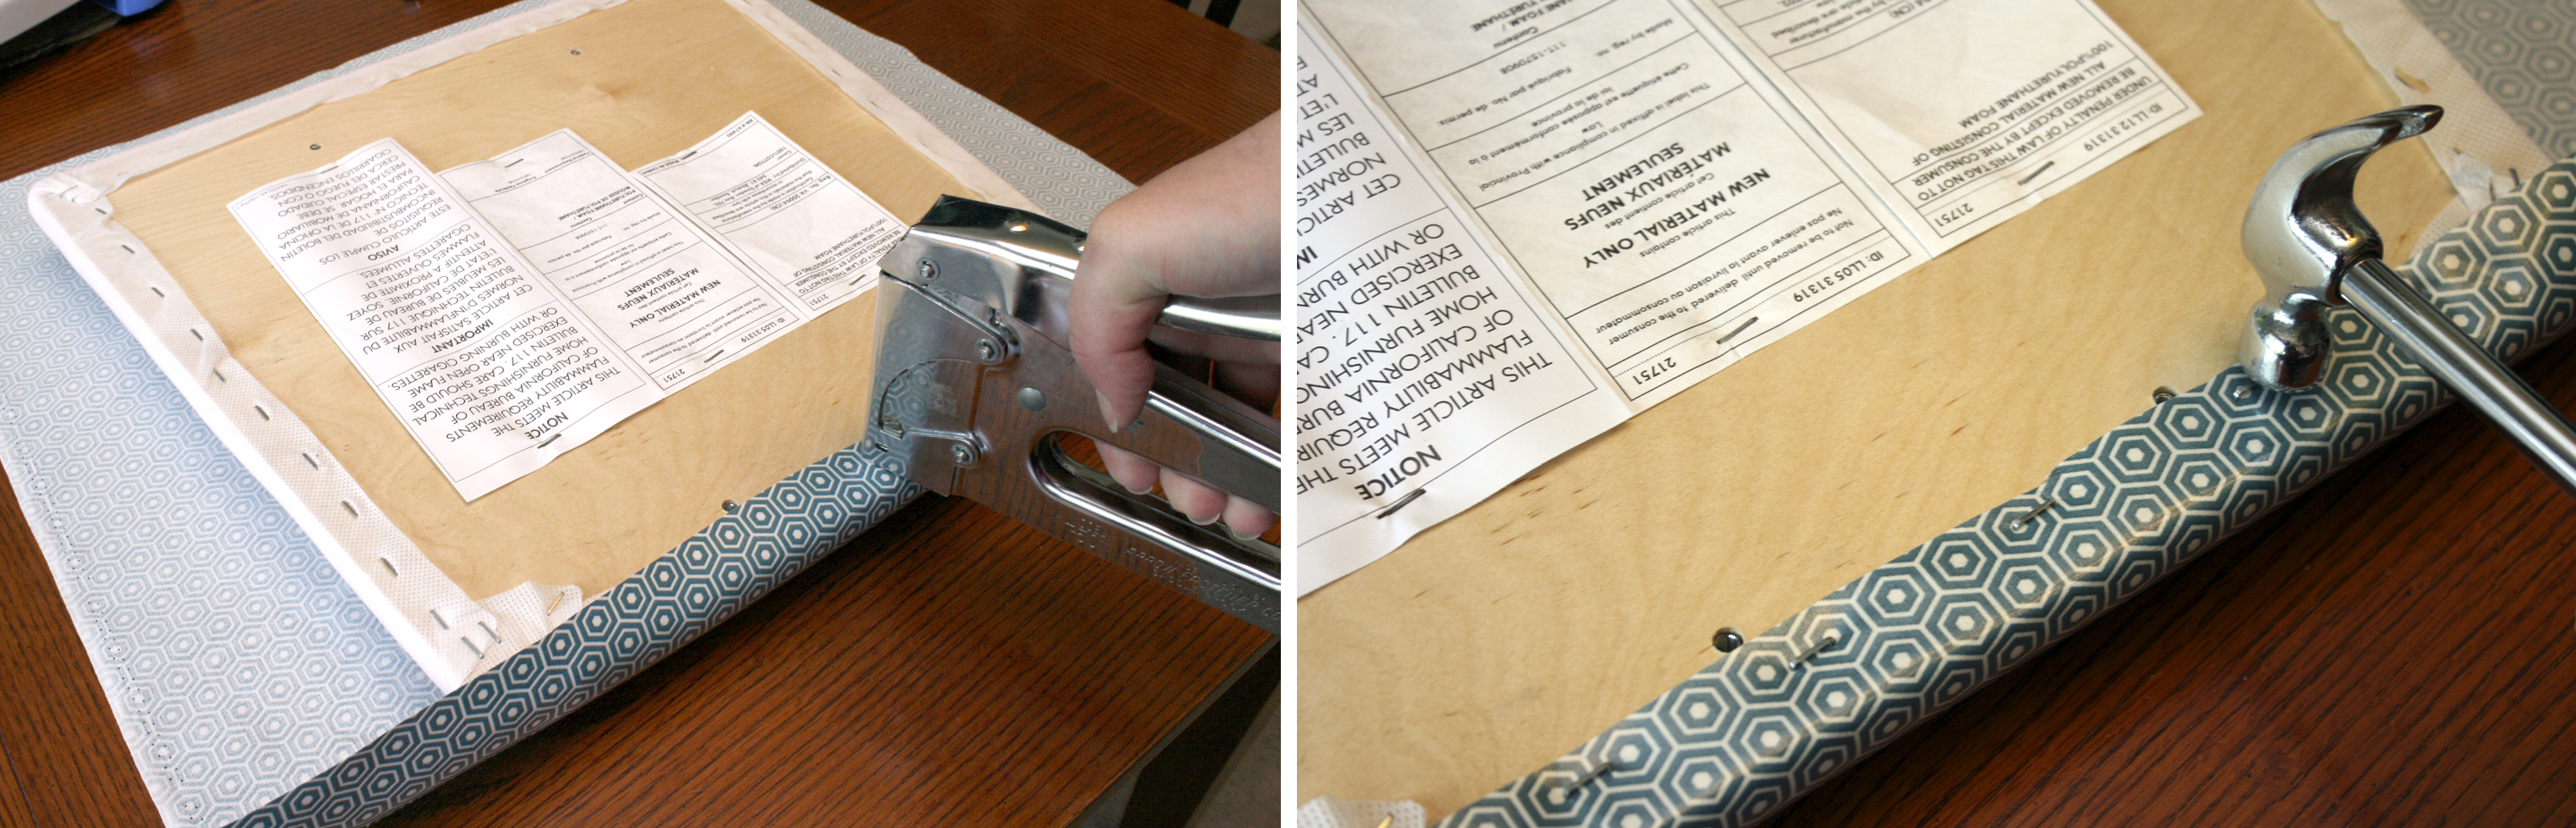
Stretch the fabric to remove any wrinkles and staple it to the front of the chair with 5 staples starting in the center and moving out to the sides 2″ apart. Then stretch the sides and do a row of staples on each side, starting in the center and moving out to the sides for a total of 5 staples 1 1/2″ apart.
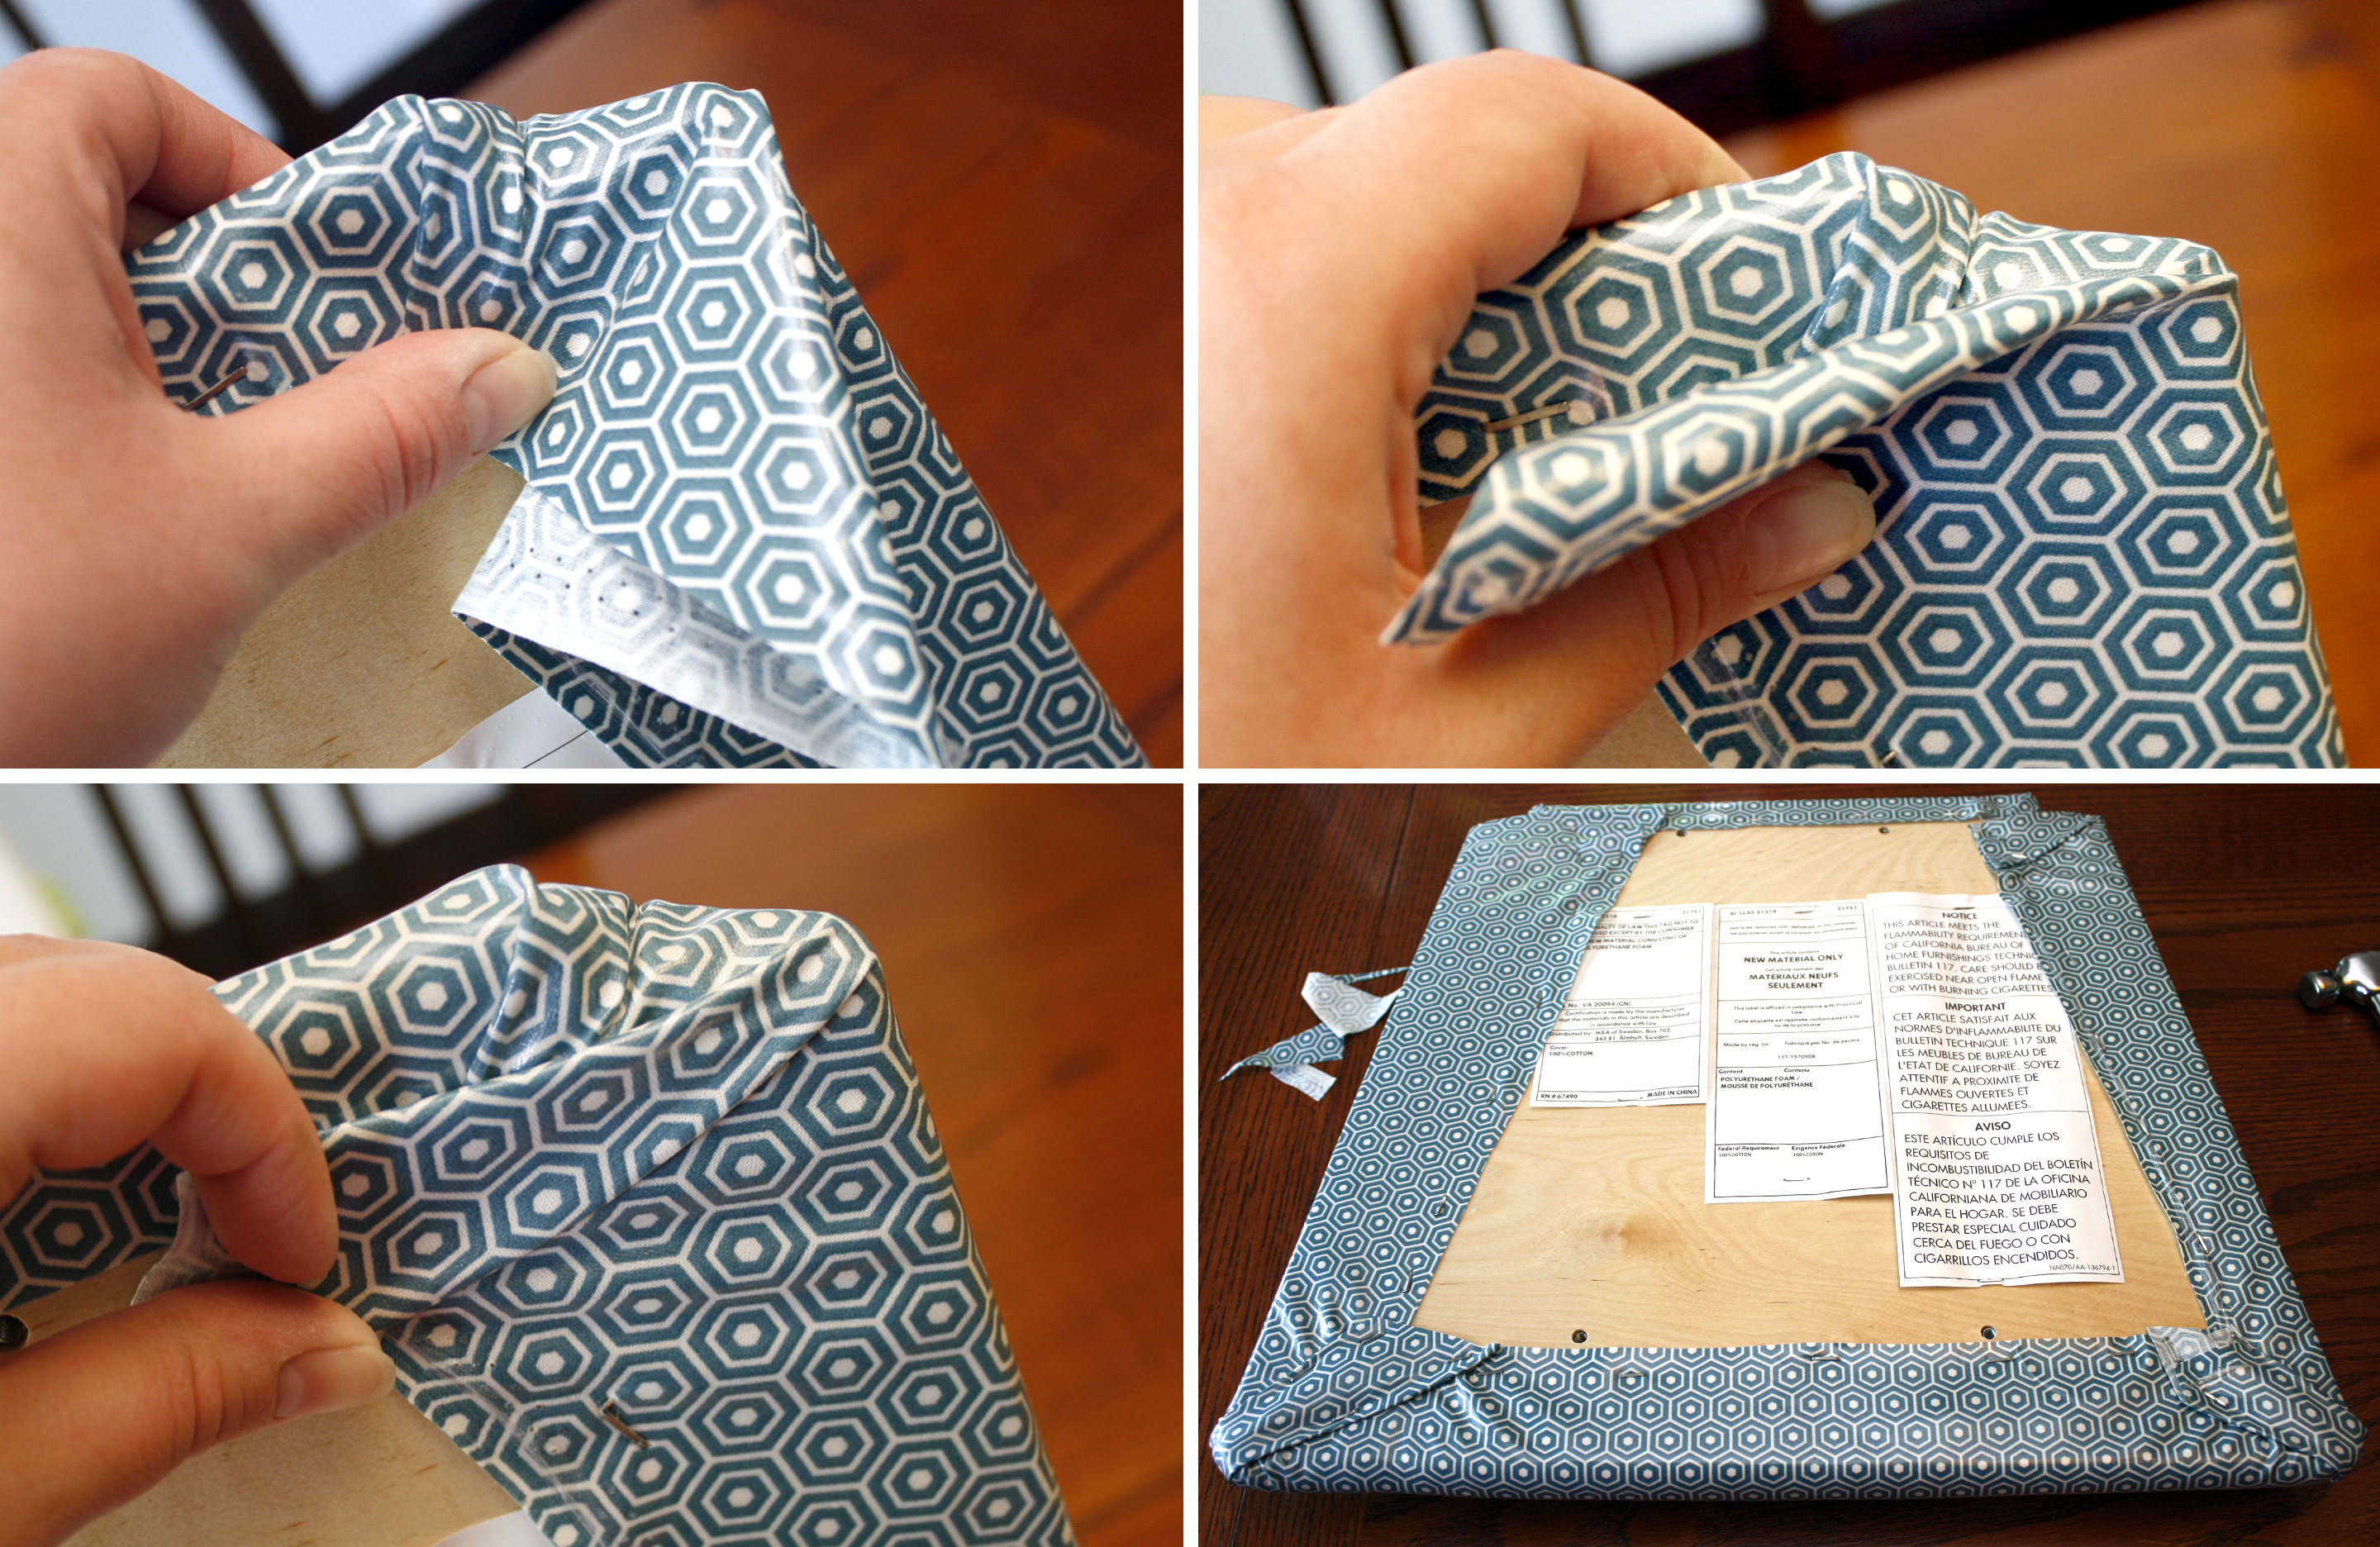
On the back of the chair, first, fold one piece of fabric tight toward the corner and staple it down. Fold the other flap toward the corner and staple it down. Next, staple down the front corners. Next, take the triangular flap you’ve just created, pull it tightly toward the middle of the chair and staple it down. It will look slightly rounded from the top and have 1 small fold on each side of the corner.

Last, staple down the back corners. This is a little tricky as there is a notch cut out for the back of the chair. From the back of the chair, fold the fabric from the back edge of the seat toward the middle of the seat and staple it in place. Then fold the fabric from the side of the seat toward the middle until it’s nice and tight. Staple into place.
Then take the triangular flap you’ve just created, pull it tight, and move any wrinkles into the center of the notch in the seat. Staple into place. When finished, your fabric will look nice and smooth with no wrinkles! If you’d like, trim off any excess fabric corners that are sticking out.
Sewn Slipcover Seat Cover
This method took a bit more work. If you are using non-laminated fabric, it’s nice that it can be removed to wash, but for these particular chairs, you would have to remove the 4 screws holding the seat down before removing it. To use this method, print out my free pattern (this link will open a pdf in a new window you can save or print).
The pattern was designed using Ikea Borge chairs, just in case they change the style in the future! Match up the stars in the pattern and tape the five pattern pages together. To use this pattern, your fabric will need a small amount of giving so you can stretch it tightly over the corners of the chair. It’s a little tighter than the slipcover that comes with the chair, so you’ll have a nice smooth top with the laminated cotton. If you use the pattern, try making just one cover first to ensure it works with your fabric!
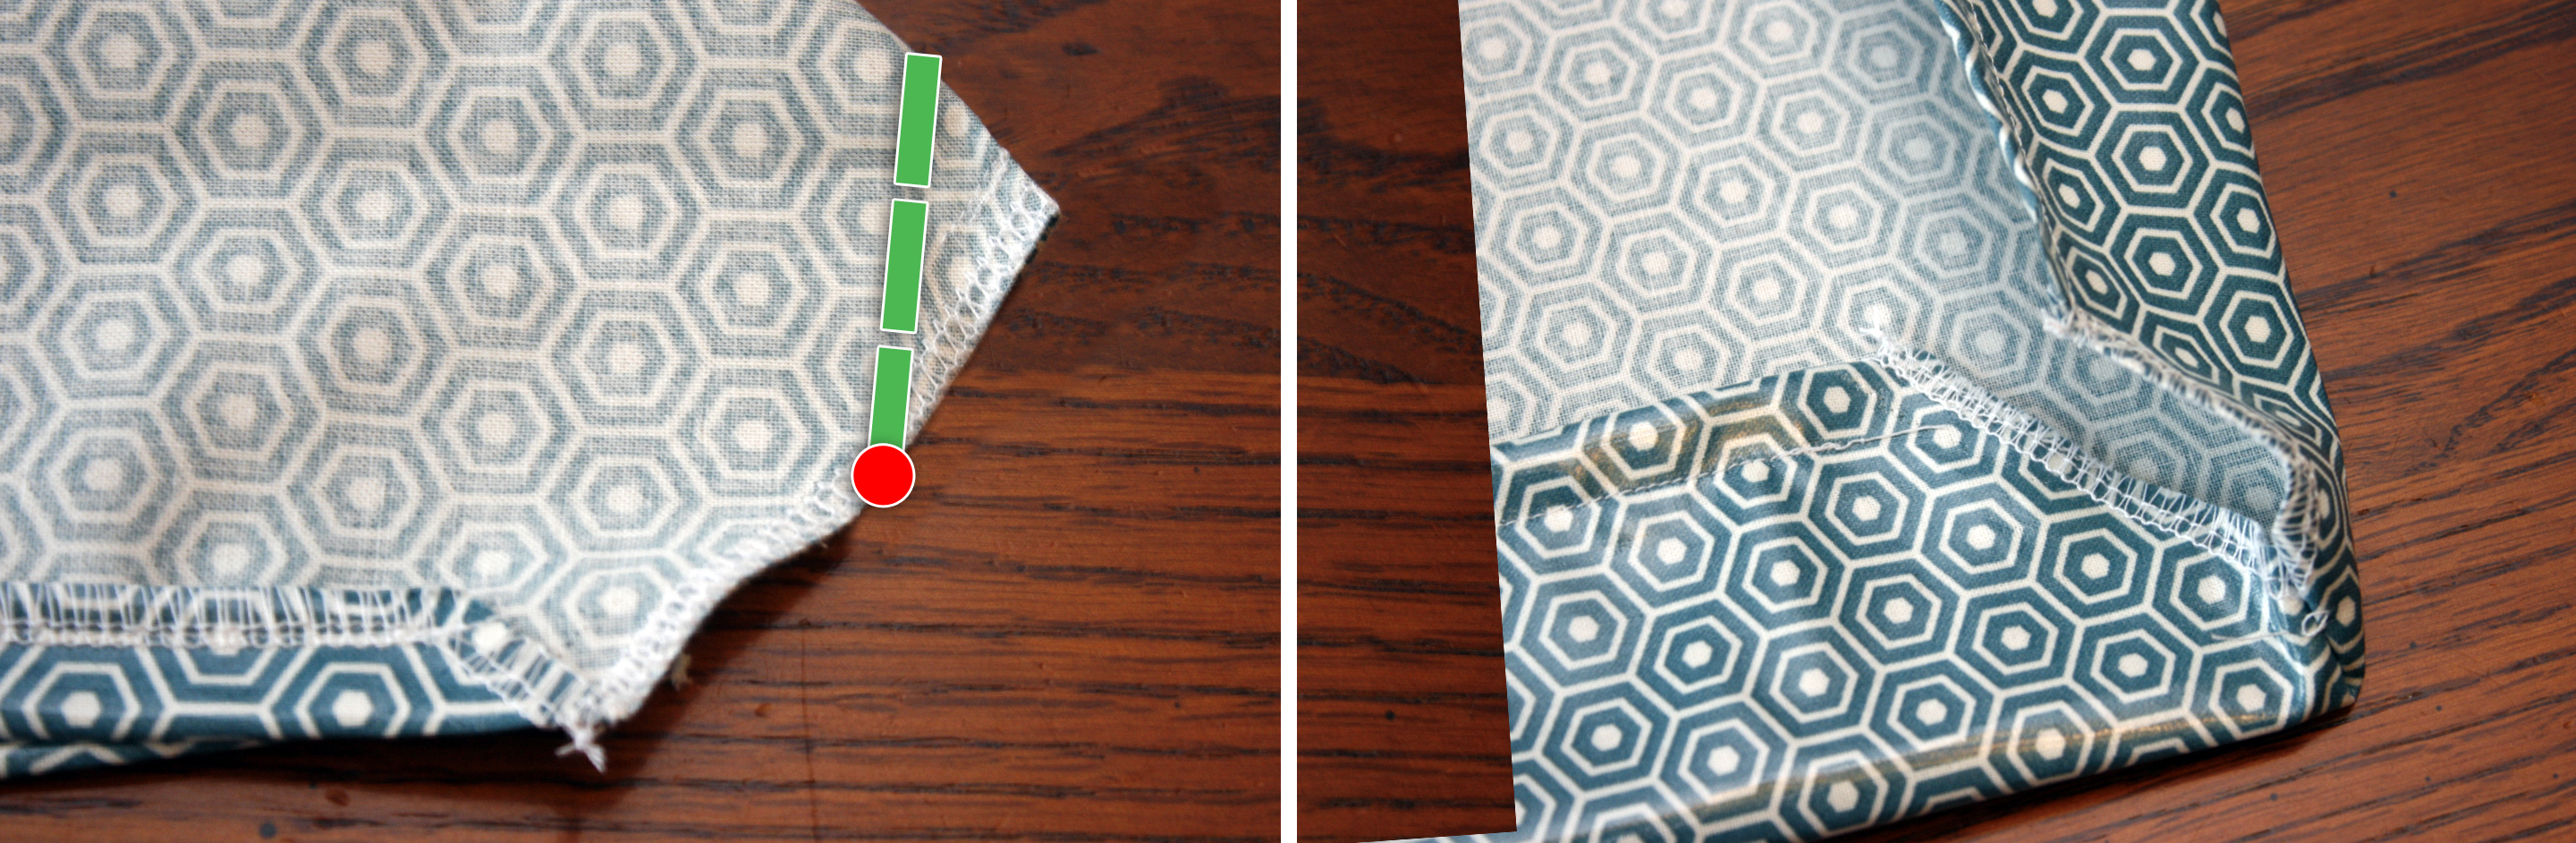
To stabilize the fabric, either uses a serger along all the edges or a sewing machine to do a zigzag stitch close to the edge. Then fold the fabric on each side (but not the corners) under by 5/8″ and sew with a 1/2″ seam allowance. It will form the casing for elastic. I used a roller foot in the photo below to help the laminated cotton glide more smoothly through my sewing machine. If you don’t have one, you can try putting matte finish Scotch tape on the bottom of a regular sewing foot to keep it from sticking to the fabric.

On the wider side of the fabric (the front of the seat), bring the right sides of the corners together and sew with a 1/2″ seam allowance from the fold to just before the casing and backstitch to secure.
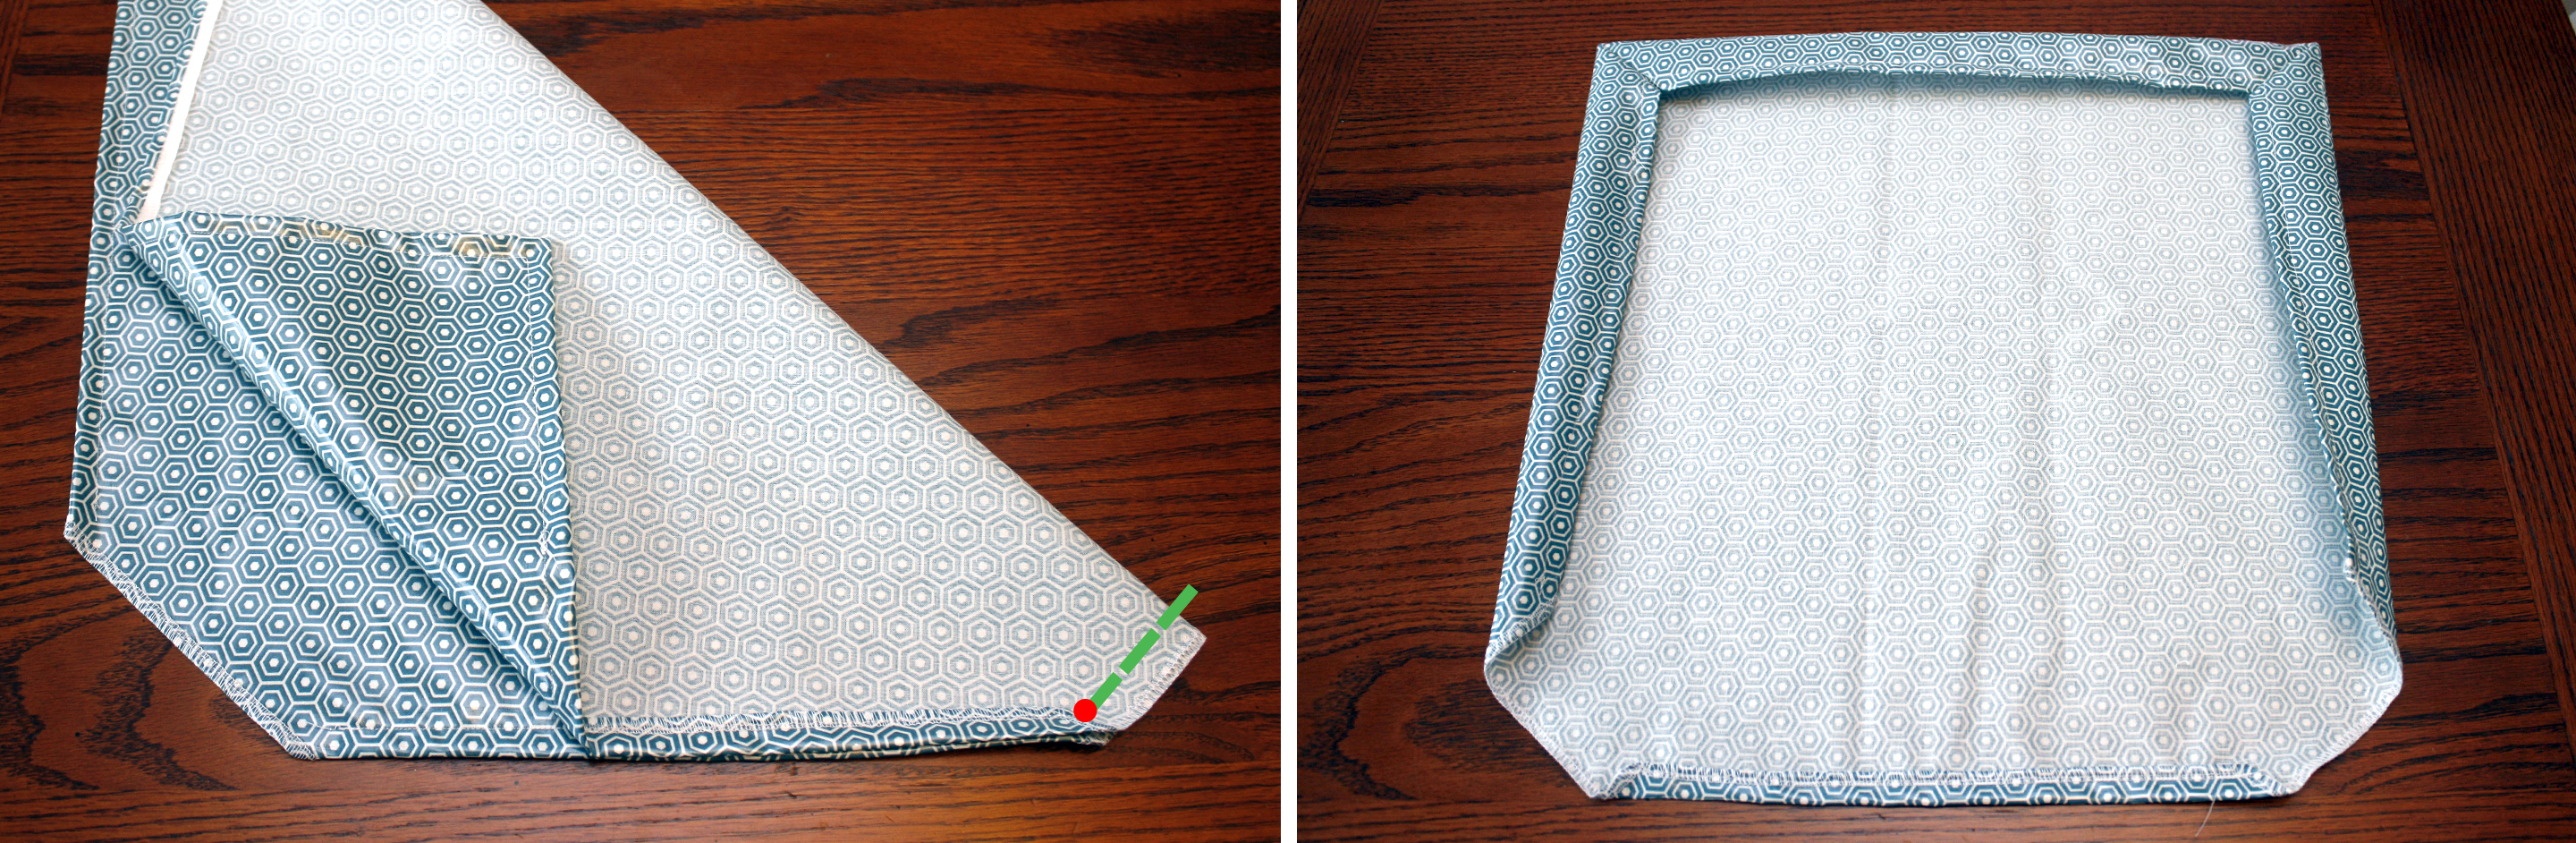
On the two remaining corners (the back corners), bring the notched-out section of the corner right sides together and sew from 1/2″ away from the edge on the fold down to the edge of the fabric.
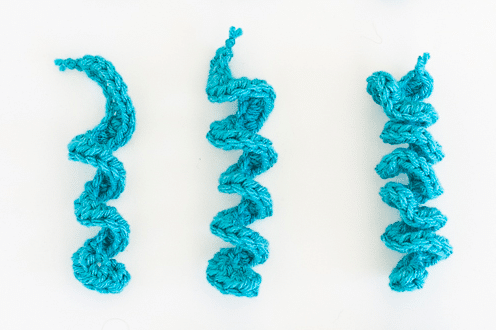
Thread 3/8″ elastic through the casing on all 4 sides. Use a nice firm elastic with around 50% stretch (a 4″ piece will stretch to 6″ before it starts to resist). Start in the back corner and leave at least 5″ sticking out at both the start and finish. Fit the cover around your seat and pull it snug in all directions. Smooth any wrinkles, pull the elastic tight and tie it in a knot. If you don’t have firm elastic, the string will also work if you tie it in a tight bow to un-string it later to get the cover off.
Comparing Both Methods
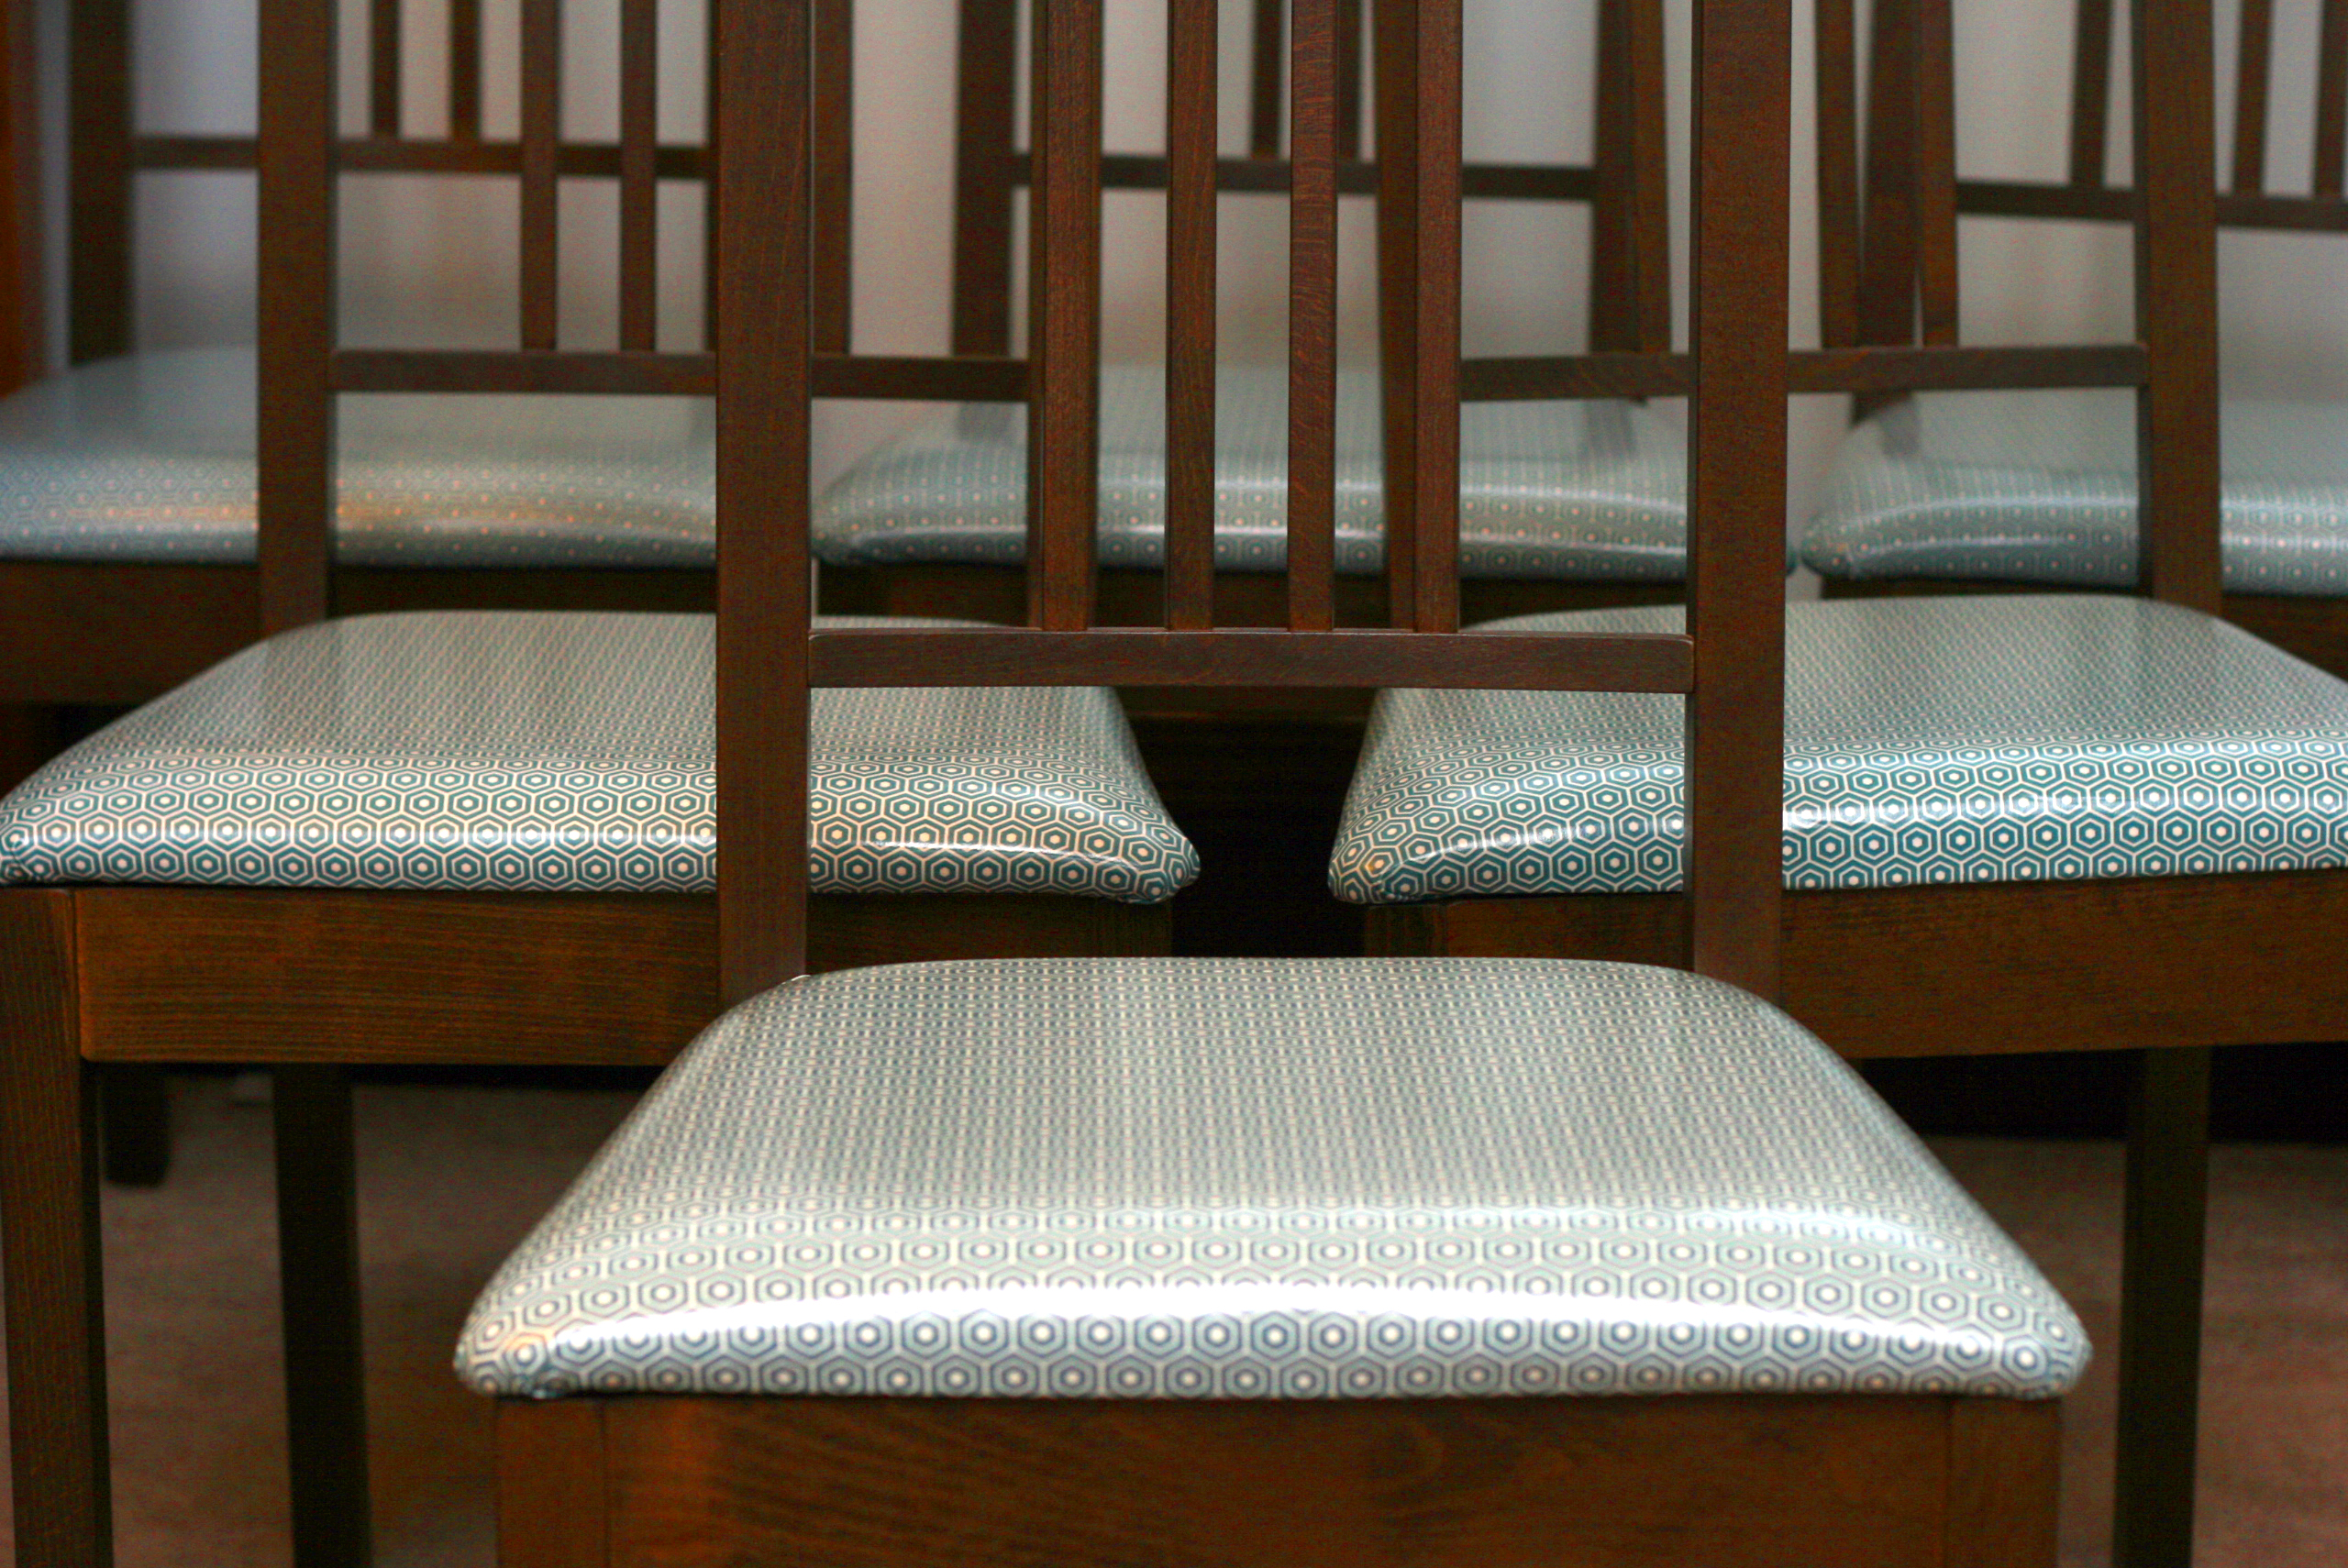
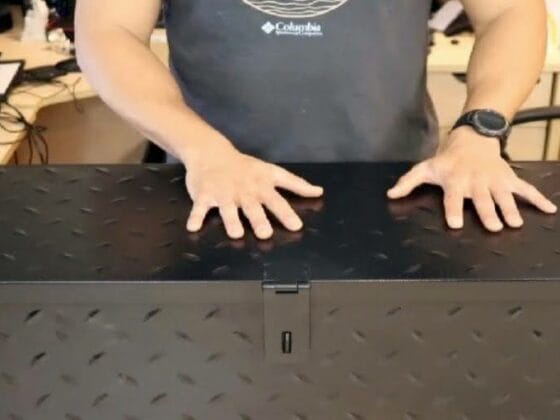
Both methods worked well, and the final seats looked nearly identical. I preferred the staple method because it was faster and easier to get a nice smooth seat with no wrinkles and less fabric. And, with the laminated cotton, I’ll never have to take it off to wash, and wipe clean, so laundering isn’t an issue!
I think the stapled seats may be a bit more stable, as I’m a little concerned that all of the thread holes in the sewn version may make it more prone to rip with heavy usage. But, again, these differences are minor enough that no one can see a difference in the final chair! So far, we’ve used both versions for the last week with a birthday party and house guests, and they look great! The fabric hasn’t stretched to show any wrinkles, and the tops all look nice and shiny.
Thanks again to Harts Fabric for supplying the laminated cotton for this project! Make sure to check out their selection of not only laminated cotton but also quilting cotton, apparel fabrics, patterns, and more.


4 comments
Love Hart’s Fabric! It was always a treat to visit them when I lived in Santa Cruz. Thanks for the cool tutorial!
Thank you so much for this project! The instructions were easy to follow and even though my husband and I aren’t the craftiest people it came out looking great.
Our boys have done some serious damage to our Borje chair covers and they were looking pretty nasty so this refresh was long overdue. My husband didn’t like the feel of the laminated cotton, so we ended up buying black duck canvas from Michaels (online). It obviously doesn’t wipe clean like the laminated cotton, but we are hoping that it won’t show as many stains.
So glad you found Mary’s tutorial helpful!