As the holiday season approaches, the echo of carolers and the scent of evergreen fill the air, signaling a time for serenity and joy. In the midst of this festive hustle, a quiet corner in the garden becomes a treasure trove of peace. And what better way to adorn this special space than to get a wooden nativity set and display it for all to see? The tradition of displaying nativity scenes outdoors brings a spiritual touch to home gardens and offers a reflective spot for visitors and residents alike.
Table of Contents
- 1 The allure of wooden nativity sets for garden spaces
- 2 Selecting the perfect spot for your set – blending decor and nature
- 3 DIY tips for crafting durable outdoor decorations
- 4 Weatherproofing your nativity: preserving your set through the season
- 5 Integrating lighting for a serene nighttime display
- 6 Step-by-step guide to crafting your nativity figures
- 7 Personalizing your set: adding unique touches
- 8 Meditation and reflection beside your garden nativity set
The allure of wooden nativity sets for garden spaces
Getting a wooden nativity set up in your garden begins with finding the right design that complements your outdoor space. You want a set that not only captures the sacred narrative but also harmonizes with the natural surroundings. There’s a certain charm in choosing wood as the material for your figures; it offers a rustic, timeless feel that plastic or metal can’t replicate. Wood also melds seamlessly with the outdoor environment, creating an authentic and inviting scene for all who pass by.
Apart from their beauty, wooden nativity sets serve as a focal point in garden decor, bonding the aesthetics of natural wood with the spirituality of the season. The visibility of such sets can also vary from a modest arrangement near a walkway to a striking scene in a central garden spot, making them versatile components of holiday decor. Their integration into the garden’s landscape invites a pause in the day, a moment to admire craftsmanship while reflecting on the story they represent.
Selecting the perfect spot for your set – blending decor and nature
Spot selection for your nativity scene can be as important as the set itself. Look for a space that is both visible and contemplative. Perhaps by a garden bench under a canopy of trees or nestled within a flowerbed that continues to bloom in cooler months – these spots can enhance the spiritual connection for those who pause to view your display. Think about how the changing daylight affects the appearance of your set, and consider how it’ll look under a blanket of snow if you’re in a colder region.
When identifying the ideal location within the garden, consider the interplay of seasonally changing plants and the nativity set. A backdrop of evergreens might provide a permanent, year-round color accent, while deciduous trees offer a changing scenery reflecting the passage of seasons. Furthermore, choosing a location with a stable surface is crucial to ensure your figures remain upright through varying weather conditions, safeguarding your tranquil nook against the elements.
DIY tips for crafting durable outdoor decorations
For enthusiastic crafters, making your own nativity figures is a rewarding DIY project. Start with selecting weather-resistant wood types, like cedar or redwood, to ensure longevity. Sketch your designs beforehand; simple silhouettes are often most effective for larger displays. Then, with a jigsaw, carve out your figures and smooth the edges with sandpaper. Remember, when crafting, the act itself is a form of meditation and expression of your holiday spirit.
For those who revel in adding a personal touch to their holiday displays, do not forget about the scale and proportion of your nativity set when planning your DIY project. Aim for a balanced scene that neither overwhelms the garden space nor gets lost within it. Also, incorporating family members or friends in the creation process can heighten the holiday cheer, resulting in not just a nativity set but also cherished memories of shared craftsmanship.
Weatherproofing your nativity: preserving your set through the season
Once your figures are carved, preservation is key. Apply a sealant suitable for outdoor wood to protect them from the harsh elements. You can either leave the wood in its natural state for a more organic look or paint your figures with weatherproof exterior paints. Keep in mind that color choices can either make your set boldly stand out or gently blend in with the wintery palette of your garden.
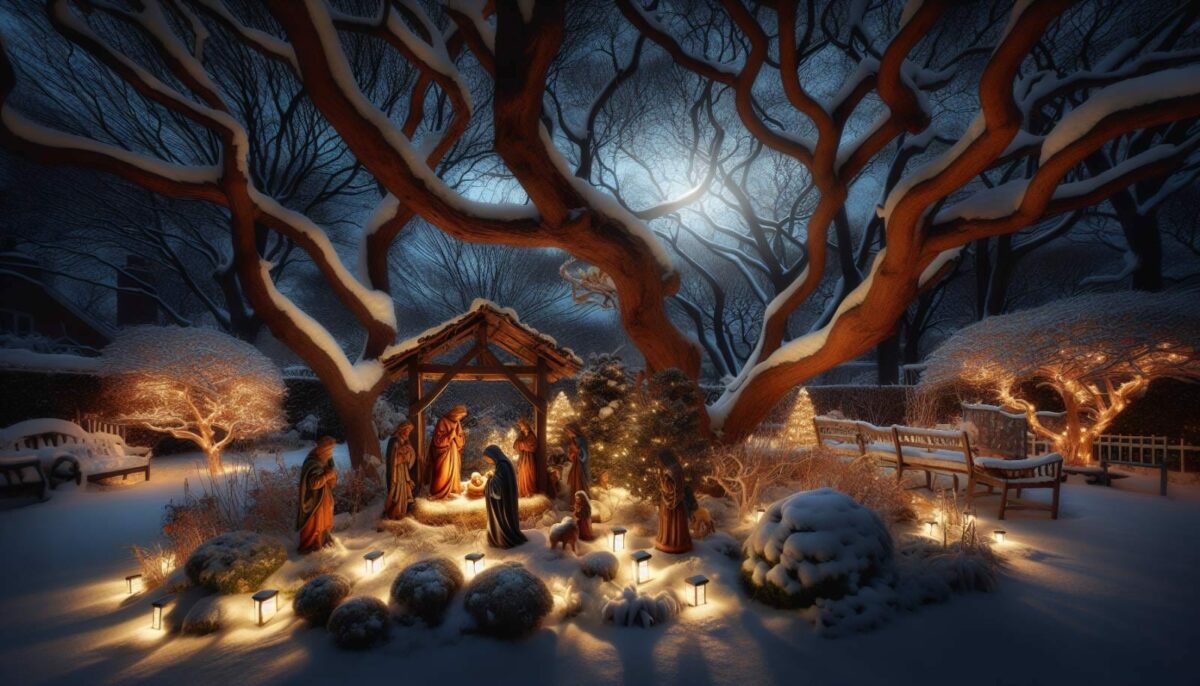
Integrating lighting for a serene nighttime display
As dusk settles in, your nativity doesn’t have to fade into the shadows. Strategic lighting can cast a gentle glow on your wooden figures, creating an ambient focus for evening reflection. Solar-powered garden lights are a wonderful eco-friendly option, providing just enough light without overpowering the scene. Imagine the soft luminescence guiding visitors or your own footsteps to this special corner of your garden.
Step-by-step guide to crafting your nativity figures
To start your crafting journey, gather inspiration for your figures from nativity stories or imagery you feel connected to. Translate these visuals into paper patterns that can be traced onto your choice of wood. Cutting out these figures is a loving process, one where every stroke of the saw is filled with anticipation of the joy they’ll bring. Sanding the edges not only prepares the figures for sealing or painting but is also a tactile reminder of the upcoming celebrations.
Personalizing your set: adding unique touches
Adding personal touches to your nativity set can be a beautiful way to reflect your individuality or family traditions. Consider adorning your figures with materials from your garden—like a crown of twigs for a wise man or a blanket of dried flowers for the baby’s manger. These details invite storytelling and can be a great conversation starter with loved ones and neighbors who come to admire your handiwork.
Meditation and reflection beside your garden nativity set
With your nativity set in place, your garden can become a sanctuary for meditation and reflection. Evenings spent beside the soft illumination of your crafted figures provide a respite from the seasonal rush. It’s a chance to breathe in the crisp air and consider the deeper meanings of the holidays, the blessings in life, and the hopes for the new year. This simple addition to your garden can become a haven of tranquility, where even a few minutes can refresh the spirit.
In crafting an outdoor nativity set, you’re not just creating a decorative piece; you’re fashioning a catalyst for calm and continuity amidst the holiday frenzy. It serves as a visual reminder of what the season is truly about, offers a crafty challenge, and potentially becomes a beloved tradition. So this year, as you hang the garlands and string the lights, consider carving out space in your garden for reflection—a wooden nativity set could be the perfect anchor for your home’s holiday spirit.