Ah, the joy of crafting! If you’re like me, you’ve probably found yourself lost in a whirlwind of colorful beads, threads, paints, and papers more times than you can count. It’s a delightful chaos, isn’t it? But here’s the thing: as much as we love diving into our craft projects, it’s essential to have an organized space. Why, you ask? Well, having a neat area not only makes crafting more enjoyable but also saves a ton of time (no more hunting for that elusive glitter pen!). Plus, there’s a certain satisfaction in seeing all your supplies neatly tucked away, ready to be used. In this article, we’ll embark on a fun journey, exploring ways to create DIY craft organizers that suit your storage needs. Whether you’re working out of a small nook in your home or a self-storage unit, we’ve got tips and tricks that will keep your crafting corner as vibrant and lively as your projects. Let’s dive in!
The Importance of Organized Craft Spaces
Crafting, for many of us, is not just a hobby but a beautiful escape. Picture this: a calm afternoon, your favorite tunes playing in the background, and you, are immersed in creating a new masterpiece. Now, imagine having to pause that bliss because you can’t find your favorite crafting tool or that specific shade of fabric. A bit frustrating, right?
Having an organized craft space isn’t just about aesthetics or neatness. It’s about ensuring that creativity flows without interruption. Much like the serene and well-ordered spaces offered by Hide Away self-secure storage units, an organized craft corner helps preserve your tools and materials, making sure they’re always at hand when inspiration strikes. Think of it as giving your creativity its special room to breathe and flourish. Besides, there’s something truly magical about opening a drawer and finding everything in its place, waiting for your artistic touch.
By embracing organization, we can ensure that our crafting journey is as smooth and joyful as the masterpieces we create.
Materials Best Suited for Craft Storage
Crafting is like cooking – each ingredient or material has its special place. Just as you wouldn’t store milk outside the fridge, certain crafting materials require a bit of special attention. But worry not! Once you get the hang of it, it’s as easy as pie.
Now, before you rush to stow away those vibrant watercolors or delicate yarns, it’s essential to understand the best storage practices. The U.S. Consumer Product Safety Commission often provides guidelines on storing household items, and while crafts might be a tad different, the principle remains: protect and preserve.
Here are some materials and their ideal storage conditions:
- Paints: Cool, dry place and upright to prevent leaks.
- Fabrics: Away from direct sunlight, preferably in airtight containers.
- Beads & Sequins: Small, clear containers for easy visibility.
- Paper & Cardstock: Flat surfaces, shielded from moisture.
- Glue & Adhesives: Upright positions in moderate temperatures.
Surrounded by this newfound knowledge, you’ll soon realize that your crafting materials will not only last longer but also remain as vibrant and effective as when you first got them. Happy crafting, and remember: treat your materials with love, and they’ll return the favor in the form of stunning creations!
Steps to Designing Your DIY Craft Organizer
Alright, friends, here’s where the fun starts! Designing your very own DIY craft organizer is like crafting itself—a mix of creativity, practicality, and a sprinkle of adventure. Let’s put on our imaginative hats and dive into this!
Firstly, measure the space you have. Whether it’s a cozy corner of your room or a dedicated shelf, knowing your dimensions will keep things realistic. Next, jot down a list of all the items you want to store. Are they small trinkets or bulkier supplies?
Now, envision the dream organizer in your head. Got it? Great!
Here’s a basic road map to bring it to life:
- Choose a Base: Think of a pegboard, a wooden board, or even a magnetic sheet.
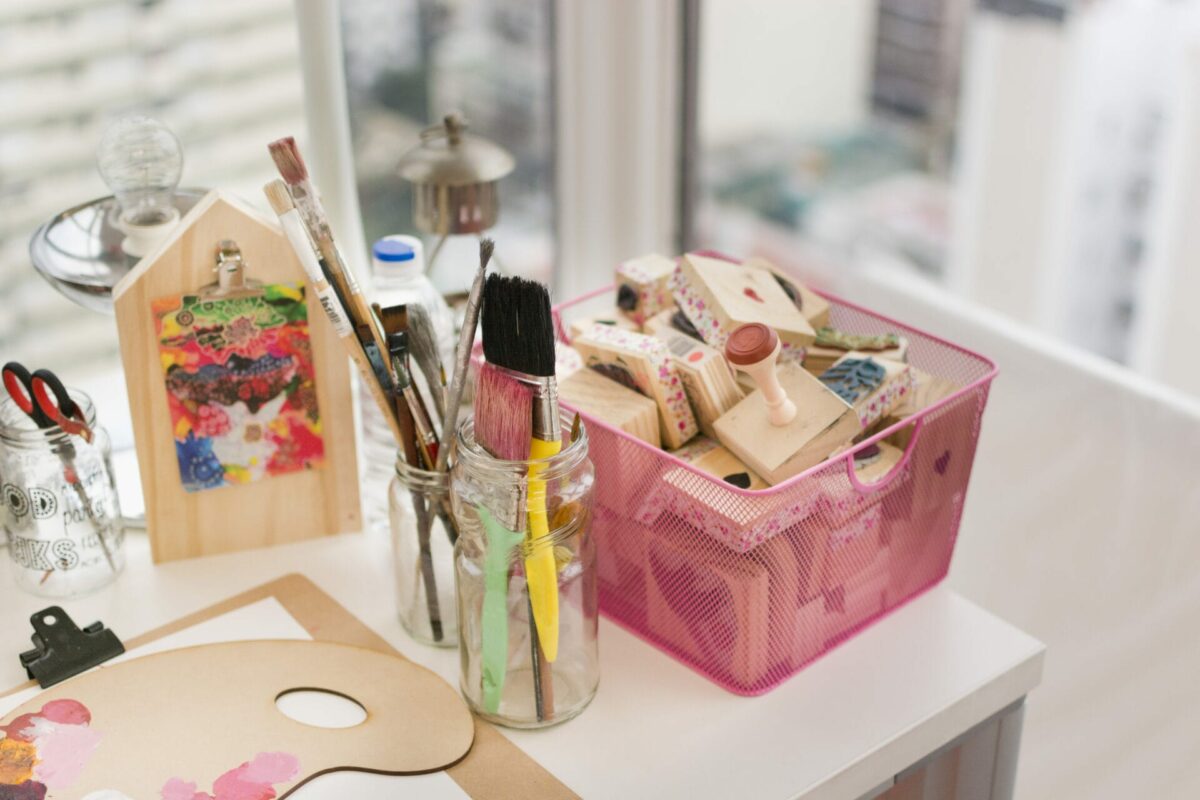
- Add Containers: Mason jars, recycled cans, or store-bought bins work wonders.
- Label, Label, Label: It might seem trivial, but labels can be lifesavers.
- Personalize: Add a touch of ‘you’. Maybe a splash of paint or some decorative washi tape.
The key is to make it functional yet fabulous. After all, every time you reach out for that glitter pen or spool of thread, it should bring a smile to your face. Happy organizing!
Space-Saving Techniques for Small Storage Units
Oh, the age-old dilemma! We, crafters, have hearts as vast as oceans but often find ourselves with storage spaces the size of puddles. But here’s a little secret: size doesn’t always matter. It’s all about how you use it!
When working with limited space, every inch counts. The goal is to create a haven for your craft materials without them feeling cramped or cluttered. The Small Spaces Research Initiative often emphasizes the potential of compact areas. If they can see potential, so can we!
Consider these space-saving marvels:
- Vertical Stacking: Go up, not out. Use stackable containers or shelves.
- Utilize Door Space: Hang organizers on the insides of closet doors.
- Retractable Tables: A surface when you need it, space when you don’t.
Surrounding these clever techniques, remember to declutter regularly. Sometimes, we hold onto things we no longer need. Being a little ruthless in letting go can open up more space than you imagined. In the end, it’s all about making your craft corner feel roomy, accessible, and oh-so-inspiring!
Maintenance and Care for Craft Storage Solutions
The world of crafting is vast, vibrant, and wonderfully varied. From the soft, textured world of yarns to the intricate precision of drawing, each material has its own story and specific care requirements. Maintaining your craft storage is a bit like tending to a garden. It’s not just about planting flowers; it’s about watering, pruning, and ensuring they have the right environment to bloom.
Craft materials, too, have a lifespan. By caring for them and their storage solutions, we’re not just preserving their quality but also respecting the time, money, and creativity invested in them. Dusting off storage bins, ensuring there’s no moisture buildup, and checking for any signs of wear and tear are little steps that make a significant difference.
It’s a journey, my fellow crafters. As we nurture our craft materials, they reward us by being at their best when inspiration strikes. So let’s give them the love and care they deserve, ensuring many more delightful crafting sessions ahead!
Crafting a Neat Future
As we wrap up this crafting adventure, let’s remember the heart of it all. Organizing isn’t just about neatly arranged boxes and labeled containers. It’s about giving your creativity a comfortable home. When each thread, bead, and brush has its special nook, crafting becomes a seamless joy. So, embark on this organization journey, not as a chore, but as a loving gesture towards your art. Here’s to many more beautiful creations in a well-organized, happy space!