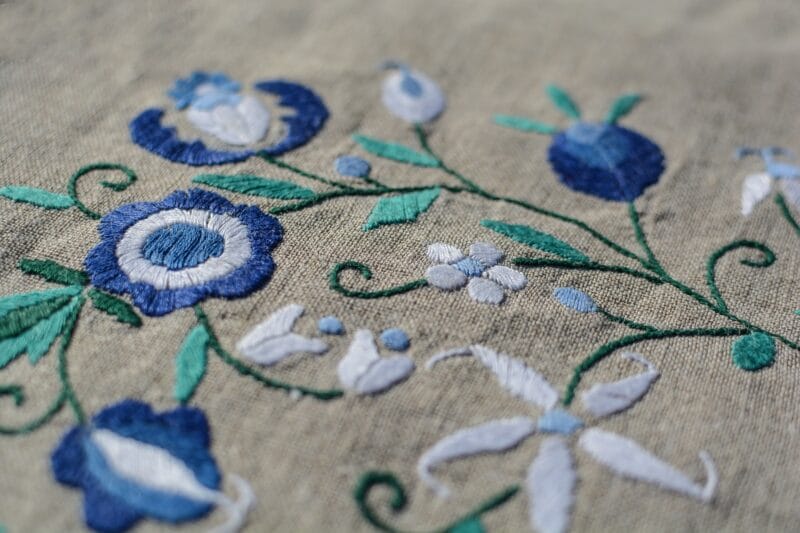
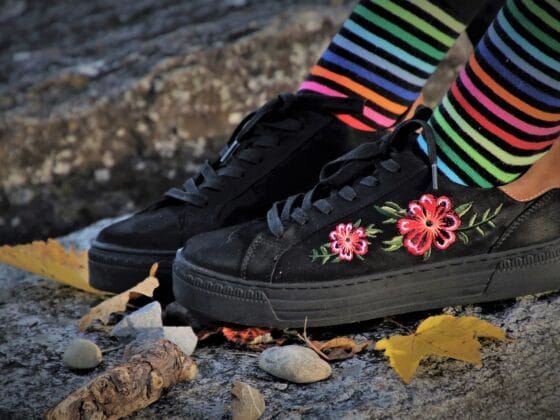
If you love embroidered flowers and stems, you must have seen the use of the stem stitch. The twisted, rope-like effect of the stitch makes it popular. But did you know this stitch has a rich history that dates back thousands of years?
14th century BC excavations in Egypt and Peru have shown the use of stem stitches. In Europe, its earliest use was found in the excavations in Denmark in 970 AD. Bayeux (England), Iceland, China, Kashmir (India), Morocco – embroiderers from many places traditionally used this stitch.
Stem stitch is versatile and fairly easy. Yet, it can deliver beautiful results. If you don’t know how to perform this stitch, don’t worry! Today, you’re going to learn all about it. So dive right in!
Table of Contents
Stem Stitch: Materials List
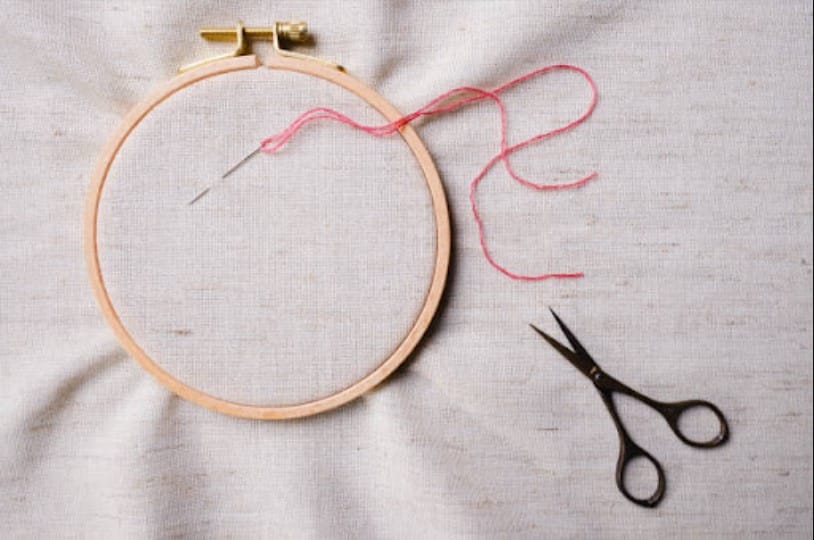
To use stem stitches in your next embroidery project, you’ll need the following supplies:
Best Needles for Stem Stitch
Crewel or embroidery needles, sized 1-12, are used for stem stitches, also called crewel stitches. Of these, #7 and #9 are the most common needle sizes for embroidery using 2-3 strands, though #6 and #8 are also popular. #3 is recommended for 6 strands.
As a beginner, you can buy a variety of kits. Choose one with needles of sizes 3-9. You can experiment with these needles on different fabric types. Thick and heavy fabrics need larger needles. Lower numbers indicate a larger size, e.g., #6 is bigger than #9.
Ideal Threads for Stem Stitch
Embroidery floss, also called a six-stranded thread, is a popular choice for stem stitches. You can use all six strands or separate the stands and use 2-3 of them. It may be made of cotton or wool, though you may find linen, rayon, metallic, silk, or acrylic materials.
Another great embroidery thread choice is Perle cotton, also called French cotton perlé or pearl cotton. It is a twisted thread available in five weights – 3. 5, 8, 12, and 16. Size 3 is the thickest and heaviest of these threads, while #16 is the finest and lightest.
Suitable Fabric for Stem Stitch
Stem stitches are commonly used for decorative purposes in surface embroidery. And delicate fabrics are ideal for this stitch because they support small details. Silk, satin, and even velvet are all excellent choices. You can also use linen, wool, cotton, or leather.
Other Materials and Supplies
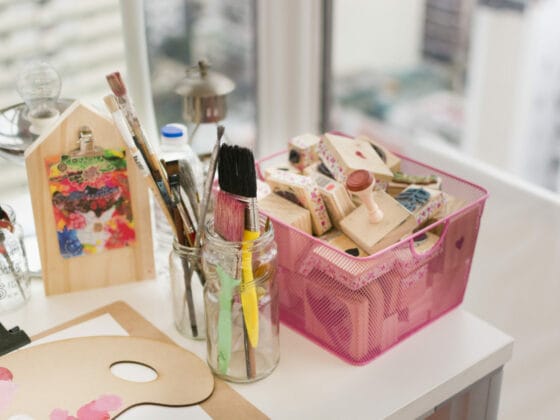
Other items that will help you during your embroidery project are:
- Scissors
- Stick and stitch embroidery paper
- Fabric marking pen
- Needle storage and needle minder
- Embroidery stabilizer
How to Do a Stem Stitch: A Step-by-Step Guide
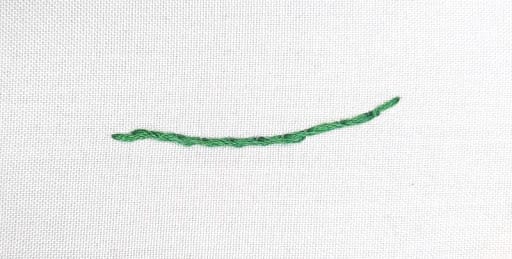
It’s time to learn how to perform stem stitches. Before you start embroidering, you need to thread the needle. Then, place the fabric on a flat surface to transfer the design to it after ironing out wrinkles or creases.
With the help of stem stitches, you can create smooth lines, outlines, or curves. You’ll need to make overlapping stitches while you keep the thread below the stitching line. You can perform the stitch using the following steps:
- First, push the threaded needle from the back of the fabric at the starting point of your design. Do not tighten it. Form a loop instead.
- Following this, insert the needle into the next point a little way from the first stitch for the second stitch.
- Now, bring the needle back halfway between the first and second stitches. Push the needle up through this point.
- Tighten the stitch, forming a loop below the needle.
- Now, pick a point further away from the second stitch you made. The distance should be about half the length between the first and second stitches.
- Then, push the needle down through this point without tightening the stitch.
- Return to the point where you made the second stitch and push the needle up through it, forming a loop below the needle as you tighten the stitch.
- Now, repeat the same steps for all the stitches required to complete your design.
That’s it! Isn’t it easy? Watch this video to understand the steps completely.
Variations of the Stem Stitch
Stem stitch is easy to learn and perform. And there’s a whole family of variations of this stitch. Here’s a list of the popular variations of the stem stitch.
Double Stem Stitch
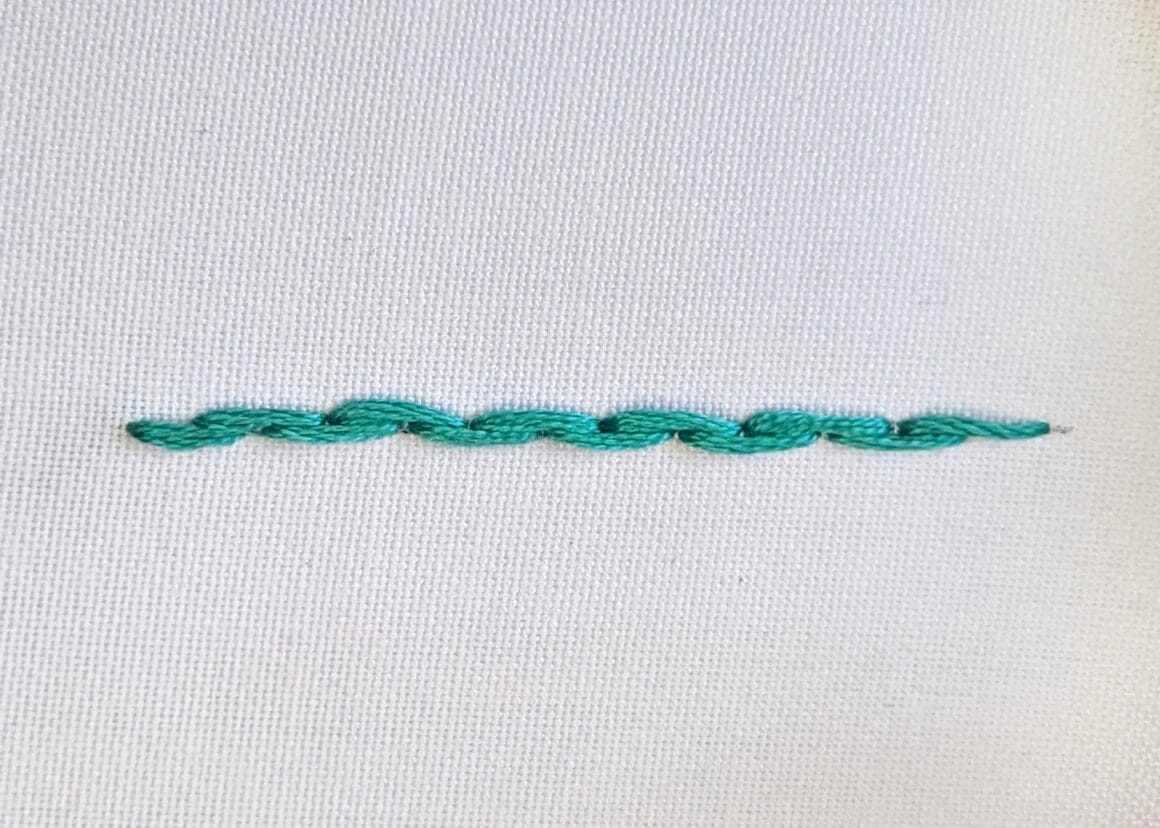
A double stem stitch is a decorative embroidery stitch that gives a raised and twisted effect, much like a rope. It’s similar to a regular stem stitch, but it adds a twist.
The steps to perform the double stem stitch embroidery are:
- Start with a single stitch. Then, bring the needle up at point A.
- Next, insert the needle down at a point that’s slightly ahead of point A. This second point is your Point B.
- Now, bring the needle back up at a point in line with point A, which is a short distance ahead. This is point C.
- After that, push the needle back down at a point ahead of C on the same line. This is point D.
- Now, continue this process. As you alternate between points A and C, B and D, and so on, you get a twisted effect along the line.
Portuguese Knotted Stem Stitch
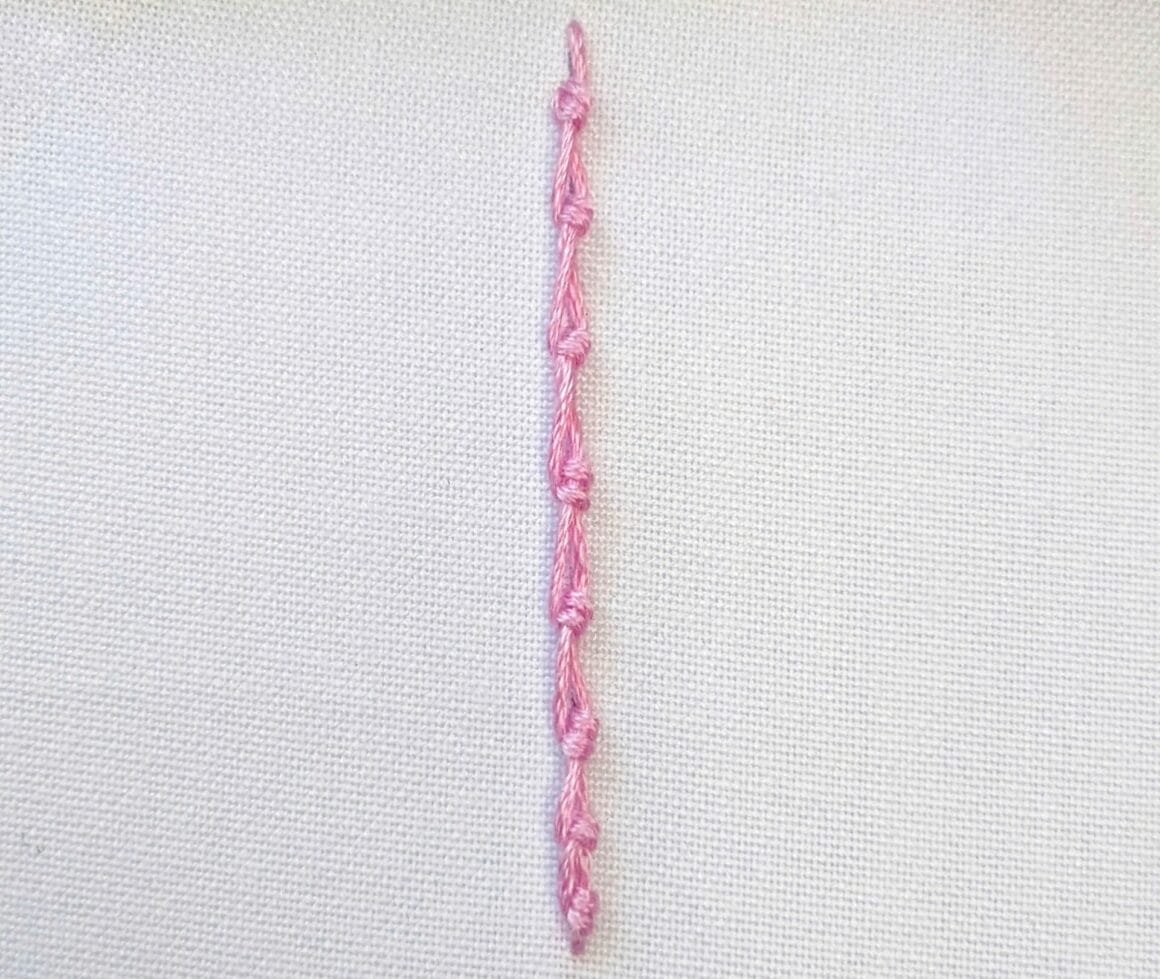
The Portuguese Knotted Stem Stitch combines elements of stem stitching and French knot embroidery. It helps create a textured, decorative line or fill. The dimension it adds looks great on vines and similar design elements. Here’s how to do it:
- Bring the needle up through the point where you want to start your shape or line. This is point A.
- Next, insert the needle down through the fabric at a point ahead of point A for your first stitch. The stitch ends at point B.
- Bring the needle back up through a point close to your first stitch. This is your point C.
- Then, pass the needle through the loop of thread above the fabric surface between points A and C. Repeat the same process to create a knot.
- Next, insert the needle down through point D, which is the same length away from point B as that between A and B.
- After that, bring the needle back up through point B.
- Next, pass the needle through the loop between the thread and the fabric. Do it twice.
- Continue with the process to get a series of stitches with knots on the thread surface.
- Continue along your desired line or design and form knotted stitches. You can use size and spacing variations for different effects.
Other Variations of Stem Stitches
- Cable stitch
- Looped stem stitch
- Raised stem stitch
- Whipped stem stitch
Applications of Stem Stitches and Variations
You can use stem stitch embroidery and its variations in many creative ways.
Letter Stem Stitch
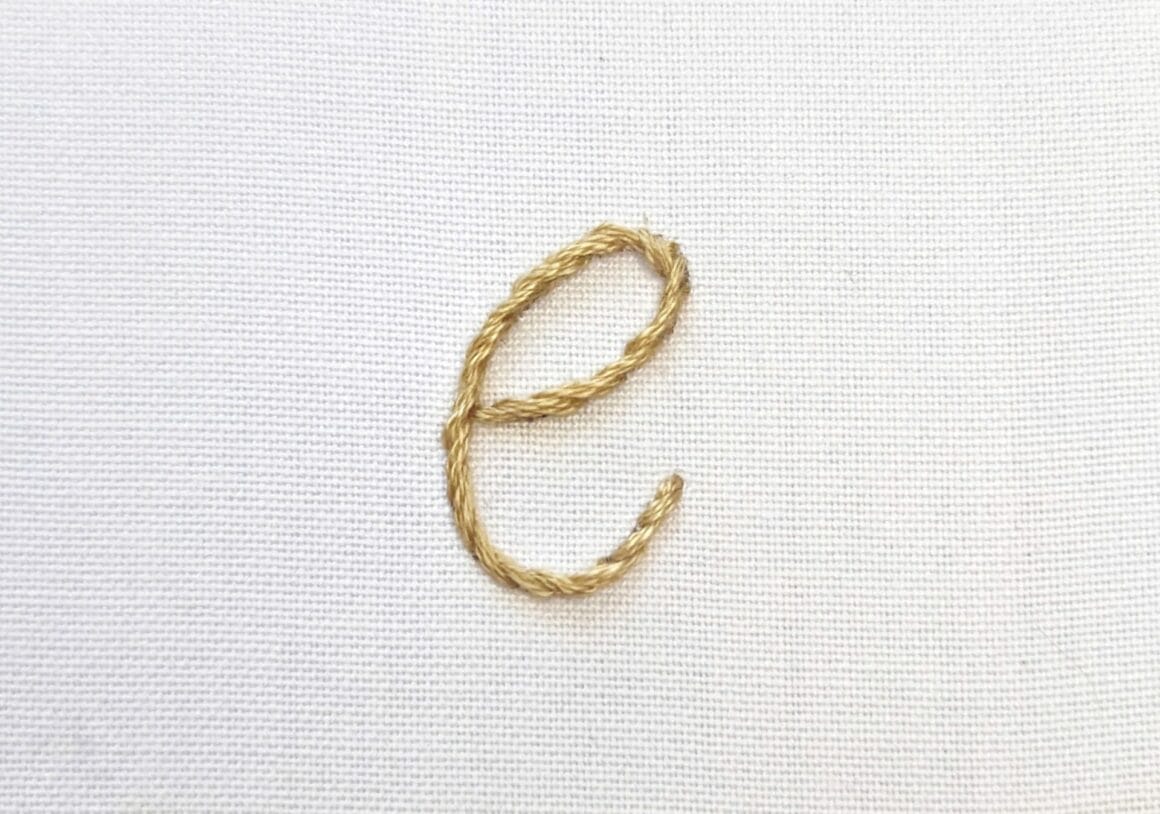
Lettering stem stitch is an embroidery technique that uses stem stitches and variations for embroidering letters or text. It creates a flowing, rope-like texture and is commonly used for hand-embroidering text or monograms.
Start by choosing a font or style for your letters – and then transfer the letters onto your fabric.
- The beginning of the letter is your point A. Push the needle up through the fabric at this point.
- Next, insert the needle a short distance away from point A to create your first stitch. The end of the stitch is point B.
- Now, insert the needle back up through a point between A and B to create your first stem stitch.
- Next, pass the needle through the loop formed by the previous stitch from the back to the front for a twisted effect along the line.
- Continue like this along the shape of the letter.
- Keep the stitch size and spacing uniform along straight lines for a neat finish. Use shorter stitches for shape accuracy when you reach a curve or corner.
- When you reach the end of the letter, finish it off by securing the last stitch with a knot on the back of the fabric.
Other Common Application of a Stem Stitch
- Raised double-sided stem stitch
- Stem stitch fill
Some embroiderers insist that outline, split, lock, and double lock stitches are variations of the stem stitch. All of them belong to the back-stitch family and are pretty similar.
Stem Stitch in Modern Embroidery Designs
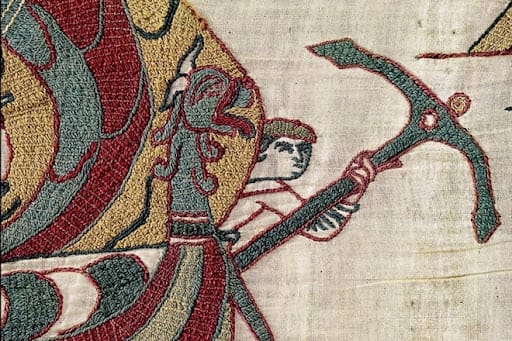
The stem stitch might be one of the basic stitches, but it hasn’t failed to attract fashion patrons for millennia. One of the most noteworthy uses of the stem stitch is the Bayeux Tapestry in the 11th century. It captures the Duke of Normandy’s conquest of England.
Stem stitch embroidery has been used in Icelandic ecclesiastical works and Kashmiri embroidery. These date back to the 15th century.
The 17th-century English Jacobean crewelwork became part of European culture. It inspired artisans during the 19th-century Arts & Crafts movement. William Morris and his daughter May are noted for using crewel embroidery, including stem stitches.
The 18th century saw this embroidery style in the US’ Candlewicking Embroidery and Mandarin squares in China, too.
The Role of Stem Stitch in Contemporary Fashion
Speaking of Chinese embroidery, Guo Pei’s L’Architecture Fall/Winter 2018-2019 collection deserves a mention. It showcased stem stitches along with other stitches. Her design used silver threads embroidered on the surface of dark chiffon.
Another much-celebrated fashion exhibition using stem stitches was at Dior’s Haute Couture Spring/Summer 2022 show. It used installations that translated the works of Indian painters Manu and Madhvi Parekh into embroidery.
In modern variations of Indian, Chikankari, Phulkari, etc., stem stitches create a unique texture.
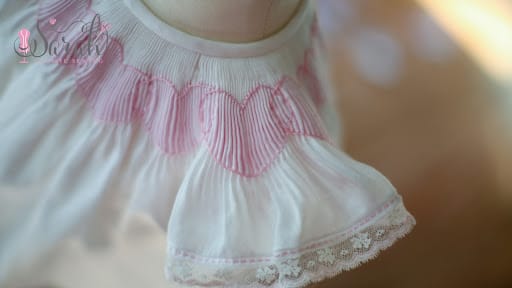
But stem stitch embroidery is not just limited to couture. Did you know that smocked clothing also uses this stitch? The form-fitting clothes use gathered fabric that expands and flatters your curves. They are super popular and a must-have in every wardrobe.
It’s needless to say, stem stitch embroidery and its variations will continue to take the fashion world by storm.
More Embroidery Articles
- Best Embroidery machines for beginners
- Best Embroidery Machine For Hats And Shirts
- 20 Essential Embroidery Stitches You Should Know
- The Running Stitch in Embroidery
- The Chain Stitch in Embroidery
- The Embroidery Split Stitch
- The Embroidery French Knot
- The Embroidery Back Stitch
- The Embroidery Couching Stitch
How to Do an EmbroideryStem Stitch: FAQs
Q: What’s the difference between stem stitch and outline stitch?
A: You need to work with the working thread below the stitching line for stem stitches. In the case of outline stitches, the working thread remains above the line of stitching. Stem stitches give a rope-like twisted look that’s not present in outline stitches.
Q: How can I ensure my stem stitches look even and neat?
A: Keep the stitches short for a neat and distinguishable rope-like effect in your stem stitch embroidery. This will also help achieve a neat look on curves. Maintain consistent thread tension and uniform stitches. Stretch the fabric and use the right needle.
Q: Which fabrics are most suitable for stem stitching?
A: Since stem stitching is mainly used for decorations, silk is considered one of the most suitable fabrics for this stitch. You can also use other fabrics like satin and velvet. Even cotton, linen, wool, and leather can get a new look with this style of embroidery.
Q: Can stem stitches be used for filling patterns?
Yes, stem stitch embroidery is widely popular for filling patterns besides making stems. If you have created designs of leaves and flowers, you can use stem stitches to fill them. You will need to embroider rows of this stitch close together for this purpose.
Stem Stitch: An Elementary Technique for Advanced Embroidery
The stem stitch might be one of the basic stitches in embroidery. But it is versatile and beautiful.
The texture created by this stitch and its variations has fascinated artisans for thousands of years. And now you know how to make it.
So, the next time you want to embroider a floral masterpiece on silk fabric, remember this humble stitching technique!
References:

