Tie-dyeing invariably produces impressive results. It’s fun and creative, and it can become a compelling hobby. Soda ash tie dye is precisely what you need to give your clothes the vibrant look that tie dye is known for because it helps fabric retain the bright dye colors.
Moreover, tie-dye is rapidly making a comeback in fashion, and this time, it’s not only for hippies and creatives either!
In this comprehensive guide, we’ll give you all the instructions you need to tie dye with soda ash. We’ll cover everything from tie-dye basics to advanced techniques and provide step-by-step instructions.
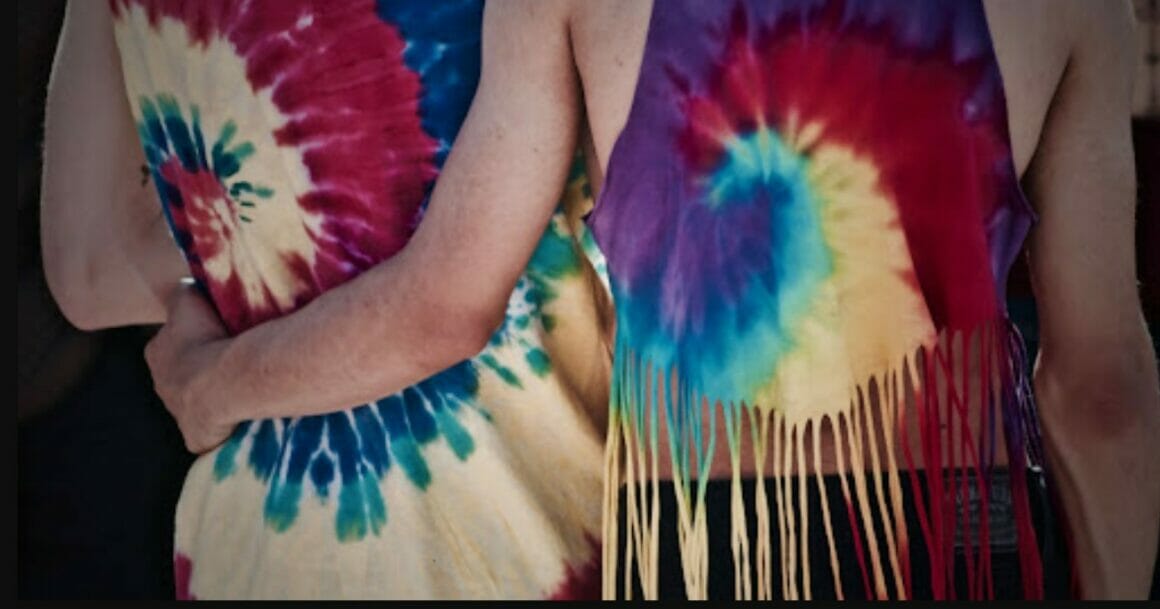
Table of Contents
- 1 Understanding Tie Dye Basics
- 2 What Is Soda Ash?
- 3 The Role of Soda Ash in Tie Dye
- 4 What Materials You Need to Tie Dye with Soda Ash
- 5 Step-by-Step Guide to Soda Ash Tie Dye
- 6 Advanced Alternative Tie Dye Techniques
- 7 Caring for Your Soda Ash Tie-Dyed Items
- 8 The Ultimate Guide to Soda Ash Tie Dye: FAQs
- 9 Conclusion
Understanding Tie Dye Basics
Tie dye derives its spontaneous look from the way it colors the fabric. Before dyeing, you need to gather the fabric into a ball and tie it with a string. Then, you must immerse the clothing in a dye bath. The folded areas don’t get dyed; that’s the origin of the white areas on the ready product.
Historical Overview
Tie dye has been known for over 4,000 years and has been used in ancient China and Peru. Early examples of tie-dye techniques include the Indian Bandhani textiles and the Japanese shibori patterns. In addition, this technique was initially used with organic dyes, adopting artificial dyes with their discovery in the 19th century.
Furthermore, the hippie revival of tie dye started at the 1969 Woodstock music festival, where hundreds of tie-dye shirts were sold, becoming an unofficial symbol of the hippie movement. Highly popular throughout the 1970s, tie-dye clothing is being increasingly rediscovered today. It all started during the pandemic when people found a way to express their need for positive emotions and creativity through this vibrant and life-affirming technique.
What Is Soda Ash?
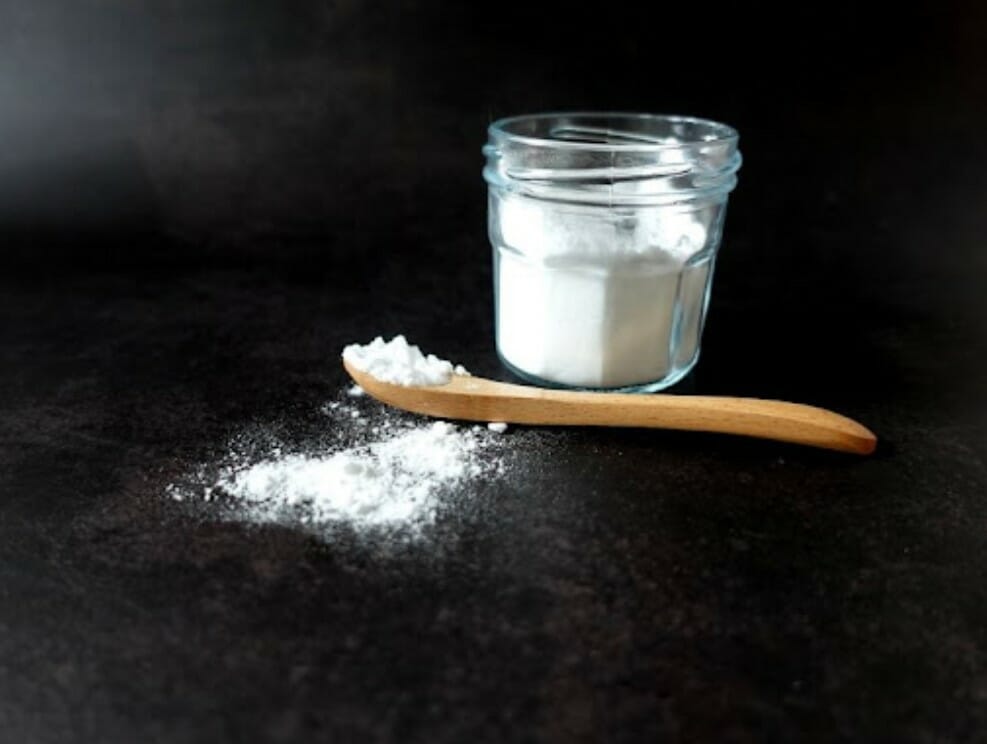
Soda ash is a chemical known as sodium carbonate. It’s used in a variety of industries and is familiar to many in household use under the name of washing soda. It’s an essential component in the production of soaps and detergents.
Soda ash is soluble in water, and it has a high pH of circa 11.6 (it’s alkaline). It is used for lowering the hardness of water and raising its pH. Also, soda ash is an alkali – a substance that dissolves in water and neutralizes acids.
The Role of Soda Ash in Tie Dye
Soda ash is used in tie-dyeing to better prepare the fabric for absorbing and retaining the dye. Treating the fabric with soda ash before you start dyeing makes the resulting colors brighter and more stable. This method works for fiber-reactive dyes (also called cold water dyes), which are dyes explicitly made for plant-based fabrics.
Intensifying Colors
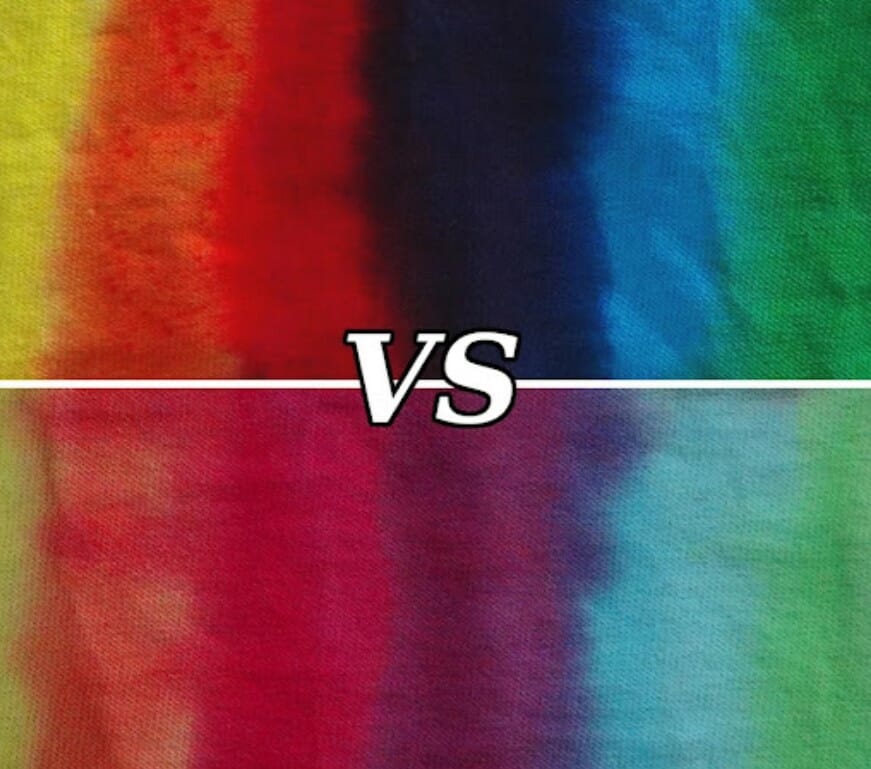
Image by Chandye
It can sometimes be challenging to achieve the exuberant hues associated with this technique when dyeing your own clothes. Soda ash amplifies the colors so that the result is bright and brilliant instead of the faded pastel tones you could end up with if you don’t use it. The alkaline substance also activates the fabric’s fibers so that they react better with the dye. Soda ash tie dye is also more colorfast, resulting in less chance of fading with time.
This example from a tie dye enthusiast website shows the difference soda ash makes in color intensity. The colors look a bit washed out when the fabric hasn’t been submerged in soda ash beforehand.
Fixing the Dye
When using fiber-reactive dyes, soda ash is used to fix the dye. Fibers like cotton cannot react with the dye in an acidic solution. Adding soda ash (which is an alkali) makes the dyeing solution less acidic. The higher pH helps fix fiber-reactive dyes, which results in brighter and more vivid colors in the dyed fabrics.
After dying your fabric, let it sit for up to 24 hours to ensure the colors have set in correctly. It’s also a good idea to wrap your fabric in a plastic bag to prevent it from drying too soon. The fabric needs to remain wet for the best effect.
What Materials You Need to Tie Dye with Soda Ash
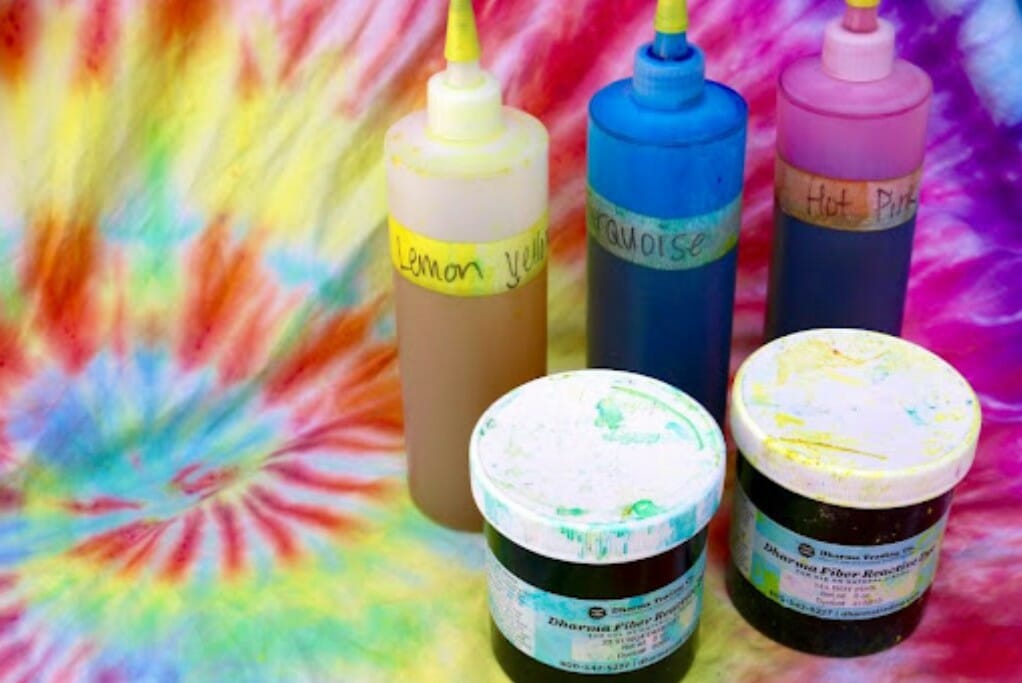
Image by The Art of Education
Before you start having fun with your soda ash tie dye project, below is a list of the things you will need. Try to prepare all the materials beforehand so that nothing distracts you from the process.
- Soda ash – 8 oz. per gallon of water
- Fiber-reactive dyes (there are plenty of excellent tie dye kits available)
- An item for a tie-dye project (ideally 100% cotton)
- Large bowl
- Measuring cups
- Stirring spoon
- Plastic surface cover
- Plastic zip bag
Safety Precautions
Remember to use gloves, as some of the dyes can be difficult to wash off. You might want to wear an apron to protect your clothes. Even with an apron, make sure you wear old or working clothes that you don’t mind ruining; tie-dyeing can easily get messy. It’s also advisable to use goggles to protect your eyes from splashes. Soda ash and dyes can cause severe irritation and allergic reactions if any of them get in your eyes. Always work in a well-ventilated room.
Staying Safe
Another critical consideration is disposing of the leftover soda ash. When used in small, non-industrial quantities, pouring it down the drain is safe. Just remember to wear gloves to protect yourself from direct contact with soda ash, as it can cause skin irritation.
Step-by-Step Guide to Soda Ash Tie Dye
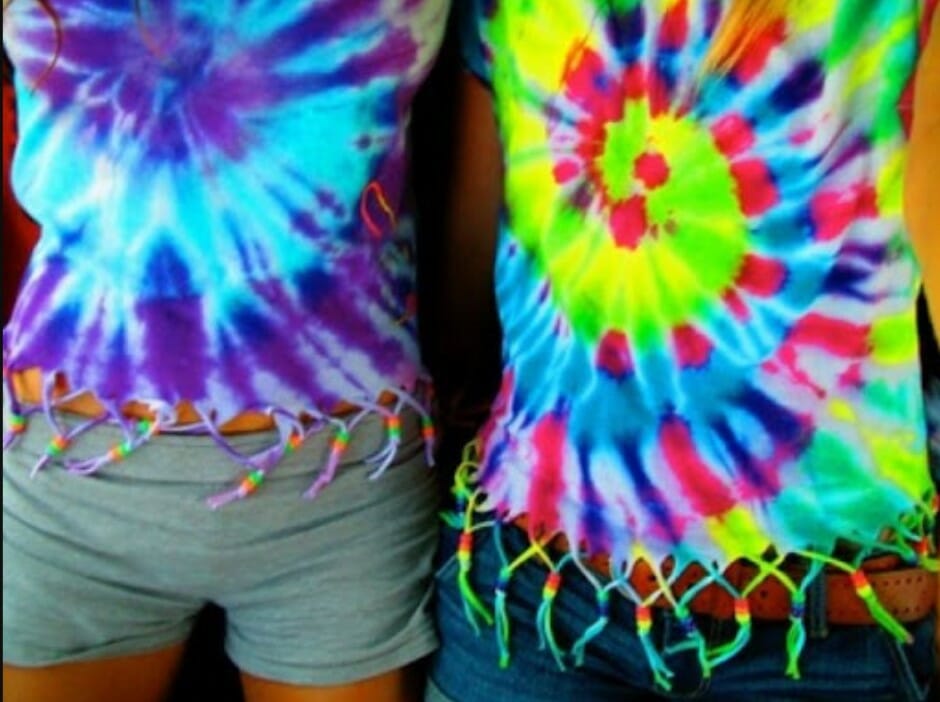
Image by Don Me Now
Here’s a comprehensive guide with all the steps you need to tie dye with soda ash successfully:
Preparing the Fabric
Tie-dyeing works best with cellulose fabrics like cotton, hemp, and linen. You can also use mixed fabrics, but typically, the more cotton in the fabric you use, the better the result. Cotton is very absorbent and breathable, which helps it retain colors. Silk and wool are protein fibers and don’t work well with soda ash tie-dye techniques.
- Pre-wash the fabric to remove any finishes from the material. Don’t use fabric softeners. This prepares the fabric for absorbing the dye.
- Then, soak in soda ash solution for 15 minutes. Use 1 cup (8 oz.) of soda ash per 1 gallon of water.
Mixing the Dye
It’s up to you which and how many dye colors you choose – the combinations are endless!
- Choose the colors you like best for your project. You will usually find all the primary colors you need in kits, but you can mix your own secondary colors. Some tie dye sets sell ready-made color kits, where you get a whole range of hues.
- If you’re using powder dyes, use ca. 2 teaspoons of dye per 1 cup of water. Read the instructions on the particular dye to make sure you use the correct amount. Using less will result in paler colors. Dissolve each color in a separate cup. Keep a cup of clear water for rinsing any instruments you use for mixing the dyes.
- Mixing your own colors is a great way to customize your palette. You can also dilute some colors to make them less intense while leaving a single color bright. This is the idea behind tie-dye ombre effects, for instance.
Applying the Dye
- Choose a pattern to make your tie dye project even more unique. Popular patterns include stripes, swirls and spirals, and the bullseye. Each pattern requires the correct folding so that the dyed surface and white spaces left by the folds form the design. The spiral swirl is a fantastic pattern that looks psychedelic or galaxy-like, depending on your chosen colors.
- Let your dyed fabric set for up to 24 hours. The longer you wait, the brighter the colors.
Expert Tips:
- Remember that adjacent colors will merge and form new colors, so make sure you like how they look when they mix. Avoid using complementary colors (like red-green) next to each other, because many of them will form muddy browns when mixed.
- After applying the dye, keep your fabric damp and warm for the best reaction with the dye.
Rinsing and Setting
- Carefully rinse the ready item in cool water to get rid of excess dye. Take your time and rinse as many times as necessary until the water runs clear. This will prevent the colors from bleeding when you wash the item in the future.
- After rinsing, wash your tie-dyed item in hot water with Synthrapol. For several next washes, make sure you wash your tie-dyed clothing separately.
Advanced Alternative Tie Dye Techniques
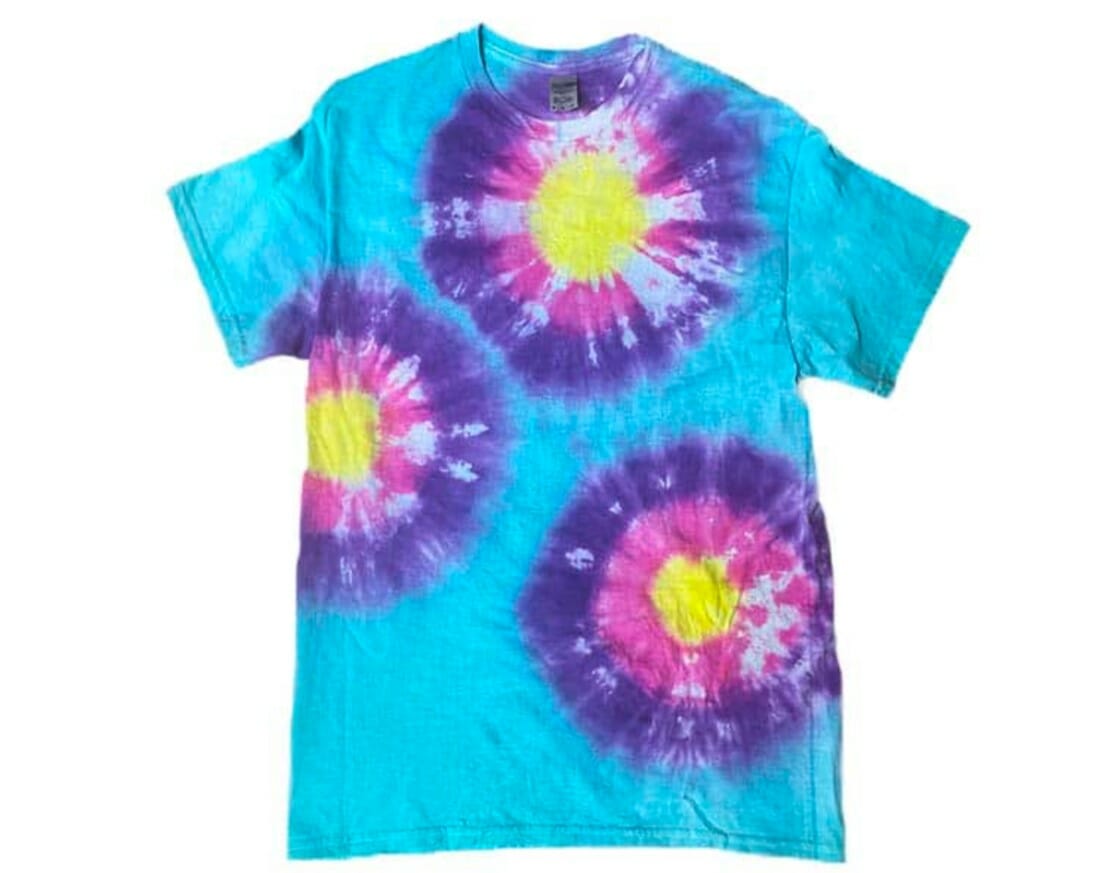
Image by Tie Dye and Teal
If you want to create a one-of-a-kind tie-dye item, there are some amazing advanced techniques to explore! Here are just a few of them:
Multi-layered Tie Dye Designs
The simpler patterns are formed when you fold your fabric into a ball and dye its sections in different colors. But what if you want to create a more intricate pattern? You can get elaborate tie-dye patterns by dividing your fabric into several segments and tying them together with rubber bands.
One such example is the Sunburst pattern, where you tie several small areas with rubber bands, dyeing them in contrasting colors that form little sunbursts.
The Galaxy Rainbow is another stunning design that is made by scrunching the fabric into small folds before dyeing it with a variety of colors. The result is a colorful galaxy with tiny white star-like dots painted on after the dyeing process.
Customizing with Alternative Additives
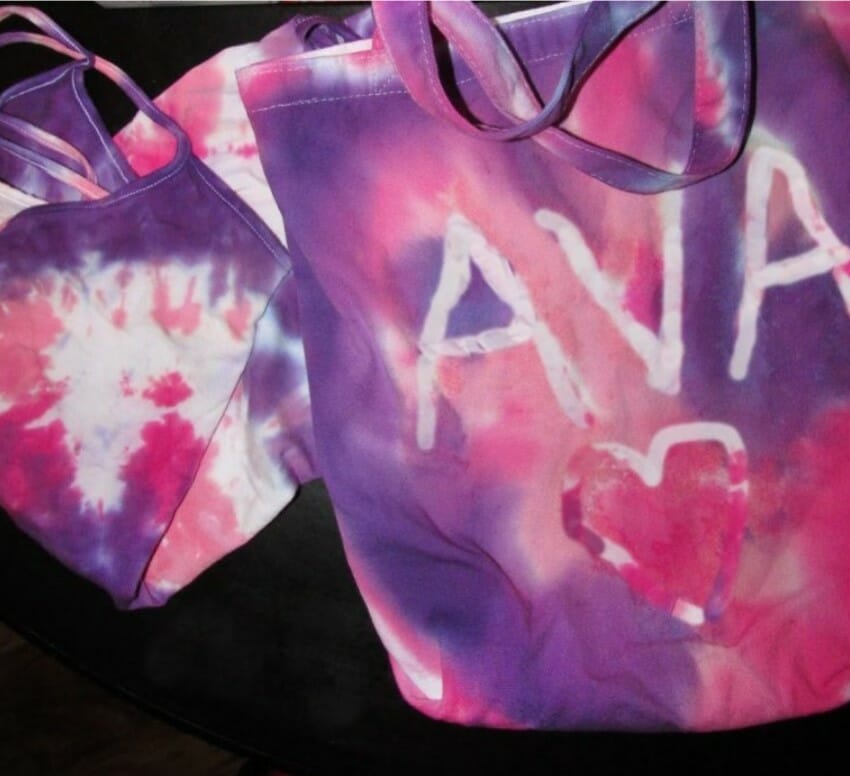
Image by For the Love of Food
Part of the fun of tie-dyeing is that you get to experiment. You can use salt to add texture and create patterns on your fabric, for instance. Salt draws the liquid towards itself when you sprinkle it on the wet dye, which allows you to create shapes and patterns or even written text.
Ice cubes and snow are popular additives for tie dye projects. The dye sprinkled on top forms spontaneous and unpredictable patterns as the ice melts. Alcohol is used to create a tie-dye effect with permanent markers.
Caring for Your Soda Ash Tie-Dyed Items
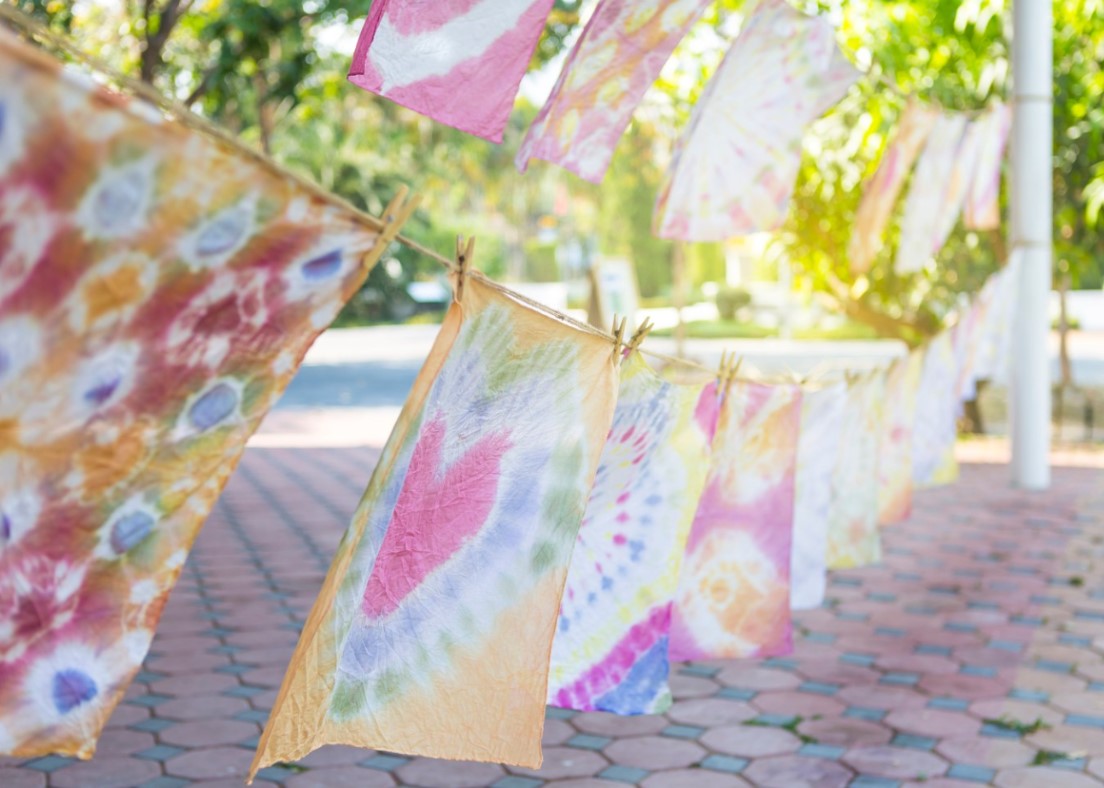
Image by PureWow
The most important way you can keep your tie-dyed items bright and fresh is by making sure you follow the correct steps when dyeing, rinsing, and washing the freshly dyed piece of clothing. Additionally, you can consider the following tips, as well:
- Use cold water after the first initial wash with hot water in the washing machine. This will help keep the colors from fading.
- Always use mild, color-safe detergents.
- Wash with similar colors to prevent discoloration.
- Hang the tie-dyed items to dry instead of using the dryer.
More Tie Dye Articles & Tutorials
- 12 DIY Shoe Painting Ideas
- How To Make Your Own Tie Dye Liquid?
- How To Tie Dye Shirts With Food Coloring?
- How to Do Different Tie Dye Patterns?
The Ultimate Guide to Soda Ash Tie Dye: FAQs
Q: Is Soda Ash Tie Dye Safe?
A: Yes, items dyed using this method are entirely safe to wear, but you should remember the safety precautions while dyeing. Soda ash isn’t toxic but can cause skin and eye irritation. That’s why wearing gloves and goggles is safest when working on soda ash tie-dye projects.
Q: How Much Soda Ash Do You Need For Tie Dye?
A: The amount of soda ash you need will depend on the size of the item you want to dye. You need 0.3 oz per 1 cup of water for a small project. If you’re dyeing a larger item, keep in mind that you need 8 oz. of soda ash per 1 gallon of water.
Q: Where Can I Buy Soda Ash?
A: You can buy soda ash online on Amazon or Walmart and in large brick-and-mortar retail stores like Walmart or Costco. You can sometimes find soda ash in smaller local stores in the laundry line as well. Pool supplies stores are likely to sell soda ash in larger packages.
Q: How Long Does Soda Ash Tie Dye Last?
A: Generally, tie dye lasts as long as other color clothing. Soda ash tie dye is brighter and more colorfast than tie dye, which doesn’t use soda ash for fixing the colors.
Conclusion
Each tie-dye item is unique. Even if you use the same pattern every time, the end products won’t look 100% the same. This uniqueness is part of tie dye’s charm. It’s probably the most creative dyeing technique, with unlimited possibilities for creating unique designs and tons of color combinations. Soda ash ensures that your tie-dye patterns stay bright and beautiful, just as when you first dyed them.

