Art & Craft, DIY ideas and Tutorials – Craftbuds
  • About Us
  • Needlecraft
    • Crochet
    • Knitting
    • Quilting
    • Sewing
    • Embroidery
  • Cricut
  • Jewelry Making
  • Paper Craft
    • Origami
    • Drawing
  • Engraving
  • Collectibles
    • Numismatics
43K Followers
25K Followers
1K Subscribers
Subscribe
Art & Craft, DIY ideas and Tutorials – Craftbuds
  • About Us
  • Needlecraft
    • Crochet
    • Knitting
    • Quilting
    • Sewing
    • Embroidery
  • Cricut
  • Jewelry Making
  • Paper Craft
    • Origami
    • Drawing
  • Engraving
  • Collectibles
    • Numismatics
  • Craft
  • Craft with Kids
  • Sewing

Ruffly Flower Tutorial

  • Mary
  • Posted: August 22, 2011 - Updated at: June 8, 2015
Total
72
Shares
0
0
72

These ruffly flowers are fast and easy to make! To get started you’ll just need a stack of fabric cut into squares. I used nine 3″ squares from knit fabric so it wouldn’t fray (you may want to use more squares for a fuller flower). Fold the square in half, in half again, then into a triangle as shown in the diagram below. Then cut a curve into the top of the triangle to form the petals.

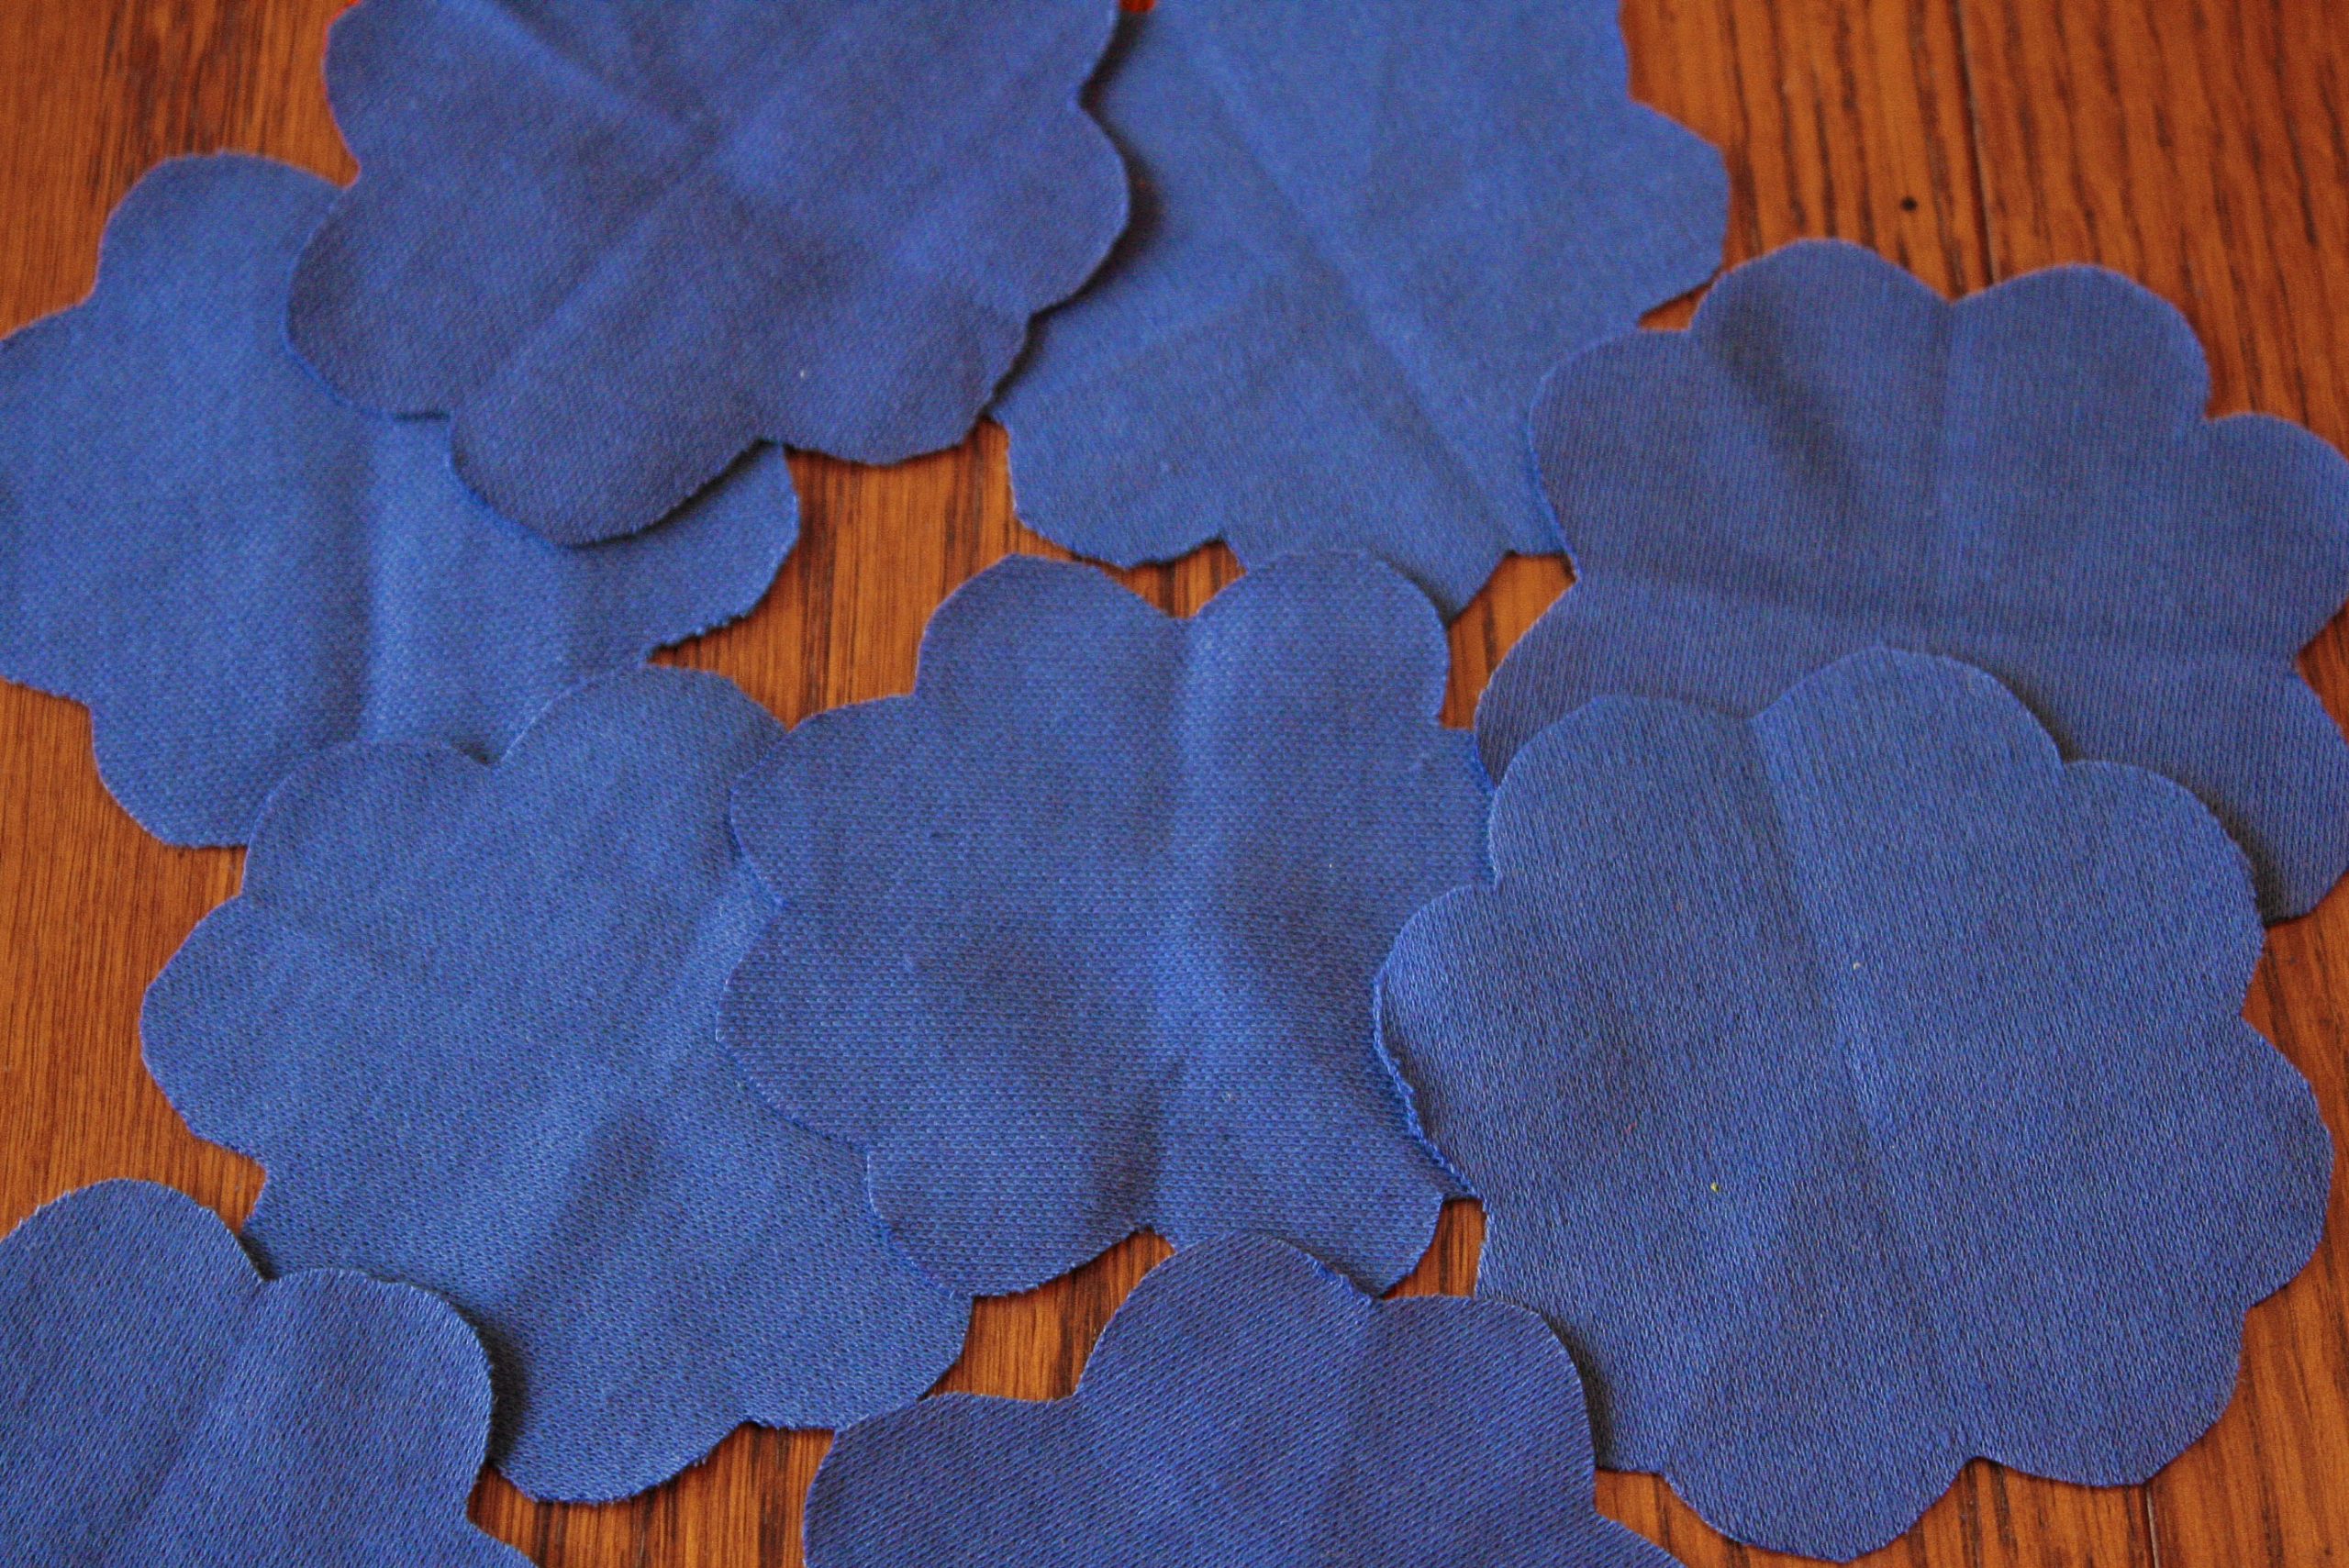
Here’s my pile of cut flowers. You can see that they’re not exactly identical but it won’t be noticable in the final flower.

I found it easiest to fold the flower into quarters, and stick the needle through the folds and string them all together. Once you’ve run the thread through all the flowers, bring it back around to the beginning (upper right photo) and tie it off (lower photos). Once you’ve tied it off the flower petals will be in a circle. Set it on a flat surface and fluff out the petals. This version is ruffly on top and the bottom is flat. For a ball shape make two flowers the same size and then sew them together.

My final flower arrangement! These are fun for headbands, shirt or bag embellishments, or just decoration.

Pin It

Online Sewing Class

Total
72
Shares
Share 0
Tweet 0
Pin it 72
Related Topics
  • diy fabric flowers
  • easy fabric flower
  • fabric flower
  • fabric flower brooch
  • fabric flower patterns
  • fabric flowers free patterns
  • fabric flowers tutorial
  • folded fabric flowers
  • frilly flower
  • handmade fabric flowers
  • how to make a fabric flower
  • how to make fabric flower
  • how to make fabric flowers
  • how to make fabric flowers for headbands
  • knit fabric flower
  • make fabric flowers
  • make your own fabric flowers
  • ruffle flower
  • sewing fabric flowers
Mary

Previous Article
  • Craft
  • Free Pattern Feature
  • Sewing

Free Pattern Features: Cats

  • Mary
  • Posted: August 21, 2011 - Updated at: September 17, 2014
View Post
Next Article
  • Uncategorized

Giveaway: Crafty Girls Workshop

  • Lindsay
  • Posted: August 23, 2011 - Updated at: August 27, 2011
View Post
You May Also Like
View Post
  • DIY projects
  • Home

nPhoto – Professional Photo Printing Services for Photographers: Develop Your Brand with Us!

  • Jeremie Berton
  • Posted: January 14, 2025
View Post
  • Craft
  • Outdoor

5 Great Destinations in Costa Rica for Your Next Crafting Retreat

  • Craftbuds Editorial Team
  • Posted: December 16, 2024
Why-Professional-Locksmiths-Are-Essential-for-Home-Security
View Post
  • Home

Avoiding DIY Disasters: Why Professional Locksmiths Are Essential for Home Security

  • Jeremie Berton
  • Posted: April 3, 2024
Putting Together a Wooden Nativity Set for the Holidays
View Post
  • Craft
  • DIY projects
  • Home
  • Outdoor

Putting Together a Wooden Nativity Set for the Holidays

  • Sheila Mae Pedregosa
  • Posted: February 7, 2024
How is AI Impacting Crafting
View Post
  • Craft
  • Tools & Supplies

How is AI Impacting Crafting

  • Craftbuds Editorial Team
  • Posted: December 5, 2023 - Updated at: December 7, 2023
How to Sew Leather
View Post
  • Needlecraft
  • Sewing

Sewing Leather & Faux Leather Made Easy: A Step-by-Step Guide to Perfection

  • Michelle Rowley
  • Posted: October 24, 2023
How Funny Phrases on Shirts Have Transformed
View Post
  • Craft

The Evolution of Humor: How Funny Phrases on Shirts Have Transformed 

  • Craftbuds Editorial Team
  • Posted: October 23, 2023 - Updated at: October 24, 2023
Craft Organizers for Efficient Storage Use
View Post
  • Craft
  • DIY projects

DIY Craft Organizers for Efficient Storage Use

  • Craftbuds Editorial Team
  • Posted: October 23, 2023 - Updated at: October 25, 2023
23 comments
  1. DianeH says:
    August 22, 2011 at 8:31 pm

    Thanks, Mary. Great tut and love these flowers.

  2. Brittany says:
    August 23, 2011 at 2:49 am

    I love this! I think I’ll have to make some for my girls before school starts. Also, I pinned it. 🙂

  3. Fenice says:
    August 23, 2011 at 2:27 pm

    Very cute flowers! Would be a great addition to a cardigan

  4. louise says:
    August 24, 2011 at 12:01 am

    I love these! They are so cute. Need to think of somewhere to use them!

  5. heather says:
    August 24, 2011 at 11:56 am

    Featured on FB!!! Thanks for linking up! Xoxo

  6. knittingnana says:
    August 24, 2011 at 3:08 pm

    Super Tute. I saw these at the craft show recently and didn’t buy the pattern — just knew I could figure it out, Well, all I can say is. . . Thank goodness for you.

  7. Chelsea says:
    August 24, 2011 at 6:05 pm

    Genius! I love these.

  8. Adepeju says:
    August 25, 2011 at 10:46 am

    lovely and nice!

  9. Jill says:
    August 25, 2011 at 9:11 pm

    I love these flowers – and you made such a lovely clear tutorial too!

    Thanks for linking to a Round Tuit!
    Hope you have a great week!
    Jill @ Creating my way to Success
    https://www.jembellish.blogspot.com/

  10. Michelle says:
    August 26, 2011 at 7:41 pm

    Love the volume and dimension! Thanks for linking up with DIY under $5!

  11. Megan @ Canoe Ridge Creations says:
    August 27, 2011 at 12:54 am

    So fun! 🙂 Thanks for linking up to {Sew} Modern Monday and have a great weekend!

  12. Jamie says:
    August 30, 2011 at 8:39 am

    So simple. love it! If you get a chance I would love you to link your flower up to More the Merrier Monday. It lasts through Wednesday so you have plenty of time to stop by. See you there. https://diyhshp.blogspot.com/

  13. Adrianne (Little Bluebell) says:
    August 30, 2011 at 1:56 pm

    Great tutorial! I am totally going to make these. : )

  14. Jaime says:
    August 30, 2011 at 11:50 pm

    Love it!! I toasted you tonight!

    https://polkadotsonparade.blogspot.com/2011/08/toast-of-tuesday_30.html

  15. Linda L. says:
    December 13, 2011 at 8:33 pm

    I love these, and it looks like something I can actually do. I wonder, is this shareable on Facebook? I wasn’t sure how to do that, but I know there are other people on my friends list that would love to try this too. Thanks!

  16. Lindsay says:
    December 14, 2011 at 3:14 pm

    Linda, there are some gray “share” buttons on the bottom of the post, and I believe it will pop it right up on your Facebook page if you are logged in. Thanks for stopping by!

  17. Marilou Enerson says:
    January 21, 2012 at 12:23 am

    New to your site – just adore the flowers. I hope to get back to my quilting soon and will certainly keep my eyes open for your lovely ideas. Thank you so much.

  18. Cindy Cook says:
    May 4, 2012 at 2:04 pm

    Adore these flowers can’t wait to make them. Thanks for the great tutorial

  19. Gwen Schryver says:
    June 28, 2012 at 6:47 pm

    Very easy and yet very pretty. I will be making this flower for a dress I am sewing on right now. The flowers will sit on my hat and match my dress. Thanks so much.

  20. Christi says:
    May 14, 2013 at 11:24 am

    I was just playing around with this and found that you can change the angle and depth of how you cut the oval to get different looks. A broad, mildly oval cut gives you a four leaf clover look. I’m curious to find out if using different cuts/looks gives a different looking flower as the finished product. This is going to be fun. Thanks for sharing your tutorial.

  21. Adebimpe says:
    February 7, 2014 at 3:01 am

    This is really a wonderful craft.I so much love it.Thanks for the explanatory tutorial.Xoxo

  22. Grandma10 says:
    October 29, 2014 at 4:09 pm

    I’m with you. It looks like something you can do without help, then, gulp, where do I go from here? There are several ways to do flowers. I like this one.

Leave a Reply

Your email address will not be published. Required fields are marked *

Subscribe

Subscribe now to our newsletter

Art & Craft, DIY ideas and Tutorials – Craftbuds
  • About Us
  • Editorial Guidelines
  • Our Experts
  • Privacy Policy
  • Contact Us
Find fun and creative craft ideas and tutorials across various categories such as Knitting, Quilting, Sewing, PaperCraft, Jewelry Making and much more

Input your search keywords and press Enter.