Embrace the world of sewing with leather and elevate your craftsmanship to new heights! Our comprehensive guide is here to dismantle any doubts and guide you step-by-step through material selection, mastering seams, and creating exquisite, professional-looking leather garments. Unlock the secrets to working with this luxurious material and transform your sewing projects into standout pieces!
Table of Contents
- 1 How to Choose a Suitable Pattern For Sewing With Leather
- 2 How to Select the Right Leather or Faux Leather For Your Project
- 3 Preparing Your Leather For Sewing
- 4 How to Sew Leather With a Sewing Machine
- 4.1 Choosing The Right Sewing Machine for Leather
- 4.2 Which Sewing Machine Needle Should I Use For Leather?
- 4.3 What Thread Should I Use to Sew Leather?
- 4.4 Can I Use Pins in Leather?
- 4.5 Which Presser Foot Should I Use for Sewing Leather?
- 4.6 What Stitch Length Should I Use to Sew Leather?
- 4.7 How to Sew And Finish Leather Seams?
- 5 How to Hem Leather?
- 6 Conclusion
How to Choose a Suitable Pattern For Sewing With Leather
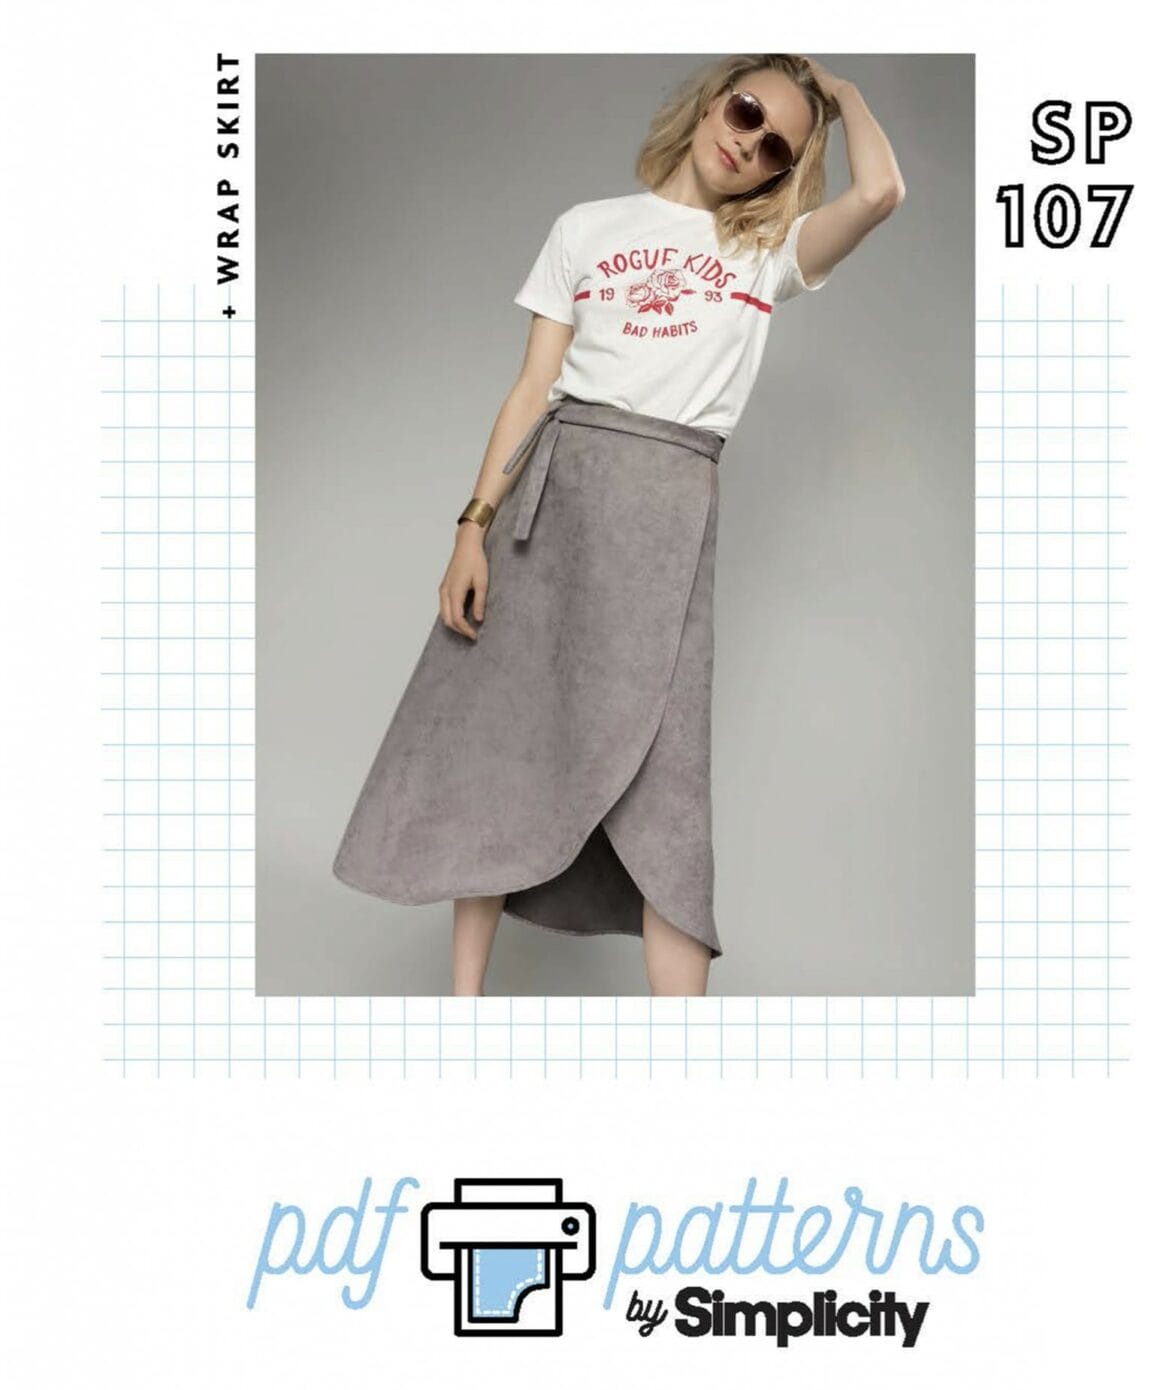
Keep things simple the first time you sew with leather by choosing a pattern with minimal seam lines and fastenings. You could try a simple but stylish wrap skirt as a first garment, such as Simplicity’s SP107 or Vogue Patterns Ⓡ V1850. Always check the material suggestions on the pattern envelope and avoid anything that suggests lightweight fabrics.
How to Select the Right Leather or Faux Leather For Your Project
Consider the handle of your leather or synthetic leather and its suitability for your pattern. For example, does your garment need a soft fabric with a beautiful drape or enough firmness to create structure? If you’re using genuine leather, check each skin piece carefully to ensure that your pattern pieces will fit on the hide while avoiding any holes or scars.
When working with small leather skins, creating extra seam lines within bigger pattern pieces might be necessary if you can’t fit them on the leather piece. Faux leathers are a much cheaper option, and there are many varieties available for those who feel uncomfortable working with or wearing an animal product.
Preparing Your Leather For Sewing
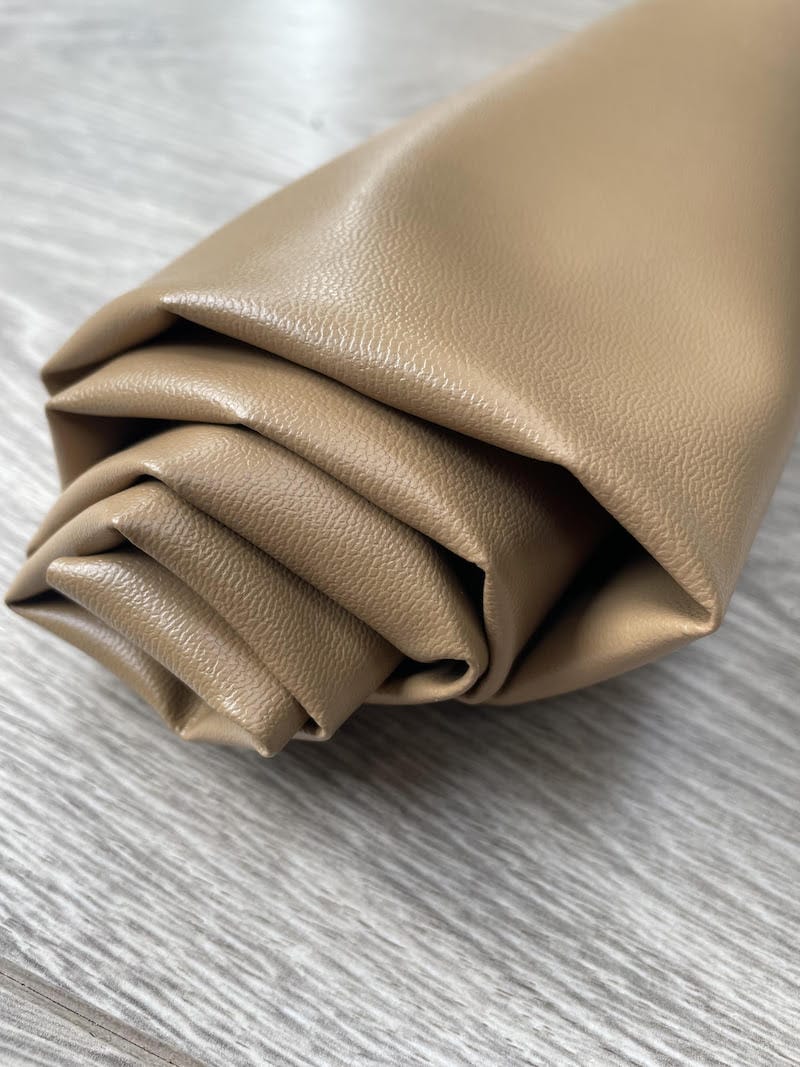
Store genuine leather, either rolled up or perfectly flat, to avoid creasing. If working with faux leather, you should wash it before you start to sew to avoid skipped stitches.
Laying Out The Leather For Cutting
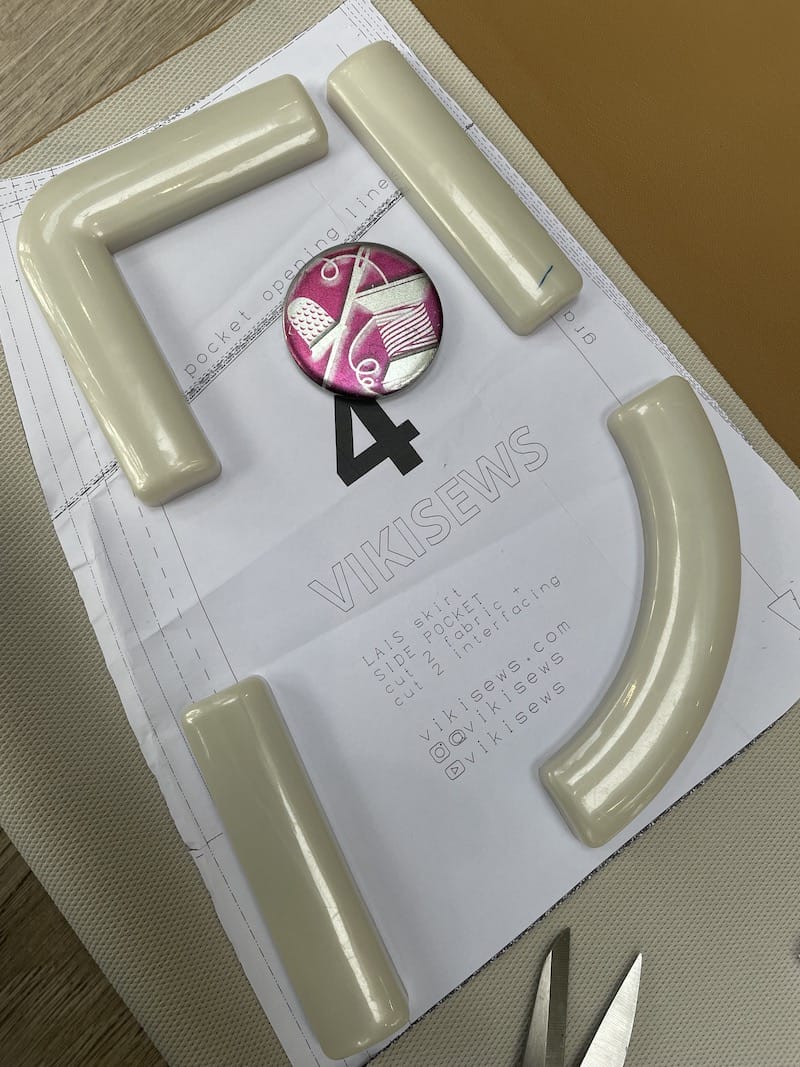
If working with genuine leather, place the hide wrong side up and circle any flaws with chalk so that you know to avoid these areas when placing your pattern pieces. Instead of pins, use pattern weights on real and faux leather to lay out your pattern pieces. You can cut faux leather on the fold and cut out mirror-image pieces from two layers of the fabric. However, you should only use a single thickness of fabric if working with genuine leather.
If sewing with suede or a synthetic suede, follow the ‘WITH NAP’ layout in the pattern instructions to ensure that all your pieces are cut out in the same direction. This is important as the fuzzy surface of these fabrics will change depending on which direction it is brushed.
How to Sew Leather With a Sewing Machine
Choosing The Right Sewing Machine for Leather
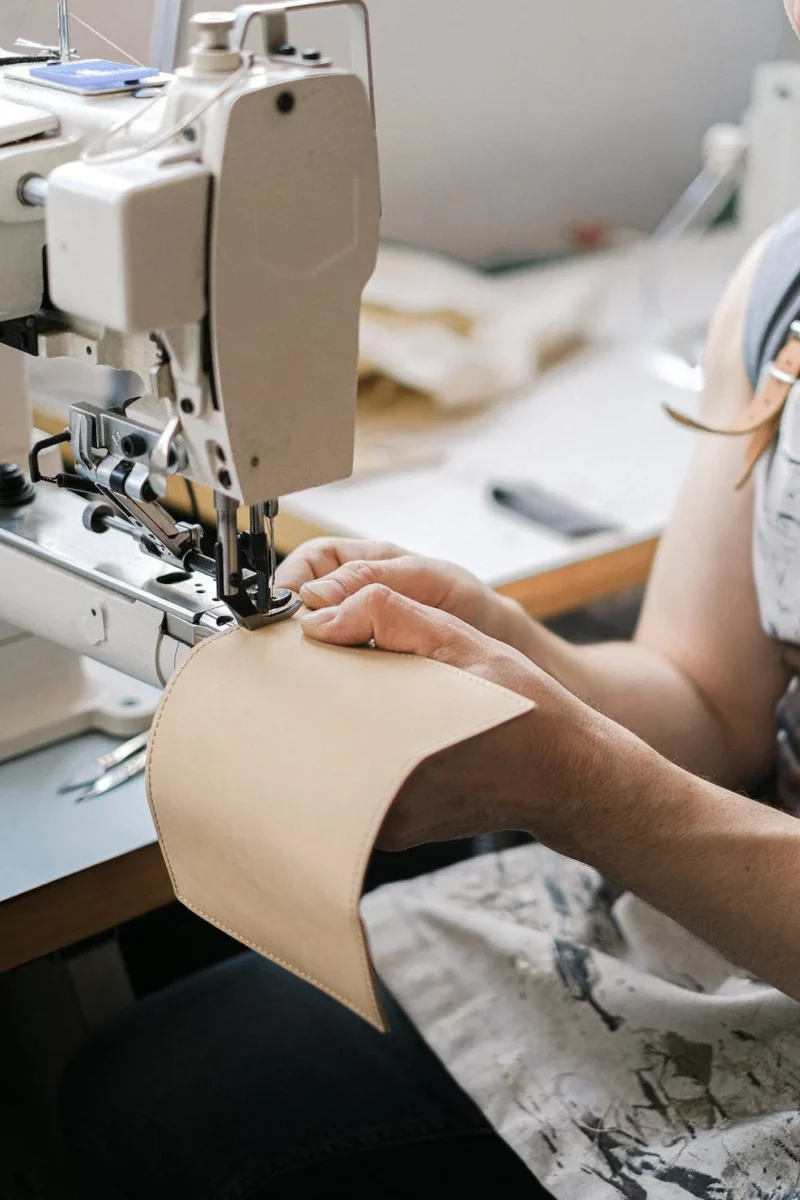
Embarking on a leather sewing project requires skill, patience, and the right equipment. The choice of a sewing machine plays a pivotal role in the success of your endeavor. While regular sewing machines can handle lighter leather materials with the proper needle and settings, thicker and more robust leather demands a machine with greater power and durability.
To assist you in making an informed decision, we have prepared a detailed article dedicated to the best leather sewing machines available in the market. This comprehensive guide covers various models suited for different leather types and project sizes, ensuring you find the perfect match for your creative needs.
With the right heavy-duty sewing machine in hand, you’ll be well on your way to crafting stunning leather pieces with ease and precision. Explore our guide and unlock the potential of sewing with leather, transforming your ideas into tangible, elegant creations.
Which Sewing Machine Needle Should I Use For Leather?
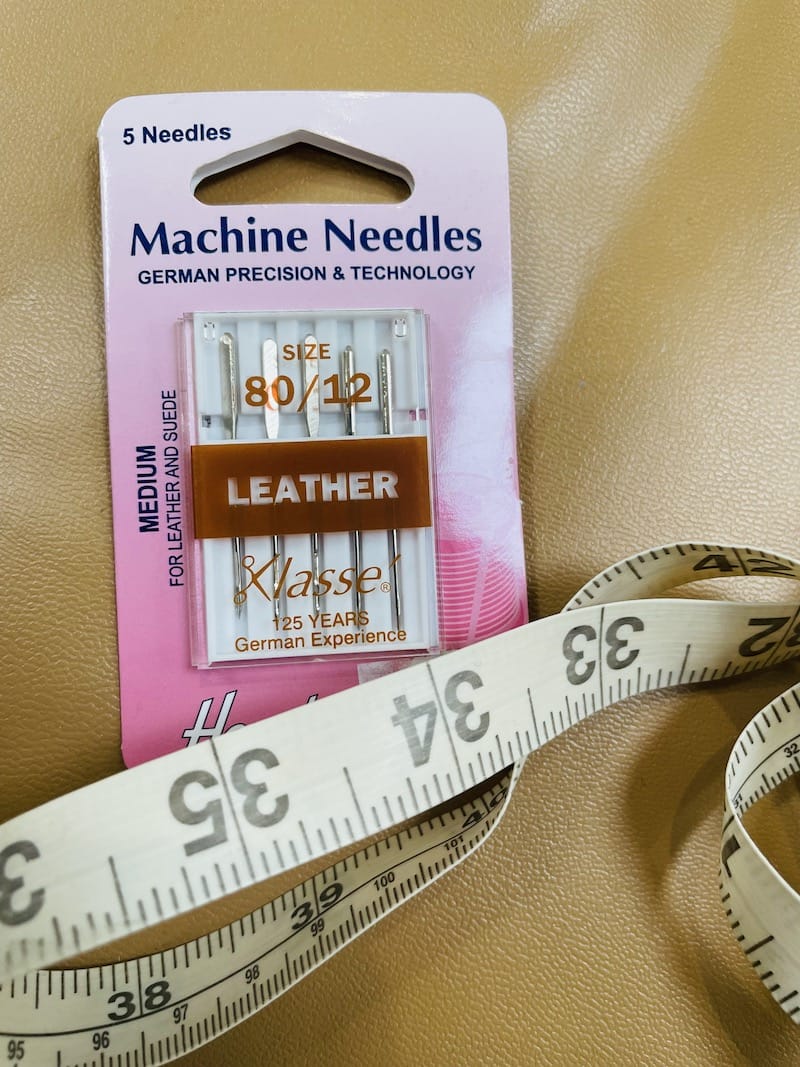
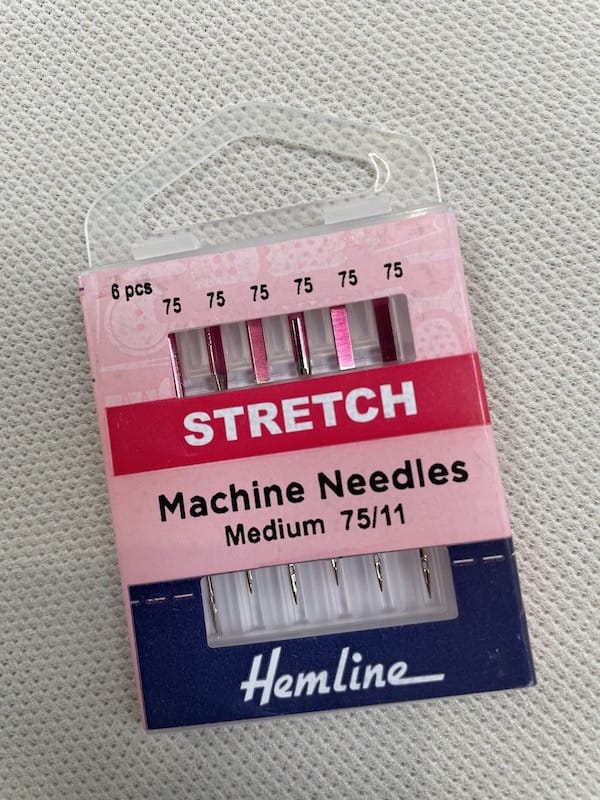
If sewing with real leather, it’s vital that you use a leather needle in your sewing machine. These specialist needles have a chisel point that cuts as they penetrate leather and suedes. A leather needle can easily pierce the fabric, creating a clean-edged hole that will close back up. Leather needles can only be used on genuine leather, not faux and synthetic leather, for which you should use a 75/11 stretch needle due to the knit backing. Whether you’re sewing with leather, suede, or a synthetic, make sure you always use a new sharp needle to avoid snags and tears.
What Thread Should I Use to Sew Leather?
To sew genuine leather, it’s best to use polyester thread, as the tannins in real leather can rot cotton thread. Match the thread thickness to your fabric weight. For example, using a thicker thread for heavy-weight leather.

Can I Use Pins in Leather?
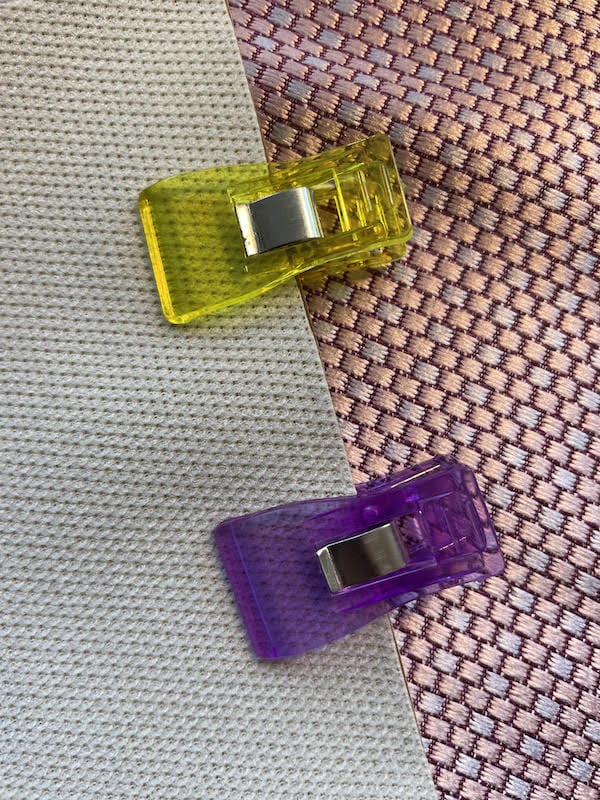
No! Nobody wants a finished garment full of holes. Pins will leave holes in your leather, so they are best avoided as much as possible. If you only have pins, use them very sparingly and only within your seam allowances where any holes won’t be visible. However, a better option is to use sewing clips (or paper clips if you have these instead!) to hold your seams in place before stitching. Double-sided wash-away tape is an alternative method for holding seams in place before stitching.
Which Presser Foot Should I Use for Sewing Leather?
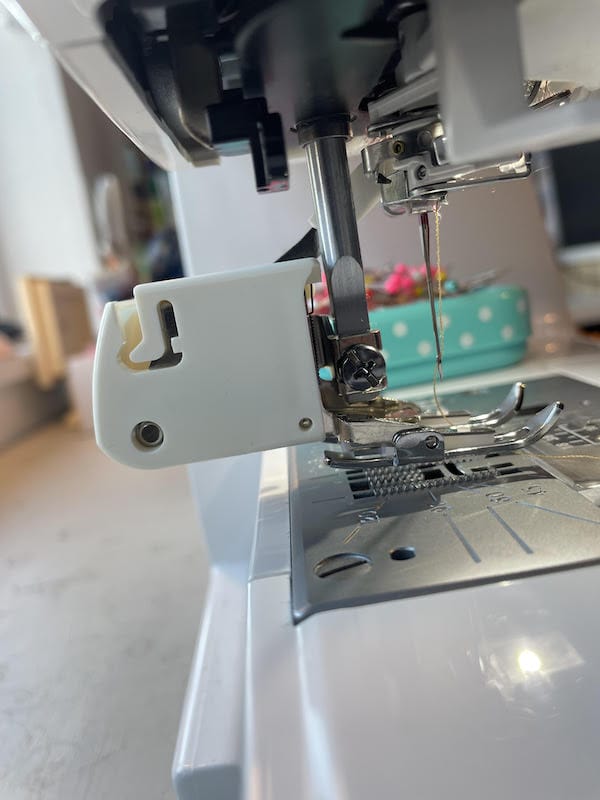
Use a Teflon-coated presser foot to prevent the foot from sticking to the leather. If you don’t have one of these, you can resort to sticking a piece of Sellotape or masking tape on your regular foot with a hole cut out for the needle. Although this will work similarly to a Teflon-coated presser foot, it will likely leave a sticky residue on your work, which will need to be removed afterward. A walking foot can also be used.
What Stitch Length Should I Use to Sew Leather?
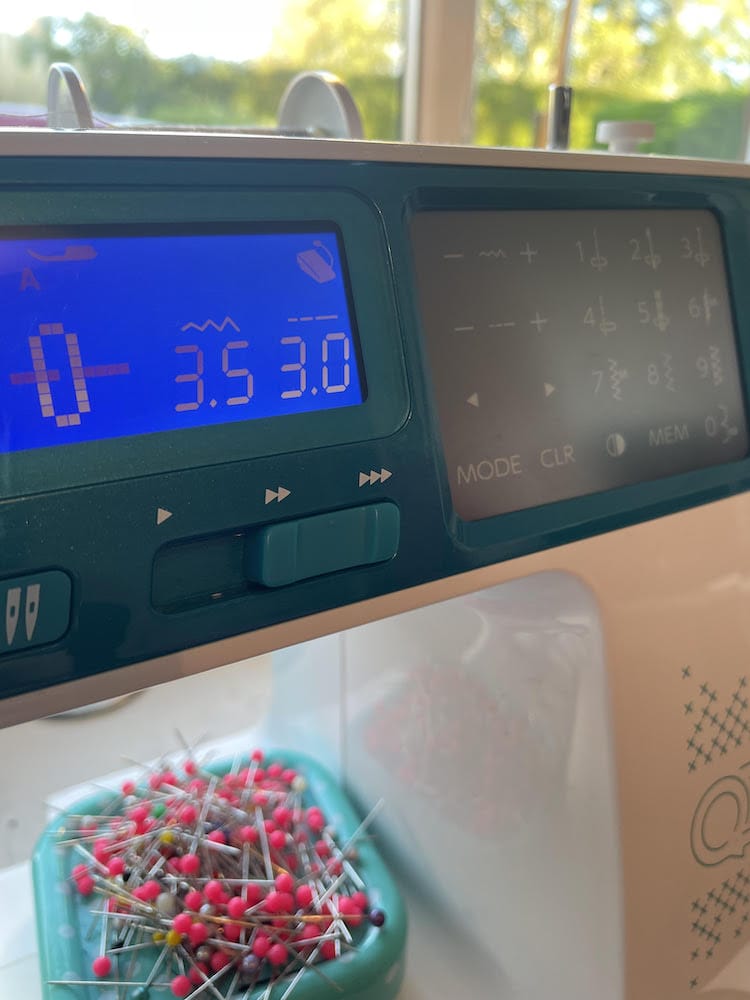
To reduce the number of holes being made in real leather, lengthen the stitch length to 3.0mm. You can shorten it slightly to 2.5mm for synthetic leathers. Always test your stitches on a scrap piece of leather before you start.
How to Sew And Finish Leather Seams?
The distinctive quality of leather and imitation leather is that they do not fray, providing a unique advantage when sewing. This characteristic allows you the option of leaving the seams unfinished if you prefer a more rustic appearance. Alternatively, utilizing a variety of seam finishes can elevate your project, imparting a polished and sophisticated look while introducing captivating details and features to your apparel.
Let’s take a look at a range of options you could use in closer detail:
Regular Seams
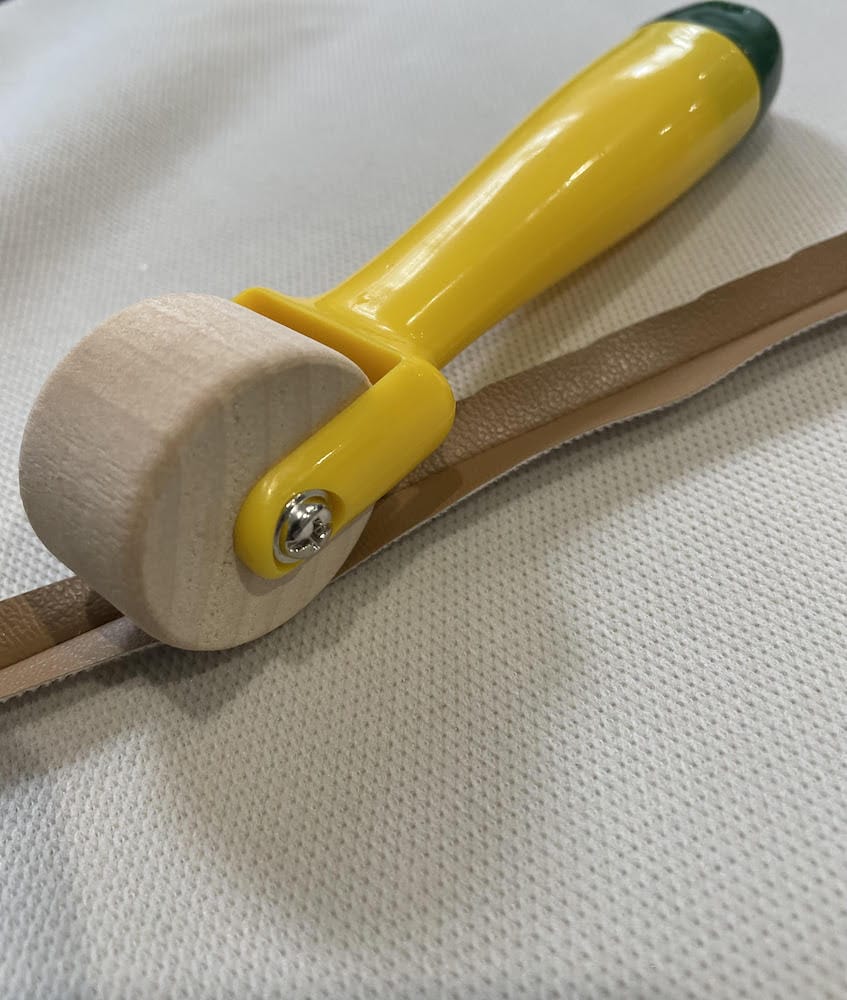
Sew seams as usual, but avoid back-stitching on genuine leather, as this can weaken the skin. You can leave the seam allowance as it is, or to reduce bulk, you can trim down the seam allowance to 6mm. Use fabric scissors or pinking shears for a neat finish. Apply fabric glue to the seam allowance, then open the seams flat. You can use pattern weights to hold the seams down in place as the glue sets. Seams can also be flattened with a seam roller.
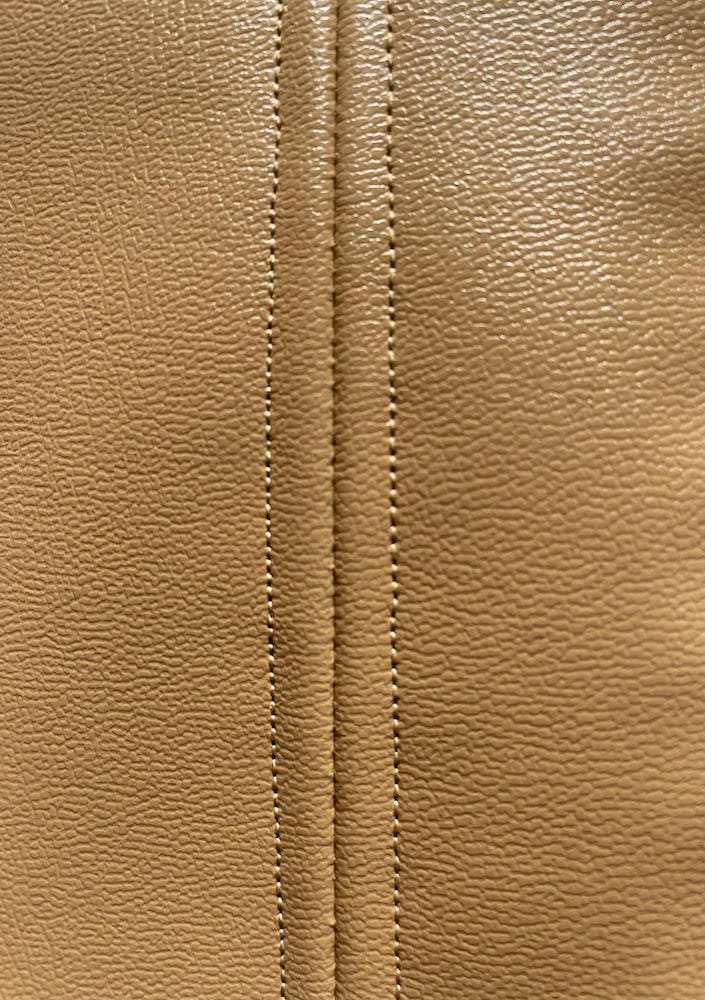
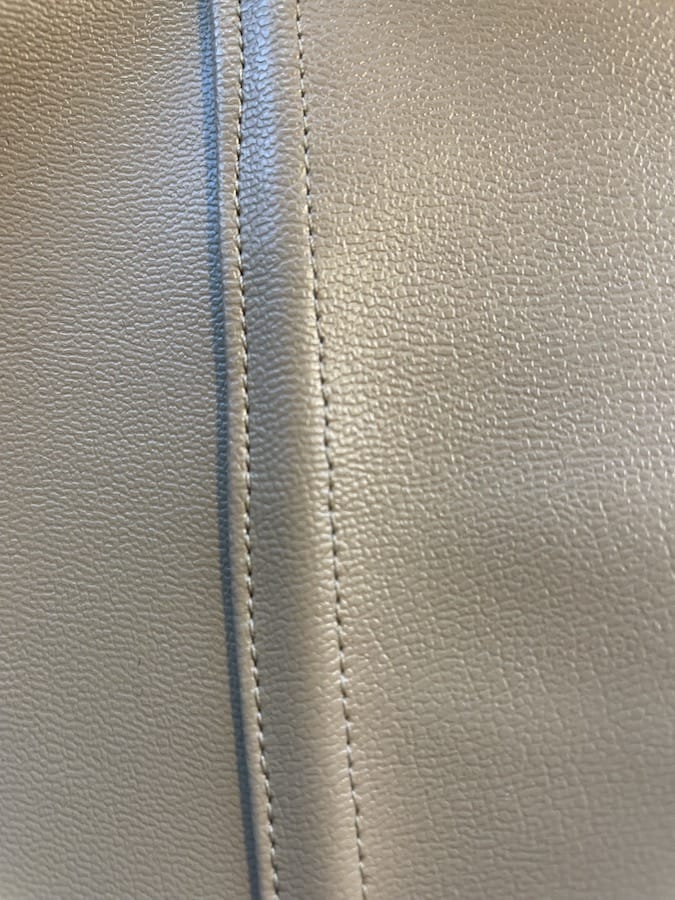
Consider executing a topstitch on the garment’s right side to enhance the seam’s longevity and infuse an additional layer of decorative flair. This technique not only secures the untrimmed seam allowances but also contributes to the aesthetic of the piece. Employ a coordinating top-stitching thread to meticulously create a row of straight stitches, positioning them 6mm away from the seam line. This practice ensures the seam allowances are both flattened and firmly anchored in place, contributing to the garment’s overall integrity and appearance.
Lapped Seams
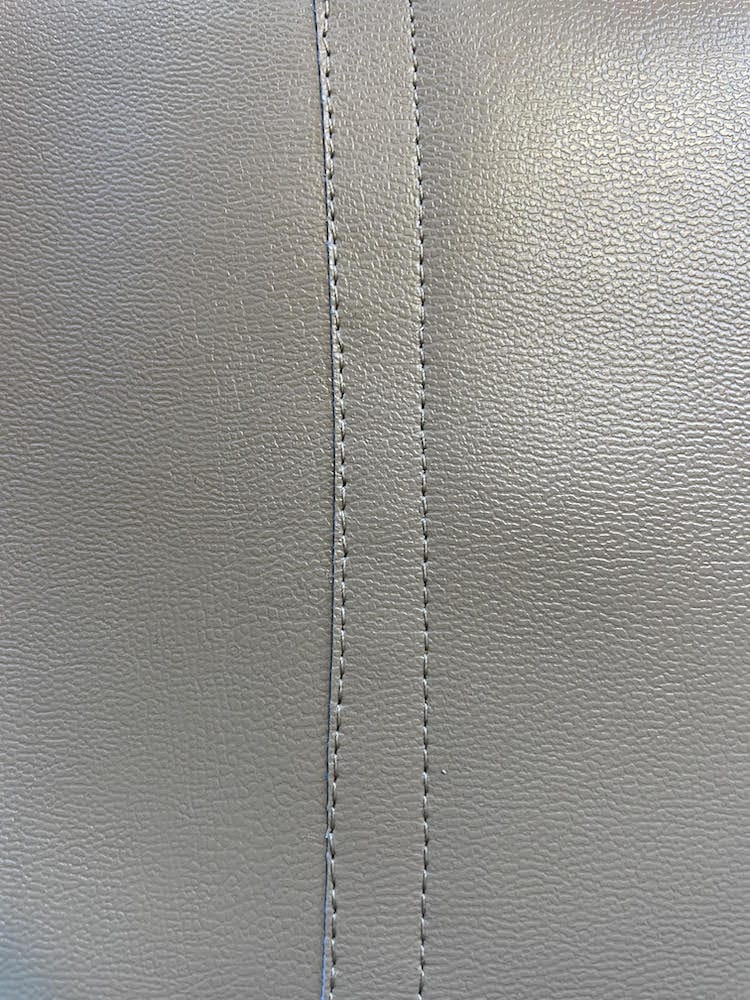
Whilst seams are usually constructed by stitching two pieces of fabric right sides together, with lapped seams, the fabric edges are overlapped instead and secured with two lines of topstitching. Vertical seams should be lapped facing away from the center, and any horizontal seams should have the overlap facing down.
- Mark the stitching line on the fabric piece that will form the overlap, then trim down the seam allowance to 2-3 mm from this line.
- Position the trimmed edge over the other fabric piece, with the stitching line on the overlapped piece on top of the stitching line of the bottom piece.
- Sew along the stitching line of the overlapped piece. In the same direction, stitch another line 6-13 mm from the first line of stitches, which will catch the seam allowance of the piece underneath.
Welt Seams
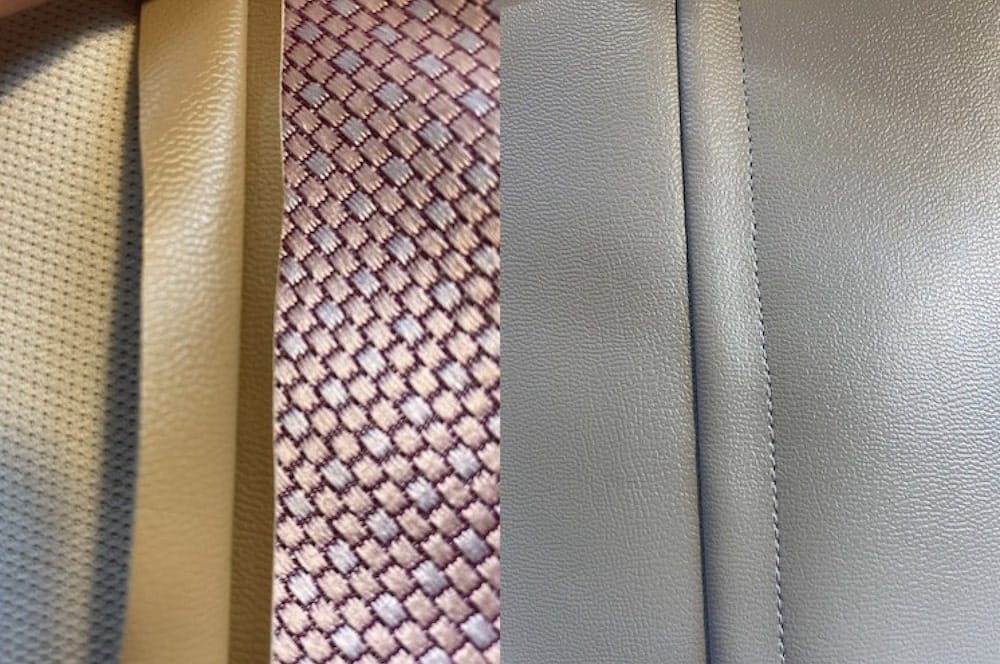
These are something of a combination of the two-seam types above. Like regular seams, they are sewn with the right sides of the two fabric pieces placed together. Then trim down one seam allowance to 6mm. Like a lapped seam, working from the right side, stitch a line 6-13mm from your first seam line, catching the un-trimmed seam allowance below, which will encase the trimmed seam allowance.
Flat Felled Seams
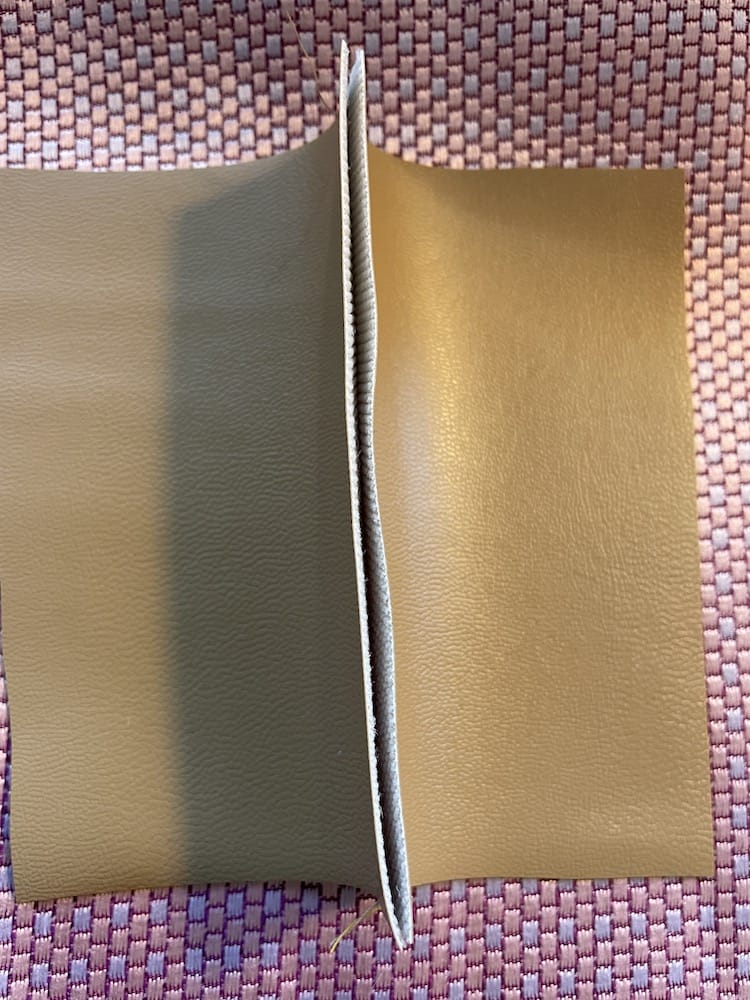
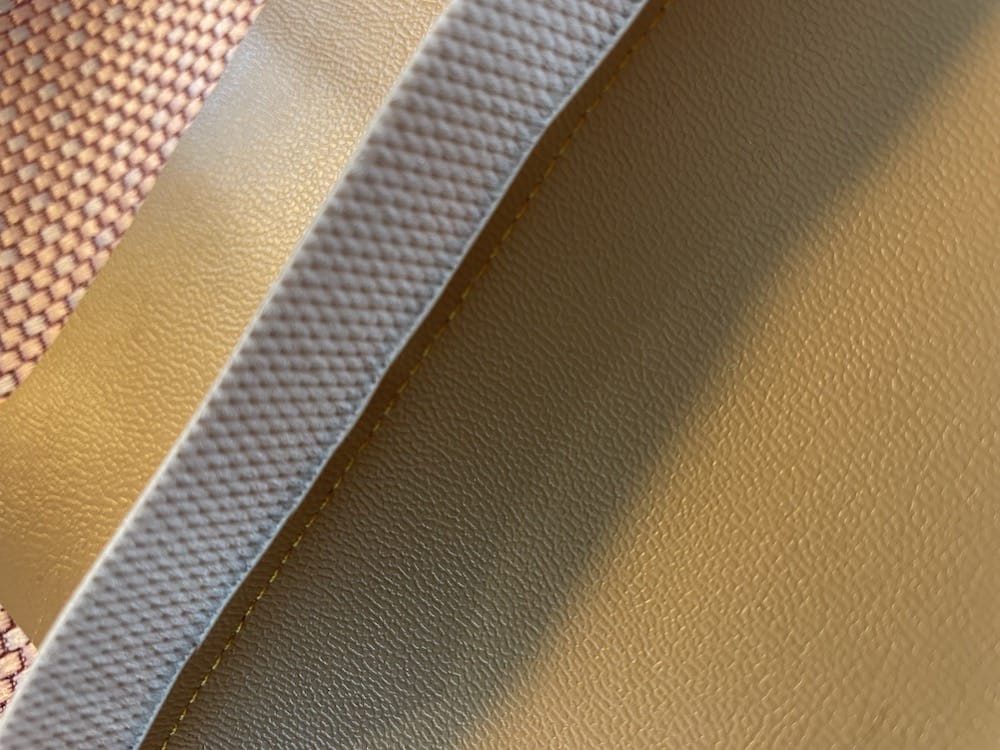
Flat felled seams transform the seams into a highlighted feature of the garment, showcasing the seam allowances on the exterior. Initiate the process by stitching a standard seam, ensuring that the fabric pieces are aligned with their wrong sides facing each other. Precisely press both seam allowances to one side, then trim the lower seam allowance down to 3mm. Subsequently, fold the edge of the upper seam allowance under and secure it in place with stitching, effectively encasing the lower seam allowance. This method provides a clean and polished finish and adds an interesting visual element to your garment.
How to Hem Leather?
Another bonus to leather not fraying is that you can choose to leave a garment unhemmed, simply leaving a raw edge. This method is recommended if your leather is particularly heavy and firm. If using this method, check if your pattern includes a hem allowance (most patterns today do). If so, carefully cut this measurement away from the bottom of your garment using a rotary cutter.
If you prefer a hem, use chalk or fabric markers to mark the hemline on the wrong side of the leather. Now, fold the hem up to this line using sewing clips to hold it in place before stitching.
You now have two options for securing the hem in place:
Top-Stitched Hem
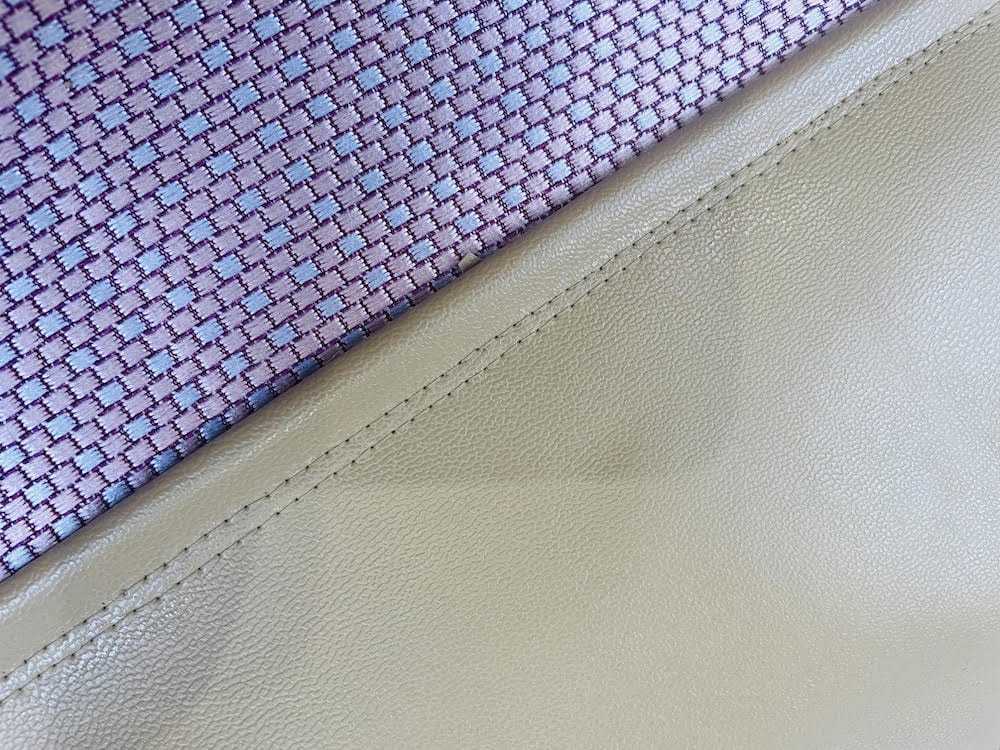
The easiest way to secure the hem in place is with top-stitching onto the right side of the garment. Use a 3-4 mm stitch length to topstitch 12mm from the folded edge. You might like to add a further row of stitching a few millimeters below this line. You will need to press the hem with an iron gently. Heat can damage the leather or the finish on synthetic leather, so think of it as applying pressure rather than heat. Set your iron to a low temperature and place a pressing cloth over the leather as you press.
Glued Hem
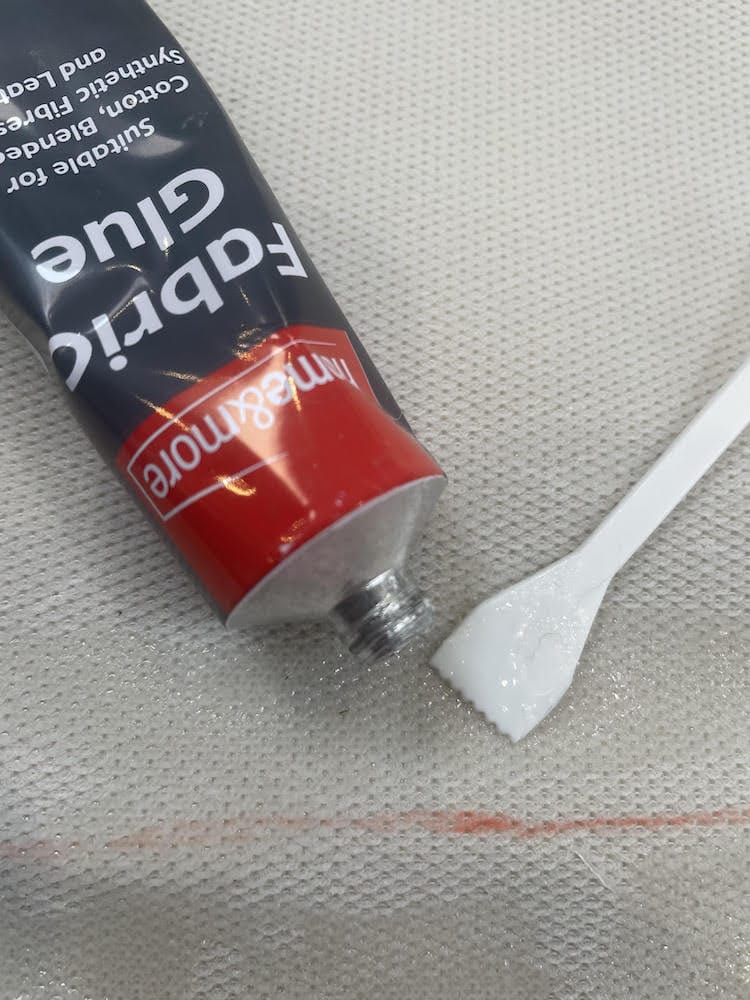
After marking your hemline, trim the seam allowance to 5 cm. Apply fabric glue to the wrong side of the hem and the area where this will sit once folded up. Fold up the hem along the hemline and use your fingers to press in place. If the hem is curved, you might need to cut small wedges from the edge of the hem to help this longer edge fit into place. Once you have cut a number of small wedges along the edge of the hem, use your fingers to bring the cut edges together. When you’re happy with the positioning of the hem, gently use a mallet over the glued areas before leaving the glue to set completely.
More Leather-Related Articles
- 9 Best Leather Engraving Machines and Tools
- How to Engrave Leather: A Complete DIY Guide
- Best Leather Sewing Machine: The Top 7 Machines in 2023
Conclusion
Embarking on the journey of sewing with leather or faux leather can be an enriching experience that expands your sewing capabilities and opens up a world of creativity. As we have navigated through the key aspects of working with these materials, it is evident that with the right knowledge and tools, sewing with leather can be a smooth and rewarding process. From selecting the perfect pattern and the suitable type of leather to meticulous preparation and sewing techniques, every step is a building block towards achieving a stunning and professional-looking garment.
Embrace the unique characteristics of leather and faux leather, and remember that their non-fraying nature allows for a variety of seam finishes and hemming options. Whether you are a seasoned sewer or a curious beginner, the world of leather sewing is full of possibilities waiting for you to make your mark.

