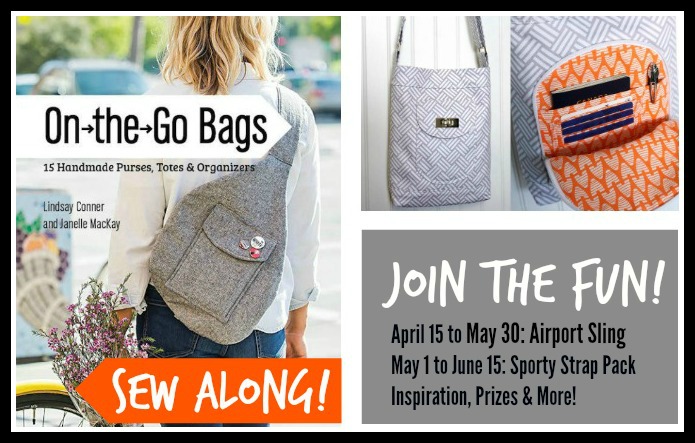
Today is the first post of the Sporty Strap Pack sew along! This is the one-shoulder backpack pattern featured on the cover of our book On the Go Bags, co-written by Janelle MacKay of Emmaline Bags.
Janelle kicked off our sew along with several helpful posts for those of you sewing the Airport Sling Bag, (another one from the book!) which you’ll find here:
Airport Sling:
- Post #1: Supplies, Cutting & Interfacing
- Post #2: Creating the Passport Pocket
- Post #3: Finishing the Bag Exterior
- Post #4: Finishing the Bag & Link Up Your Photos
Sporty Strap Pack:
- Post #1: You are here!
You may have already joined the On the Go Bags Facebook group, but in case you haven’t, check it out for all of the sew along info.You can share your bag progress, ask questions, and even enter to win prizes just for sewing along! We’ll do about 2 weeks of instruction for each bag, and then you’ll have 4 weeks to finish for a chance to enter your bag for giveaways.
Let’s Get Started!
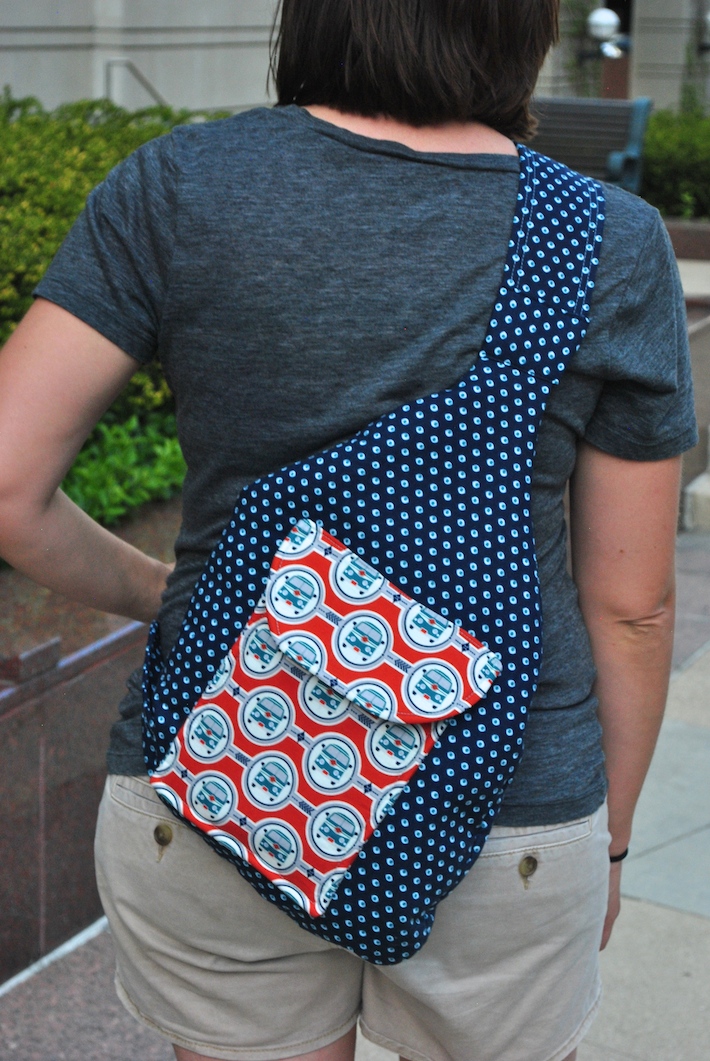
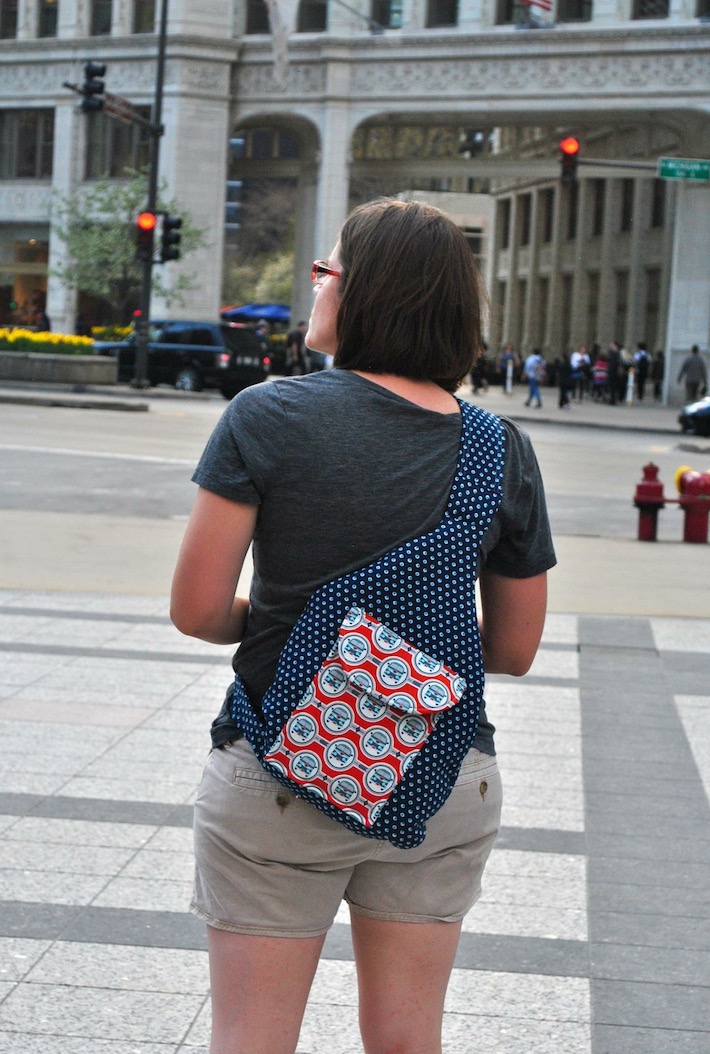
The Sporty Strap Pack is a practical one-shoulder backpack pattern that you can sew in one fabric or coordinating prints for a little pizzazz! I took this version with me to Chicago for a girls’ getaway with my mom, and it was just the right size to carry my DSLR camera, a light sweatshirt, and my wallet. I love wearing this bag!
I was inspired to design a one-shoulder backpack for my friend who needed a small bag to take her dog out to go on walks, to carry a treat, plastic baggie, a sweater, and a bottle of water. I soon realized that this would be a great smaller backpack to replace my big diaper bag as my son grew into toddlerhood and didn’t require so many things to leave the house.
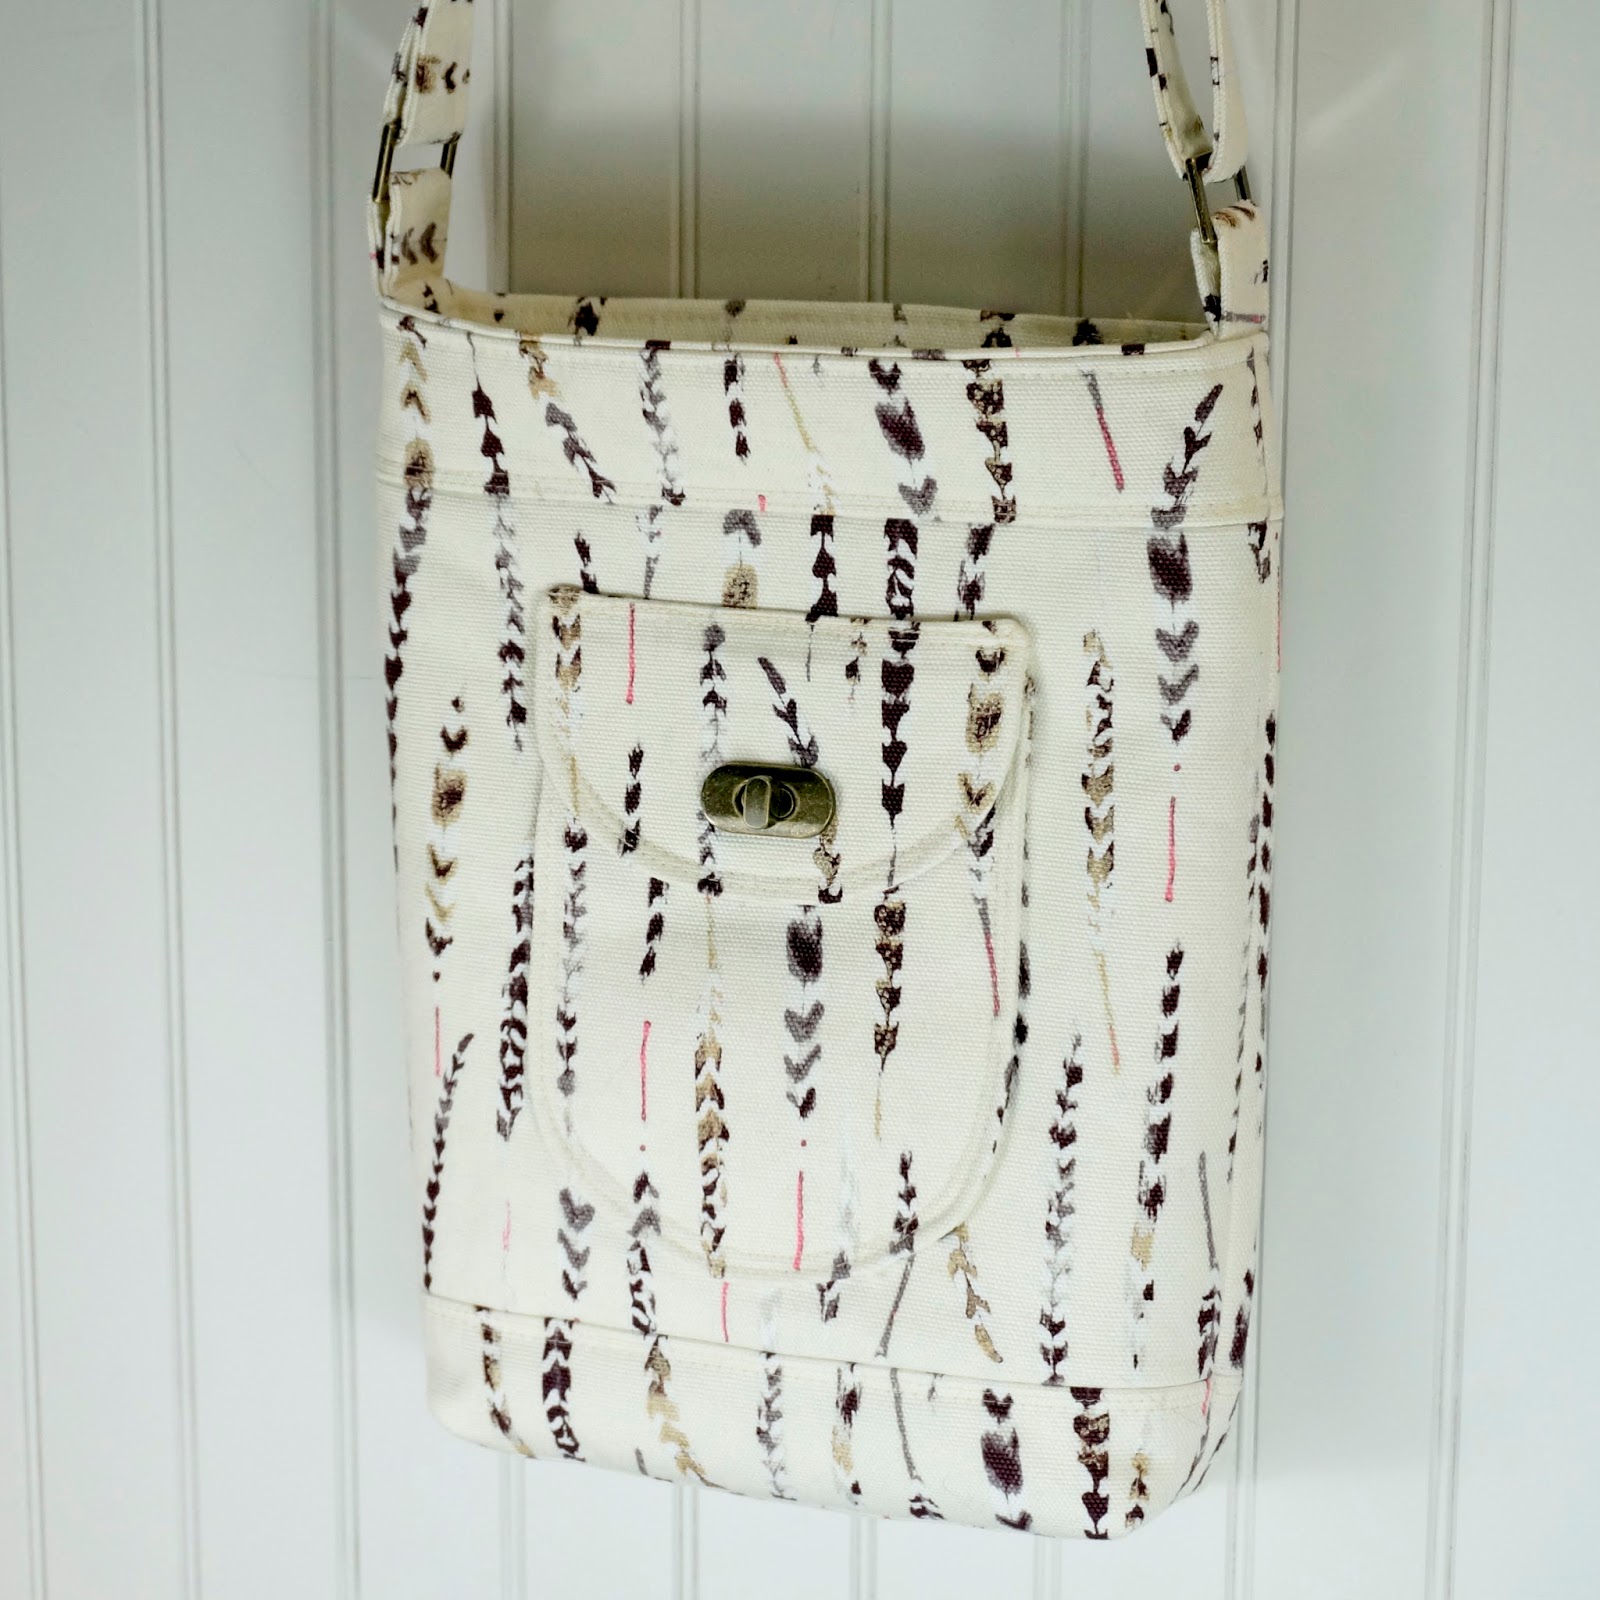
The fabric featured on this bag is the fun Keep on Groovin’ from Riley Blake Designs. Yeah!
The bag front features a magnetic snap pocket and the inside features an elastic pocket. Each time I make this bag, I change up the pockets just a little, with a contrasting flap or something to spice it up. The back of the bag has a zipper and a covered zipper flap, which I’ll show you here….
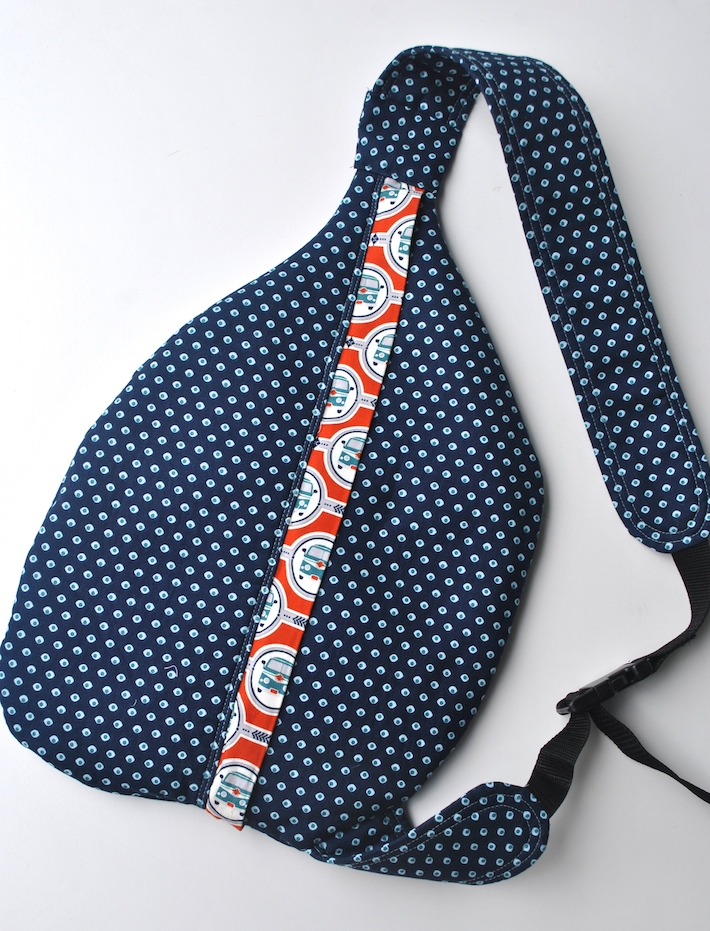
See the zipper? It’s hidden underneath the zipper flap!
The straps are kind of neat to sew, too. Each top and bottom strap has a piece of nylon strapping coming from it, and is topstitched for detail and strength. Finally, you can add a plastic buckle with an adjustable slider to customize the pack to fit you.
Supplies & Fabric:
- I used a quilting cotton, but you can also sew this bag with a canvas fabric. Both are plenty sturdy with the proper interfacing. I’ve used Pellon SF 101 Shape Flex as my interfacing and Pellon Fusible Thermolam as my stabilizer. If you are using canvas, I’d still recommend interfacing and stabilizer.
- As for the type of fabric print that works well for this bag, I’m going to suggest going with a small to medium-scale print, or something like the solid Essex linen featured on the cover. I’ve found that large-scale prints (huge florals) and such don’t work as well with the kidney shape of the bag. If you’re determined to use a larger-scale print, why not tone it down with solid front pocket and flap? I’ve shared some other examples of the #sportystrappack on Instragram in case you need some inspiration!
What fabric and hardware am I using?
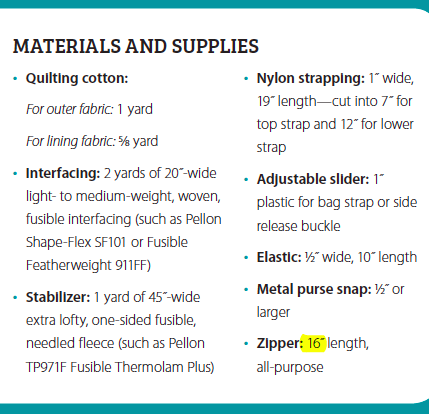
Here is the complete fabric and supplies list from the book! Please note that I’m going to suggest an 18″ zipper instead of the 16″ zipper listed. This was an error in the editing of the book, and has been changed in all digital and reprint editions. If you’ve already purchased a smaller zipper, you can make your zipper tabs a bit longer to compensate.
Other than the zipper, the only real hardware you will need is a magnetic snap!
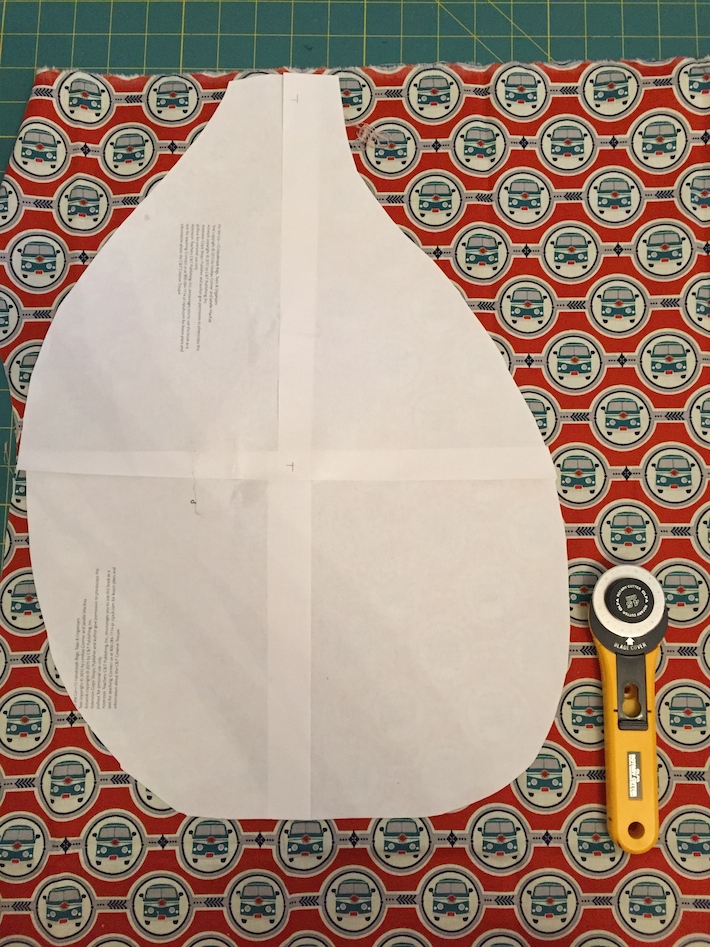
Cutting Fabric:
Are you nervous to make that first cut? Don’t be! I completely messed it up, but realized my error and was able to fix it, no problem! Hopefully these cutting tips will help you all breeze through the cutting of the Sporty Strap Pack!
Trying to save time, I folded my blue dot print and orange car print in half from top to bottom. This worked fine for the blue, since it’s not a directional print, but not so well for the cars…
Oops! On the left lining piece, you can see that the cars are right side up. On the right lining piece, they are upside down. Luckily, I had enough fabric that I could cut a new right lining panel, and you should, too! But to save yourself the time and effort, just cut any directional fabrics one at a time! Do not cut through two layers, or you might make a mistake like I did.
Here I am cutting out that lining piece the right way… one at a time. Always a smart move with directional fabrics!
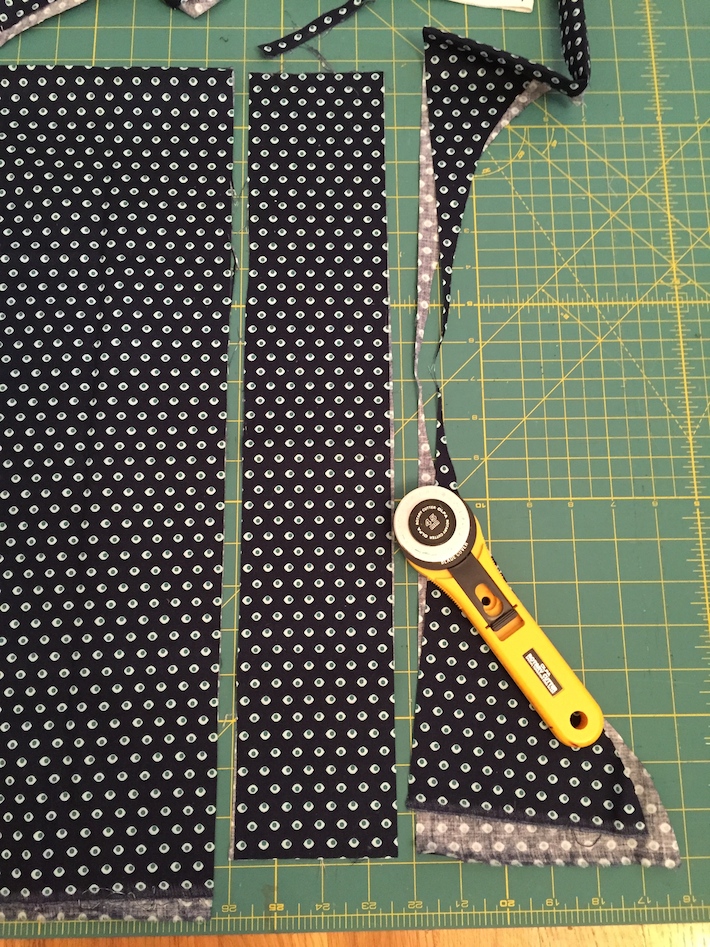
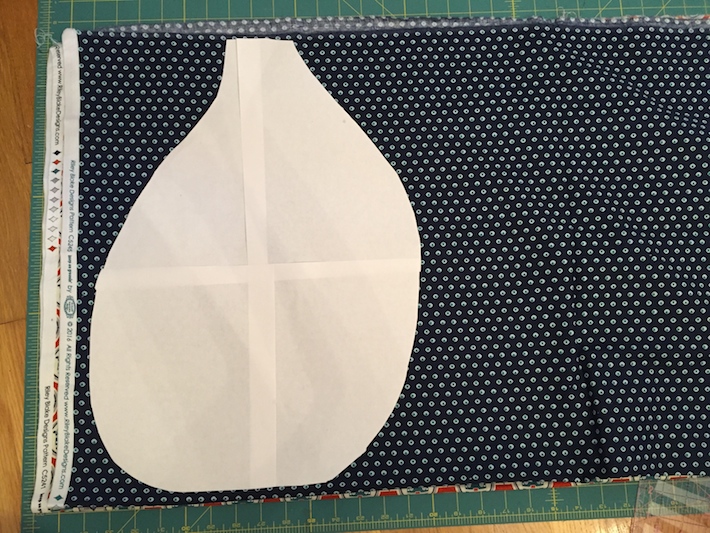
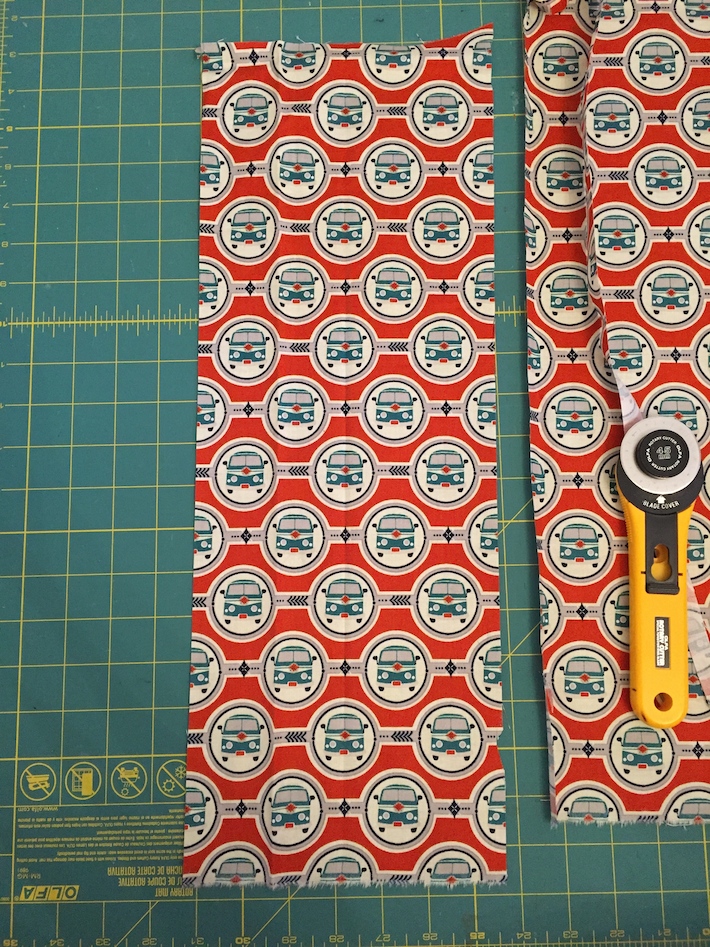
Once you’ve cut your body pieces from the outer fabric, go ahead and trim off that curved to give yourself a clean edge. Then cut a long strip 3.5″ wide through both layers for your straps.
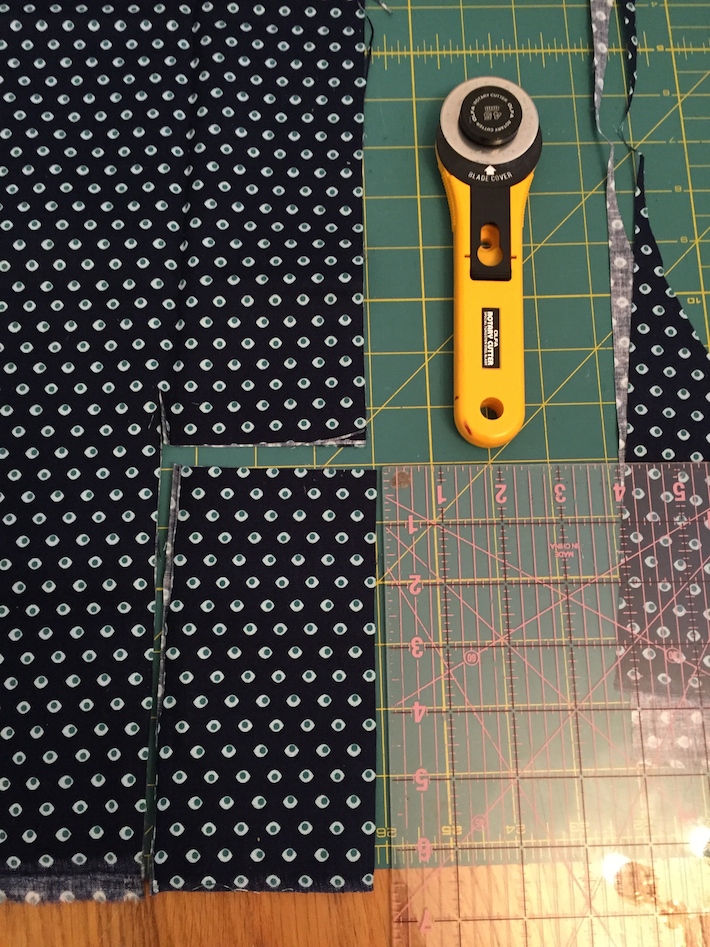
Cut that long strip into your short strap and long strap. See how easy!
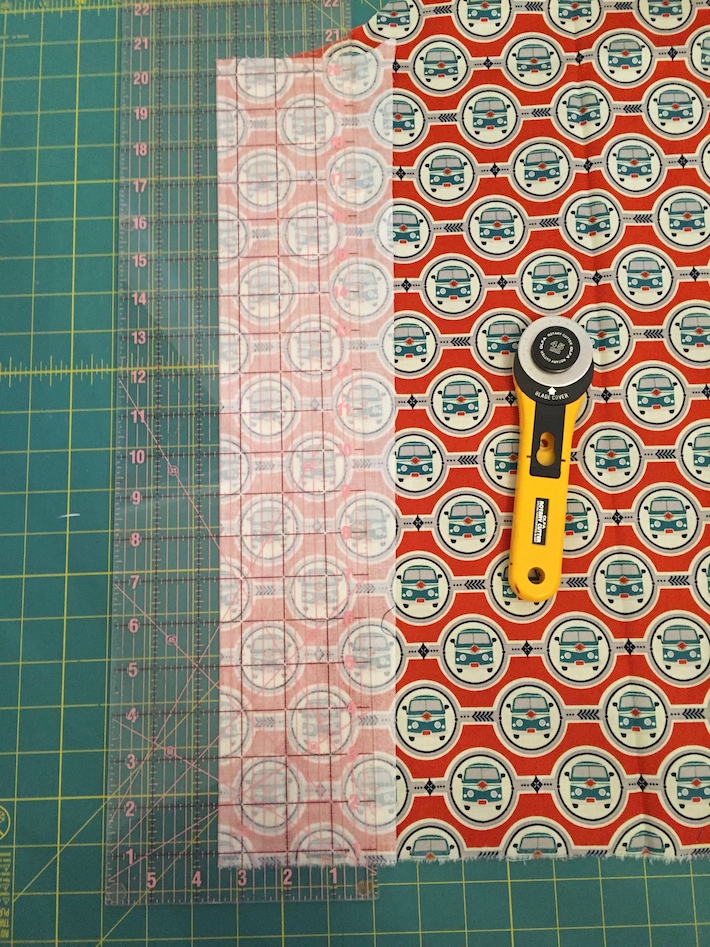
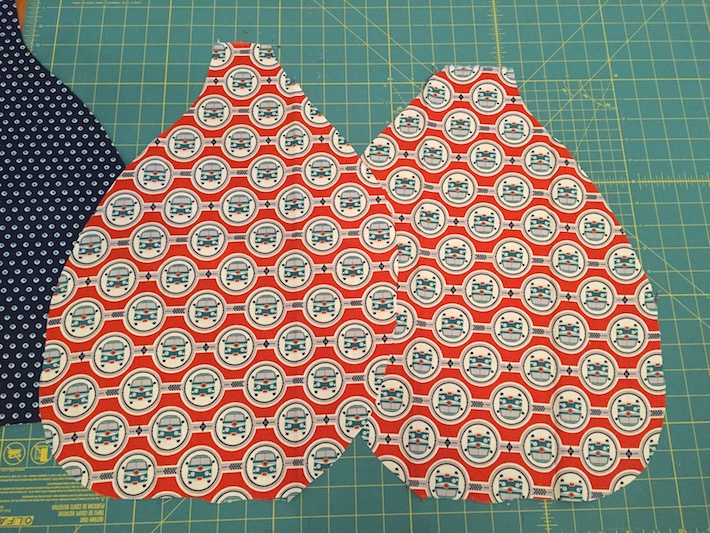
Next, I’m going to show you a tip for centering a print.
Here, I’m cutting out my front pocket. Because I know I want it to be 7″ wide and I also want at least some of the car circles to be centered, I’m going to fold my fabric right sides together and fold it carefully so the circles are centered. Then, I place my ruler at the 3.5″ mark.
When I unfold my cut pockets, the van circles are perfectly centered!
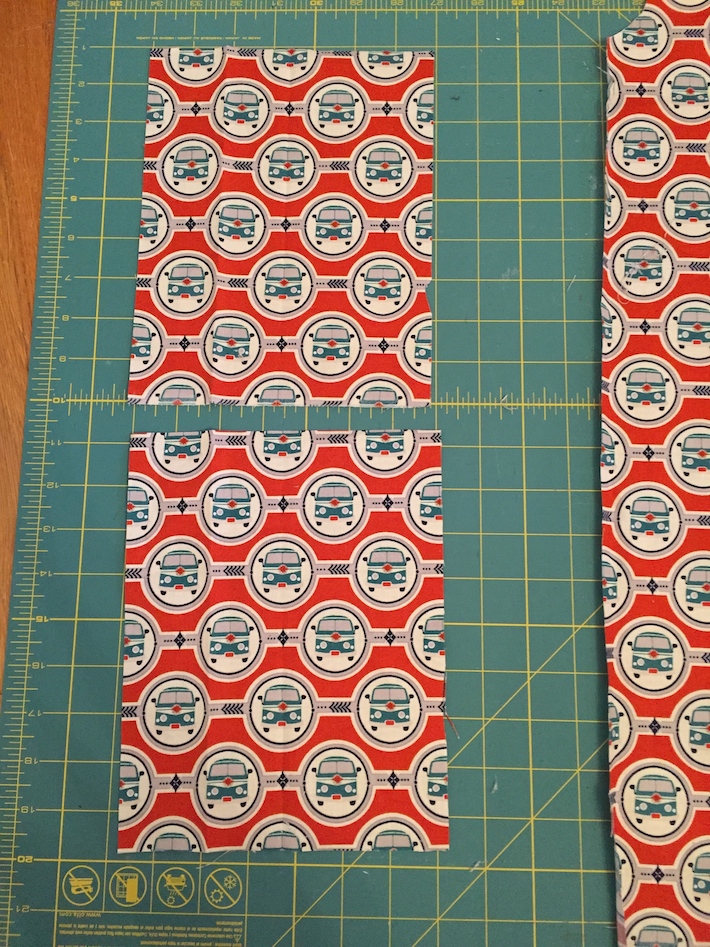
Next, just trim that long pocket piece into two pockets of the correct height.
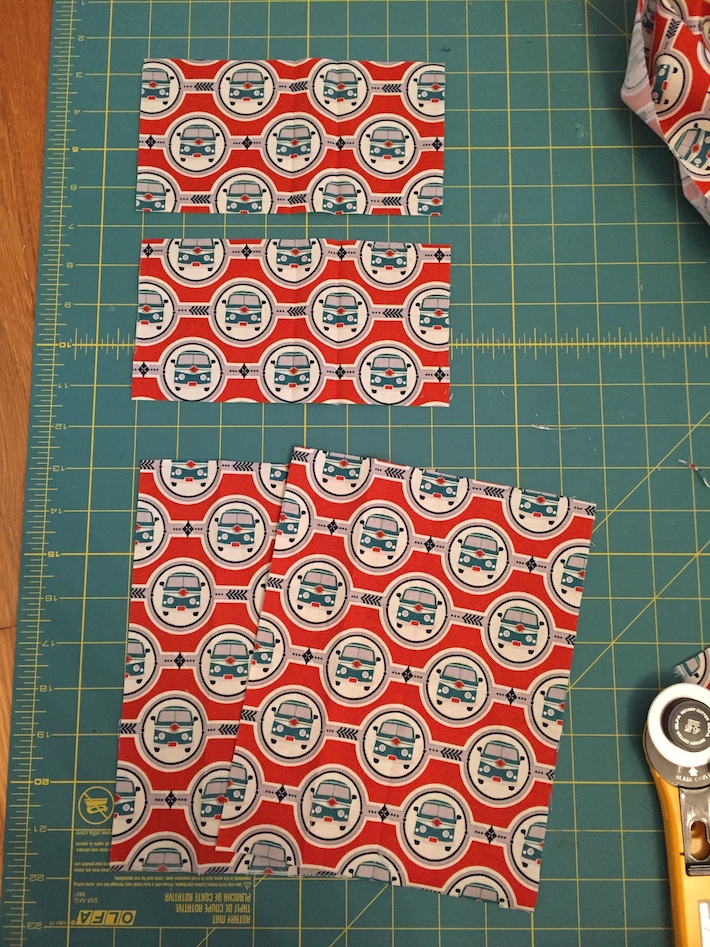
I used the same centering trick for the pocket flap… Just divide the width of the pocket flap by two, and that will be your measurement for cutting along the folded fabric. Cut along the fold to get a pocket flap of the correct width, then cut two pieces to the correct height.
If you aren’t using a directional fabric, it’s your lucky day! You can skip all of these tricks and just cut normally through two layers of a folded piece of fabric to get your matching pieces.
Here’s my elastic pocket piece. Because my print is only slightly directional, I just cut through two layers to get my pieces.
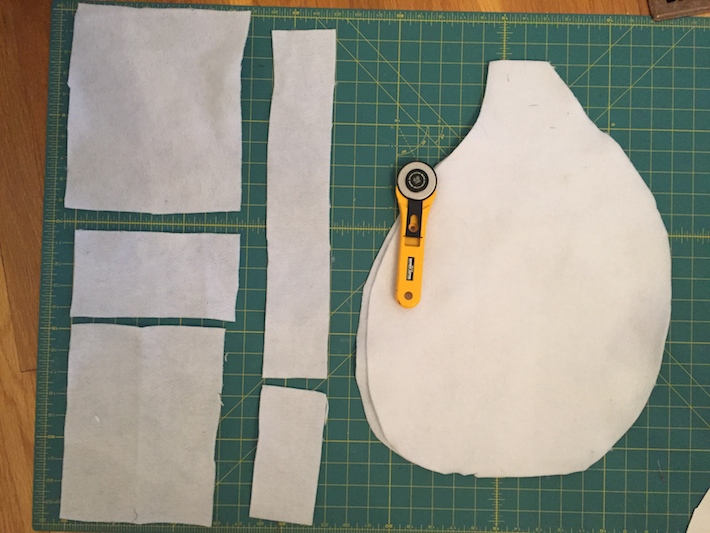
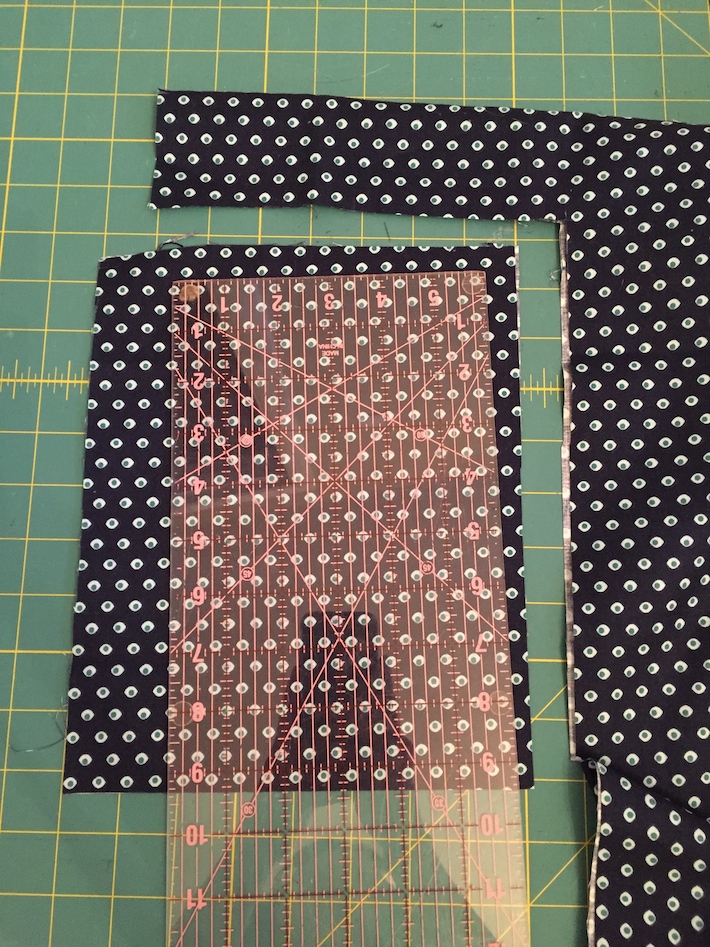
Don’t forget to cut out your interfacing and stabilizer (pictured above). You might notice here that in the center column, my long top strap piece isn’t long enough (just a few inches short). It’s okay to piece stabilizers together if needed to get a long enough strap piece. Just fuse one to the fabric, then fuse the next piece beside it.
Here are all of the interfaced and stabilized pieces!

From left to right: These pieces get interfacing (the lightweight stuff)…
- 2 lining body pieces (facing opposite ways)
- 1 short bottom strap
- 1 long top strap
- 1 elastic pocket (I chose blue to contrast with my orange lining fabric)
- 1 pocket flap
- 1 flat pocket
- 1 strap facing (I chose blue to match my outer bag)
- 1 zipper flap (I chose orange to contrast with my blue outer fabric)
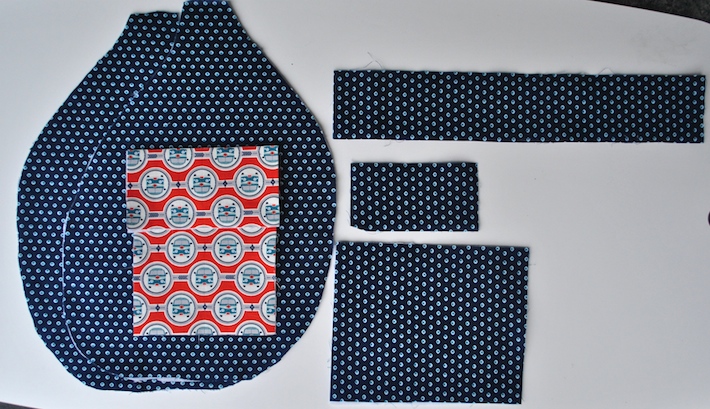
From left to right: These pieces get stabilizer (the heavyweight stuff)…
- 2 outer body pieces (facing opposite ways)
- 1 flat pocket (I chose orange to contrast)
- 1 pocket flap (orange to contrast)
- 1 long top strap
- 1 short bottom strap
- 1 elastic pocket (I chose blue to contrast with my orange lining fabric)
That’s a wrap for today! If you have any questions about the Sporty Strap Pack Sew Along, feel free to ask them in the On the Go Bags Facebook group! I can’t wait to see what fabrics you choose for your bags. For some inspiration, check out these others…

Aurifil * Blend Fabrics * ByAnnie * C&T Publishing * Craftsy * Pellon * Riley Blake Designs


4 comments
Just wondering if you have to use a stabilizer?