Art & Craft, DIY ideas and Tutorials – Craftbuds
  • About Us
  • Needlecraft
    • Crochet
    • Knitting
    • Quilting
    • Sewing
    • Embroidery
  • Cricut
  • Jewelry Making
  • Paper Craft
    • Origami
    • Drawing
  • Engraving
  • Collectibles
    • Numismatics
43K Followers
25K Followers
1K Subscribers
Subscribe
Art & Craft, DIY ideas and Tutorials – Craftbuds
  • About Us
  • Needlecraft
    • Crochet
    • Knitting
    • Quilting
    • Sewing
    • Embroidery
  • Cricut
  • Jewelry Making
  • Paper Craft
    • Origami
    • Drawing
  • Engraving
  • Collectibles
    • Numismatics
  • Craft

No-Sew Fabric Baby Blocks

  • Lindsay
  • Posted: July 7, 2014 - Updated at: July 17, 2020
Total
0
Shares
0
0
0

Fabric Baby Blocks Tutorial at Craft Buds

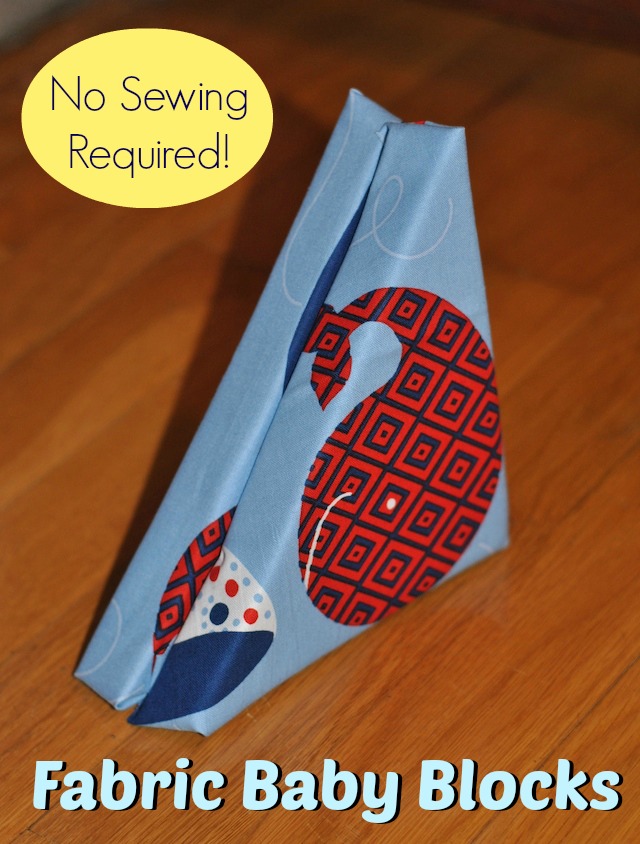
These large, fabric-covered foam baby blocks are an easy-to-make soft toy for newborns. I made some for my son in less than 20 minutes, and you can, too! Best of all, this no-sew fabric project is something you can put together in between naps or while catching up on your favorite show. Let’s get started!

True Blue fabric by Ana Davis for Blend Fabrics

Materials:

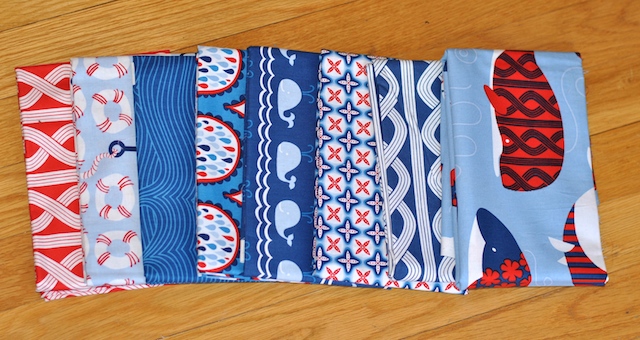
– Quilting Fabric (I used True Blue by Ana Davis for Blend Fabrics)
– Foamology (TM) Pull-Apart Design Foam*– Fabric scissors
– Optional: glue gun, glue sticks and 1/2″ or wider grosgrain ribbon

Foamology Design Foam


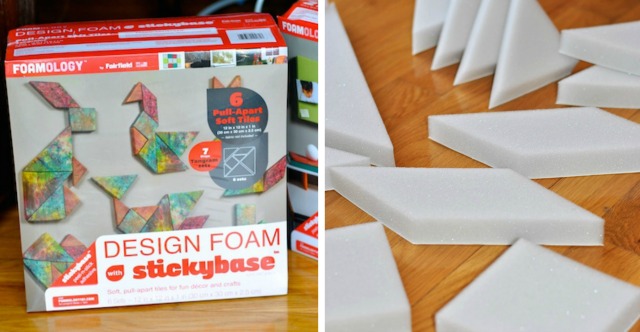
1. Pull apart the perforated “blocks” of Design Foam. Each block has one stickybase(tm) surface which adheres to fabric, but not until you peel off the protective backing.

No-Sew Fabric Baby Blocks

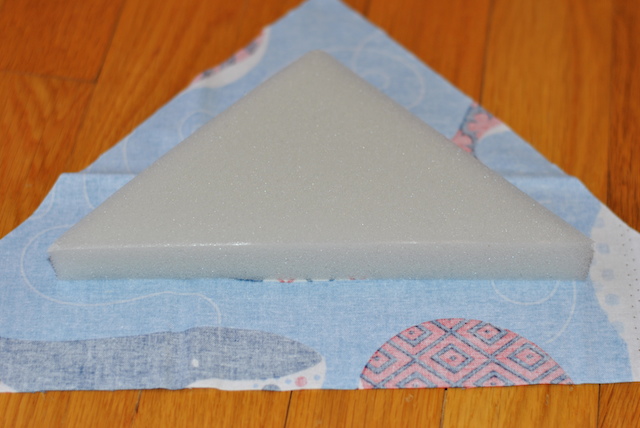
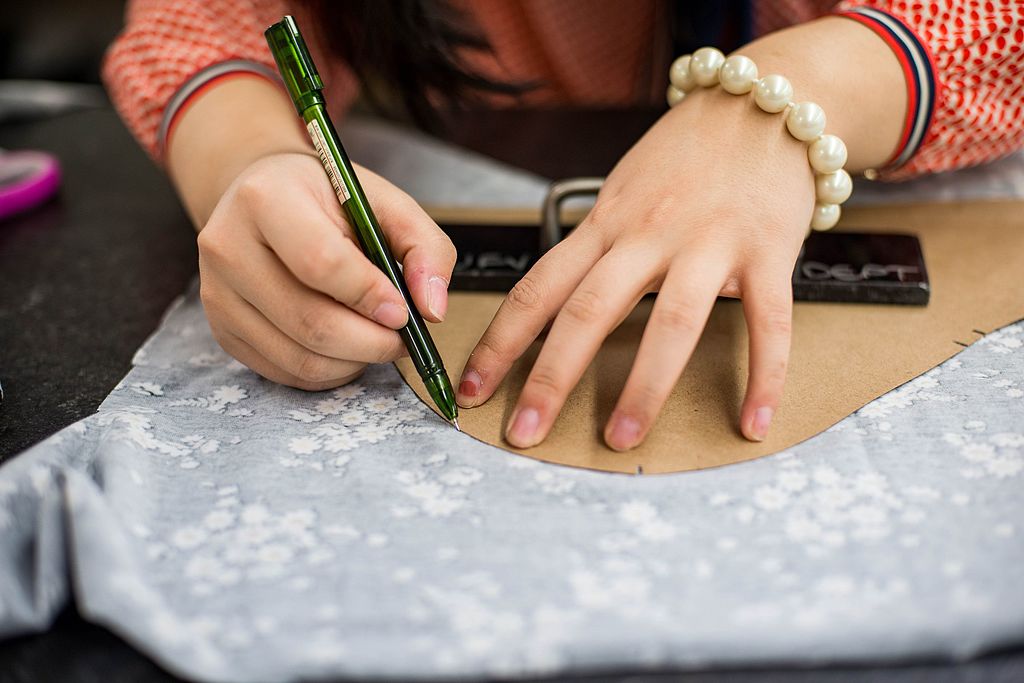
2. Cut a piece of fabric 2″ wider on each side than your foam block.

No-Sew Fabric Baby Blocks

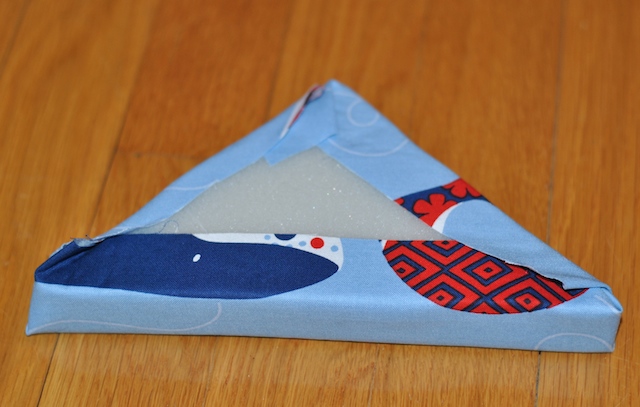
3. Peel off the protective sheet and place the block on the fabric, with the sticky facing side up toward you. Wrap the block like a present. With triangular corners, you may have to fudge the corners, but you can make it work. Leave the center sticky area bare.

No-Sew Fabric Baby Blocks

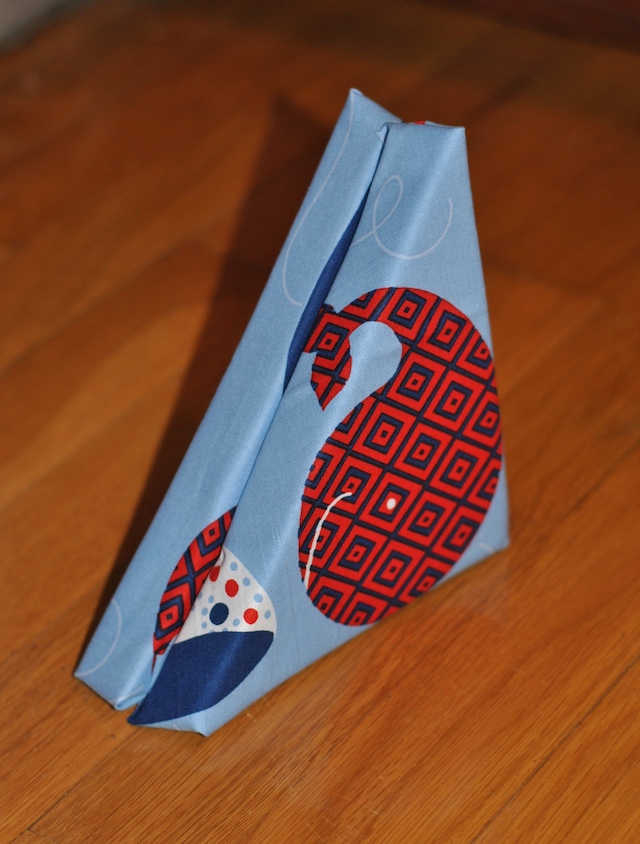
4. With matching fabric, wrap another block of the same shape in the same way. Press the two sticky surfaces together to make one fabric “block.”

5. Optional: If you want to finish off the edges, use a glue gun to adhere grosgrain ribbon around the perimeter to cover up the seams. You can also insert “tags” of ribbon in between the sticky blocks to make a “taggy” block! The possibilities are endless, so have fun and use your imagination.

No-Sew Fabric Baby Blocks

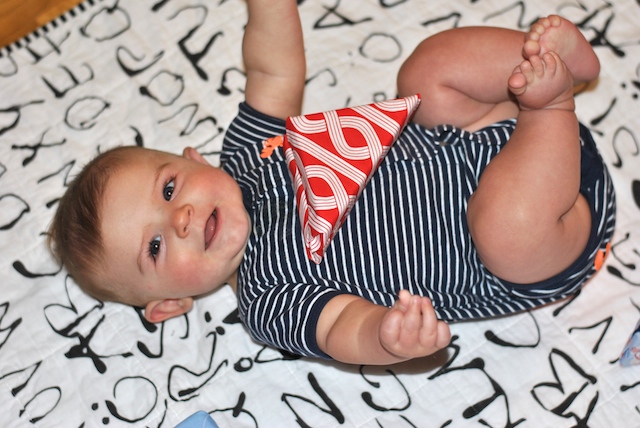
My 5-month-old son loves these blocks because they are easy to grab and soft to touch. Toss a few around your baby’s play mat, and they won’t mind rolling over them… or even taking a bite.

What is your child’s favorite soft toy?

Total
0
Shares
Share 0
Tweet 0
Pin it 0
Related Topics
  • baby blocks
  • baby toys
  • fabric baby toy
  • fabric blocks
  • fabric toys
  • no sew project
  • soft toys
  • tutorial
Lindsay

Hi, I’m Lindsay Conner, an author, modern quilter, editor, and founder of the Lindsay Sews blog. I’m a Baby Lock ambassador and Stash Books author who loves writing modern sewing and quilt patterns for beginners and weekend sewists! I live in Indianapolis, Indiana with my husband, son, and two loveable cats, Murph and Chloe. I’ve been crafting for as long as I can remember. As a kid, I saved my dollar bills for trips with my mom to Jo-Ann Fabrics, where I’d find new floss for friendship bracelets or mini cross-stitch kits. Because my mom has always shared my love for crafting, she bought me my first sewing machine, a Hello Kitty Janome.

Previous Article
  • Craft

Women’s T-Shirt to Baby Romper

  • Lindsay
  • Posted: June 16, 2014 - Updated at: July 17, 2020
View Post
Next Article
  • Sewing

NICU Holiday Smocks: Charity Sew Along

  • Lindsay
  • Posted: July 27, 2014 - Updated at: July 16, 2020
View Post
You May Also Like
View Post
  • DIY projects
  • Home

nPhoto – Professional Photo Printing Services for Photographers: Develop Your Brand with Us!

  • Jeremie Berton
  • Posted: January 14, 2025
View Post
  • Craft
  • Outdoor

5 Great Destinations in Costa Rica for Your Next Crafting Retreat

  • Craftbuds Editorial Team
  • Posted: December 16, 2024
Why-Professional-Locksmiths-Are-Essential-for-Home-Security
View Post
  • Home

Avoiding DIY Disasters: Why Professional Locksmiths Are Essential for Home Security

  • Jeremie Berton
  • Posted: April 3, 2024
Putting Together a Wooden Nativity Set for the Holidays
View Post
  • Craft
  • DIY projects
  • Home
  • Outdoor

Putting Together a Wooden Nativity Set for the Holidays

  • Sheila Mae Pedregosa
  • Posted: February 7, 2024
How is AI Impacting Crafting
View Post
  • Craft
  • Tools & Supplies

How is AI Impacting Crafting

  • Craftbuds Editorial Team
  • Posted: December 5, 2023 - Updated at: December 7, 2023
How Funny Phrases on Shirts Have Transformed
View Post
  • Craft

The Evolution of Humor: How Funny Phrases on Shirts Have Transformed 

  • Craftbuds Editorial Team
  • Posted: October 23, 2023 - Updated at: October 24, 2023
Craft Organizers for Efficient Storage Use
View Post
  • Craft
  • DIY projects

DIY Craft Organizers for Efficient Storage Use

  • Craftbuds Editorial Team
  • Posted: October 23, 2023 - Updated at: October 25, 2023
make-christmas-more-special-for-your-loved-ones
View Post
  • Craft

5 Ways to Make This Christmas More Special For Your Loved Ones!

  • Craftbuds Editorial Team
  • Posted: September 28, 2023
1 comment
  1. Katy says:
    July 11, 2014 at 5:58 pm

    Aww, that serious wee face!

Leave a Reply

Your email address will not be published. Required fields are marked *

Subscribe

Subscribe now to our newsletter

Art & Craft, DIY ideas and Tutorials – Craftbuds
  • About Us
  • Editorial Guidelines
  • Our Experts
  • Privacy Policy
  • Contact Us
Find fun and creative craft ideas and tutorials across various categories such as Knitting, Quilting, Sewing, PaperCraft, Jewelry Making and much more

Input your search keywords and press Enter.