If you are into tie-dye or just curious about it, this guide is for you. We will dive into tie-dye patterns, from classic designs to modern advanced techniques. We will also learn the origins of tie-dye, how it has evolved, and why it is popular today.
After that, we will discuss what you need to start, like supplies, the best fabric, safety, and how to make different designs. So, grab your apron, and let’s get started on this colorful adventure.
The History of Tie Dye
Tie-dye is a vibrant and unique textile art that has been around for centuries. Using tie-dye techniques to create intricate fabric patterns traces back to ancient civilizations. Over the years, tie-dye has evolved and gained popularity in different cultures worldwide.
Tie dye traces back to Ancient Egypt, with evidence of tie dye found in burial shrouds and mummy wrappings. In Ancient China, Tie-dye was used to create elaborate silk garments for the nobility. In pre-Columbian America, indigenous cultures such as the Inca and Maya used tie-dye techniques.
Amid the Hippie Movement of the 1960s and 1970s, tie-dye emerged as an emblem of the counterculture. Musicians and artists were pivotal in making tie-dye synonymous with peace, love, and freedom.
Tie-dye made a comeback in the 1990s and early 2000s, with fashion designers incorporating it into their collections. Celebrities and influencers have embraced tie dye, making it a trendy and sought-after style.
Tie-dye holds deep cultural and spiritual meanings in certain cultures in various parts of the world. You will notice the use in ceremonies, celebrations, and rituals to symbolize unity, protection, and good fortune.
Tie-dye is a global phenomenon, with artisans and designers from different countries incorporating it into their work. The popularity of tie-dye has led to the rise of sustainable and eco-friendly dyeing practices.
Related: 8 Amazing Tie Dye Kits To Get Started
Preparing for Your Tie Dye Adventure
Necessary Supplies and Where to Find Them
To get started with tie-dye, you will need some essential supplies you can find in stores or even make at home using food coloring and natural ingredients like beet or turmeric.
- Fabric Dyes
- Fabric, preferably white, for the best results
- Rubber Bands
- Plastic or squeeze bottles
- Gloves
- Table cover or newspapers
- Plastic bags wrap
These supplies are mostly available at local craft stores, big-box retailers, or online marketplaces like Amazon. You can make homemade dyes using ingredients like vinegar, salt, and food coloring, whose recipes you can find online. Always follow safety guidelines and experiment with small test batches before applying homemade dyes to your clothing.
Safety Measures
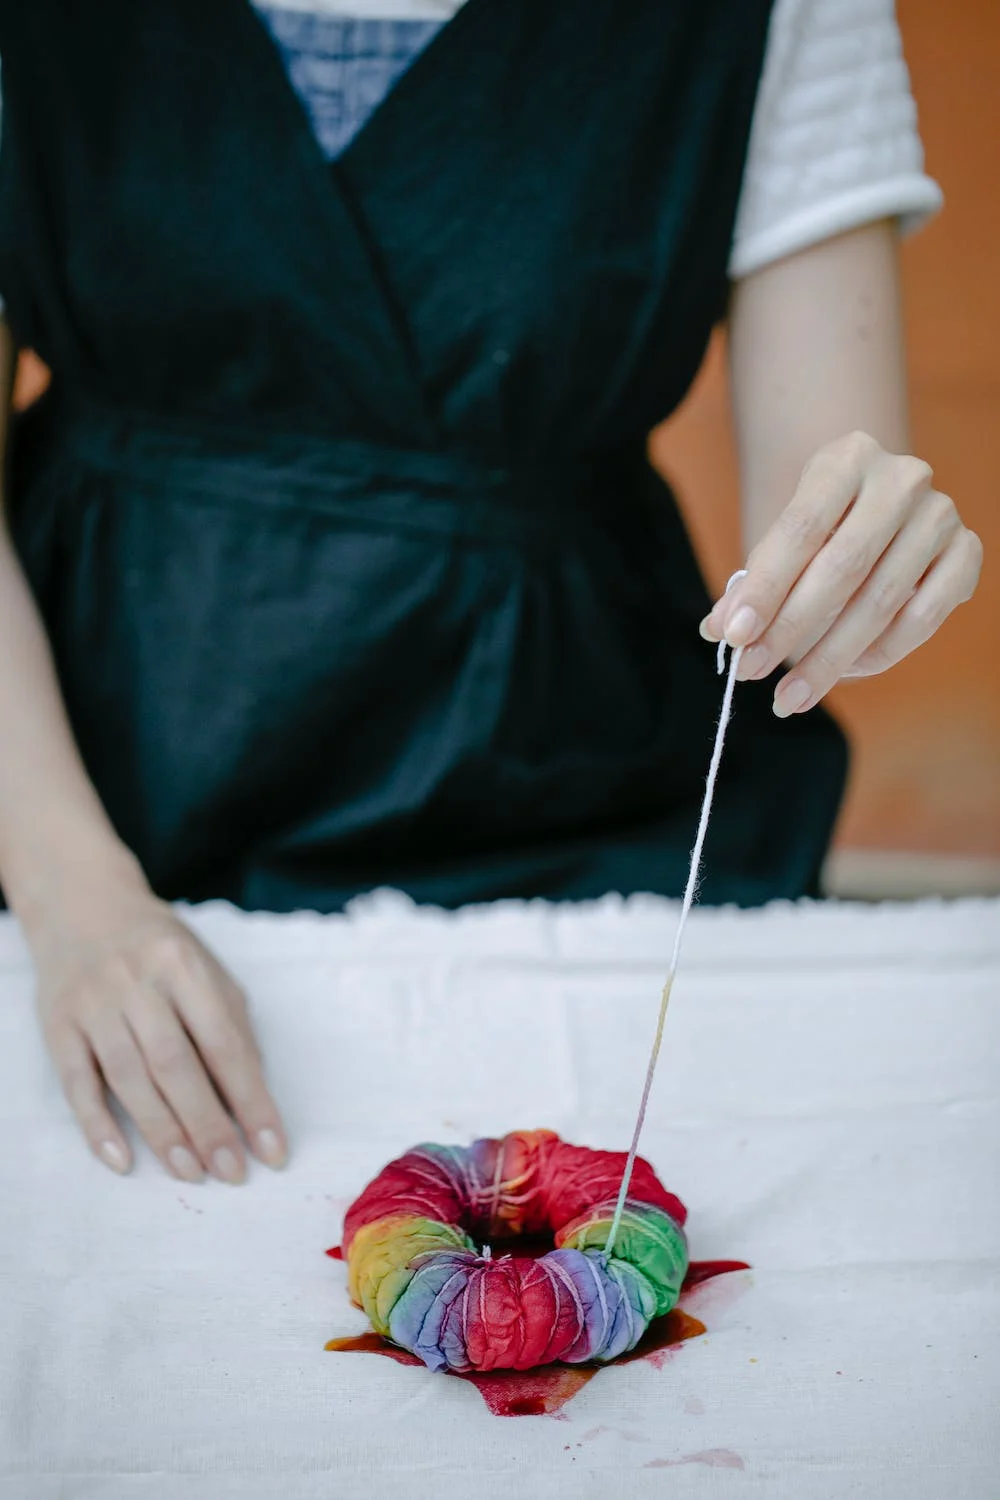
Safety precautions are essential when tie-dyeing. Wear old clothing or an apron to safeguard against potential dye splatters. Additionally, wearing disposable gloves is strongly recommended to maintain clean and dye-free hands throughout the process. Work in a well-ventilated place to avoid breathing in dye fumes.
Also, remember to cover your work area with plastic or newspaper to avoid staining. Follow the dye instructions, and don’t ingest or touch your eyes while dyeing.
The Importance of Fabric Choice
When it comes to tie-dyeing, choosing the right fabric is like setting the stage for your colorful masterpiece. Here are a few things to consider when selecting fabric to dye.
Best Fabrics for Tie-Dyeing
Choose natural fabrics like cotton, rayon, or linen for the best tie-dye results. These materials soak up dye nicely, making colorful patterns that last. Cotton is great for beginners because it is easy to use and comes in different items like t-shirts. Rayon and linen have a fancy feel and take dye well, which is ideal for detailed designs.
Fabrics to Avoid: What Not to Use
Synthetic fabrics like nylon and polyester are unsuitable for tie-dye, as they do not soak up the dye, resulting in dull colors. Silk can also be tricky because it might not hold the dye well. Fabrics with special coatings, like water-repellent ones, have low absorbency and will repel the dye.
Related: The Ultimate Guide to Soda Ash Tie Dye: Elevate Your Fabric Artistry
21 Free Tie Dye Patterns
In the world of tie-dye, there’s a delightful blend of classics and advanced techniques. Here are a few that we have rounded up for you to try. We have included some popular classics that use traditional methods and more advanced techniques.
Classic Tie Dye Patterns
Classic tie-dye methods are the foundation of this colorful art form, using techniques passed down through generations for stunning results. This list comprises the classics, such as swirls to intricate stripes, offering endless creative possibilities.
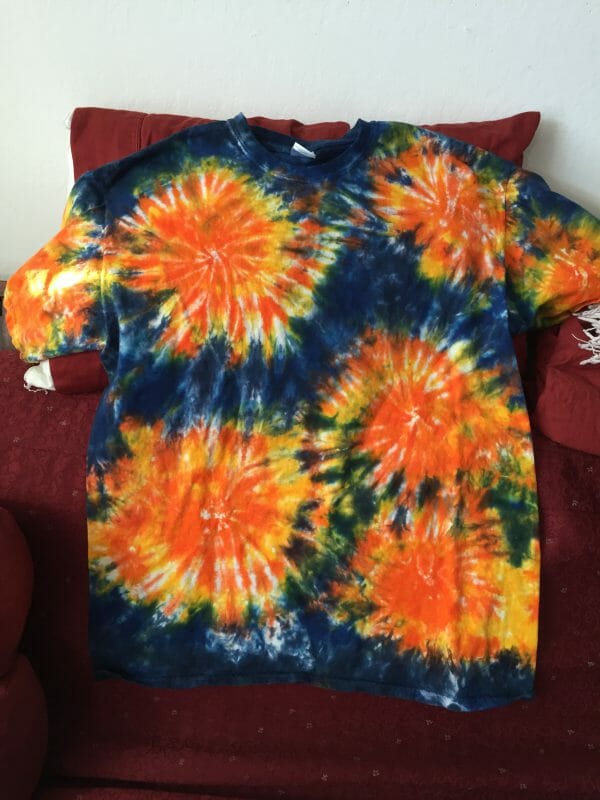
1. The Swirl /Spiral
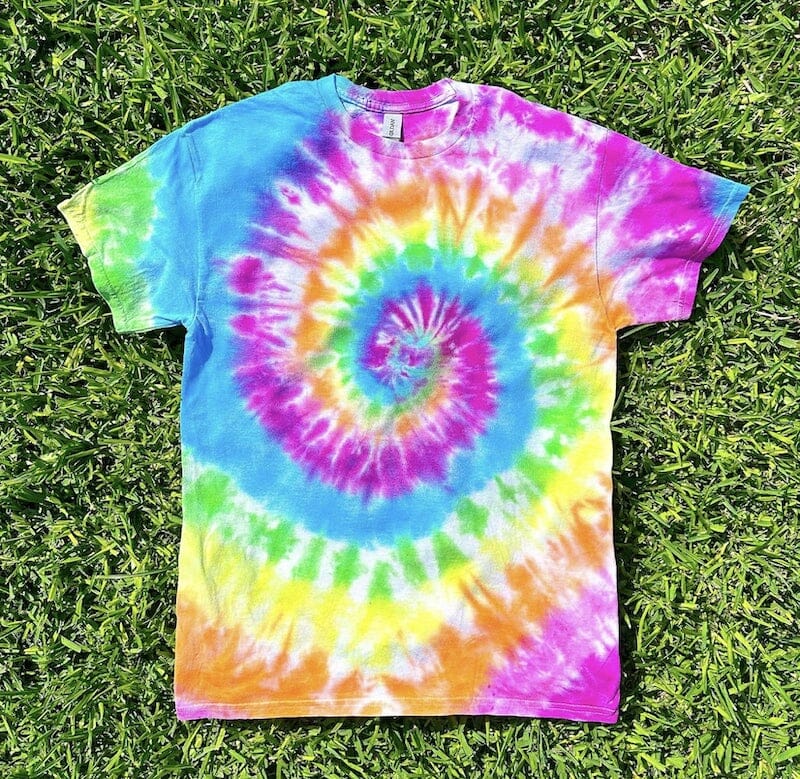
The swirl or spiral tie-dye method creates mesmerizing whirlpool patterns. Begin with a flat, washed fabric. Pinch the center, twist it into spirals, and secure it with rubber bands. Apply the dye in sections, alternating colors for a vibrant effect. Follow dye instructions, rinse, and unveil your captivating swirl tie-dye masterpiece.
Find the pattern here.
2. Striped Tie Dye Pattern
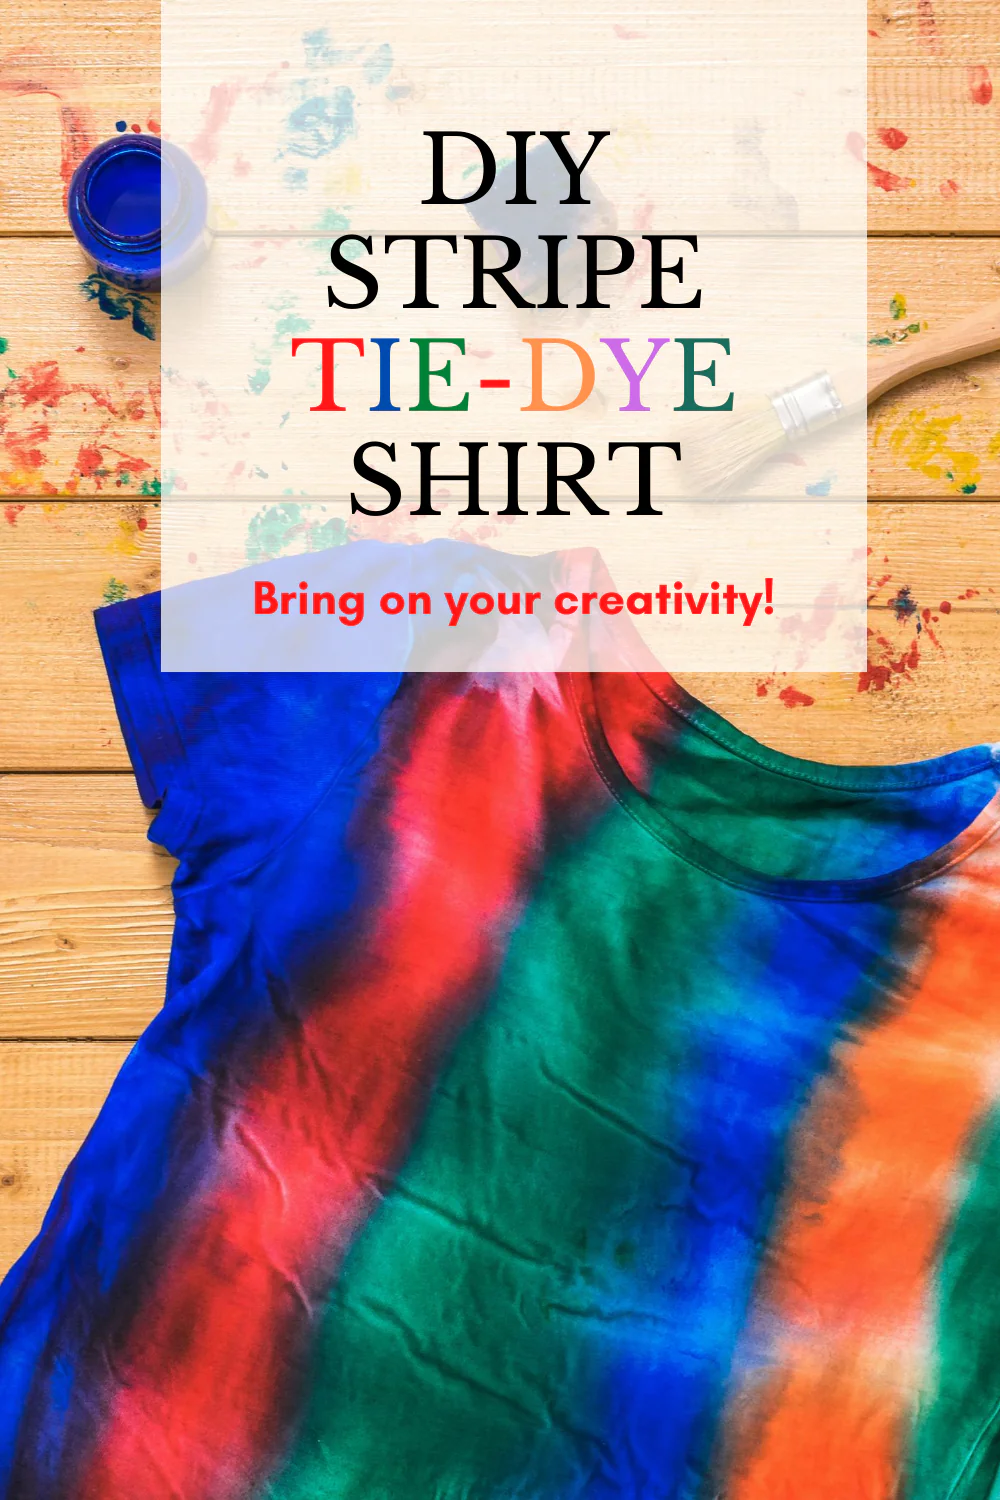
The stripe pattern is a classic in tie-dye. You can do it either horizontally or vertically for a cool look. To make stripes, fold your fabric like a fan, making narrow pleats. Put rubber bands around it in even spaces to create sections.
Apply your dye to each section, making sure it’s soaked well. Try as many colors as you like. Follow the dye instructions to let it set, then rinse and reveal your awesome striped tie-dye design.
Check the pattern here.
3. The Bullseye Tie Dye Pattern
The mesmerizing bullseye tie-dye method will allow you to create an eye-catching masterpiece. Simply gather your fabric into a tube shape and apply as many rubber bands as desired. Apply different colors to each circle, starting from the center.
4. Heart Tie Dye Pattern
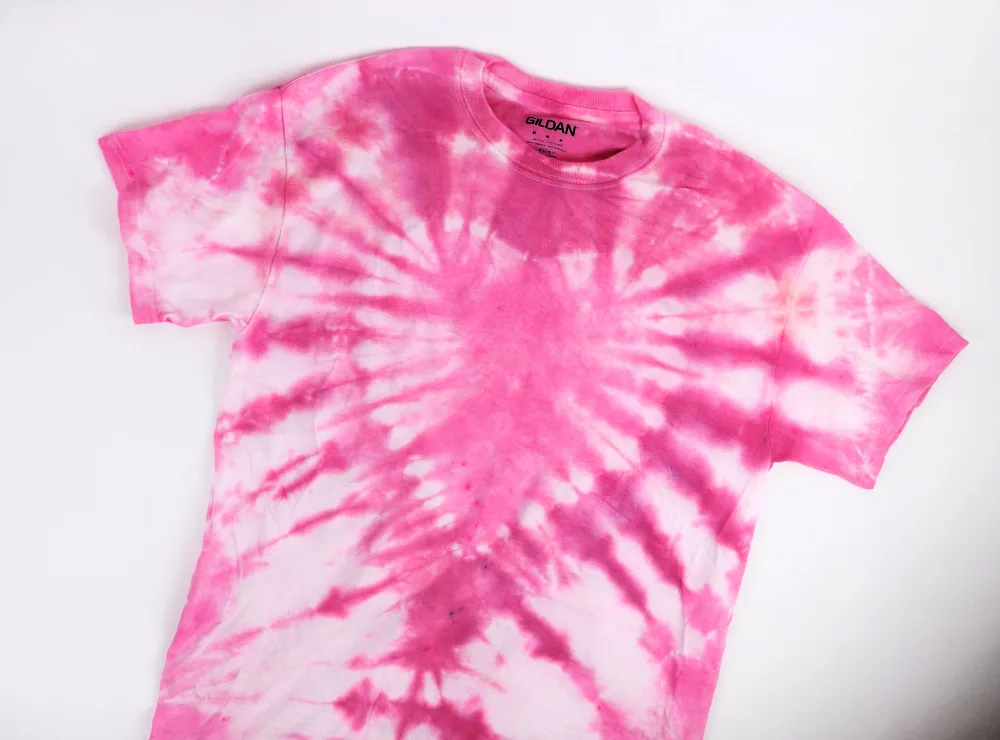
Crafting a heart tie-dye is all about spreading love through your art. Fold your fabric in half, draw a half-heart shape along the fold, and make tight accordion-like folds along the lines. Secure with rubber bands, dye both sides of the heart, and follow dye instructions for a vibrant result.
Find the details here.
5. Zig Zag or Chevron Pattern
Upcycle any fabric with this zigzag or chevron tie-dye technique by first washing your fabric and then choosing a pattern direction, either horizontal or vertical. Fold accordion-style, secure with rubber bands. Apply dye, alternating colors for contrast, ensuring the dye penetrates folds.
Check the pattern here.
6. Crumple Tie Dye Pattern
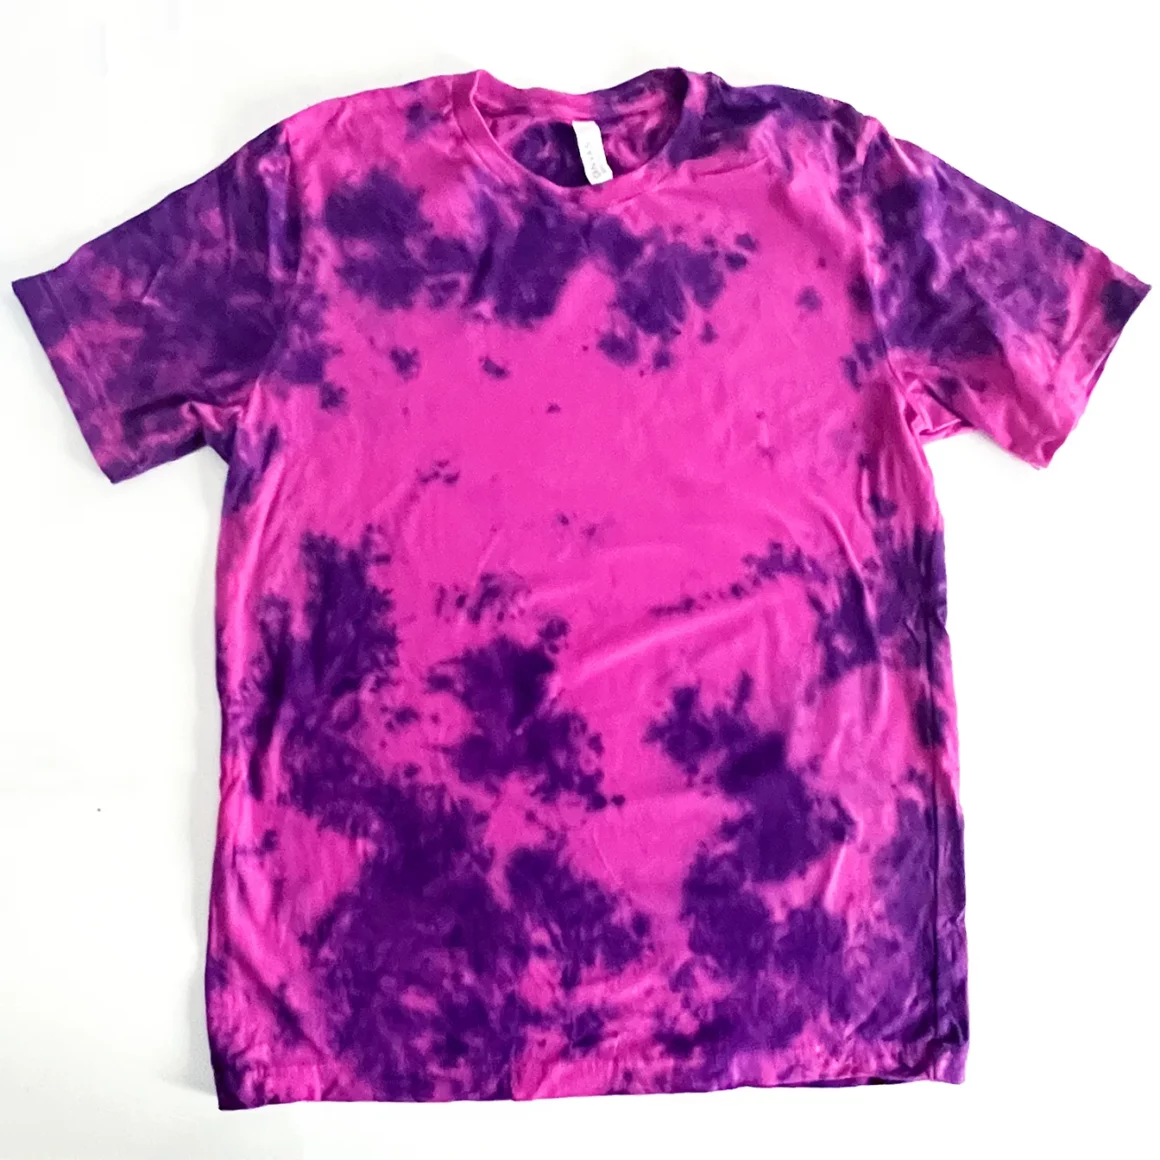
Crumpling fabric for tie-dye offers creative freedom. Start with flat, washed fabric and then crumple it randomly for texture, securing it with rubber bands before applying the dye. Ensure dye gets into folds. Let it set, then rinse and unfold for a unique tie-dye pattern.
Check the Tie tie-dye pattern here.
7. Rainbow Pattern
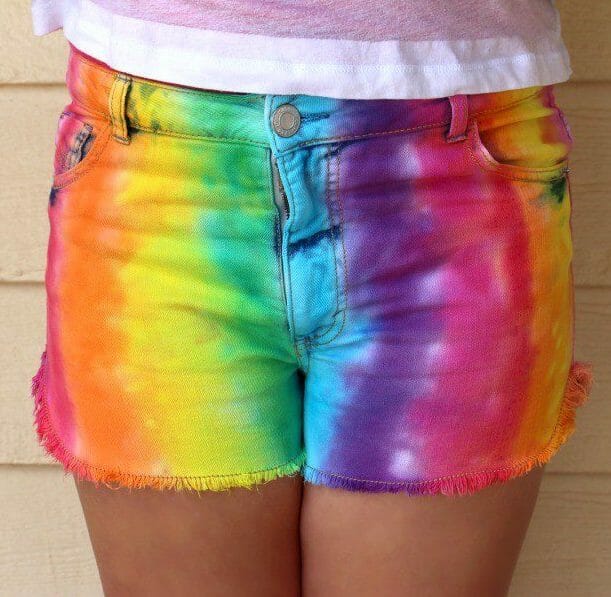
Create a vibrant rainbow tie-dye design by dividing your fabric into sections, about six or seven. Mark the boundaries with markers. Apply rainbow colors to each section, blending at the edges. Follow the rainbow order: red, orange, yellow, green, blue, purple, orange and indigo. Let the dye set, rinse, and unveil your stunning rainbow tie-dye project.
Check the pattern details here.
8. Circle Tie Dye Pattern
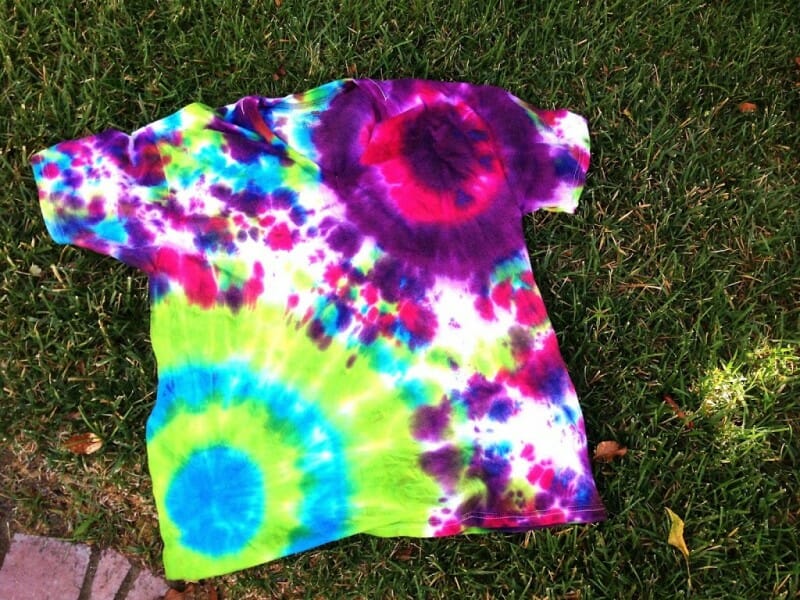
Create captivating circle patterns on fabric as a creative expression. After washing the fabric, choose a central point and draw a symmetrical circle with markers. Apply bold, contrasting dye colors, letting them blend at the edges.
Check the pattern here.
9. Cloud Tie Dye Pattern

Capture the serene beauty of clouds on fabric with this tie-dye process. Wash your fabric, select spots for cloud shapes, and draw them with markers or chalk. Apply soft, soothing dye colors to represent the clouds, blending gently at the edges for a seamless look.
Find out all the details here.
10. Ombre Pattern
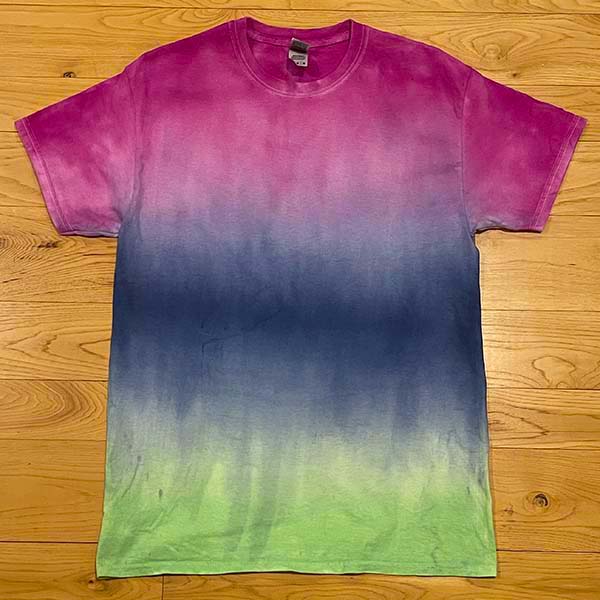
Ombre tie-dye is all about creating a beautiful blend of colors. It starts with one color shade and gradually transitions to another, giving a stylish gradient effect. By controlling the dye concentration, you can achieve a smooth shift from light to dark, adding depth and charm to your fabric.
Check the pattern here.
Advanced Modern Tie Dye Techniques
Advanced tie-dye techniques offer intricate designs and require more skill and creativity to master. Here are some you can try.
11. Flower Tie Dye Pattern
Crafting vibrant flower tie-dye patterns is fun for all skill levels. Fold your fabric into a square, pinch the center to form a bud, and secure it with a rubber band. Add more bands from the center to divide the fabric. Apply dye, let it blend, and follow dye instructions for a beautiful floral result.
Find the full pattern here.
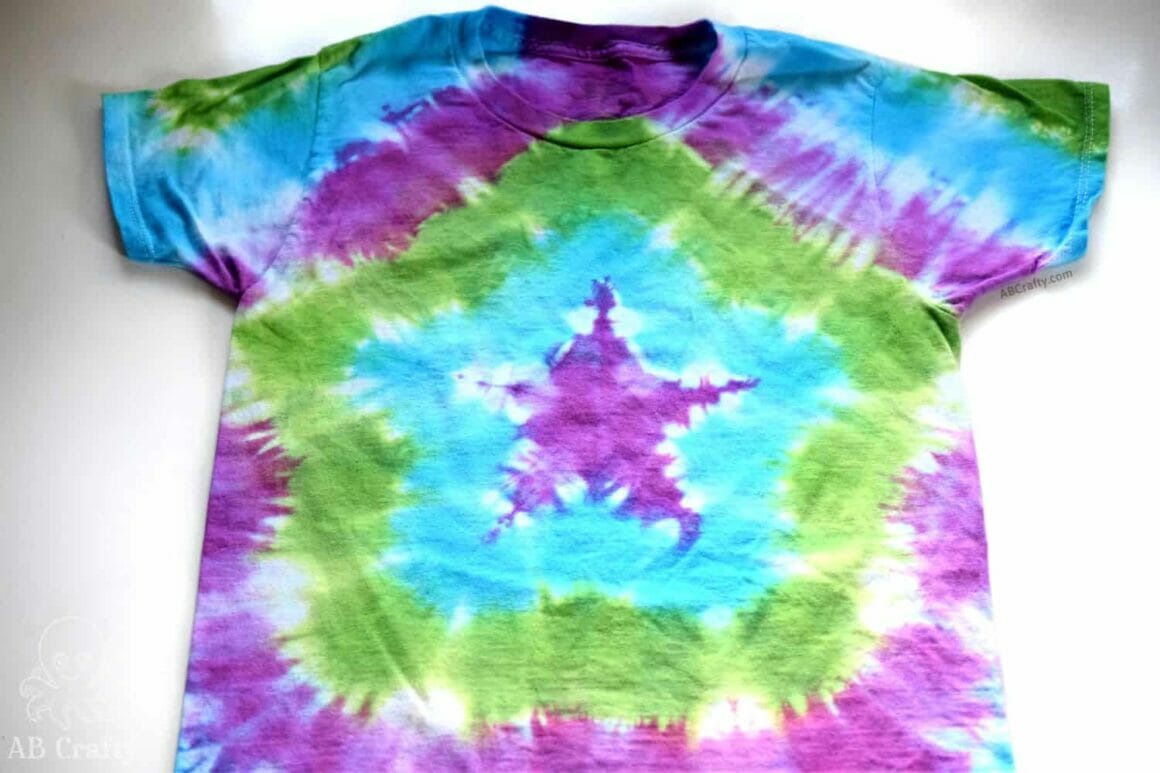
12. Star Tie Dye Pattern

Creating star-shaped tie-dye designs adds celestial magic to your artwork. Draw the star and fold your fabric into a triangle, aligning the drawn edges and securing it with rubber bands. Apply dye, let it blend for a starburst effect, and follow dye instructions for your stellar star tie-dye creation.
Full star pattern here.
13. Mushroom Tie Dye Pattern
Crafting adorable mushroom tie-dye patterns adds nature-inspired charm to your art. Draw your mushroom as a guide, then fold the fabric to highlight the center, head, and stem, securing it with rubber bands. Apply your dye and let it process to reveal the amazing mushroom design.
14. Spider Pattern
To make a spider tie-dye design, fold your shirt in half and create a spiral from its front and center. Secure it with bands for even pleats, then use a spray bottle for dyeing. It offers better control and more consistent results than squeeze bottles, especially if you’re new to tie-dyeing, as they can lead to excessive black dye.
15. Peace Sign Tie Dye Pattern
Spread a message of peace with the peace sign tie-dye technique. You first have to draw the peace sign, and you can use spray, drip, or batik dyeing to achieve the final effect.
Find the full pattern here.
16. Starburst Tie Dye Pattern
Energize your tie-dye with a dynamic starburst design that pops with color. Pick a central point and draw lines like a wheel’s spokes radiating outward. Apply your chosen dye colors to each section and blend at the edges.
17. Sunflower Pattern
Create a delightful sunflower design for your fabric art. You will first have to draw two circles, then fold them along the lines, securing them with rubber bands. Then, apply your colors depicting a sunflower and allow for processing as per instruction.
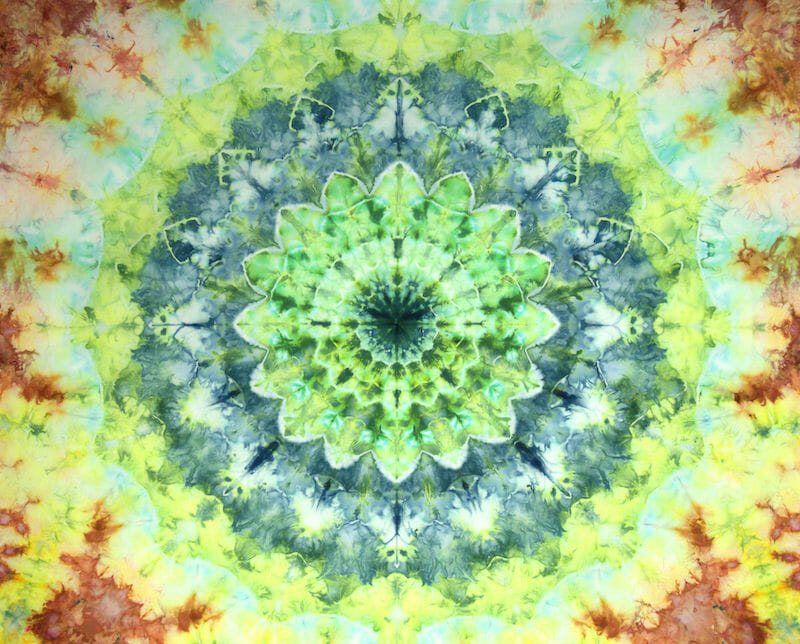
18. Kaleidoscope Tie Dye
Create mesmerizing symmetry in your tie-dye with the kaleidoscope sign technique. From a central point, draw lines like a wheel’s spokes. Make intricate shapes along the lines, like triangles or circles. Apply bold, contrasting dye colors to each shape.
19. Galaxy Tie Dye Pattern
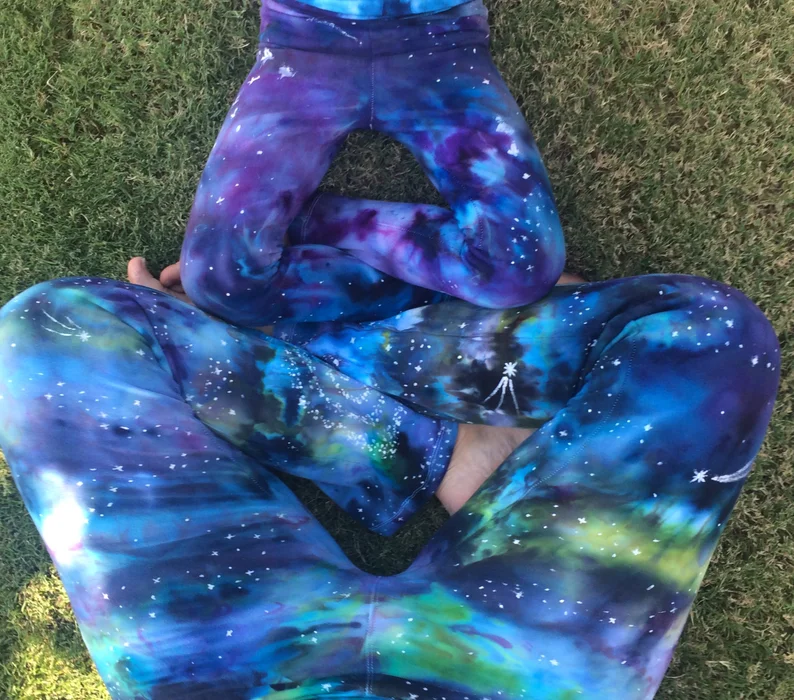
To capture a starry night sky on fabric with the galaxy sign technique, first apply the light colors and then the dark colors. Sprinkle the dye colors that match well randomly to mimic stars and apply ice covered with ice. Allow the ice to melt, patching up dye where necessary, then allow the fabric to batch before rinsing.
Check the full pattern here.
20. Geode Tie Dye

Capture the elegance of geode patterns in your fabric with this mesmerizing design. Locate a central point for the geode’s core. Apply a dark base color, like the geode’s outer layer. While damp, add contrasting colors, swirling from the center out, mimicking crystal formations. Use different shades and blending techniques for depth.
Find the pattern’s details here.
21. Firework Tie Dye Pattern
To create this burst of fireworks, first locate various points that will be the epicenter of individual fireworks. Use different dye shades to draw radiating lines from the center, like fireworks in the sky. Let lines cross and intersect for a dynamic explosion effect. Add dots or splatters in contrasting colors to mimic sparks.
Check out the pattern here.
How to Care for Your Tie Dye Creations
Taking care of your tie-dye pieces ensures they remain vibrant and beautiful. Follow these steps to preserve your creations for years to come.
Washing and Drying: Preserving the Colors
Proper washing and drying are crucial after you’ve made your tie-dye masterpiece. Wash tie-dyed items separately to prevent color bleeding. Use cold water and a gentle detergent to maintain those brilliant hues.
Turn your tie-dye pieces inside out before washing to protect the design and reduce friction. Avoid harsh stain removers or bleach, as they can fade colors quickly. Air dry your items by hanging your tie-dye items in the shade to avoid sunlight exposure that may cause fading. Select the lowest heat setting or air drying if using a dryer, as high heat can dull the colors.
Long-term Care: Tips for Durability
Store your tie-dye pieces separately to prevent wear and tear from rubbing against other clothes for long-lasting vibrancy. Avoid ironing directly on dyed areas to protect the colors. Use gentle stain removers or spot cleaning rather than harsh chemicals when dealing with stains. Lastly, avoid frequent washing and folding as it can weaken the fabric.
Troubleshooting and Fixes
Tie-dyeing can be an exciting adventure, but sometimes, things don’t happen as planned. Here are some handy troubleshooting tips and quick fixes to rescue your tie-dye mishaps.
Fixing Uneven Colors: A Rescue Guide
Imagine unwrapping your tie-dye creation to discover that the colors didn’t spread evenly. Don’t panic; we’ve got a fix. Start by identifying the uneven spots. If some areas appear paler than others, you can touch them up by applying more dye directly to those sections.
Use a small brush or squeeze bottle to target the problem spots, but don’t over-saturate. To ensure even distribution, gently massage the dye into the fabric using your gloved fingers. Let it dry according to the dye instructions once you achieve the desired color balance.
Handling Stains and Spills: Emergency Measures
Accidents are part of the game; here is how to handle them. For fresh spills, act quickly by blotting the area with a cloth or paper towel to absorb as much dye as possible.
Do not rub stains to avoid spreading. If the stain has set, try spot-cleaning with an equal mixture of water and vinegar. Gently dab the stained area, and you may gradually lift the stain with patience. Consider using a color-safe stain remover for stubborn stains, following the product’s instructions carefully.
Tie Dye Patterns (FAQs)
Can I Tie Dye Synthetic Fabrics?
Tie-dyeing synthetic fabrics like polyester or nylon presents a challenge because they don’t absorb dye as well as natural fibers. Special fabric dyes designed for synthetics can help achieve some results, but the colors might not be as vibrant or long-lasting as with natural materials like cotton or rayon.
How Can I Make My Tie Dye Last Longer?
To prolong the life of your tie-dye, wash it in cold water with a gentle detergent and avoid bleach or harsh stain removers. Air drying in the shade or using a low-heat dryer setting can prevent fading. Store ie-dye items separately to minimize wear and tear.
What Can I Do With Failed Tie Dye Projects?
Don’t fret if your tie-dye doesn’t meet expectations. Repurpose it creatively by cutting it up for crafts like patchwork, pillow covers, or tote bags. Experiment with different dyeing techniques to give it a fresh look; failed projects can be a starting point for a unique creation.
Is Tie Dyeing Environmentally Friendly?
Tie-dyeing’s eco-friendliness varies. Using natural dyes on natural fabrics reduces chemical use and is more environmentally friendly. Yet, some commercial dyes and synthetic fabrics have a larger environmental footprint due to production processes and dye disposal. Opt for sustainable materials and dyes to make tie-dyeing eco-friendly while being mindful of waste disposal.
Can I Tie Dye with Natural Ingredients?
Absolutely! Natural ingredients like plants, fruits, and spices can produce eco-friendly tie-dye colors. Turmeric yields yellow, beets create pink, and spinach delivers green hues. While natural dyes may not be as vibrant or long-lasting as commercial ones, they add a special touch to your tie-dye creations and promote sustainability.
Key Takeaways
In conclusion, tie-dye is an ancient art form loved by many for its vibrant colors and patterns. Remember to care for your creations by washing and storing them properly as you start tie-dyeing. If you encounter issues, troubleshooting tips can help.
There are various tie-dye patterns to explore, offering endless creativity. So, enjoy this colorful journey and express yourself through tie-dye, from classic swirls to more complex modern designs.