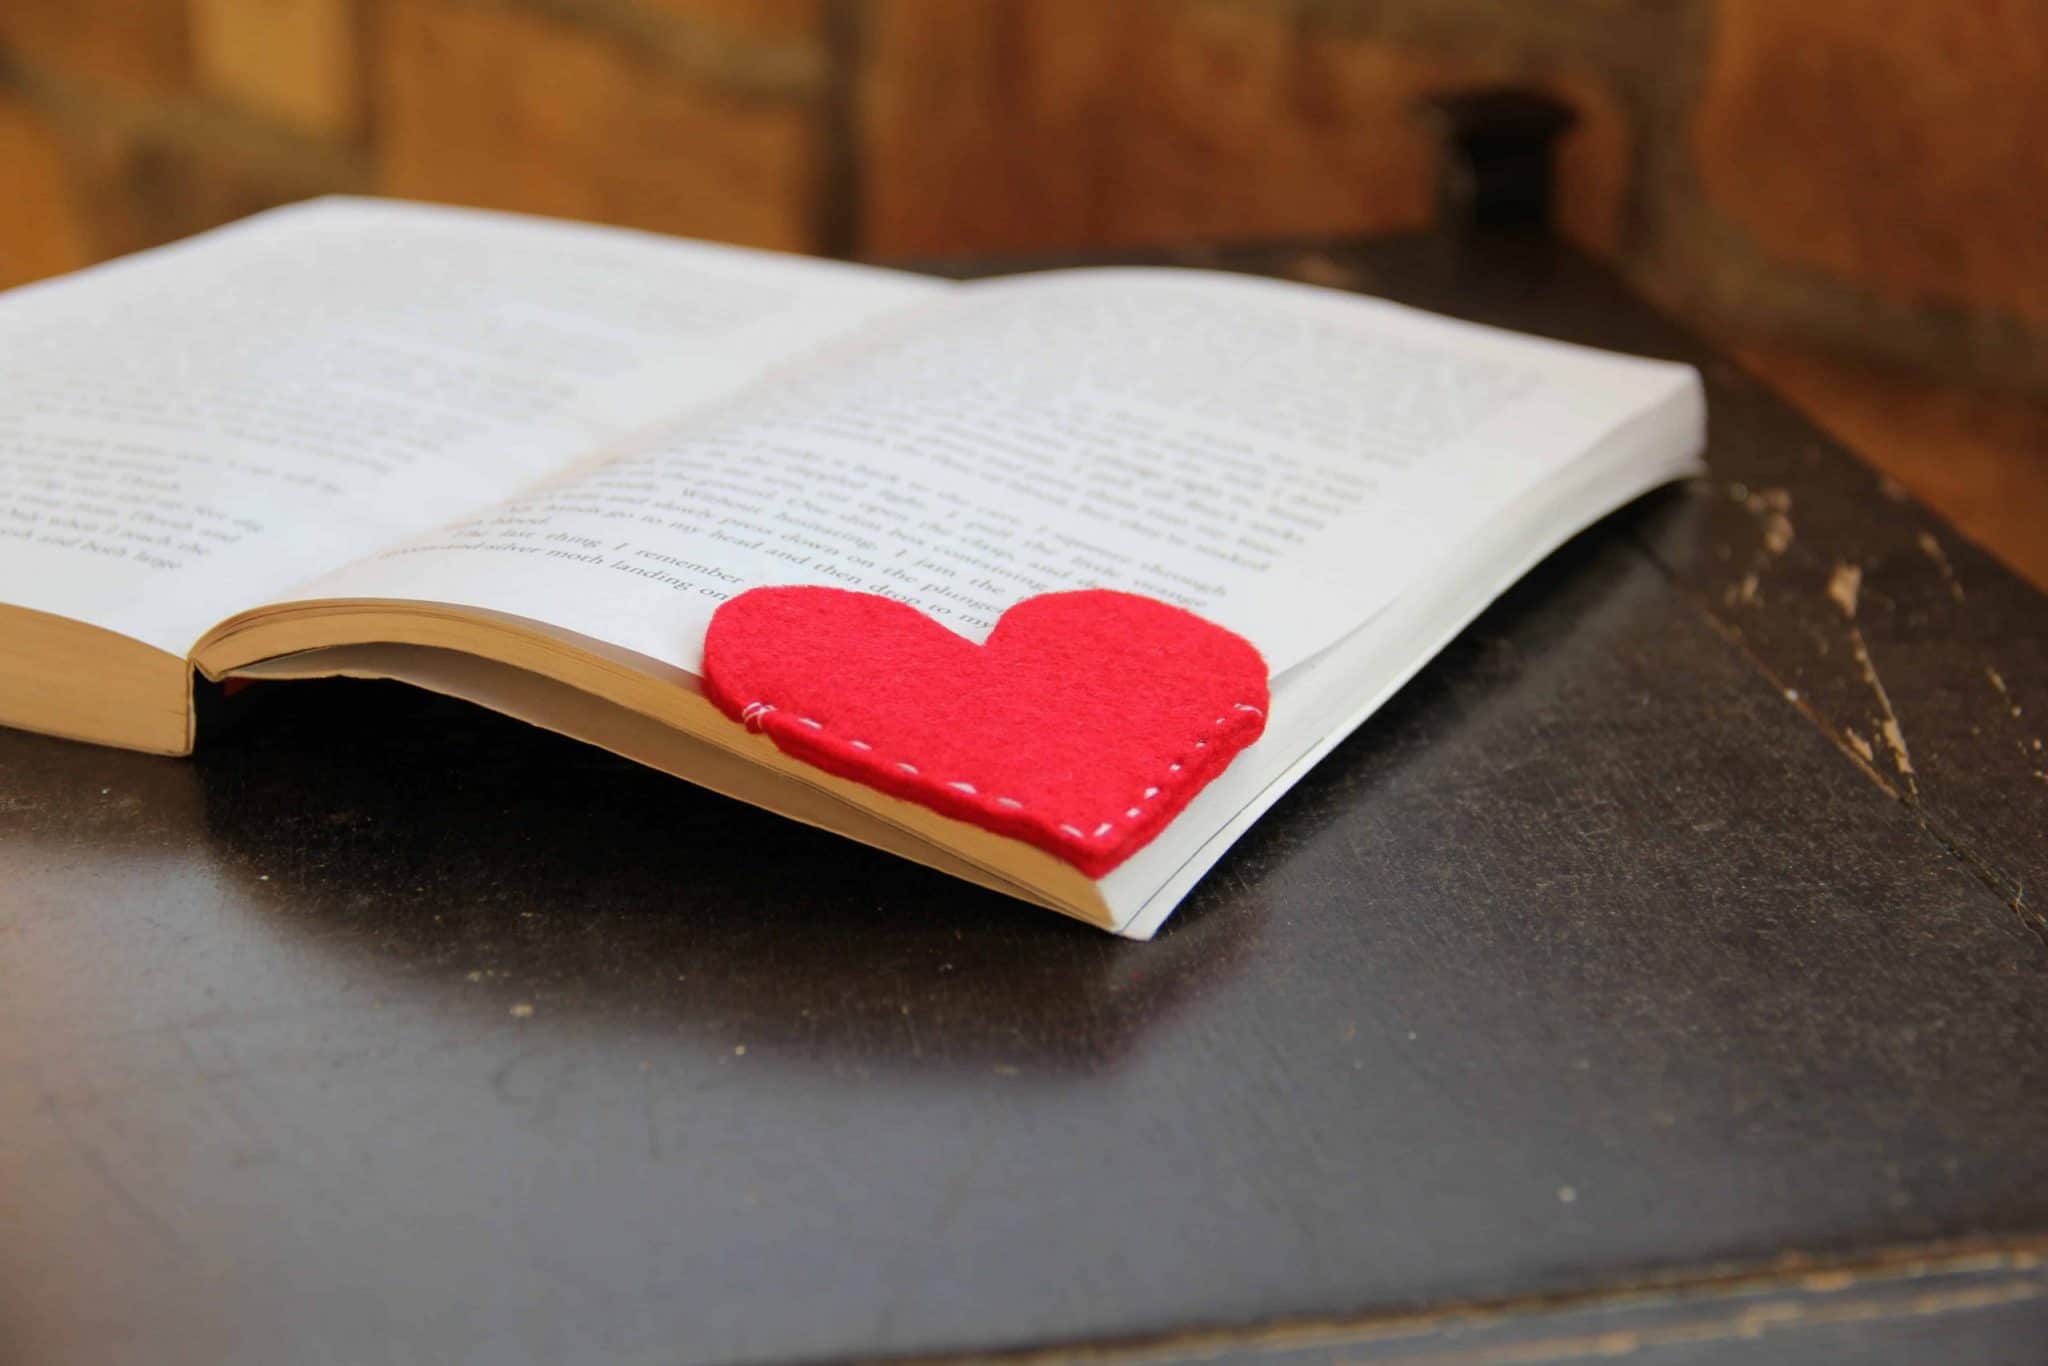
Some friends living in South Korea tipped me off to a trend they’ve seen in stores: the fabric corner bookmark. These slide-on bookmarks can be made from fabric or paper, and I’ve written a tutorial for the fabric version you see here. Wouldn’t these make cool teacher appreciation gifts? Since I have a lot of charm squares, I decided to use those for my bookmarks. Each charm square yields one bookmark, or you can use two charm squares to make two bookmarks with different images on the inside and outside.

Before we begin the tutorial, let me answer the 2 most frequent questions I’ve been asked.
Table of Contents
What type of fabric is best for making a bookmark?
For a bookmark fabric, thicker materials such as denim or cotton are suitable. The bookmark does not need to be remarkably structured, and the thickness of the fabric will usually help maintain its form while being used. All types of fabrics can work well, but one might have to pin or sew a ribbon through it to stay in place when closed around a book spine.
Different fabrics lend themselves better to various applications, but some basic guidelines exist for choosing the right kind. For example, denim is sturdy and durable enough for frequent use yet relatively inexpensive. In addition, heavy-knit cotton garments work well for people who want something less bulky than denim.
How do you make fabric bookmarks stiff?
There are several different bookmarking techniques, and it all depends on your preference in design and how you want to use the finished product. There are many different ways to make a bookmark; it all depends on what fabric is used. If using any form of felt or fleece, ironing the material will help create stiffness for the bookmark. Using fabrics such as cotton and silk requires interfacing material for stability and strength; these materials may be sewn into the design if necessary. Other types of cloth, like jeans, denim, or tweed, can be used as well, but a long strip of double sided interfacing can be sewn onto the edge for stiffness.
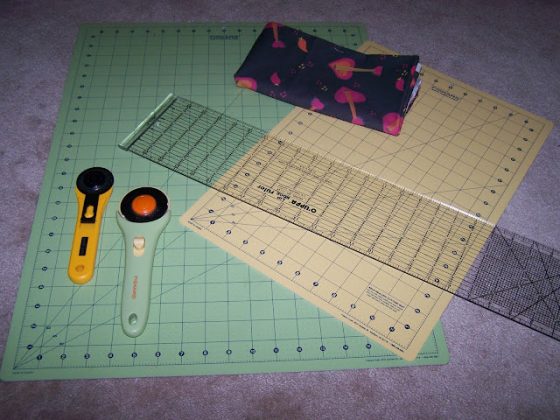
Supplies needed to make a fabric corner bookmark
- 2 Fabric charm squares (5″x5″) of your chosen fabric.
- 5″x5″ piece of medium-weight fusible interfacing (I used Pellon 808)
- Iron, sewing machine, thread, sewing pins

Step 1
Choose two charm squares (or you may use just one if you want the same fabric inside and outside the bookmark).

Step 2
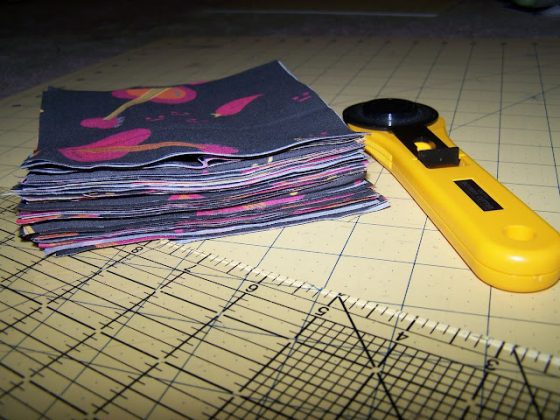
Cut squares in half on the 2.5″ mark using a quality rotary cutter. Set aside half, which you can use for a second bookmark.

Step 3
Use your iron to fuse interfacing to the back of your feature fabric.

Step 4
Pin fabric with right sides together.

Step 5
Stitch 1/8″ from edges, leaving a 2″ gap on one long edge for turning.

Step 6
Clip corners, making sure to avoid your stitch line.

Step 7
Turn inside out and use a pen or turning tool to poke out the corners. Pin opened edge closed.

Step 8
Topstitch 1/8″ from the edge around the perimeter, and press.

Step 9
Fold the rectangle in half and pin one edge perpendicular to the folded edge you just made. Stitch along the pinned edge, 1/8″ from the edge.

Step 10
Open the fabric into a triangle, with the seam you stitched facing the back. Press.

Step 11
Slip the bookmark over the corner of the pages you want to mark. Depending on how many pages you slip inside, these bookmarks can mark two pages at once.

Fabric corner bookmarks are a great 10-minute craft for when you don’t have a lot of time and would be an easy sewing project for beginners. if you’re looking for more fabric bookmark ideas here is an excellent place to start.


48 comments
These are sooo cute! Love how versatile they are and they would make great gifts for teachers and librarians! Also I love how much sturdier they are than paper!
What a clever idea !
Adorable, love this idea!
clever project! I love being able to use scraps or stray charm squares for this.
Thanks for sharing, this is such a cute idea!
I think I’ll make some to send as free gifts for my shop’s customers!
♡
gostei muito criativo
Gostei bem criativo
What a brilliant idea! I will definitely have to make a load of these to give along with books to my nieces at christmas!
great idea. thanks for sharing.
I’ve seen paper ones of these – but never fabric ones! LOVE it! Thanks for the tutorial!
Thanks for linking to a Round Tuit!
Hope you have a fabulous week!
Jill @ Creating my way to Success
https://www.jembellish.blogspot.com/
Love how simple these look and how they will save the pages from being turned down…grrr! 😉
How cute! I know some bookworms (myself included) who would love these!
I would love it if you would link up at Watch Out, Martha!’s first link up party: Martha Mondays on May 7th! Hope to see you there! (www.watchoutmartha.net )
Adorei esse marcador de páginas… é lindo.
Vou levá-lo para o meu blog.
Bjs e obrigada por compartilhar.
Just stopped by to let you know that I featured this on my round tuit post this week!
Thanks again for linking up! Hope you have a great week!
Jill @ Creating my way to Success
These are awesome! I still prefer paper books too, and I have quite a summer reading list. These are perfect! Thanks!
So fun to make!!! I just tried it, and they will be my go-to sweetest little teeny present this year!
So cute! A couple of these will find their way into my 7 year old’s stocking this year!
this is something like I made last year with felt.
Only I cut out hearts decorated one side and the sewed to/gether
I love this idea. It seems that whipping the last seam by hand on the very edge would allow it to lie flatter in the book. Thanks for the tutorial.
I made several of these this week. I followed a commenter’s suggestion to whip-stitch closed the back so it would lay flatter in the book. Worked a treat! Perfect to use a bunch of fabric samples I’d gotten.
So awesome! Thanks for sharing!
This is adorable. Will make them as stocking stuffers for my kids and boyfriend for next year’s Christmas.
Could probably do a narrow zigzag with the right side of the “zig” falling off the edge and just catching the fabric with the “zag” on the left and get a similar effect to the whipstitch.
Sorry, you lost me at “Open fabric into a triangle” – how do you do that? These look so cute, I know I have a bunch of scraps I could cut into 2.5×5 strips (I don’t buy pre-cut packs), could make up a bunch of these for gifts, even my 9-yr old could do this as she’s wanting to learn to sew!
I know it sounds confusing, but if you take it step by step with a bookmark in front of you, and follow with the photos, I think you’ll understand how to make the triangle! But let me know if you still have a question after you try it once. Makes more sense when you have it in front of you!
Lovely idea
This is such a great idea! Thanks for sharing!
Can’t wait to try to make some of these 🙂
thank you! I’ve been wanting to do a bookmark and I love your idea!
I followed the tutorial exactly, but when I turned the seem to the back, it does not line up to be a perfect triangle, the back is longer than the front.
Hi Debi! Yes, that’s how mine turned out, too. You followed correctly. This design is meant to maximize the fabric (two per two charm squares), but feel free to experiment with dimensions if you are after a perfect triangle! Thanks for the feedback. 🙂
Hello! I added and lined up small magnets to the inside of the pockets before sewing them closed. The magnets hold the ‘page marker’ so it doesn’t easily slip off. Just be sure the magnets you choose aren’t too strong or they could tear the pages. “Real books” are too precious to damage, esp. old classics! E-versions are not in my library!
I have the bookmark in front of me now and I’m following the directions exactly and I have no idea how to open it into a triangle! When I pinned the perpendicular edge and sewed along the pinned edge I ended up with a half triangle! Help please!! 🙂
Hi Ashley! I am sorry you’re having issues with the triangle part! If you want to e-mail a pic to me at lindsay.conner(at)gmail(dot)com, I’ll see if I can help!
That’s a really smart tip! Thanks for sharing!
Hi Suggestion?
Hold the piece up, fold in half, turn a little to the left and you will see a triangle.
Love this design! I have one of these from over 60 years ago:) Its made out of some leather. No lining and its embossed in gold with the words…This is where I fell asleep.
Thank you
Julie
I signed up for your blog. Thanks for sharing.
Will definitely be making a few of these for Christmas! Thanks for the pattern!
These are so cute and I loved them so much I added a link to your tutorial in a post I wrote about great Christmas gifts for quilters over on the Quilting Focus blog.
https://quiltingfocus.com/2015/11/christmas-gifts-for-quilters-part-2/
Thanks so much for sharing such a great idea!
I really didn’t know what to do with the seam. It didn’t look good in the back and it didn’t look good in the inside back.
WHERE did you get that ADORABLE hippo fabric?!?!
This was purchased on Etsy years ago! I think it was a Japanese linen.