Have you recently chosen embroidery as your creative outlet? Then, you should master a few elementary stitches that act as the foundation of your learning – one of which is the back stitch. This post will help you do exactly that! You’ll learn how to do an embroidery back stitch and its variations easily in a few simple steps.
The backstitch technique is a simple and classic sewing style, which has been in use for centuries. It is both functional and decorative and is the basis of many other stitches.
So, keep reading to find out more!
Table of Contents
What Is a Back Stitch?
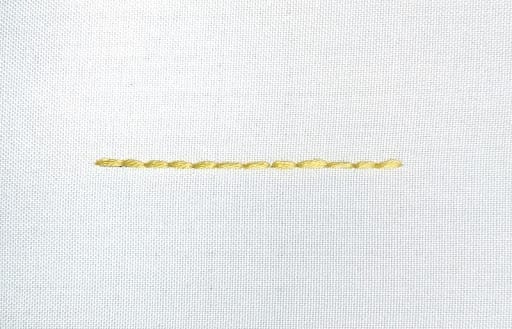
The back stitch is a classic embroidery technique that makes flat stitches on the fabric. You have to take the visible element backward to the ending point of the previous stitch instead of the usual forward movement used in most straight stitches. Hence, the name.
Meanwhile, the design progresses by moving the threaded needle ahead on the backside of the fabric. There’s no space between the short stitches as you create continuous solid outlines. It owes its popularity in hand sewing to the neat and secure finish it produces.
Although simple, the back stitch is a versatile technique. It’s used where strong stitches are needed, like securing seams. You can also use it as an embellishment to make lines and curves. Here, the stitch moves backward on the fabric surface and doubles forward on the back.
When Was Back Stitch First Used?
It’s hard to determine the exact history of the back stitch. All we know is that it has been used for centuries, and the earliest examples of this stitch are the 16th-century Jacobean crewel work from England. But, experts believe it originated earlier.
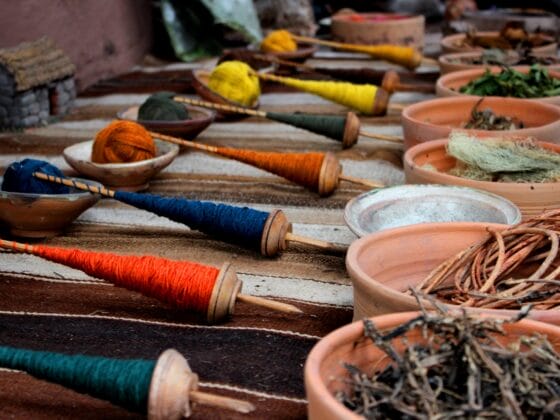
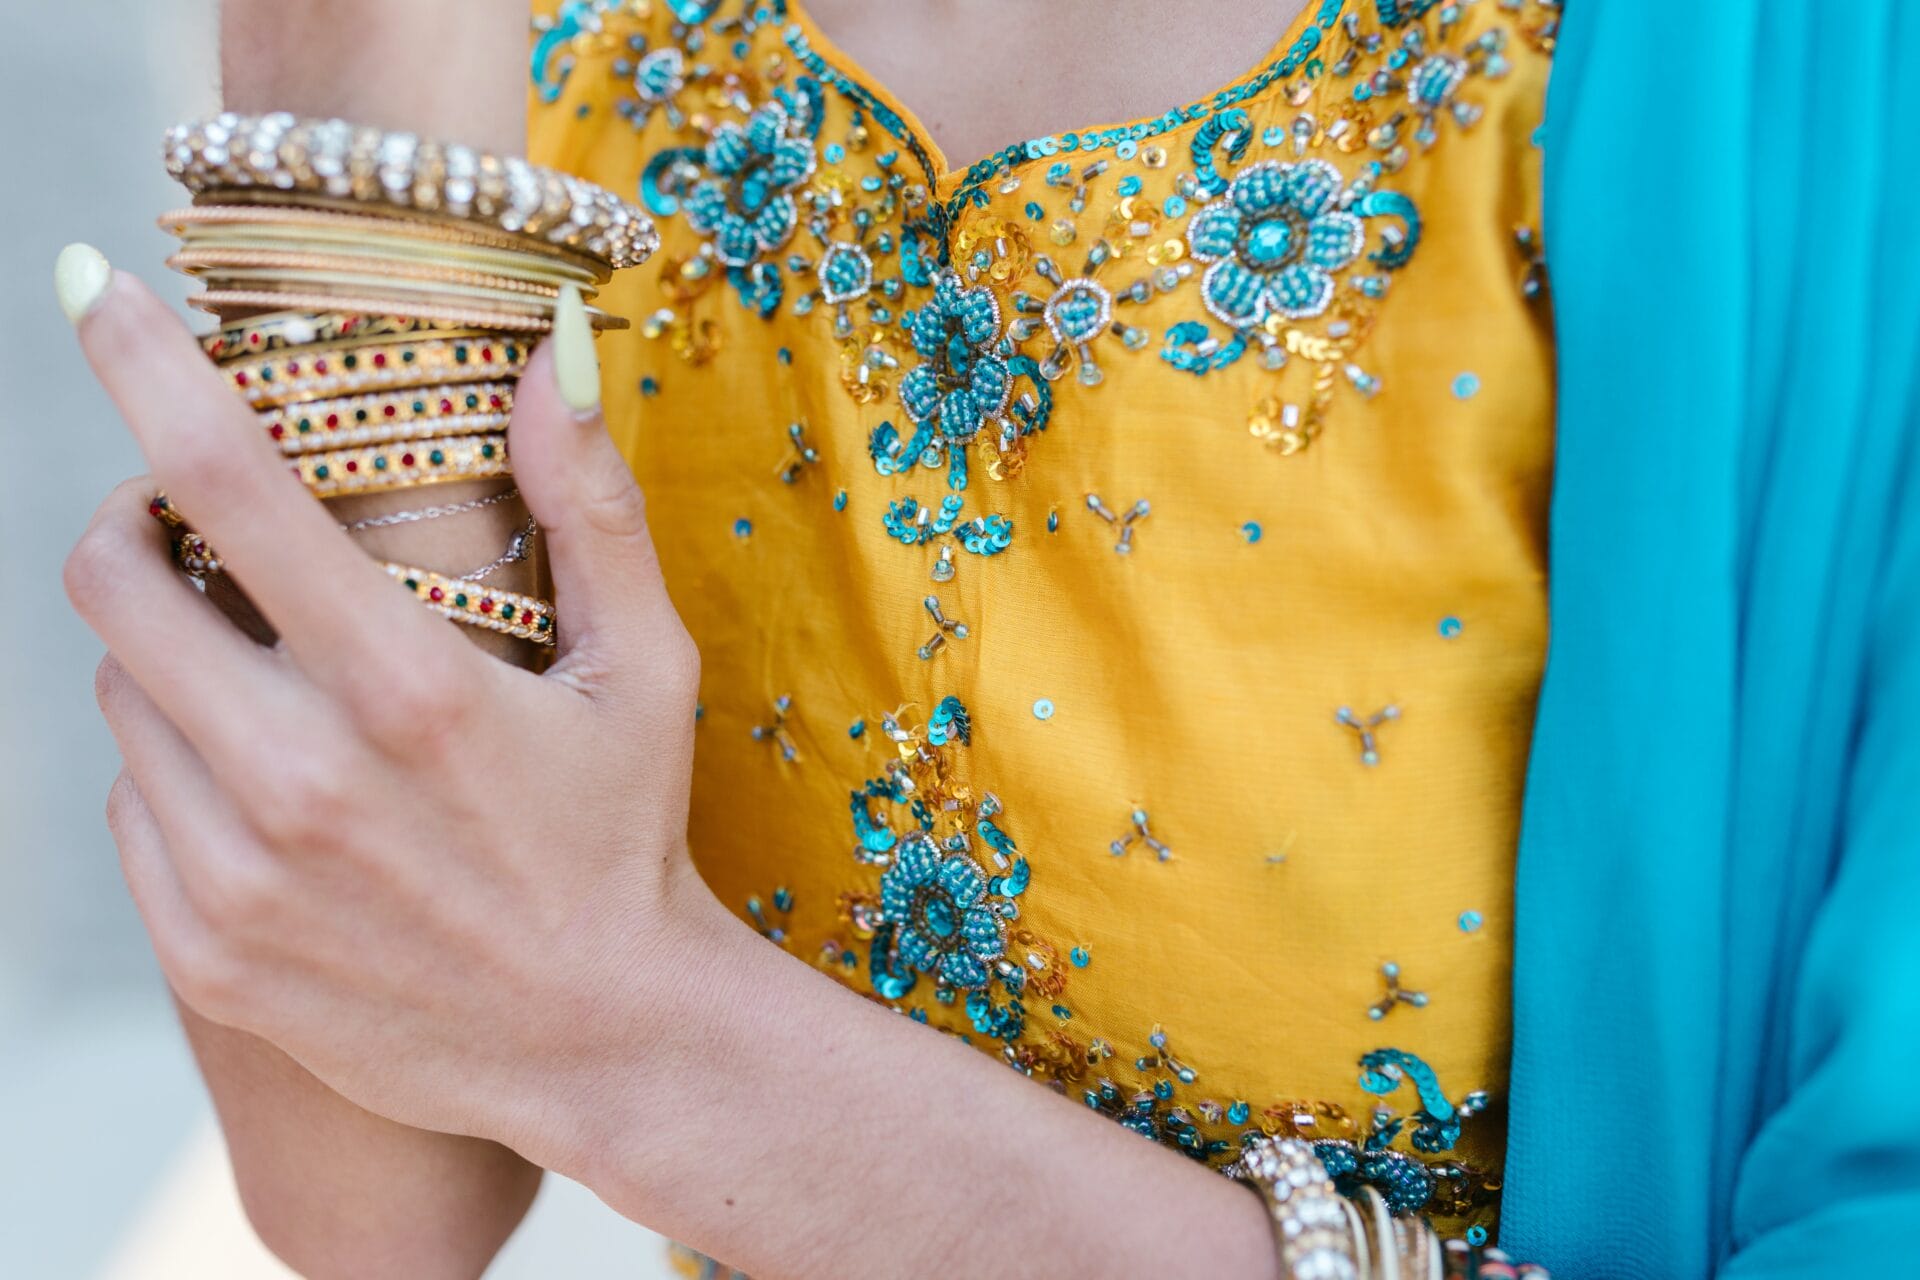
What we do know about this stitch is its extensive use in the 19th and 20th centuries in India and the Middle East.
In India, the 19th-century Chikan and Rabari embroidery styles still use the back stitch, though these styles likely originated much earlier, too.
In the 20th century, it was part of the monochrome counted thread embroidery. Syrian women in Aleppo used it in their would-be husbands’ clothes.
Another Middle-Eastern region to use the back stitch is Jabal Haraz (Yemen). The stitch is seen in indigo-dyed clothes for embellishment. However, the exact period of origin of this style is not clear.
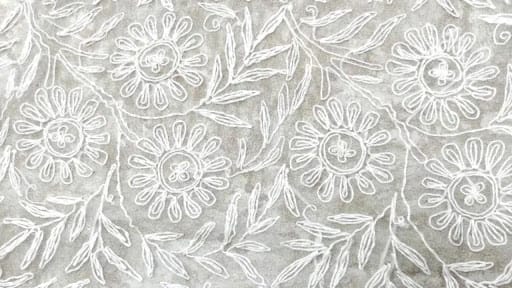
Interestingly, the Portuguese Guimarães whitework uses the back stitch now, among other stitches. But it’s hard to tell if it was part of the original embroidery style that was initiated in the 10th century. It is now seen in cross-stitch and Assisi embroidery.
What Materials Do You Need for a Back Stitch
Back stitch embroidery is flexible and classic. So, you can use a wide range of fabrics, threads, and needles. Plus, you should gather all the basic supplies needed for any sewing project.
Besides the fabric, thread, and needles, you’ll need the following:
- Embroidery hoop
- Needle threader
- Embroidery scissors
- Fabric marking pen
What Thread to Use for a Back Stitch?
You can use any regular thread if you want to use the back stitch for basic stitching, like mending or sewing seams. Using a strong thread like polyester is best to get tough stitches. For decorative purposes, you can use the six-strand embroidery floss.
Suitable Needles for a Back Stitch
You can do a back stitch using a regular embroidery or crewel needle. Or, you can use any other hand-sewing needle for this stitch. The size of the needle depends on the number of thread strands. For more strands, you need a needle with a large eye.
How to Do a Back Stitch Step-by-Step
The back stitch is an ancient and easy technique that even beginners can master quickly. It involves stitching backward on the fabric surface. You can use it for strong seams and to decorate your project with design outlines and details.
Once you have threaded the needle and secured the fabric taut in the embroidery hoop, follow the steps below to implement this hand embroidery technique perfectly.
How to do a back stitch in a few simple steps:
- Place the first stitch
Start by making a single straight stitch. Push the threaded needle up the fabric at point A and push it back down at point B.
- Do a stitch on the backside
Now, make a straight stitch on the backside. Bring the needle up at point C. The size of this stitch should be the same as the first stitch.
- Make a second stitch in the backward direction
Next, make a stitch in the backward direction. Work the needle down into the material at point B, i.e., the ending point of the first stitch.
- Bring the needle up
Then, bring the needle up from the backside at point D. The gap between points B and D should be double the size of the previous stitches.
- Continue by repeating the steps
Again, make a backward stitch by working the needle through point C. This stitch will again be the same as the previous front stitches.
- Secure the backstitch
When finished, secure your back stitch by tying a knot at the backside of the fabric.
As you can see, it’s an easy process. Here’s a quick video to help you understand it better. This stitch can make lines and curves for borders and patterns.
Back Stitch: Variations
The back stitch is a basic sewing technique. It serves as the basis of many other decorative stitches. Let’s take a look at some of the popular variations of the back stitch.
Pekinese Stitch
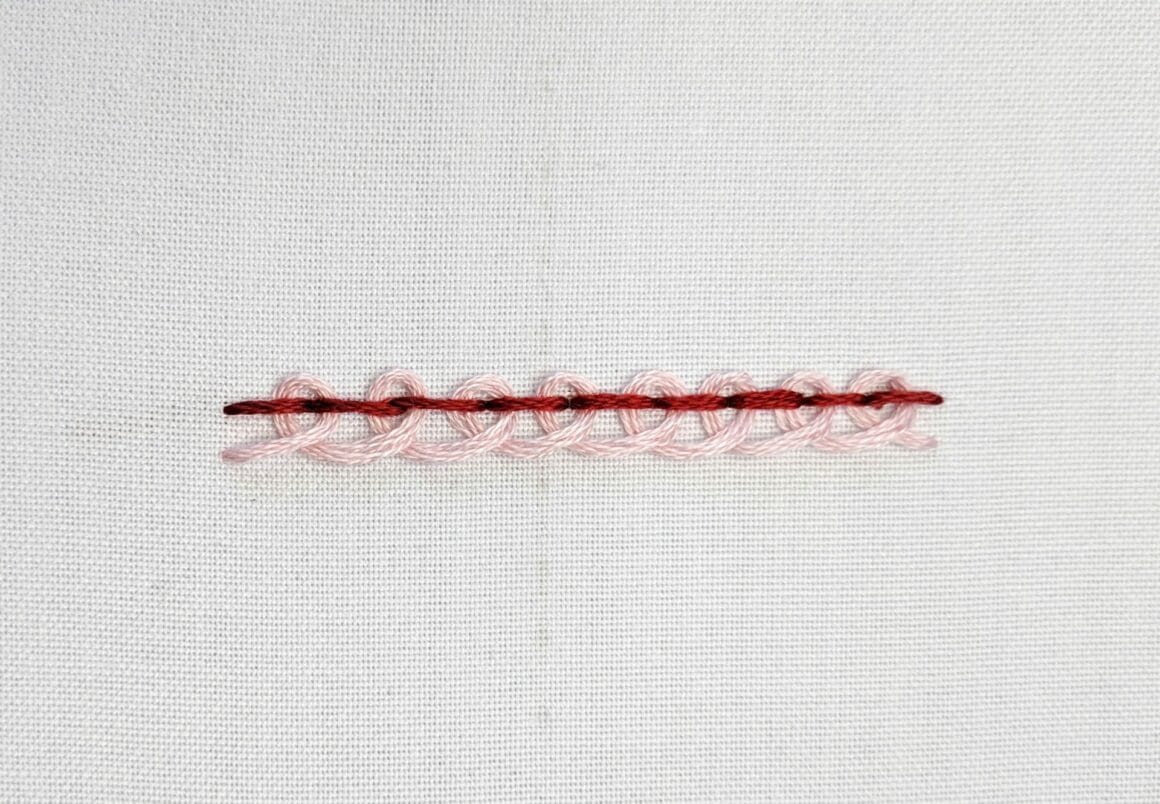
The Pekinese backstitch adds an additional element to the standard stitch. By adding another thread in a specific pattern, you can enhance the appearance of the basic stitch.
Here’s how you can do the Pekinese backstitch:
1. Begin by working a regular backstitch. Start by bringing your threaded needle up from the back of the fabric and make a single straight stitch, moving in the desired direction of your design.
2. After completing the backstitch, bring a second thread (possibly of a different color or type for a decorative effect) up from the back of the fabric at a point close to the end of your backstitch.
3. Loop the second thread around the backstitch in a specific pattern or sequence. This pattern can vary depending on the desired decorative effect. You might loop the thread over and under the backstitch in a repeating manner, creating a braided or woven look.
4. Continue looping the second thread around the backstitch until you achieve the desired decorative effect.
5. Secure the ends of both threads by inserting them back down into the fabric and knotting or weaving them in.
The key to the Pekinese Backstitch is the looping of the second thread around the backstitch to create a decorative texture or pattern. You can experiment with different thread colors and loop patterns to achieve various decorative effects in your embroidery projects.
Whipped Back Stitch
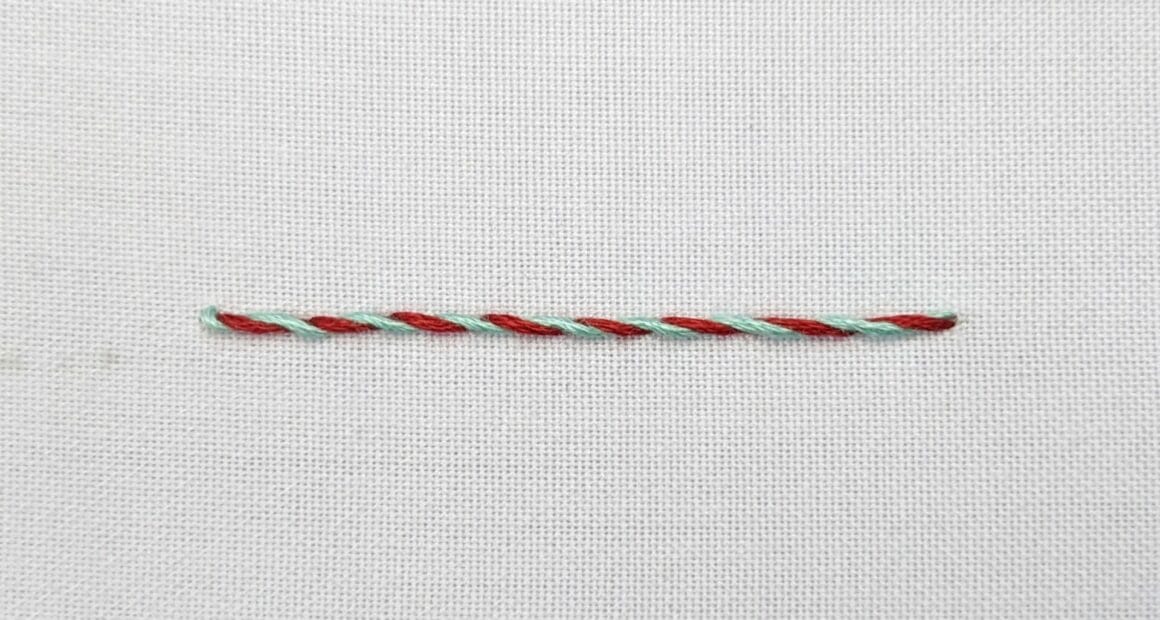
Whipped backstitch embroidery involves adding an extra thread element on top of the backstitch. This gives a raised effect for a textured appearance. You can whip a backstitch. It’s a decorative stitch ideal for outlining or adding depth to your designs.
You can use the same color for the basic backstitch and whipping. However, using contrasting threads can create an attractive appearance. Experiment with different thread colors, types, and thicknesses to create different types of effects.
Here are the steps to create a whipped back stitch:
1. Start by working a basic back stitch. Bring your threaded needle up from the back of the fabric and make a single straight stitch, moving in the desired direction of your design.
2. After completing the backstitch, bring your needle up again from the back of the fabric just outside the first stitch you made.
3. Pass the needle over the backstitch, wrapping the thread around it. Continue wrapping the thread over the entire length of the backstitch.
4. Once you’ve whipped the entire backstitch, secure the end of the thread by inserting the needle back down into the fabric.
Split Back Stitch
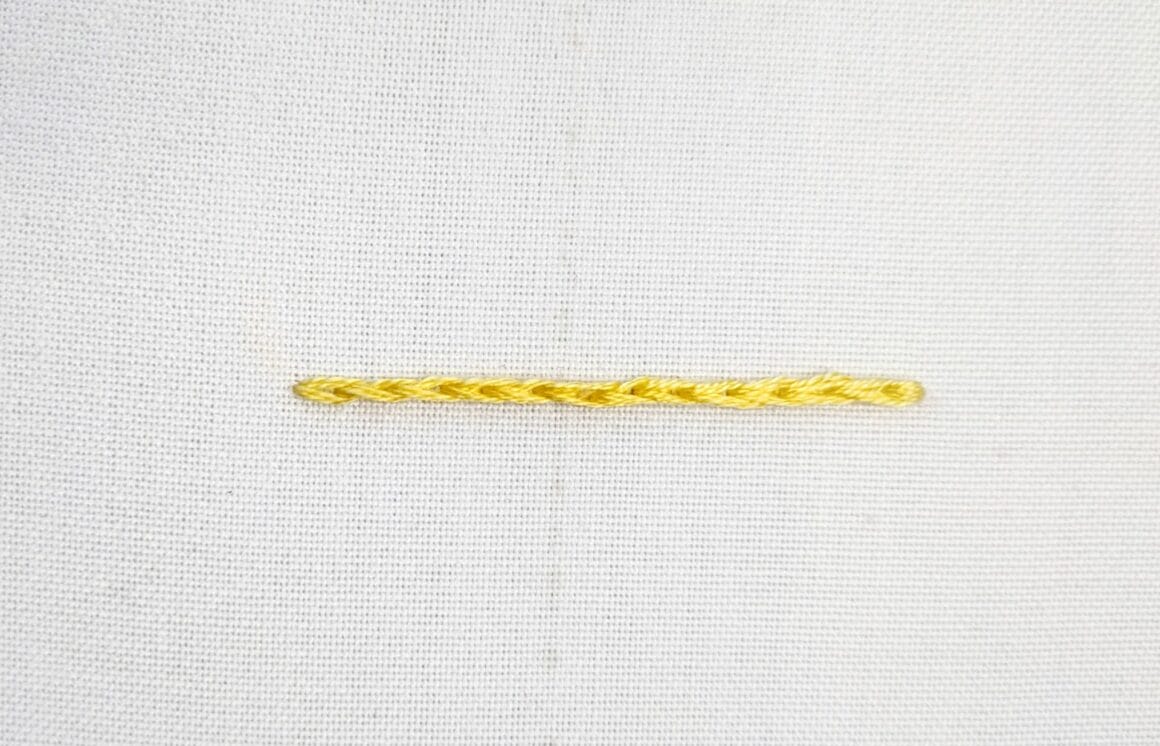
The split back stitch is a variation of the elementary back stitch. Here, you have to split the thread of the stitch on the surface. It creates a neat and smooth line with a subtle layered look that appears great in outlines and fine details of designs.
The texture it creates is different from the regular back stitch. In fact, it is similar in appearance to a regular split stitch. Remember to use threads or strands in pairs, e.g., two, four, six, and so on.
Adjust the length of the stitches to achieve different effects.
Here’s how to do a split backstitch:
1. Start by bringing your threaded needle up from the back of the fabric at the beginning of your design or line.
2. Make a single straight stitch on the surface of the fabric, moving in the direction of your design.
3. Instead of creating the next stitch directly in front of the previous one, move a short distance backward along your design line.
4. Bring your needle up from the back again, positioning it so that it splits the previous stitch in half.
5. Create a new straight stitch forward, passing the needle through the center of the previous stitch.
6. Repeat the process, moving backward slightly with each new stitch and ensuring that the needle splits the previous stitch in half.
7. Continue this pattern until you’ve completed your line or design.
8. To finish, secure the end of the thread by knotting it or weaving it into the back of the fabric.
Other Variations of the Back Stitch
In addition to the above, other variations of the back stitch have also been developed by embroiderers over centuries. These include the following:
- Open back stitch
- Threaded back stitch
- Double threaded back stitch
- Outline stitch
- Ringed back stitch
- Herringbone ladder
- Brick stitch
Back Stitch: Uses and Applications
The back stitch has many uses in embroidery. While it’s great for decorating designs, its usage is not limited to that. It is also a strong and durable stitch. Some of the best examples of backstitch embroidery are as follows:
As a Utility Stitch
- Seaming – The back stitch is a strong and durable sewing technique that can join two fabric pieces.
- Hemming – This stitch can sew down the folded edge of the fabric to conceal the raw fringe.
- Mending – The technique is useful in repairing holes and tears.
As a Decorative Stitch
- Outlining – You can use the back stitch for “drawing” designs and patterns. It can be sewn in straight lines and curves for flowers, birds, leaves, etc.
- Letters – This stitching technique is one of the best options for sewing letters on fabric to create personalized designs in your embroidery project.
- Details – As a decorative stitch, this technique is useful in adding small details. From eyelashes to ornamental elements, it can handle everything.
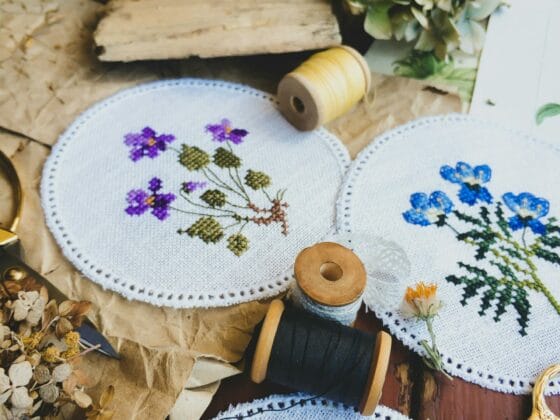
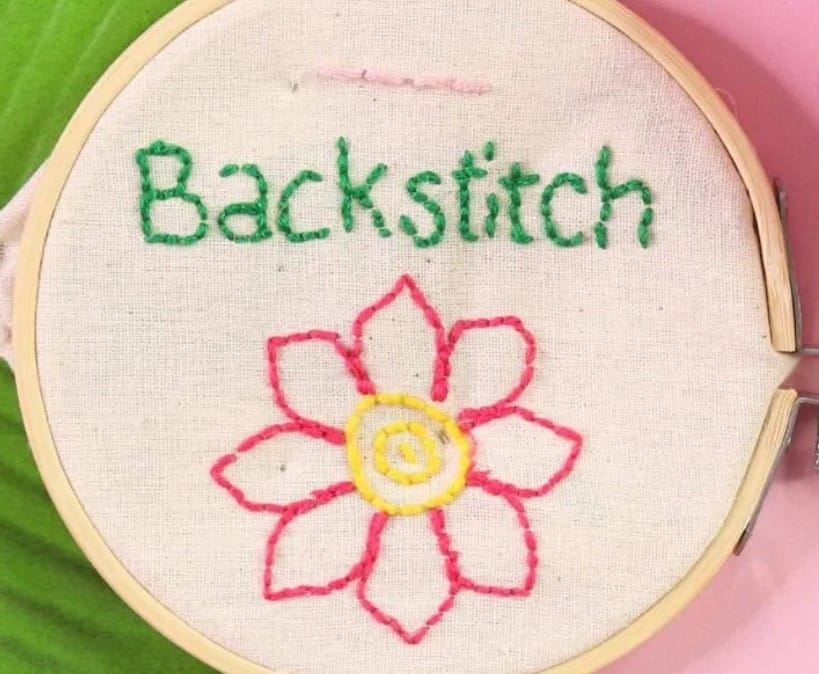
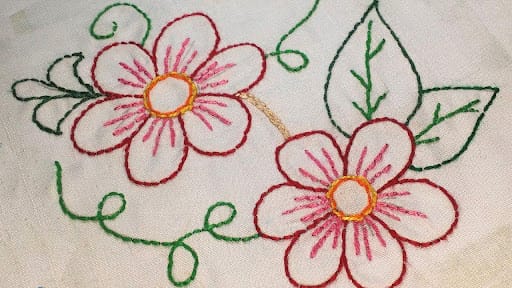
Here’s a simple but beautiful example of using the back stitch for decorative purposes. It’s a pretty floral design that uses back-stitched outlines, which is easy even for beginners in embroidery.
Check out the video tutorial below.
More Embroidery Tutorials
- 20 Essential Embroidery Stitches You Should Know
- The Embroidery Stem Stitch
- The Running Stitch in Embroidery
- The Embroidery Split Stitch
- The Chain Stitch in Embroidery
- The Embroidery French Knot
- The Embroidery Couching Stitch
How to Do an Embroidery Back Stitch: FAQs
Q: Is the backstitch the strongest stitch?
A: The back stitch is one of the strongest in hand embroidery, if not the strongest. The stitch is durable and is considered permanent as they don’t come off easily. You can make the stitch even stronger by using a tough thread material, like polyester.
Q: Why is it called back stitch?
A: The back stitch gets its name from the way it is executed. Unlike regular stitches, the visible portion of this stitch on the surface is achieved by making it in a backward direction. The forward motion takes place on the backside of the fabric.
Q: How long should a backstitch be in embroidery?
A: The length of each back stitch depends on the pattern. It is usually between 3mm and 6mm. For straight-line patterns, you can use longer stitches. But for curves, it’s best to use short stitches for a clean finish. It’s also better to use longer stitches as a beginner.
Q: What is the difference between a running stitch and a back stitch?
A: The running stitch and the back stitch are basic hand embroidery techniques. The running stitch is a series of straight stitches moving forward in the design’s direction. In back stitch embroidery, each stitch is sewn backward on the surface of the fabric.
Conclusion
The back stitch is an ancient and basic embroidery method with a lost history. But it has not lost its significance. It is used by beginners and experts alike.
Once you master executing this stitch, you can use the back stitch and its variations in advanced embroidery. You can even try your hand at styles from around the world, including Chikan.