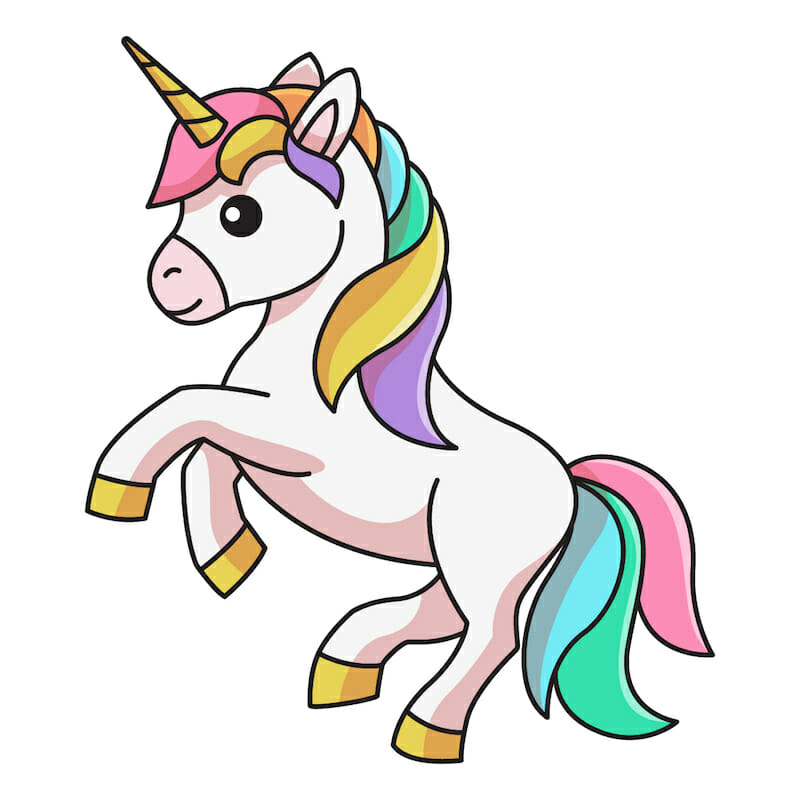
Welcome to our magical journey of drawing! Today, we’ll be guiding you through a delightful experience as you bring to life one of the most enchanting creatures of all – the unicorn! 🦄 With simple steps and easy-to-follow instructions, you’ll transform basic shapes into a beautiful unicorn that you’ll be proud to show off. So grab your drawing tools, and let’s get started!
Table of Contents
- 1 Draw a Unicorn like an Expert: Top Tips from the Pros
- 2 13 Easy Steps to Draw a Unicorn
- 2.1 Step 1: Draw The Uicorn’sMagical Eyes
- 2.2 Step 2: Depth in the Eyes
- 2.3 Step 3: Crafting the Unicorn Face
- 2.4 Step 4: The Unicorn’s Pride – The Horn
- 2.5 Step 5: Complete the Unicorn Head
- 2.6 Step 6: Graceful Neck
- 2.7 Step 7: Detail The Unicorn Mane
- 2.8 Step 8: Building the Unicorn Body
- 2.9 Step 9: Body and Support
- 2.10 Step 10: Four-Legged Beauty
- 2.11 Step 11: Create the Unicorn Flowing Tail
- 2.12 Step 12: Marvel at Your Creation
- 2.13 Step 13: A Splash of Color
- 3 How to Draw a Unicorn Full Video Tutorial
Draw a Unicorn like an Expert: Top Tips from the Pros
Tips
- Start with Light Lines: Begin your drawing using light pencil strokes. This makes it easier to erase and adjust as you go.
- Use Quality Paper: If coloring, ensure you’re using drawing paper that won’t easily tear or smudge.
- Practice Basic Shapes: Since the tutorial begins with circles and curves, practicing these on a spare paper can help in achieving smoother lines.
- Personalize Your Unicorn: Once you’ve mastered the basics, feel free to add personal touches like stars, different hairstyles, or unique colors.
Potential Issues and Solutions:
- Uneven Eyes:
- Solution: Use a coin or any round object as a stencil to get perfectly round eyes. Ensure both eyes are aligned by drawing a light horizontal line as a guide.
- Horn Proportions:
- Solution: Before finalizing, lightly sketch the horn and see if its proportions match the head. If it is too large or small, adjust accordingly.
- Leg Length Discrepancy:
- Solution: Draw a horizontal baseline for where all the hooves should end. This ensures that all legs are of the same length.
- Difficulty in Coloring Within Lines:
- Solution: Opt for finer tip coloring tools for intricate areas. Practicing coloring on scrap paper can also help improve control.
- Blended Colors Smudging:
- Solution: Wait for one color to dry completely (if using paint or markers) before applying another next to it. For colored pencils, layer lightly and blend using a white pencil or blending tool.
- Tail or Mane Not Flowing Naturally:
- Solution: Look at references to horse manes and tails. Practice drawing flowing, wavy lines to achieve a more natural look.
Remember, drawing is as much about enjoying the process as it is about the final outcome. Every artist has their own style, and every drawing is a learning experience. Embrace the journey and have fun creating your unicorn! 🦄🎨
13 Easy Steps to Draw a Unicorn
Step 1: Draw The Uicorn’sMagical Eyes
Draw the Gaze: Begin with a circle shape for the eye. Within this circle, draw a slightly smaller circle for the iris.

Step 2: Depth in the Eyes
Add Contrast: Shade the area between the smaller and the larger circle with black color, giving depth to the eyes.

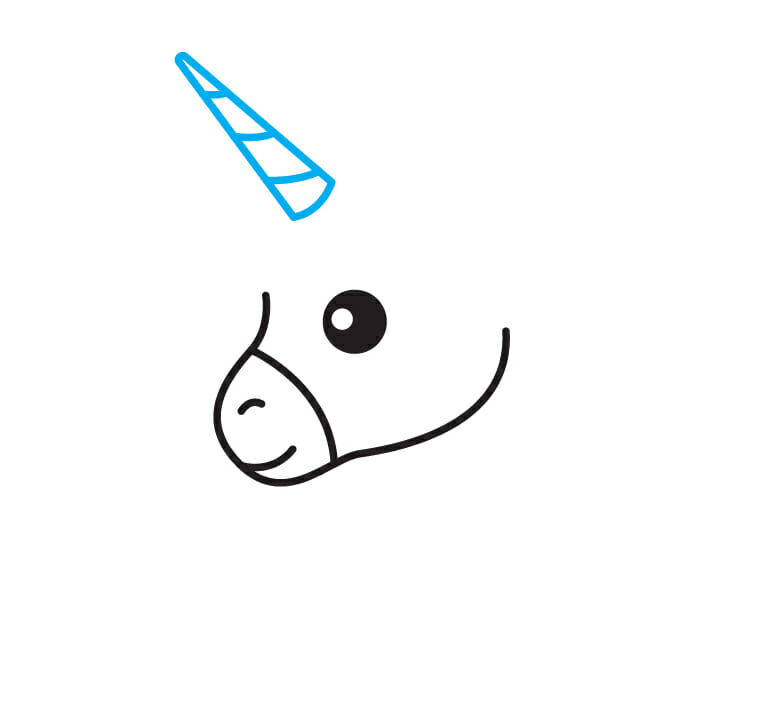
Step 3: Crafting the Unicorn Face
Shape the Head: Sketch the facial contours, making sure to add the mouth and nose to bring character to your unicorn.

Step 4: The Unicorn’s Pride – The Horn
Horn Creation: Draw a “V”-shaped horn protruding from the head. Add some intricate details within the horn for a touch of magic.
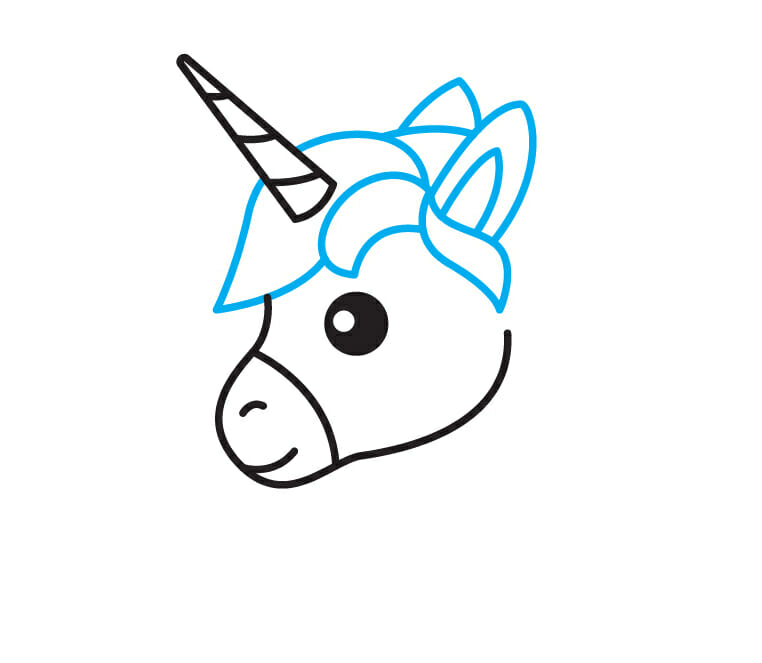
Step 5: Complete the Unicorn Head
Ear Details: Continue shaping the head, and don’t forget to draw pointy ears that listen to the whispers of the wind.
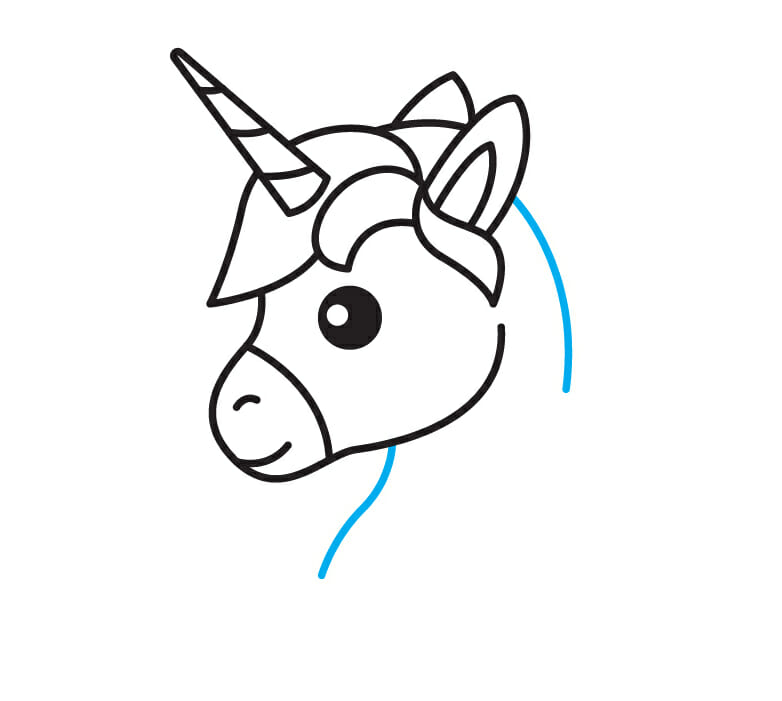
Step 6: Graceful Neck
Extend the Form: Draw two gently curved lines extending downwards from the head to form a slender neck.
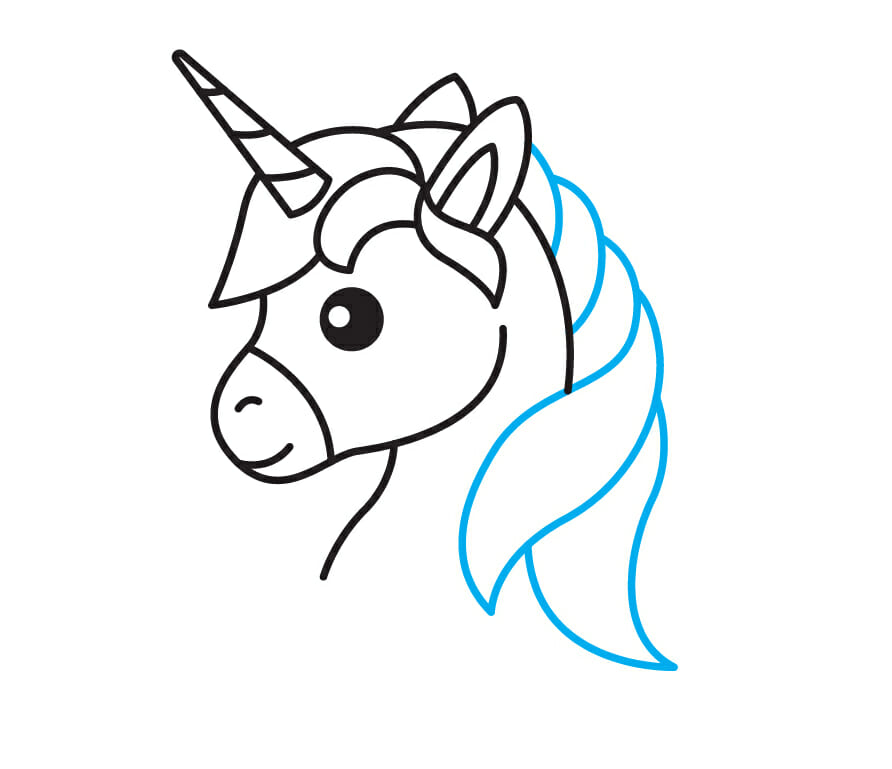
Step 7: Detail The Unicorn Mane
Added Texture: Incorporate some elegant details on the back of the neck to give it depth and dimension.
Step 8: Building the Unicorn Body
Front Leg First: Sketch out the upper portion of the unicorn’s body and its front leg, capturing its strength and grace.
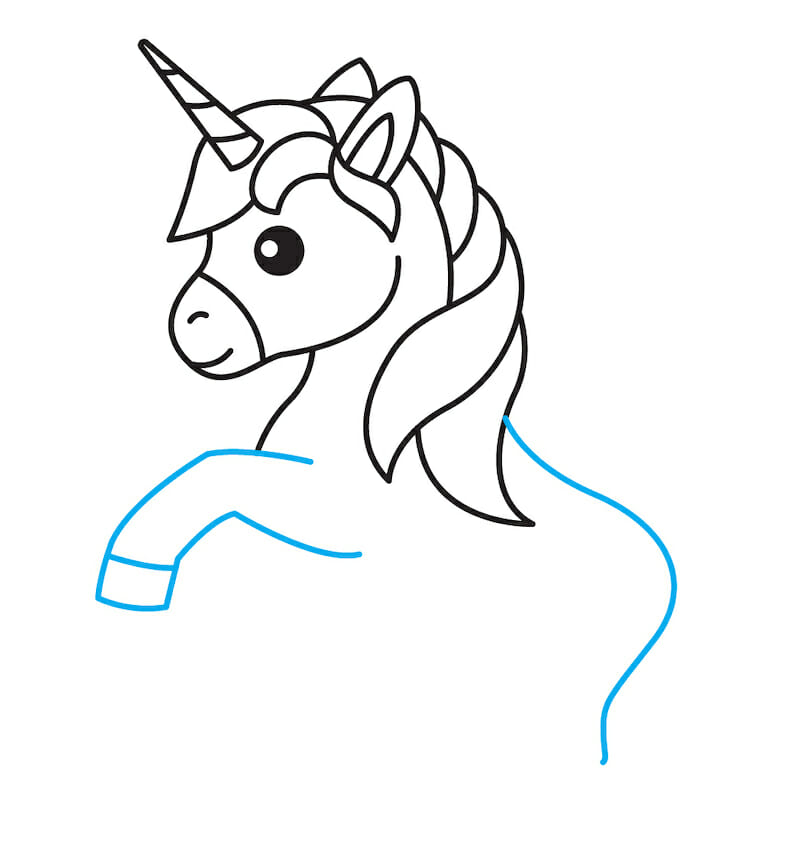
Step 9: Body and Support
Back Leg: Complete the body’s outline with another curved line, and then draw the sturdy back leg.

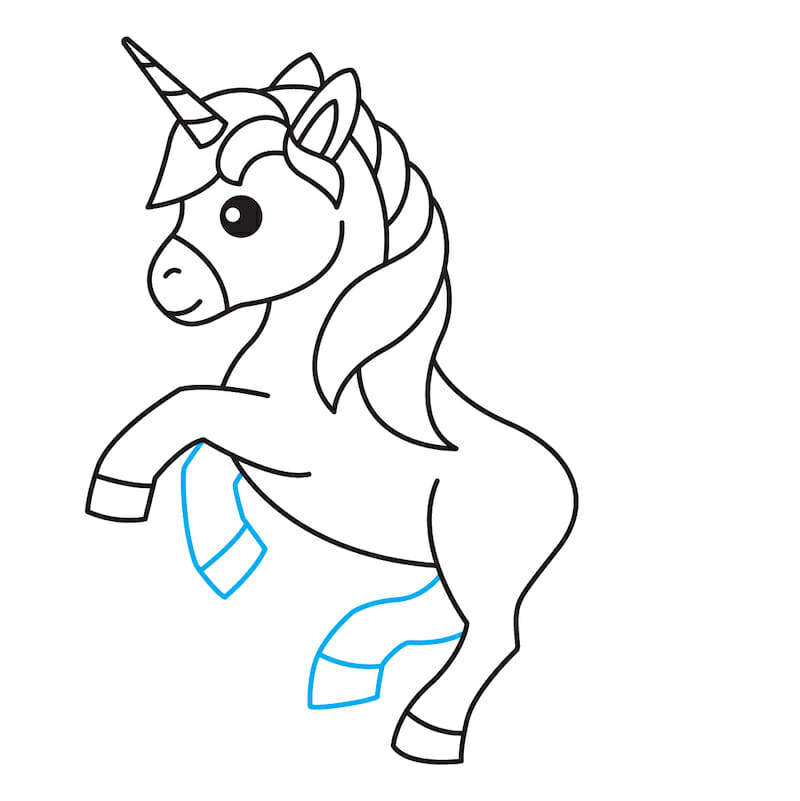
Step 10: Four-Legged Beauty
Stability: Add two more legs to balance out the unicorn, giving it a poised and perfect stance.
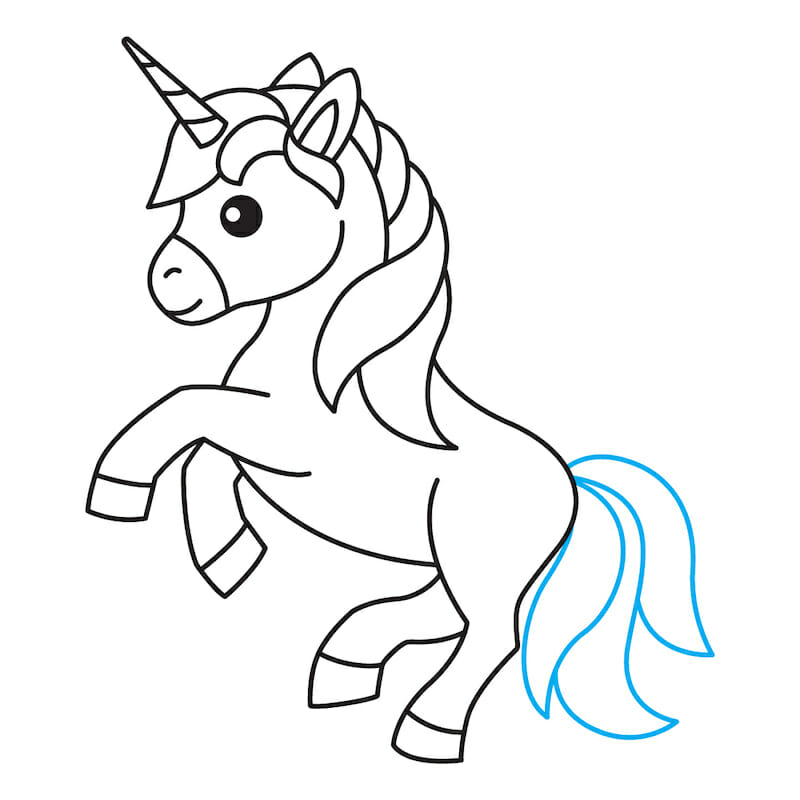
Step 11: Create the Unicorn Flowing Tail
Windswept Wonders: Draw a tail that comprises three leaf-like shapes, symbolizing its flowing beauty.
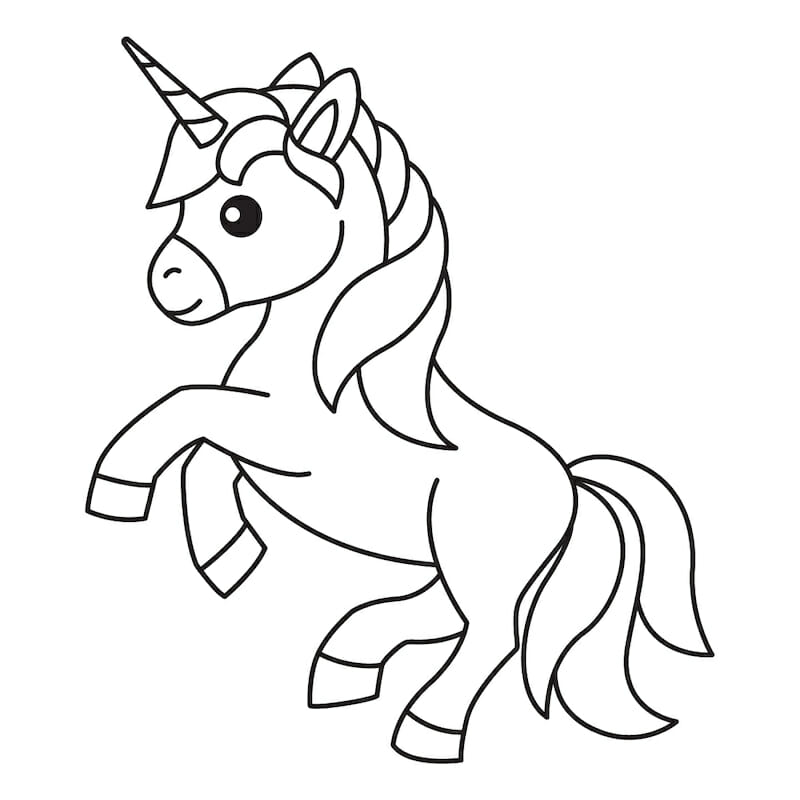
Step 12: Marvel at Your Creation
Take a Bow: You did it! Admire the magical unicorn you’ve created. Every line and curve has brought it to life.
Step 13: A Splash of Color

Vibrant Hues: Enhance your drawing’s beauty by adding colors. Here are some example colors for reference, but feel free to let your imagination run wild!
How to Draw a Unicorn Full Video Tutorial
More Drawing Tutorials
- How to Draw Pokemon
- How to Draw Sonic
- How to Draw a Cartoon-Style Dragon
- How to Draw Fire
- How to Draw Naruto
- How to Draw a Dinausor
- How to Draw a Snowflake
- How to Draw a Bunny
- How to Draw a Cow Easy
- How to Draw a Cute Fox
- How to Draw a Tiger
- How to Draw a Penguin
- How to Draw a Turkey
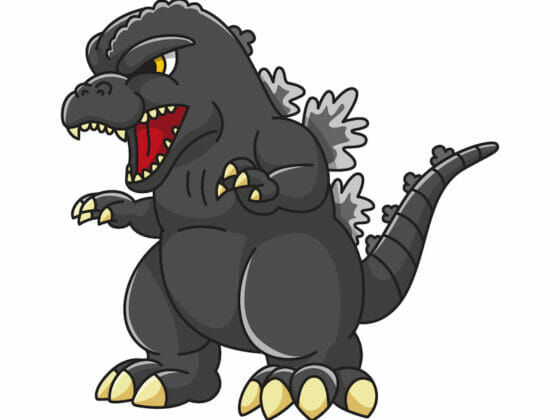
- How to Draw Godzilla
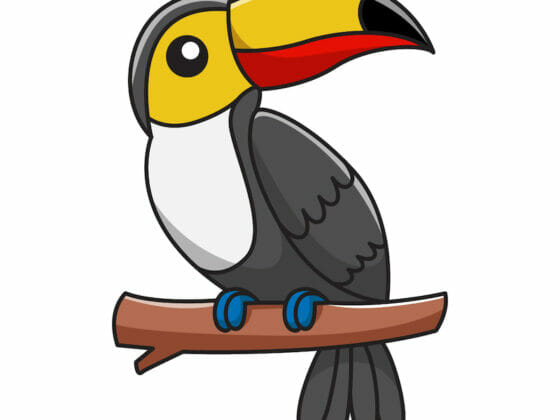
- How to Draw a Toucan
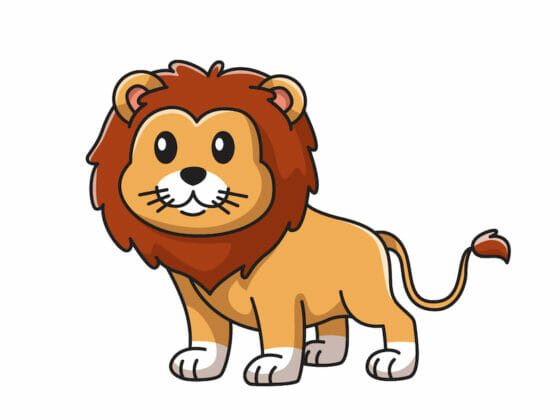
- How to Draw a Lion
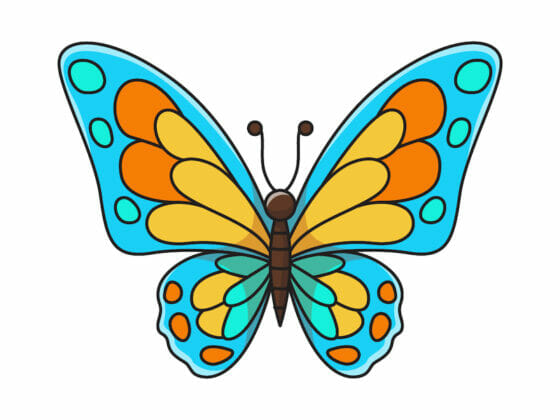
- How to Draw a Butterfly
- How to Draw a Dolphin
Remember, every artist has their own unique style, so if your unicorn looks a little different, that’s perfectly okay. It’s your own magical creation! Enjoy the process, and keep drawing! 🌟🖌🎨