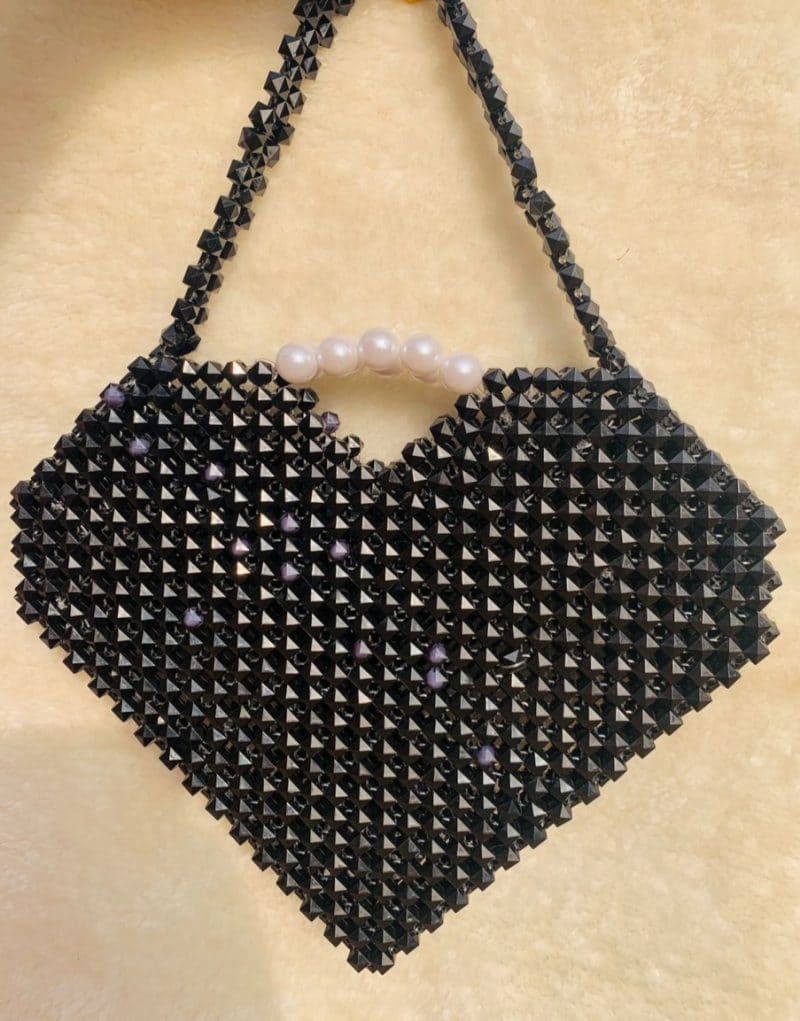
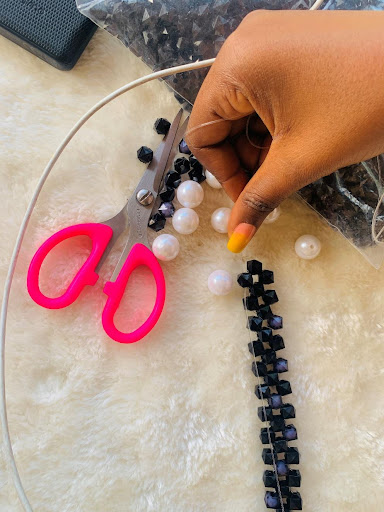
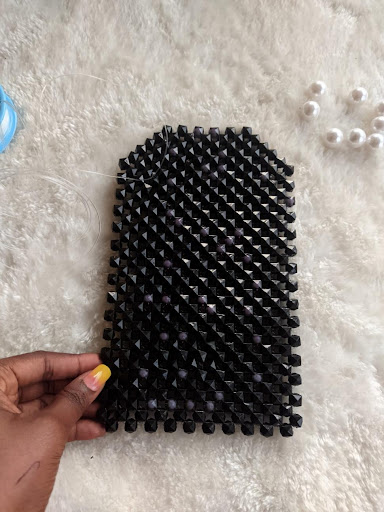
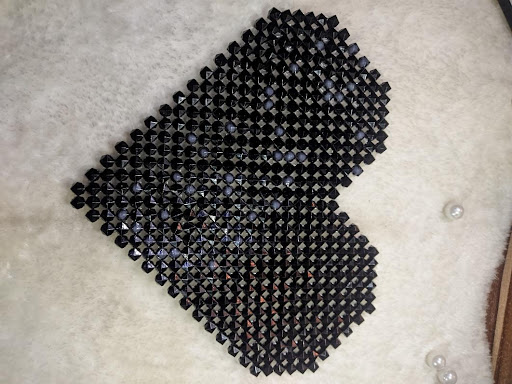
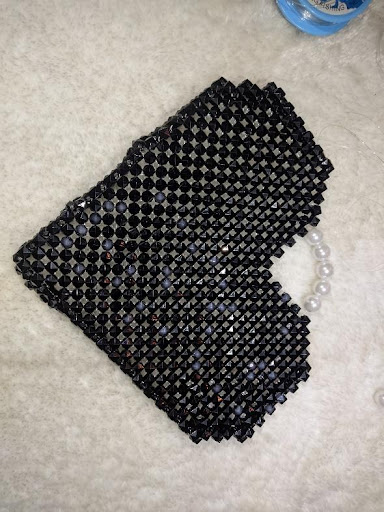
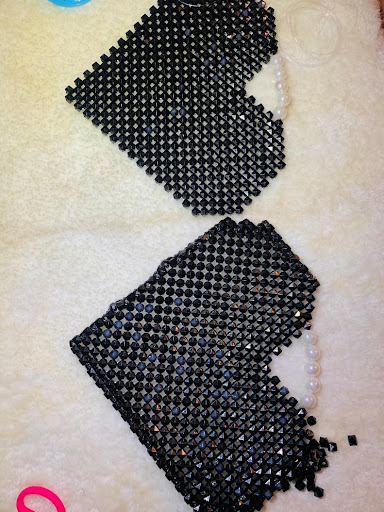
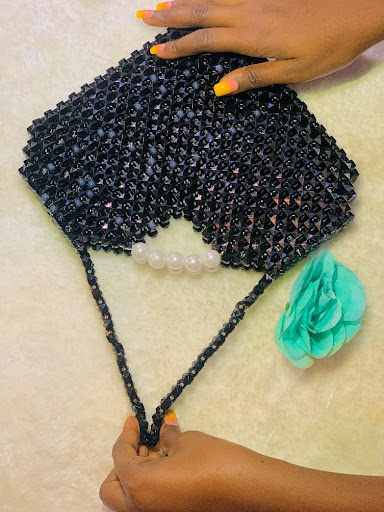
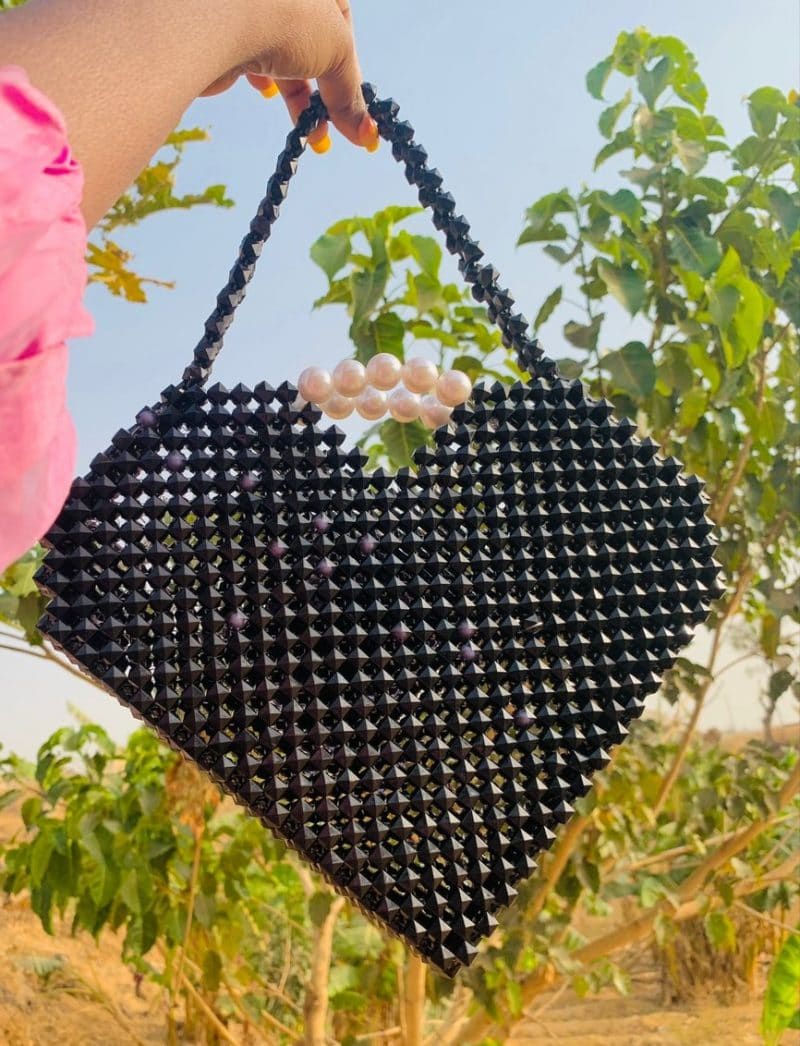
This beaded purse is the perfect accessory for any outfit. The black beads add a touch of glamour, and the purse is big enough to hold all your essentials. It would make an excellent gift for any occasion. Follow this tutorial and make this heart-shaped beaded handbag in any color you fancy to match your favorite outfit!
Table of Contents
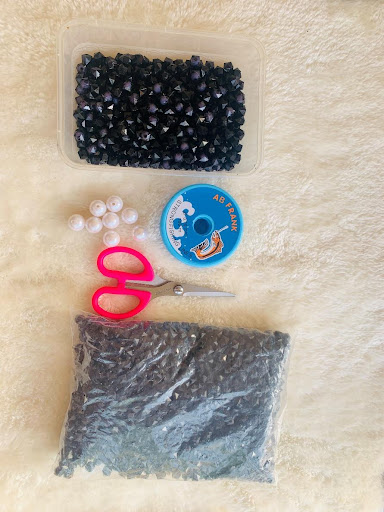
MATERIAL needed to make your beaded purse or handbag
- 70 mm fishing line
- Black Sugar beads size 8
- Pearls size 16
- Pair of scissors
Step by step video tutorial: How to make a beaded purse
Related posts:
Step 1
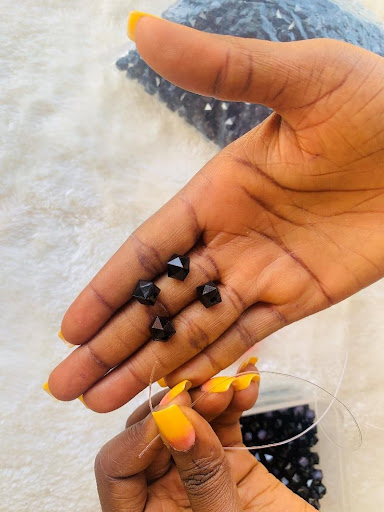
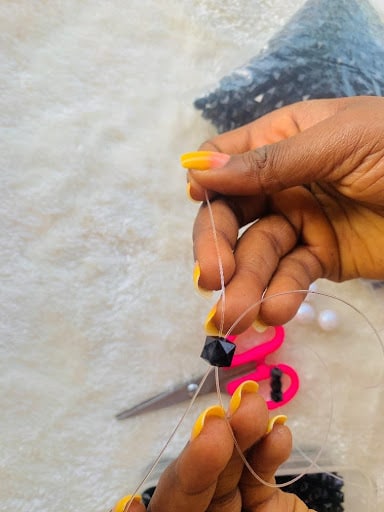
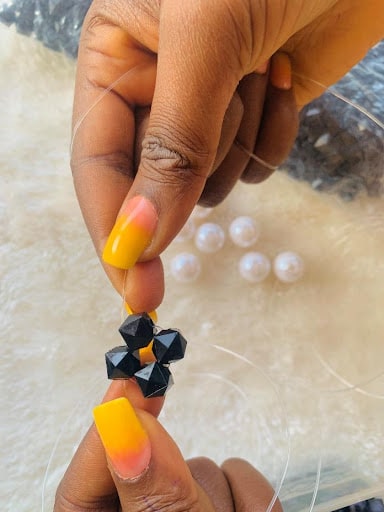
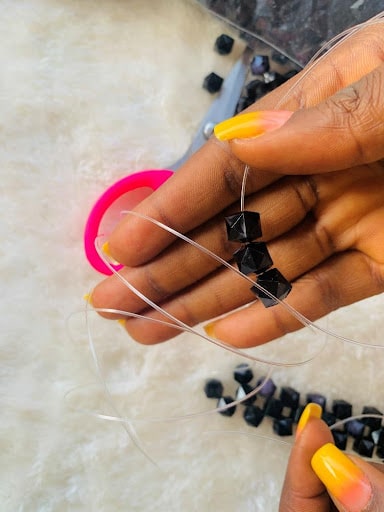
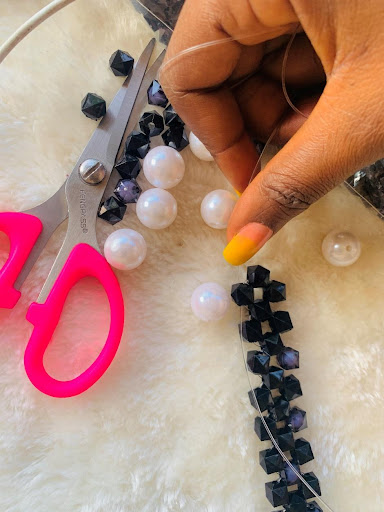
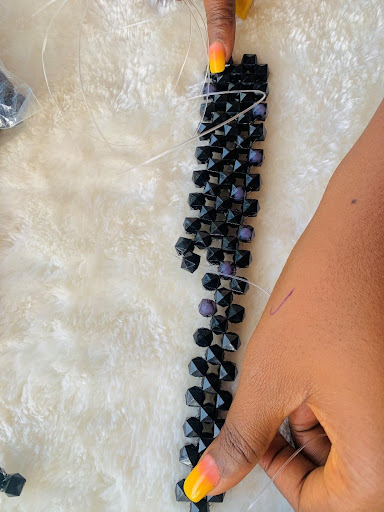
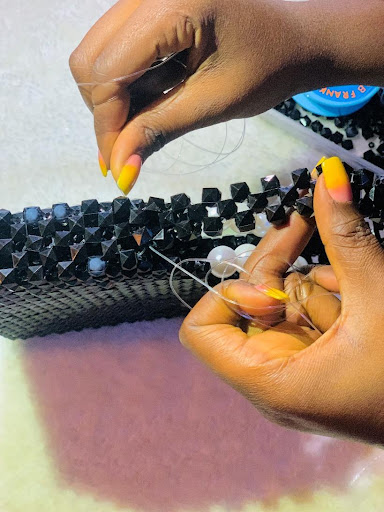
Cut a very long piece of fishing line (as long as you can handle it), thread three beads, and then cross with one bead. Pull the lines at both ends to make a knot and ensure the knot is firm.
In the beginning, you may encounter some difficulties as the lines may tangle, be patient and carefully untangle them. (Using longer fishing line makes your work tidy and neat)
Step 2
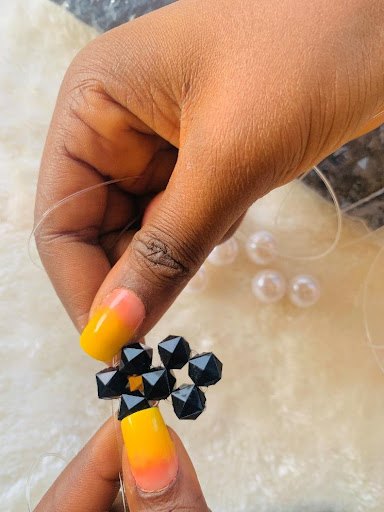
After making a knot, you will see that one of the lines is on the left and the other is on the right. Now, pick 3 beads, putting one on the left line, and the other on the right line, and then make a knot with the last bead left, as shown in the picture below:
Step 3
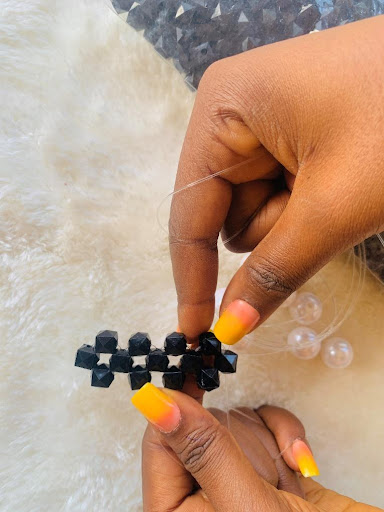
Repeat the process of adding 3 beads 17 times as shown in step 2 above, we threaded 3 lines, so we are left with 14 more lines to round up. Cross your bead to turn over when you get to the 17th bead. How? Put 2 beads on your left string above and cross with 1 bead on the right. Now, you have turned to the right.
Step 4
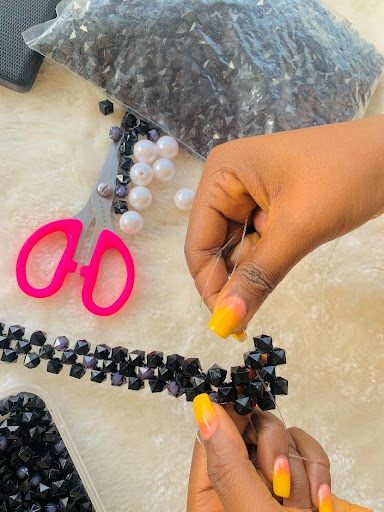
At this stage, you will observe that threading 3 beads in the lines build a pattern. This pattern is called matting. Still on the right as shown in step 3 put 2 beads on the left string and 1 bead on the right string and then repeat the process of making a knot with the last bead you picked. You will see that your pattern is facing downwards.
Now, we shall pick each of the beads as shown in the video. Each time you pass your string through one bead by the side, you add two more beads on your right-hand side, putting one bead on the line and making a knot with one bead as you have done previously.
Step 5
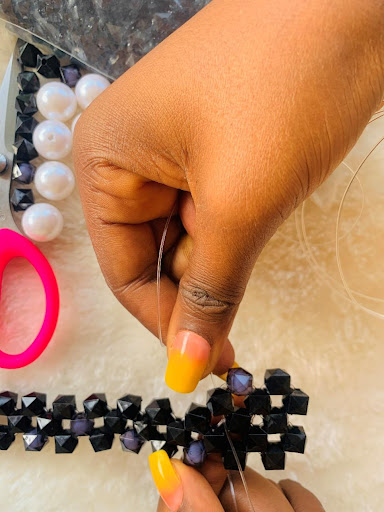
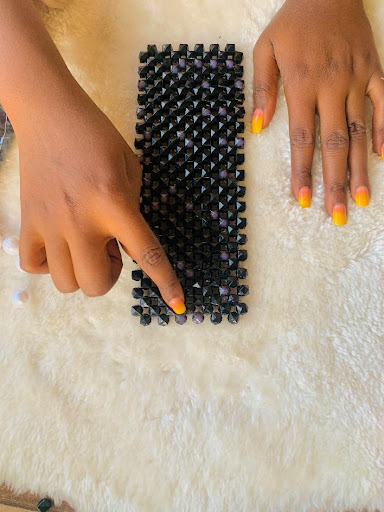
Repeat the process in step 4 until the last bead. Entering the last bead, add 2 beads on the line above, put one in the line below and make a knot. You can see that you are making a circular pattern of 4 beads each.
We shall do this and repeat the process of turning as shown below until the length of the beads is up to 6 lines. By now, your line may be finished, and you must tie it properly. You can see how to tie your line properly following a zig-zag pattern in the video.
Step 6
Cut a fresh long line. Instead of placing your line on the first bead, skip one bead and start from the next bead. Pick 3 beads, put two of the beads on the left line, pick one of the beads and make a knot.
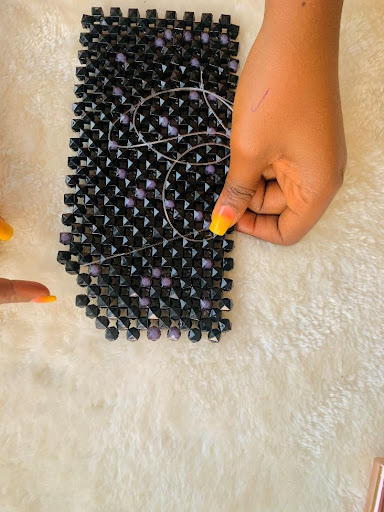
Now, continue the pattern of adding 3 beads up until the end, as you can see in the picture below. Once you are done, you repeat the process of turning as shown earlier. Picking one more bead and stopping at the second to the last bead. Hide your line following a zig-zag pattern as you saw in the video, tie your line twice and cut neatly.
Step 7
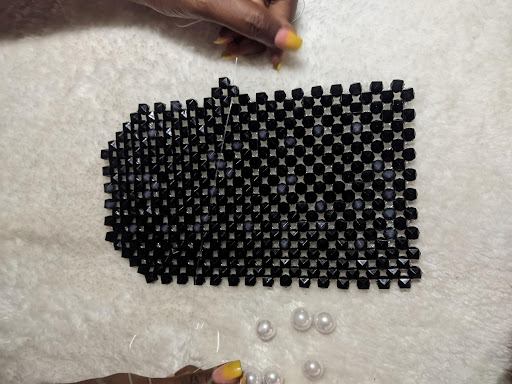
You will observe a pattern. Now repeat the process as shown in step 6 on the other side of the bead. You can see that the shape is like a huge arrowhead.
Step 8
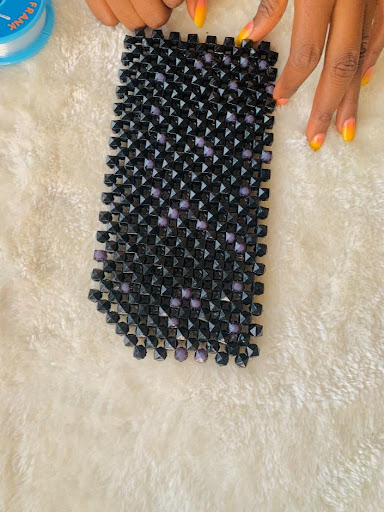
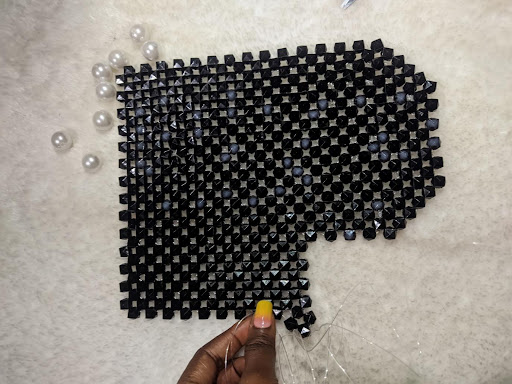
Now on the length of the bead count, 5 beads to the middle, cut a fresh fishing line string. On the 6th bead, put your fresh string of line, start beading to the end of the bead, repeating the process of turning at the end. Do this till the end and back to where you started in the middle. Repeat this step four more times, you will observe that the heart shape has gradually been formed.
Step 9
After the process in step 8, shape the edge of the bead. At the second to the last bead, cut a fresh string of lines putting your line on the second to the last bead, and repeat the process of beading to the second to the last bead at the other end. Repeat this process two more times. You can see that the edge has gradually formed nicely, just as it did on the other side.
Step 10.
Now your beaded heart shape has been formed. Cut a fresh string of lines and pass it through the 6th bead at the edge of your heart shape, putting two beads on the line facing upwards and 1 facing downwards, making a knot as you have done previously. Repeat this process to the other end of your heart-shaped purse.
This is a part of the width and side of the bag; I would be doing this once. You can repeat this process 3 times or more, depending on how wide you want your bag to be. When you are done, hide your line. Tie and cut neatly, as you’ve seen earlier. From the edge of where you began beading the sides, bend it as you will watch in the video.
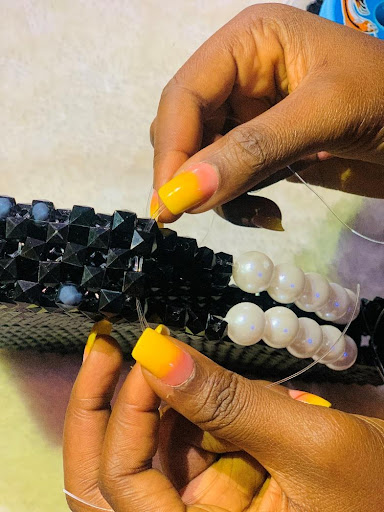
Cut a fresh string of wire, attach it to the 5th bead in the middle of the bag, add 5 pearls and attach them to the other end of your bag. Hide your line following the zig-zag pattern, hold it firmly, tie it twice and cut the line. You will notice that your heart shape looks like a cover.
Note that you will need to make two beaded heart shapes to form a bag, repeat the process of making another heart shape from the beginning on a fresh line with the provided steps.
Step 11 Joining the bag
Cut a fresh long line putting one bead in the middle. Place your 2-heart shape side by side like a cover. Now, pass one end of the line on the edge where you started the sides. Put the other line on the second edge of your second heart.
Now use one bead to make a knot. Pass your line through the next bead on the left and do the same for the right. Do this up till the sixth bead at the end of your bag. Pick one bead and make another knot. You will observe that your bag is sealed.
Step 12 Making the handles
Cut another fresh string of line, place it at the beginning where you started beading the sides, pass it through the two beads at the top sides and start beading. Repeat the process of threading 3 beads, do this to your desired length. I beaded mine 16 times. When you get to the end, pass your line on the other ends of your bag and tie it neatly. Hide it using the zig-zag pattern, tie it again, and cut.
Now you have your beaded heart shape purse completed. Behind every successful woman is a fabulous handbag. This elegant chic bag can be recreated in any color. Follow the step in the pictures and videos closely and make one to fit that perfect outfit!

