Beanie hats are popular among both men and women. They can be worn as part of a casual outfit or more formal attire. Many people also use them for sports such as skiing and snowboarding. In this tutorial, I will show you how to crochet a simple beanie hat for adults. If you want to make one for a young child, I recommend a foundation chain of 35 instead of the 47 I am using here.
Note that I recently posted another free crochet pattern you might be interested in Crochet Bikini pattern and tutorial
Table of Contents
- 1 Material List to make a beanie hat:
- 2 Crochet a Basic Beanie Hat video tutorial
- 3 Step 1: Make a foundation chain of 47
- 4 Step 2: Make 46 half-double crochet. (HDC)
- 5 Step 3: make HDC in the back loops only.
- 6 Step 4: sew the shorter ends.
- 7 Step 5: Sew one end
- 8 Step 6: cinch it in and get rid of the hanging threads.
- 9 Step 7: roll the other end up and enjoy your cozy beanie.
Material List to make a beanie hat:
- 100-gram ball of 3-ply yarn – DK yarn
- 4.5mm hook
- Pair of scissors
- Blunt yarn needles
We have other beginner-friendly crochet articles that you may be interested in:
- Best starter crochet kits
- Why is my crochet curling?
- How to fasten off crochet?
- What do you need to start crocheting?
- How To Crochet A Scarf For Beginners
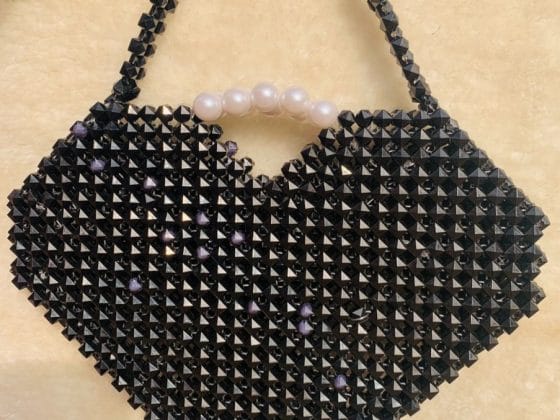
- Learn How to Crochet a Purse For Beginners
Crochet a Basic Beanie Hat video tutorial
Related: 27 Free Crochet Top Patterns
Step 1: Make a foundation chain of 47
SLIP KNOT: Curl up the end of the yarn and hold it on your finger, insert the hook in the loop, yarn over and pull up a loop. Once again, yarn over and pull up a loop. Now pull the hanging end, which will squeeze up in a slip knot.
CHAIN: Now yarn over and pull up a loop 47 times. We need a foundation chain of 47 for a medium adult-size beanie.
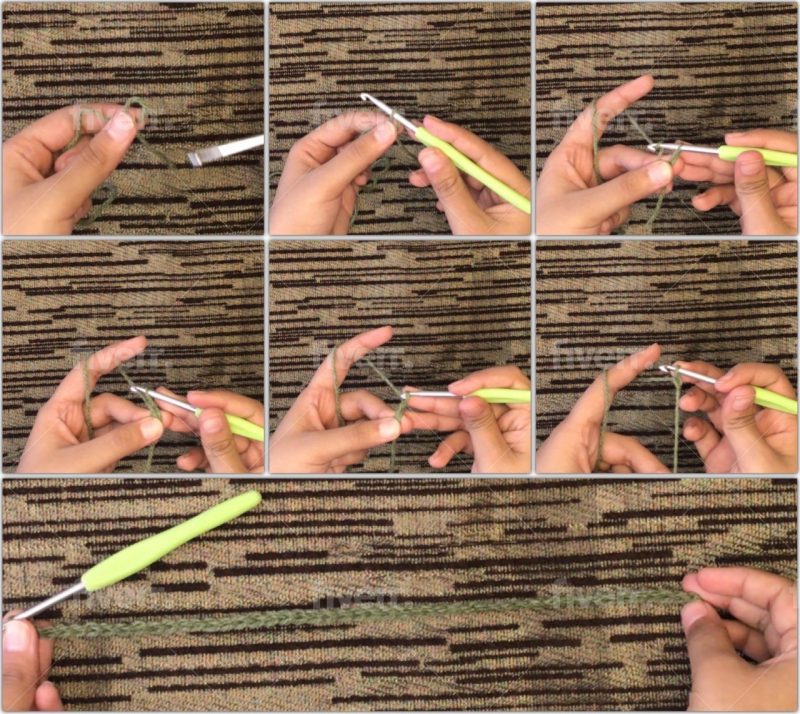
Step 2: Make 46 half-double crochet. (HDC)
HDC: Insert the hook in the second chain from the hook, yarn over it, and pull up a loop. Now you’ll have 3 loops in your hook, yarn over, and pull through all three-loop.
Now, just like this, make HDC up till the end of this row. Insert the hook, yarn over, and pull up a loop. Now again, yarn over and pull through all of the three loops. At the end, don’t forget to count your stitches. You’ll have a total of 46 HDC.

Related: 24 Free Crochet Shawl Patterns For Every Season
Step 3: make HDC in the back loops only.
BACK LOOP: after making a row of HDC, chain one and flip the row. You’ll see a V on top of the half-double crochets.
The loop facing you is the front loop, and the loop on the other side is called the back loop.
From now on, you’ll crochet HDC in the back loops only. No matter how many times you flip the row, you’ll crochet in the back loop only. After completing a round of HDC in the back loop, you’ll notice a line of front loops pushed in front of HDC. That’s the main goal here. To get the textured line in front of HDCs.
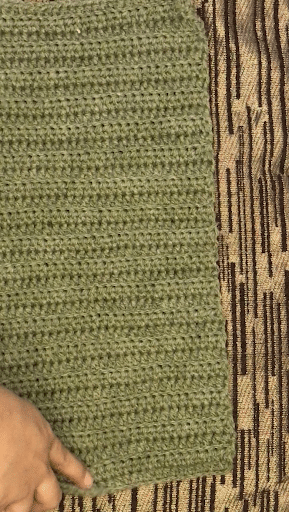
To make the beanie, you’ll require 45 rows of HDC. So keep on making Half double crochet in the back loops until you reach row number 45.

After crocheting 45 rows of HDC in the back loop, you’ll get a big rectangle like in the photo below:
Step 4: sew the shorter ends.
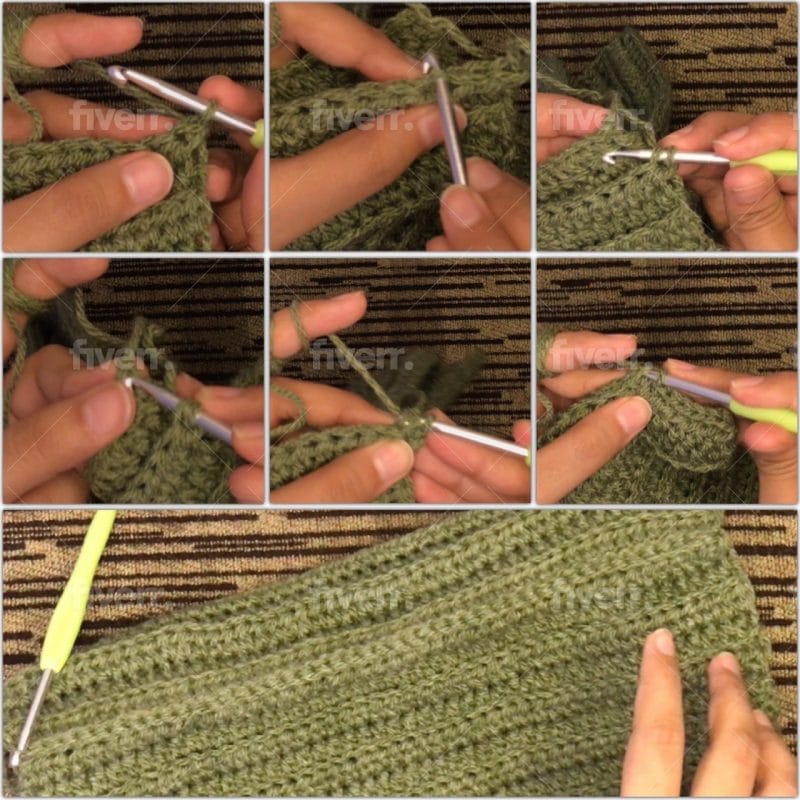
SLIP STITCHES: We’ll fold it in half from the longer sides and sew the shorter end. We’ll sew the shorter ends with slip stitches.
So here we’ll be working in the front loops. Again the loops facing you are your front loops, and the loops on the other side are the back loops.
Without making any chain, we’ll insert the hook in the very first front loop, and we’ll get the other side where we’ve got a row of single loops only (of the foundation chain.) so insert the hook in the very first loop.
We have three loops in the crochet hook, yarn over, and pull through all three loops.
We’ll insert the hook in each loop from both ends, yarn over, and pull through all three loops. This is slip stitching.
Slip-stitch it to the end. Make sure to leave an 18 to 20 inches long strand of yarn before snipping it off.
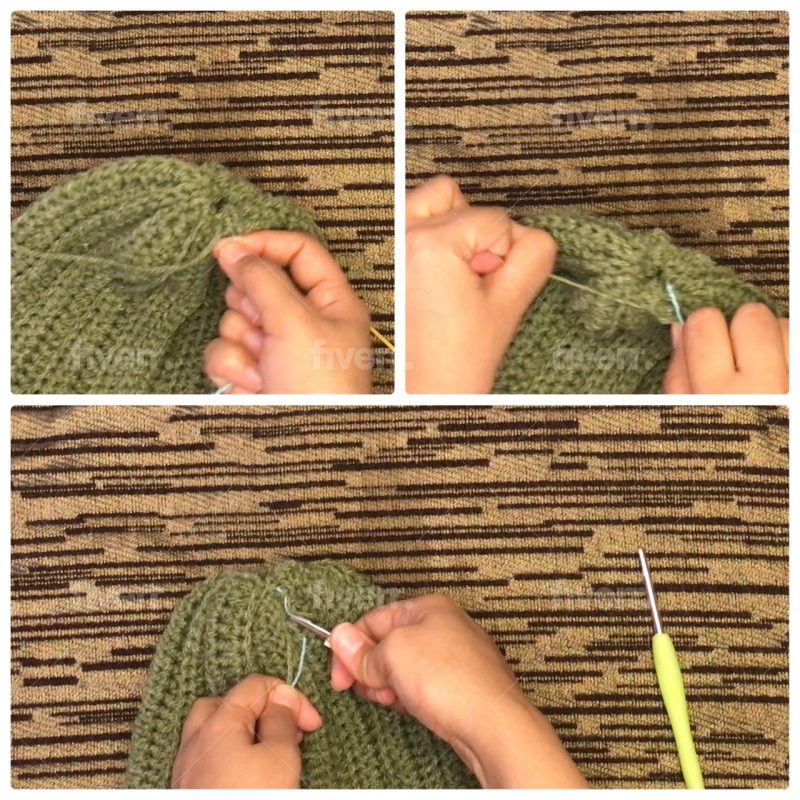
Step 5: Sew one end
SEW: now we’ll needle the long strand we left before cutting the yarn. And begin sewing in each row, from front to back and from back to front. We’ll only be sewing one end of the beanie. We won’t be making very big or very small stitches here. So I’ll suggest inserting the needle in each row.
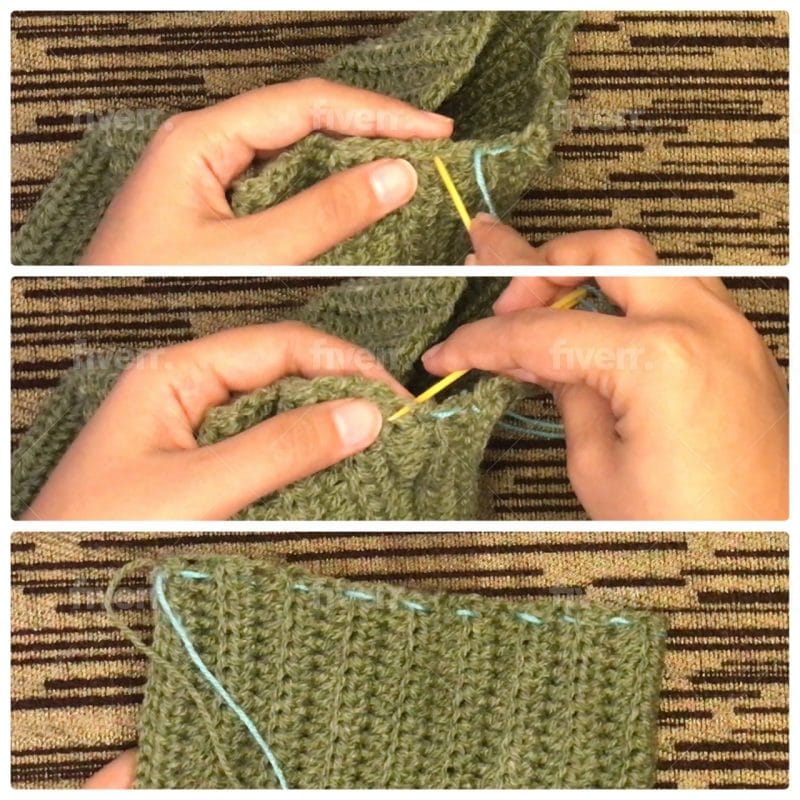
Step 6: cinch it in and get rid of the hanging threads.
CINCH IT IN: After reaching the starting point, we’ll pull the thread and squeeze the end so it’ll have little to no space left.
After cinching it in/ squeezing it, we’ll make a few knots to secure it and then snip off the yarn.
Now look for all the hanging strands, weave them in, and get rid of them before flipping the Beanie to the right side.
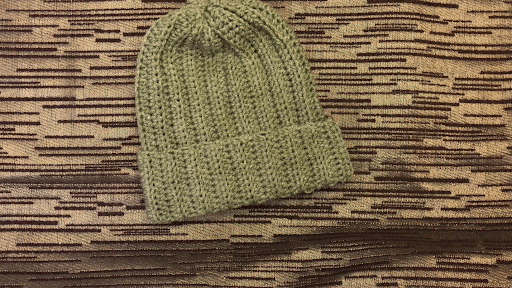
Step 7: roll the other end up and enjoy your cozy beanie.
Roll up the end, and you’ll have your own handmade Beanie ready.
Make sure also to check my Crochet bucket hat free pattern and step-by-step tutorial


1 comment
Comments are closed.