I’ll admit it. I’d never done an applique until a couple of weeks ago because I always thought it would be complicated. I was SO wrong! Other than accidentally fusing one piece to the ironing board, the whole process was fast and easy. I used Wonder-Under (Pellon 725 Heavy-Duty Wonder-Under Transfer Web). You could also use Heat n Bond, but I haven’t tried it, and I had no complaints with the Wonder-Under. So here we go!
Table of Contents
What is applique?
Appliqué is decorating fabric using cut-out shapes sewn to another piece of material that forms the background. This works well on clothes, quilts, costumes, and other craft projects. There are different types of applique techniques, including wet and dry applique.
Wet Applique
This involves sewing the fabric pieces directly onto the base material so they will melt together when you iron them.
Dry Appliqué
With this method, you fuse two layers of fabric together with an iron or particular fusible web before cutting around your pattern. Once cut out it can be easily removed from the protective paper backing without damaging the fabric underneath. Then sew over each piece by stitching along all the outside edges. In the third method, you fuse the applique patch to your base fabric using a heat-activated fusible web. This is great for complex shapes and curves as the paper backing is removed, leaving an ultra-fine bond between the two materials without any hand sewing. This is the one I will demonstrate in this tutorial.
Step 1
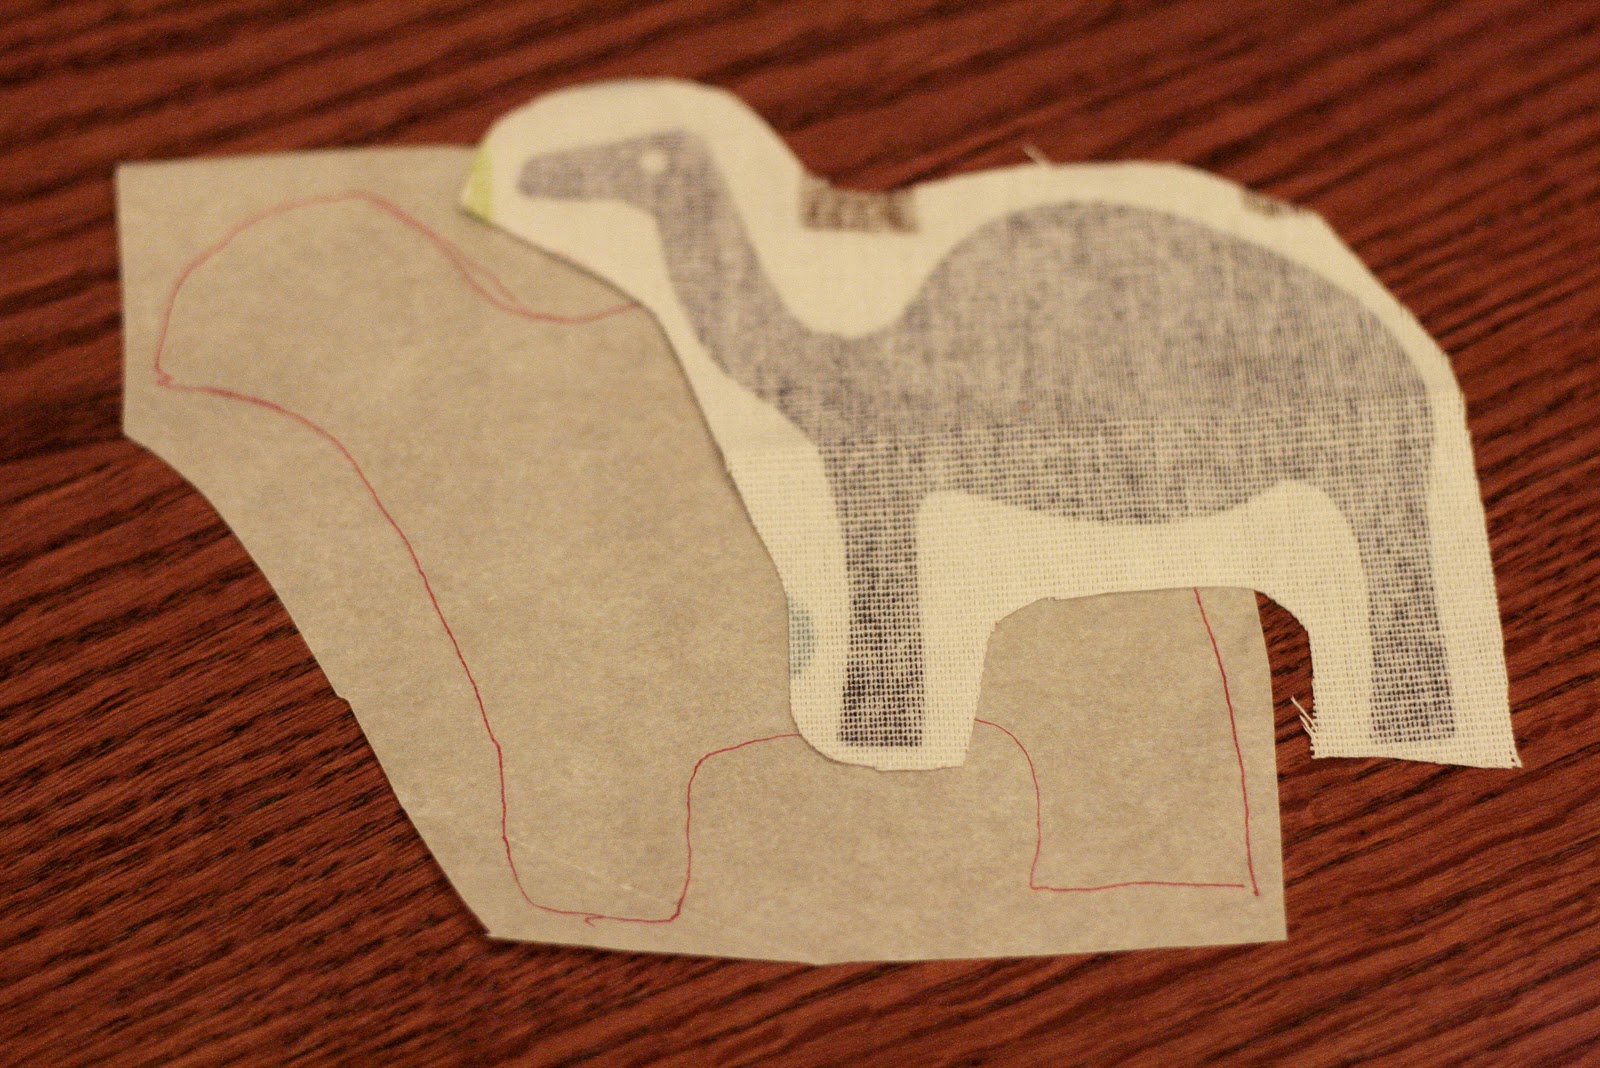
If you’re doing a specific shape (like a letter), trace your shape onto the smooth side of the Wonder-Under (WU). This is the back so trace your design backward. Then cut out a piece of fabric larger than the piece of WU, so you don’t get the glue on your ironing board. I now know this from experience.


Step 2
Step 3

Step 4


Step 5
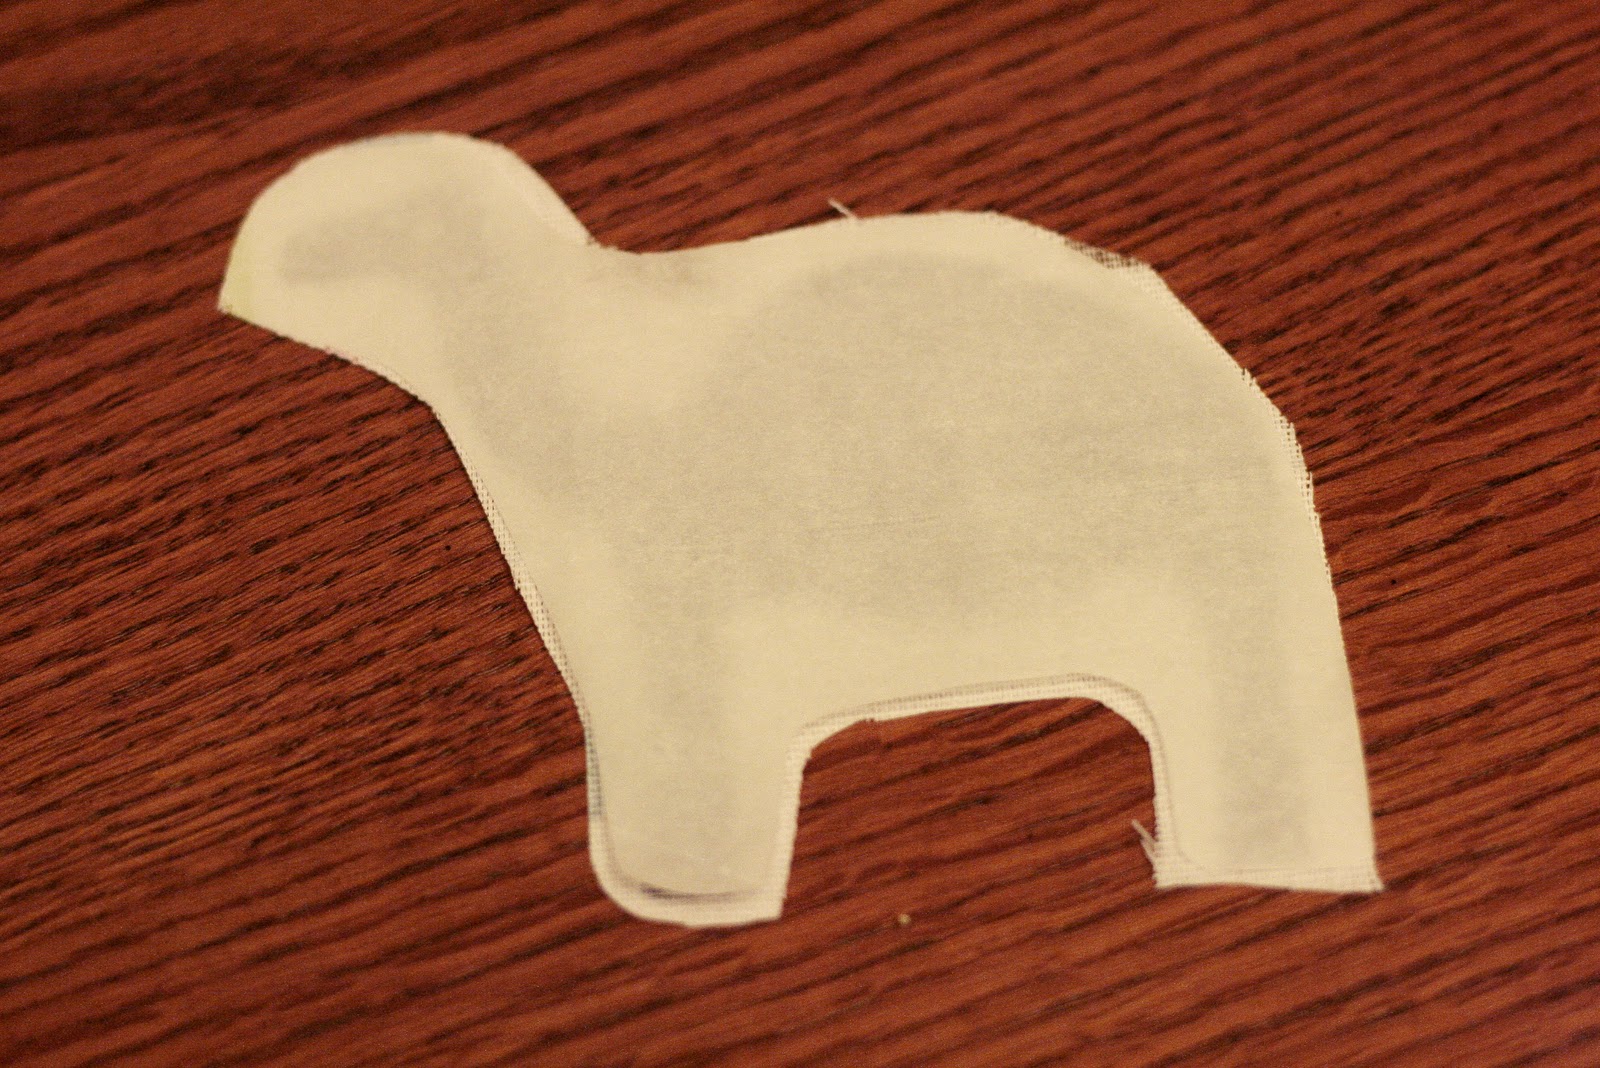
Peel off the back of the WU, and your applique is complete and ready to be used! Part of the wonder is that this is heat-activated, so you have a smooth, non-sticky backing after peeling off the backing.


Step 6
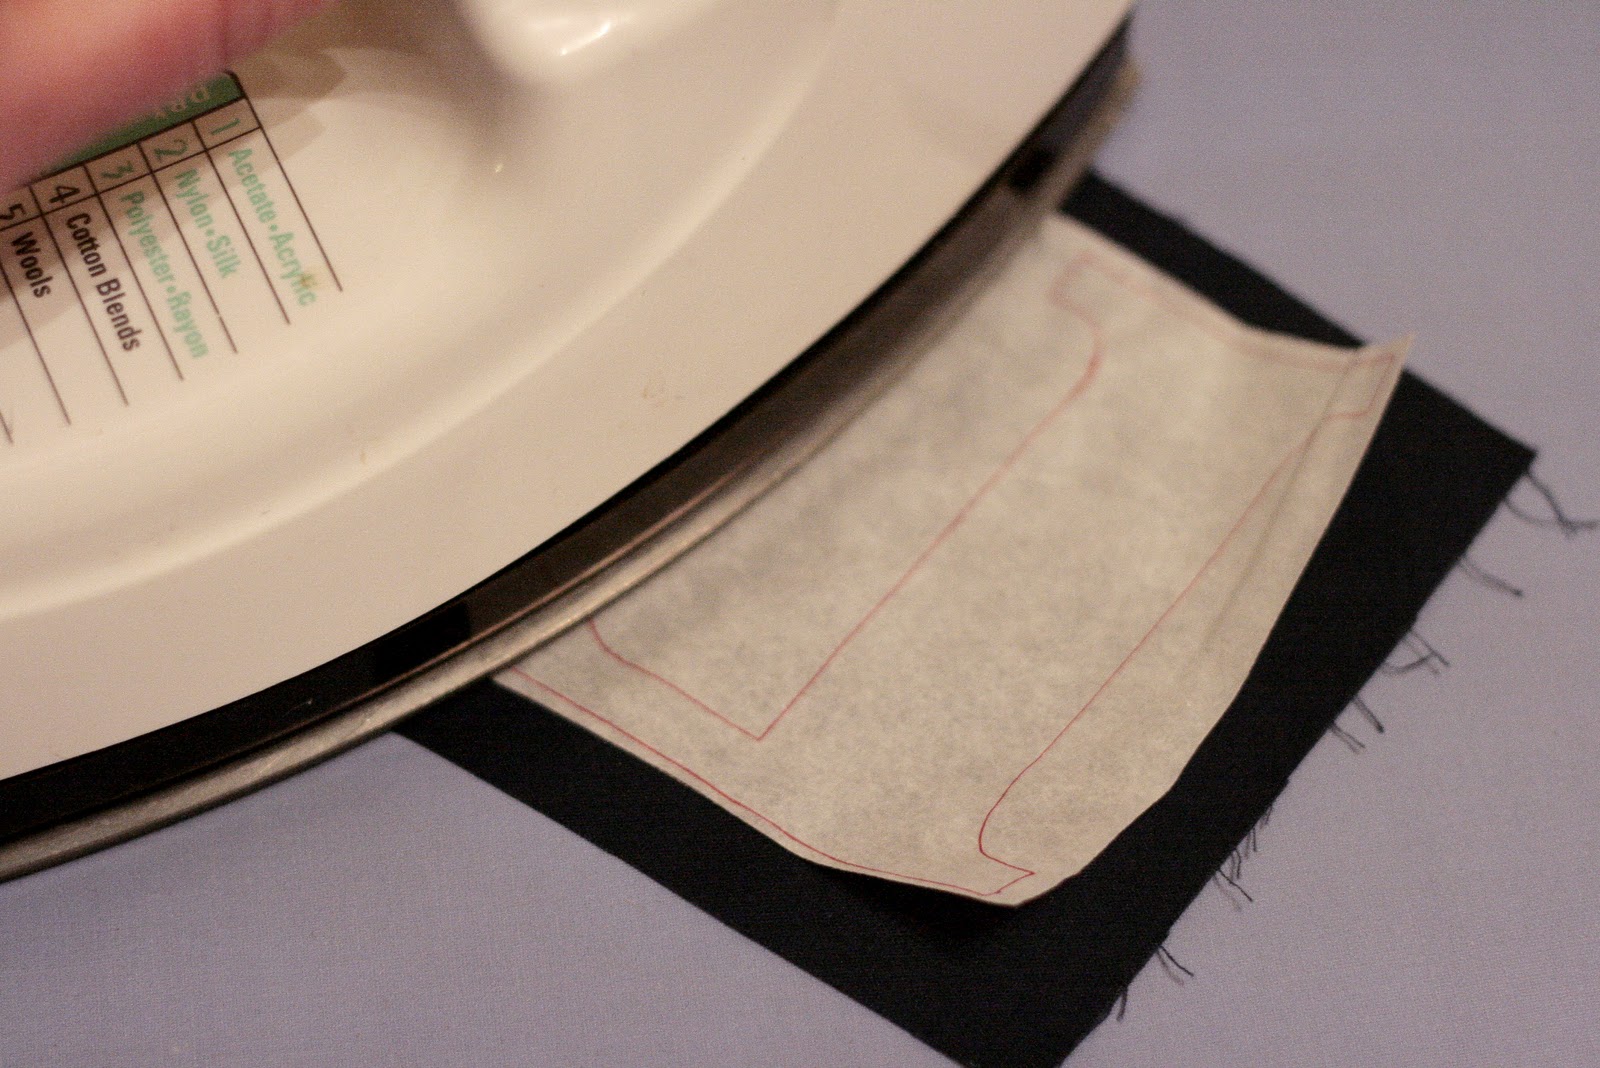
To use the applique, position it onto your surface, fire up your iron again, and iron it into place. Now it is permanently fixed in place. You can straight stitch or zig-zag stitch around the edges if you want. Because the WU is heat-activated, it’s not sticky and won’t gum up your sewing machine.
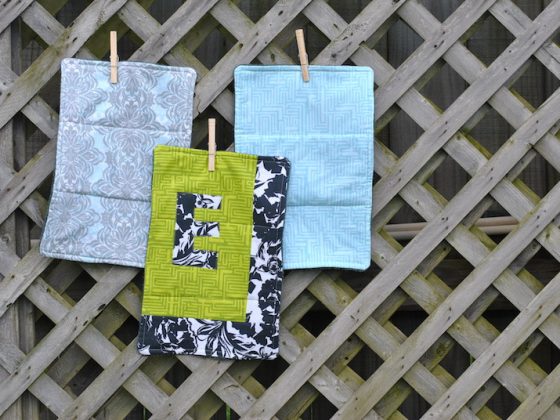
Here are the finished appliques before they were put to use. To see the final projects check out this post for Appliqued Baby Onesies.


3 comments
Hi, at the moment I am browsing with my iphone four new pattern ideas and so I’ve uncovered your web site. Your design and style is genuinely straightforward but also compare it to your posts. I feel I would use it for my initial draft. Thank you for this concept!