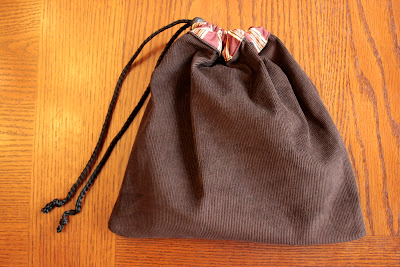
I wanted to do a tutorial for the Drawstring Bags since they’re such a versatile thing to make and it was really fast to whip up. Plus it’s easy enough you could even make them use as gift bags! I made this tote to match the number of bean bags from this post. They’re just so cute together I can’t resist posting a photo here of the whole set! This tutorial is short only because making this Drawstring Bag should only take minutes!

Table of Contents
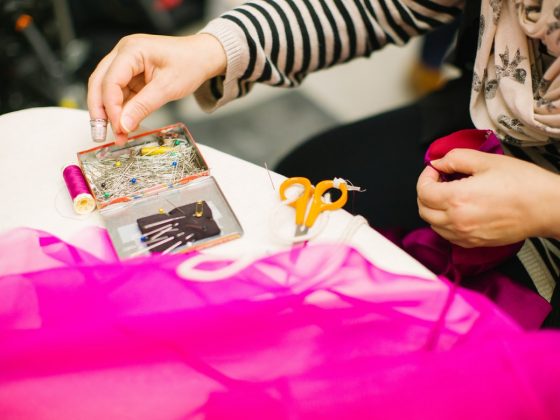
What do you need to make your Drawstring Bag?
To make your own, first cut two rectangles, one for the front and one for the back. You’ll be folding this in half later so take that into account when you decide on a size. For the drawstring bean bag tote, I used a 23″ x 13″ rectangle. But you could of course make it bigger if you wanted to. You also need a drawstring cord which you can find here on amazon. You’ll simply cut the drawstring to match the bag’s size you have chosen to make.
Step 1
Put right the sides together and stitch all the way around but leave a 3″ opening.

Step 2

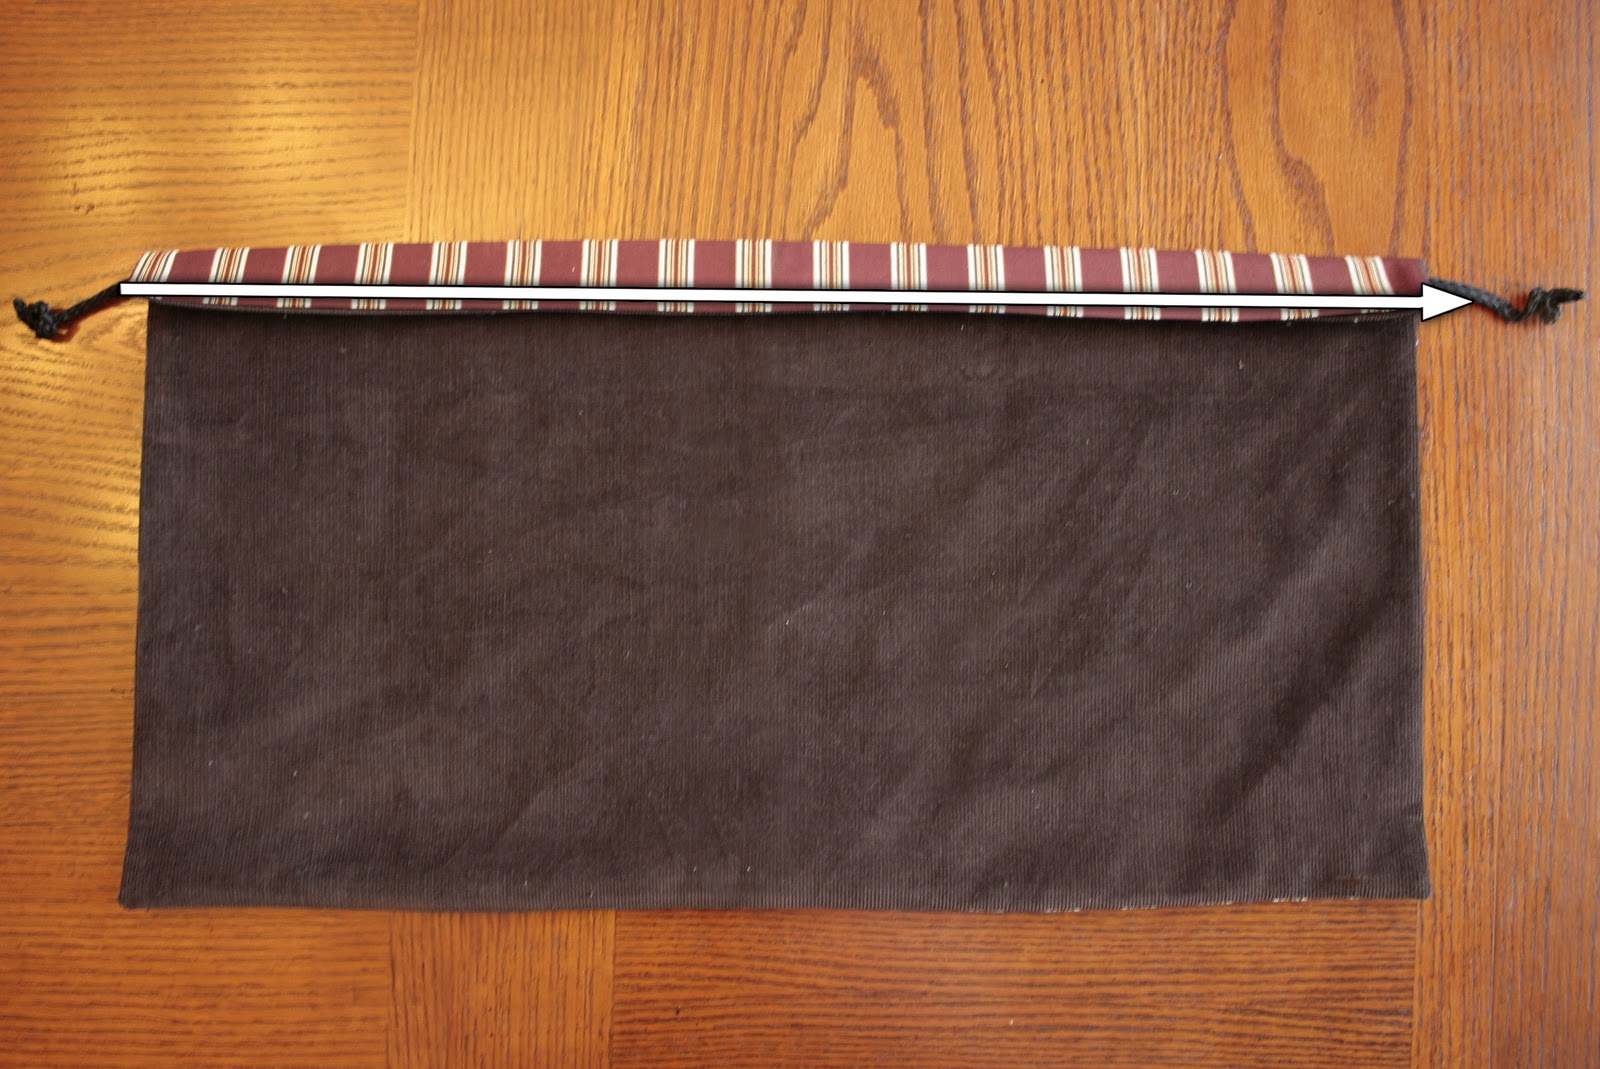
Turn the right side out. Next, use an iron to crease the edges of the opening so that the raw edges are inside. Then fold the top over 1 1/4″ and iron that down. Put a drawstring inside the opening then pin down the edge. Stitch along the edge with a 1/8″ seam allowance.
Step 3
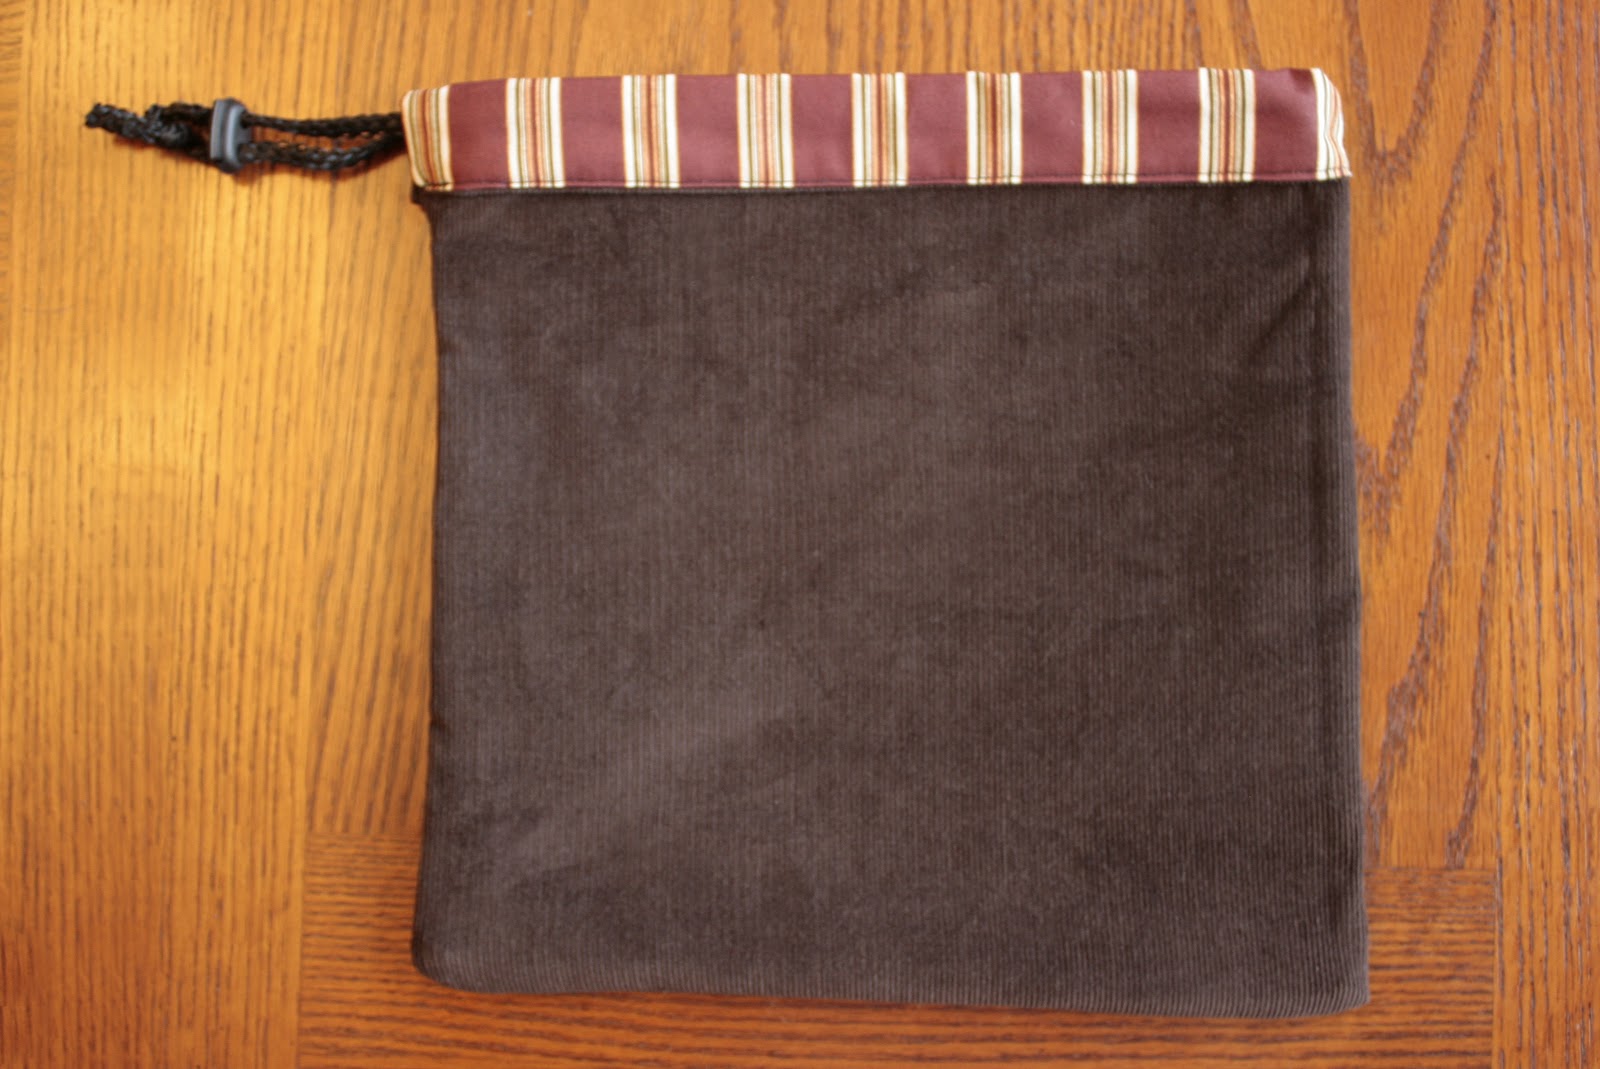
Fold in half so you’re seeing the side that you want to be the inside. Stitch around the bottom and the open side, stopping 2″ before the top.

Step 4
Attach the drawstring toggle.

Step 5
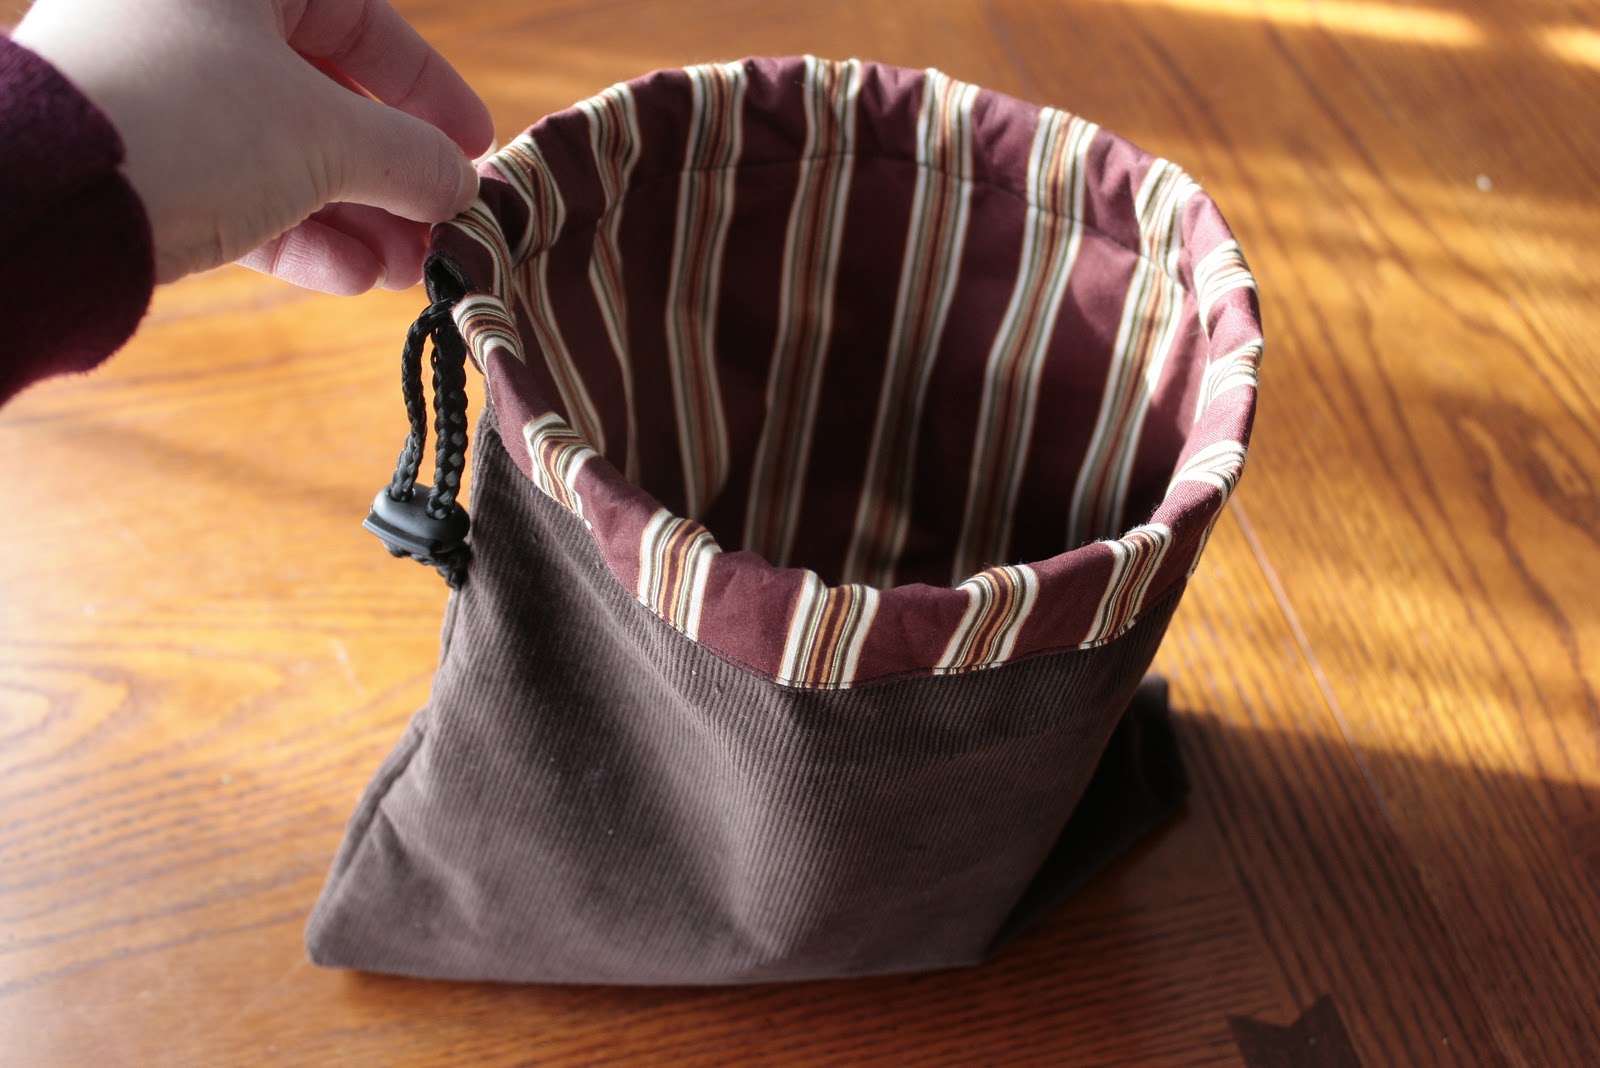
Turn right side out.
Step 6
Ready to fill with goodies!


4 comments
I came from the blog hop and now your newest follower. I love craft blogs!!! I hope you come by sometime!
http://www.acreativeprincess.blogspot.com
Love the new ideas you have!! I hope to see you link it up this week on Made by Little Hands Monday!
Have a great day!
Michelle
http://www.delicateconstruction.blogspot.com
Want to make the bag but where did you find the drawstring toggles. Is there a website online that I can buy some from?
Thanks
Carol
Hi Carol, good question! I found the toggles at my local JoAnns. I just checked and found them on Amazon.com too. Just do a search for “Dritz Double Cord Stops 2/pkg black” and they are the first result that comes up.