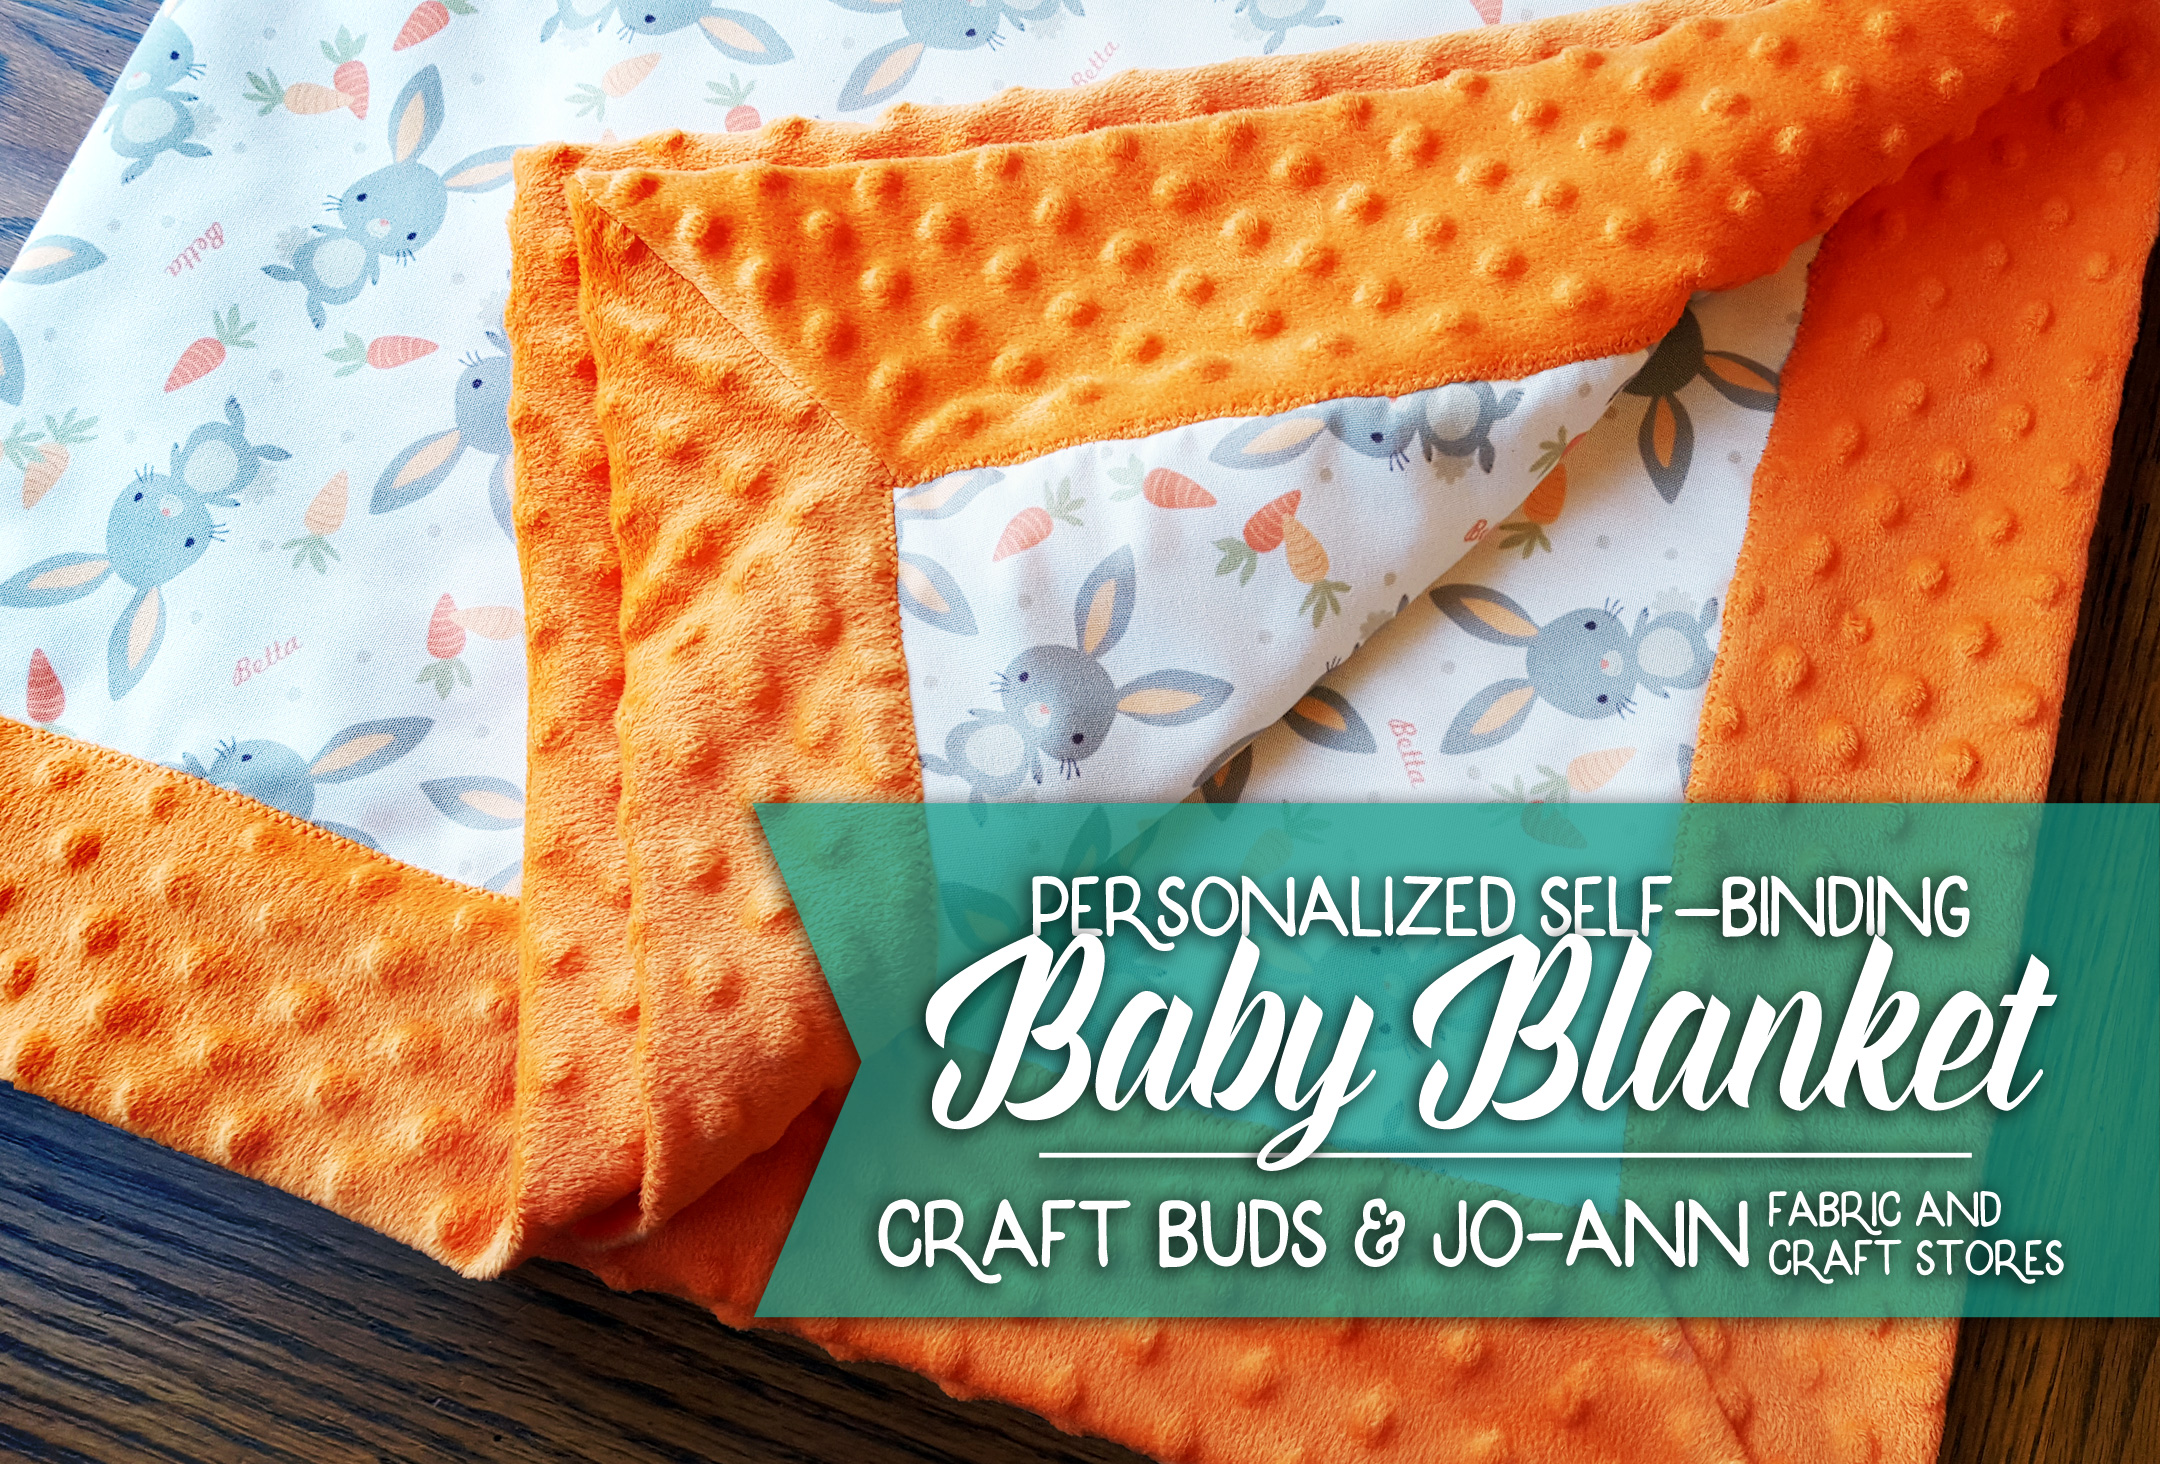
Today I’m excited to partner with Jo-Ann Fabric and Craft Stores to bring you this blanket! This easy blanket uses two rectangles to form the a blanket complete with binding and mitered corners.
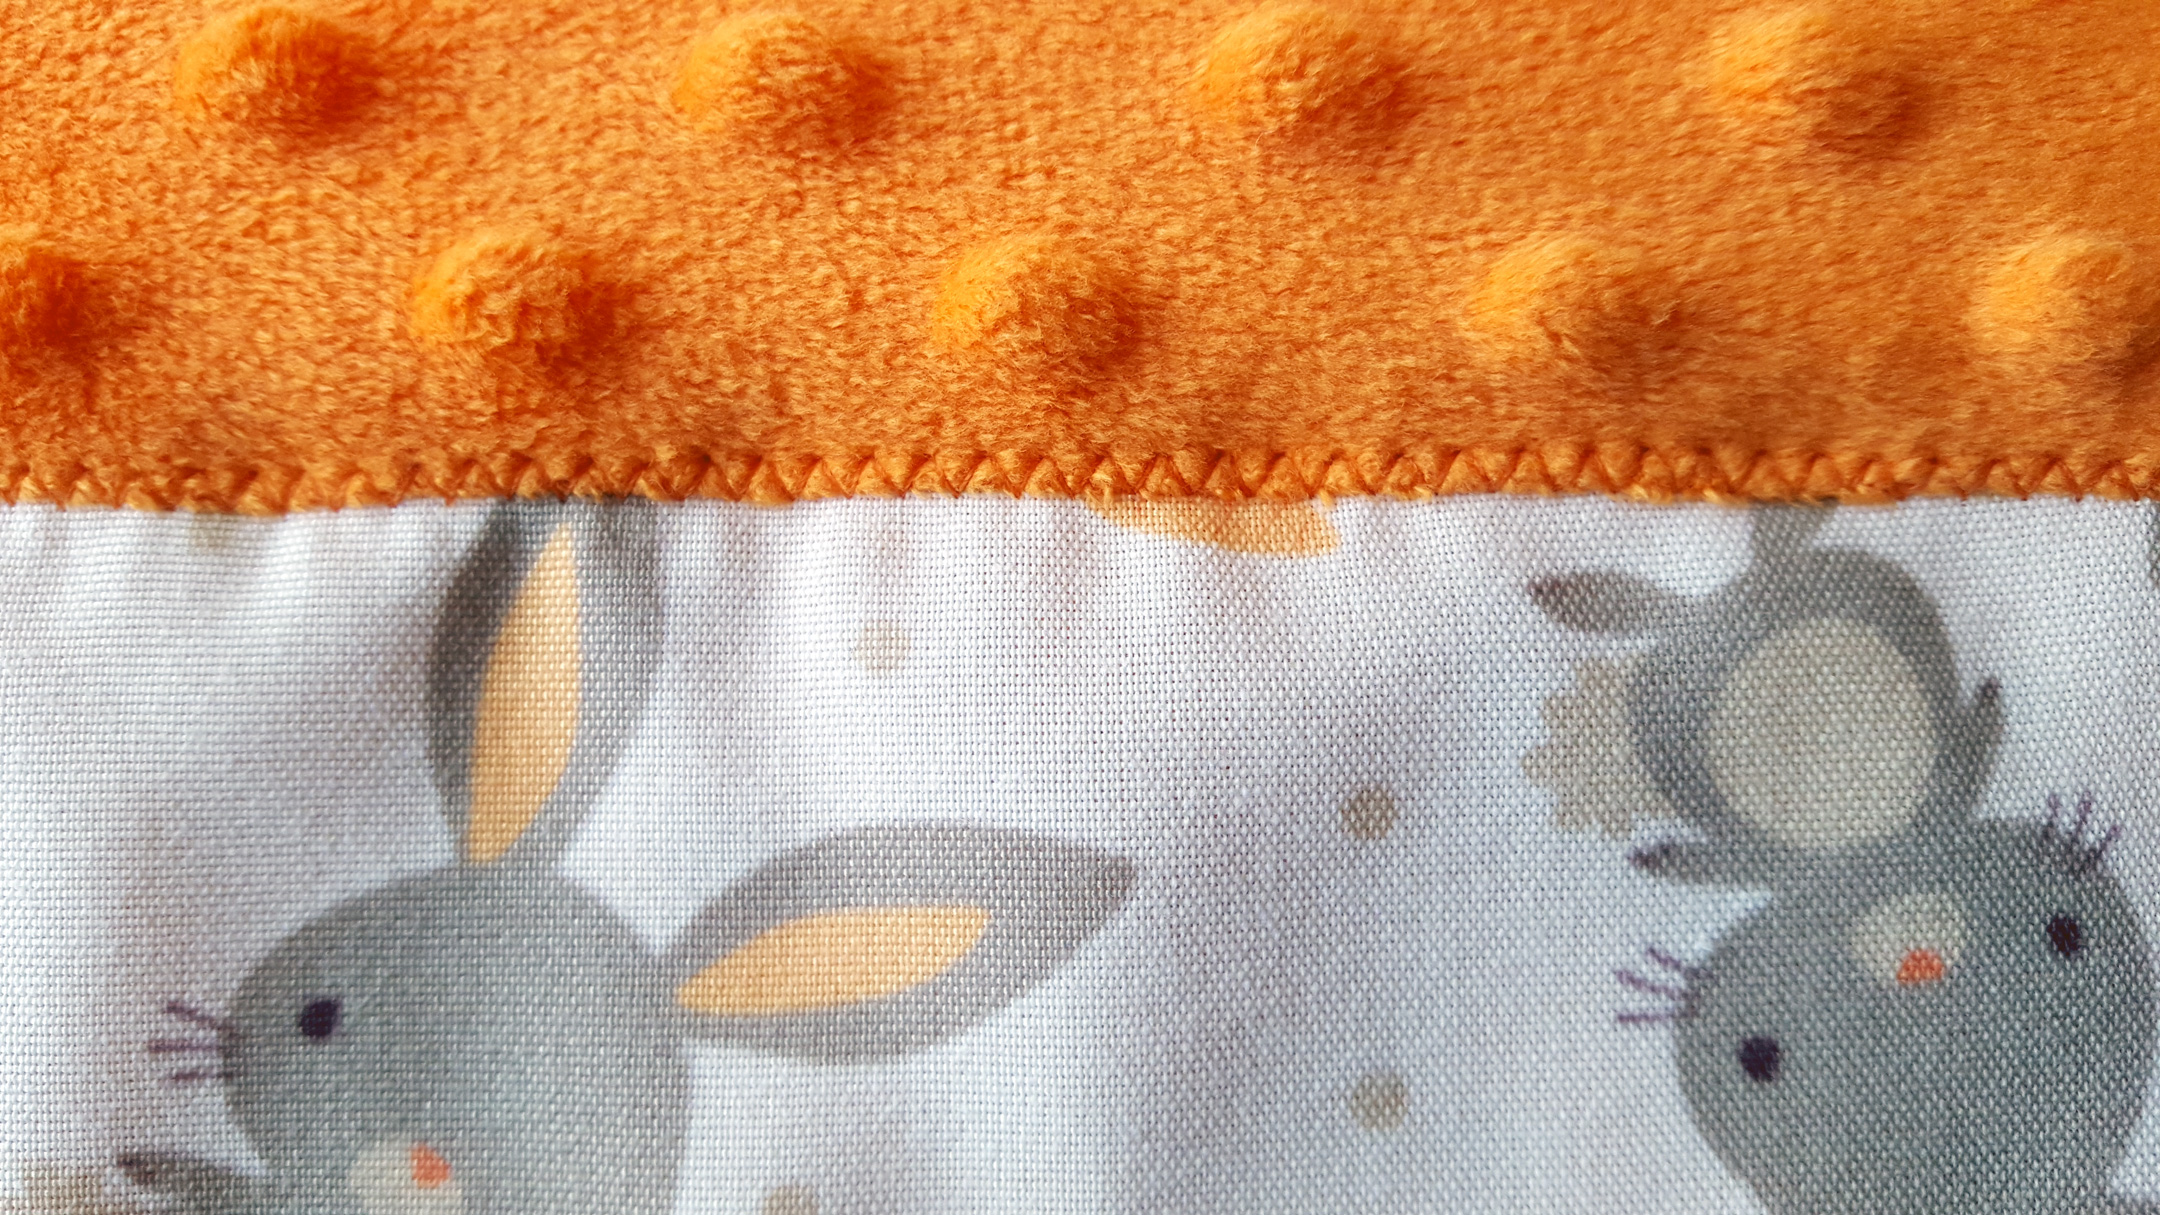
The front fabric is a personalized fabric from Jo-Ann printed with baby’s name scattered throughout the design. It’s a fairly new product and so fun to put together! They have over 300 designs to choose from on their website. I chose Bunny Rabbits and Carrot Print. There are 5 fabric options to choose from. I chose the poplin fabric in 100% polyester (all 5 options are polyester or polyester blends). It felt a bit stiff when it first arrived but softened after washing. I didn’t notice any fading after two washes and it looked exactly as pictured on the preview screen! Below you can see a screen shot on the left from when I ordered the fabric, and the actual fabric on the right. If you click the photo for a larger view you can see the name printed throughout the fabric.

The fabric ranges from $19.99 to $22.99 per yard and I think it’s well worth it for a personalized keepsake like this! The fabric is extra wide at 56″ and you use less than a yard on this project.
Supplies
- 24″ x 30″ Personalized Fabric for the front panel, available at Jo-Ann here
- 36″ x 42″ Minky for the backing/binding. I used Soft and Comfy Dot in sun orange, also from Jo-Ann.
All seam allowances are 1/2″ and the final blanket will be 29″ x 35″.
Instructions
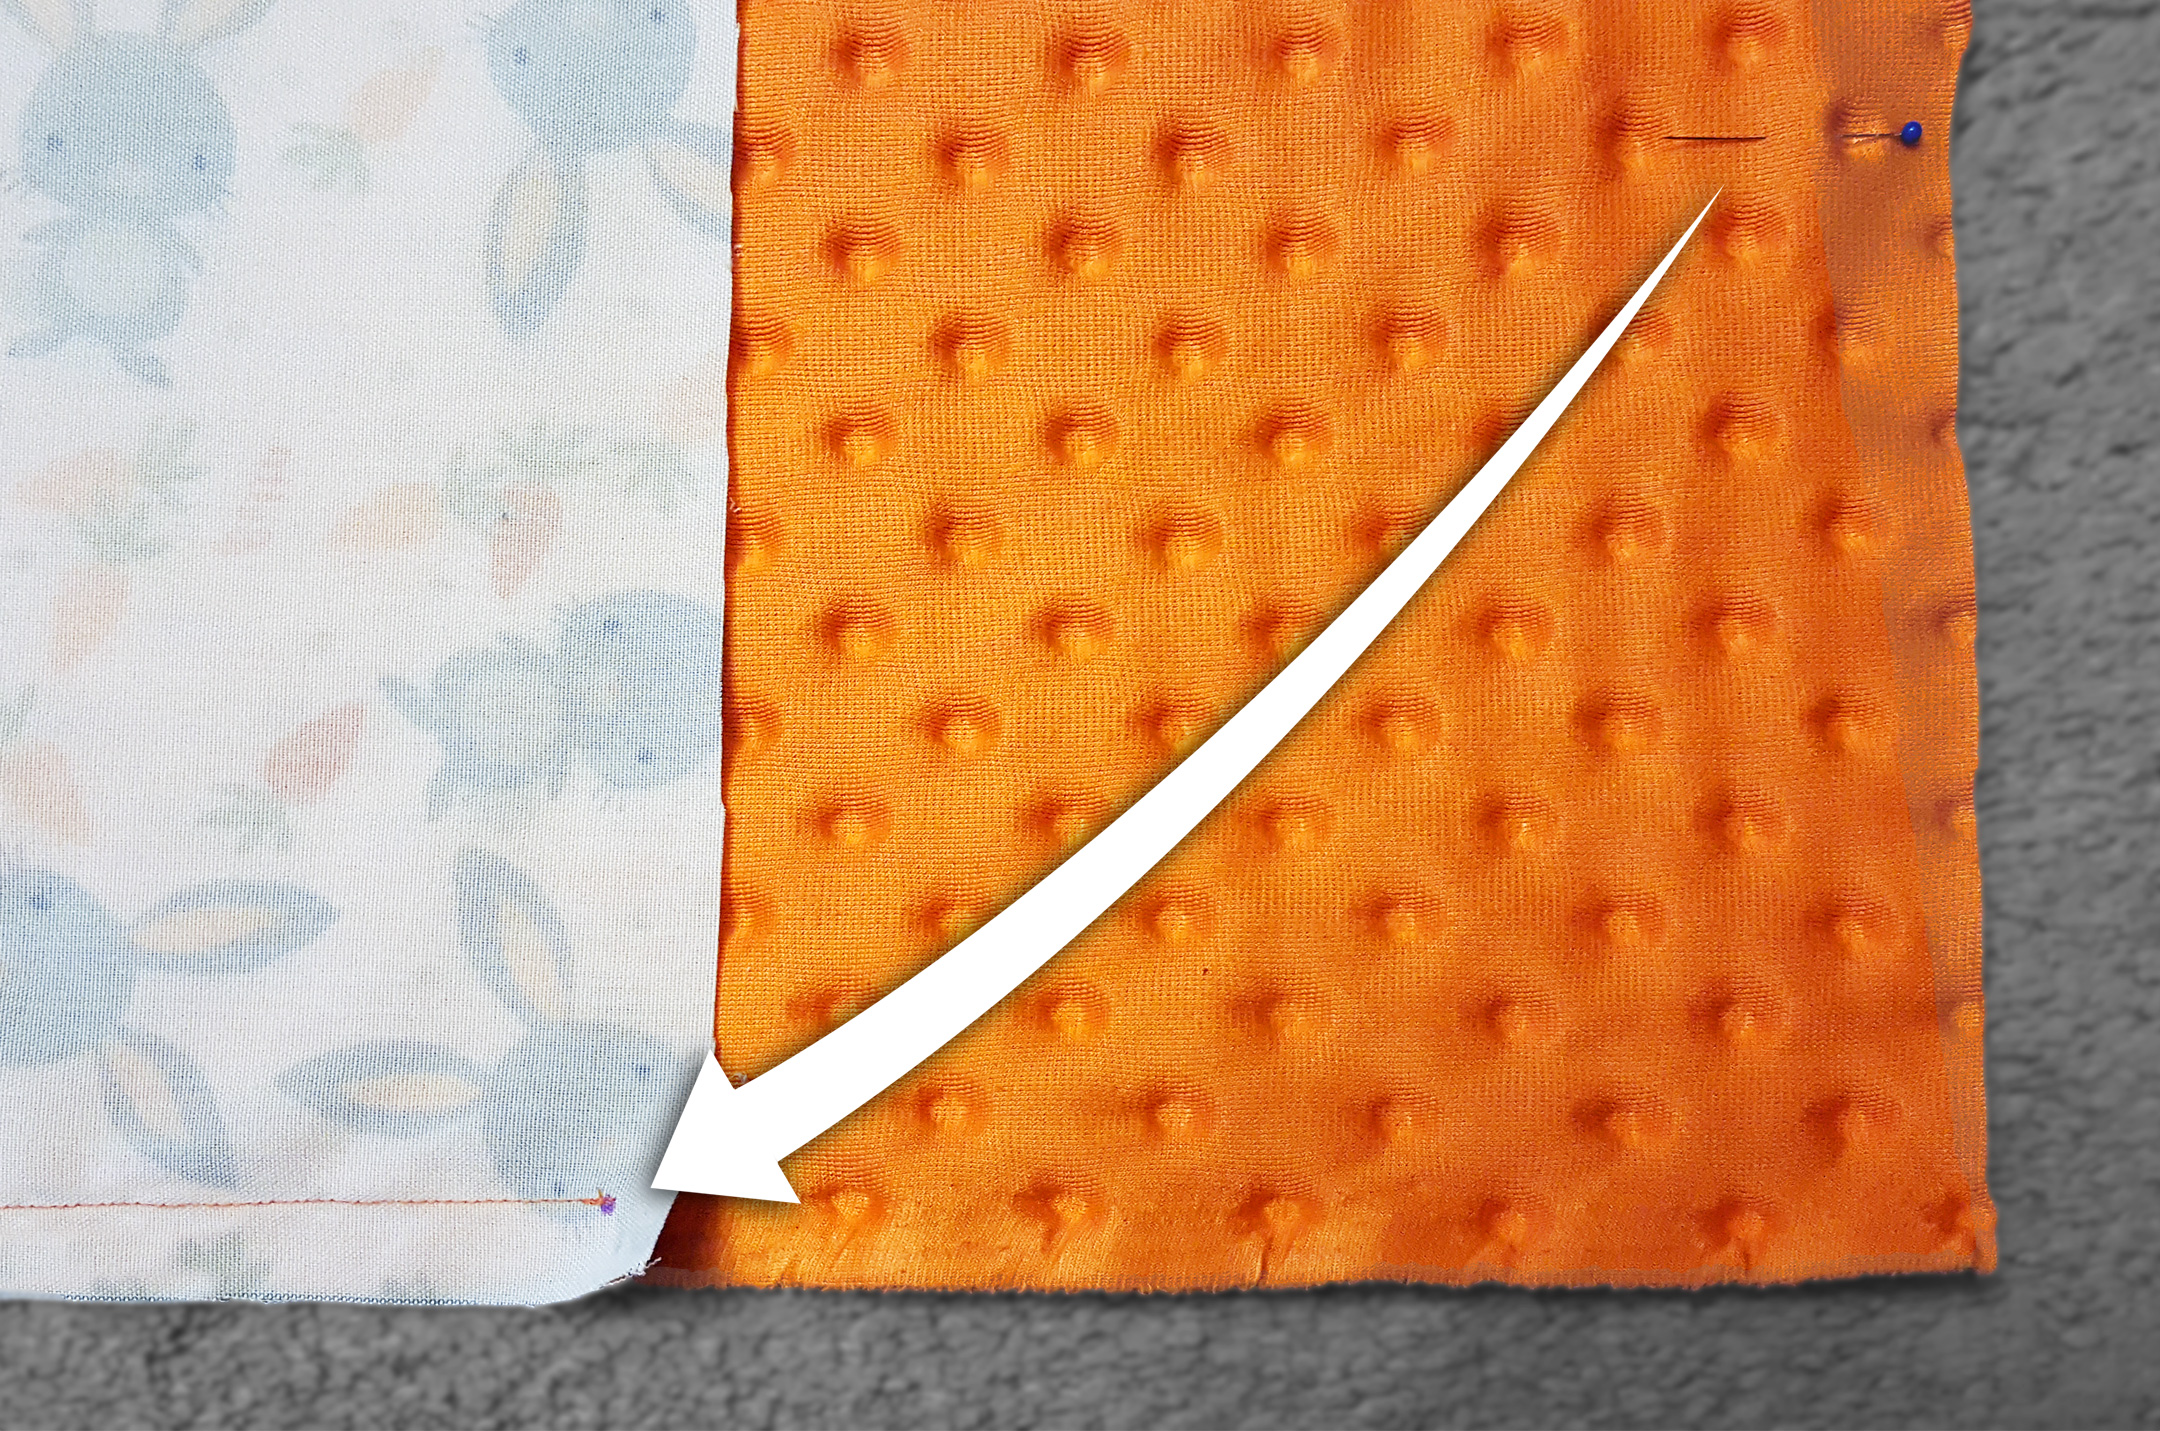
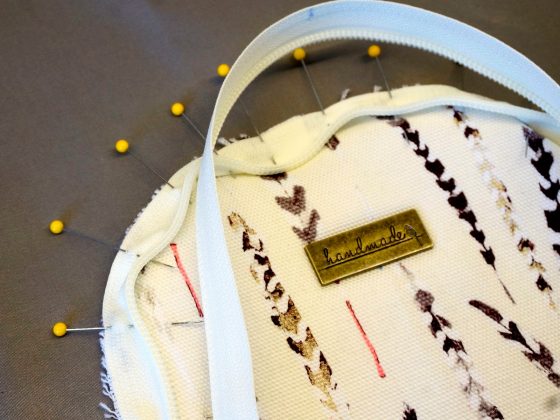
To get started you’ll need to place a pin 6″ away from each corner in each direction. I’ve marked the pins with orange arrows below.
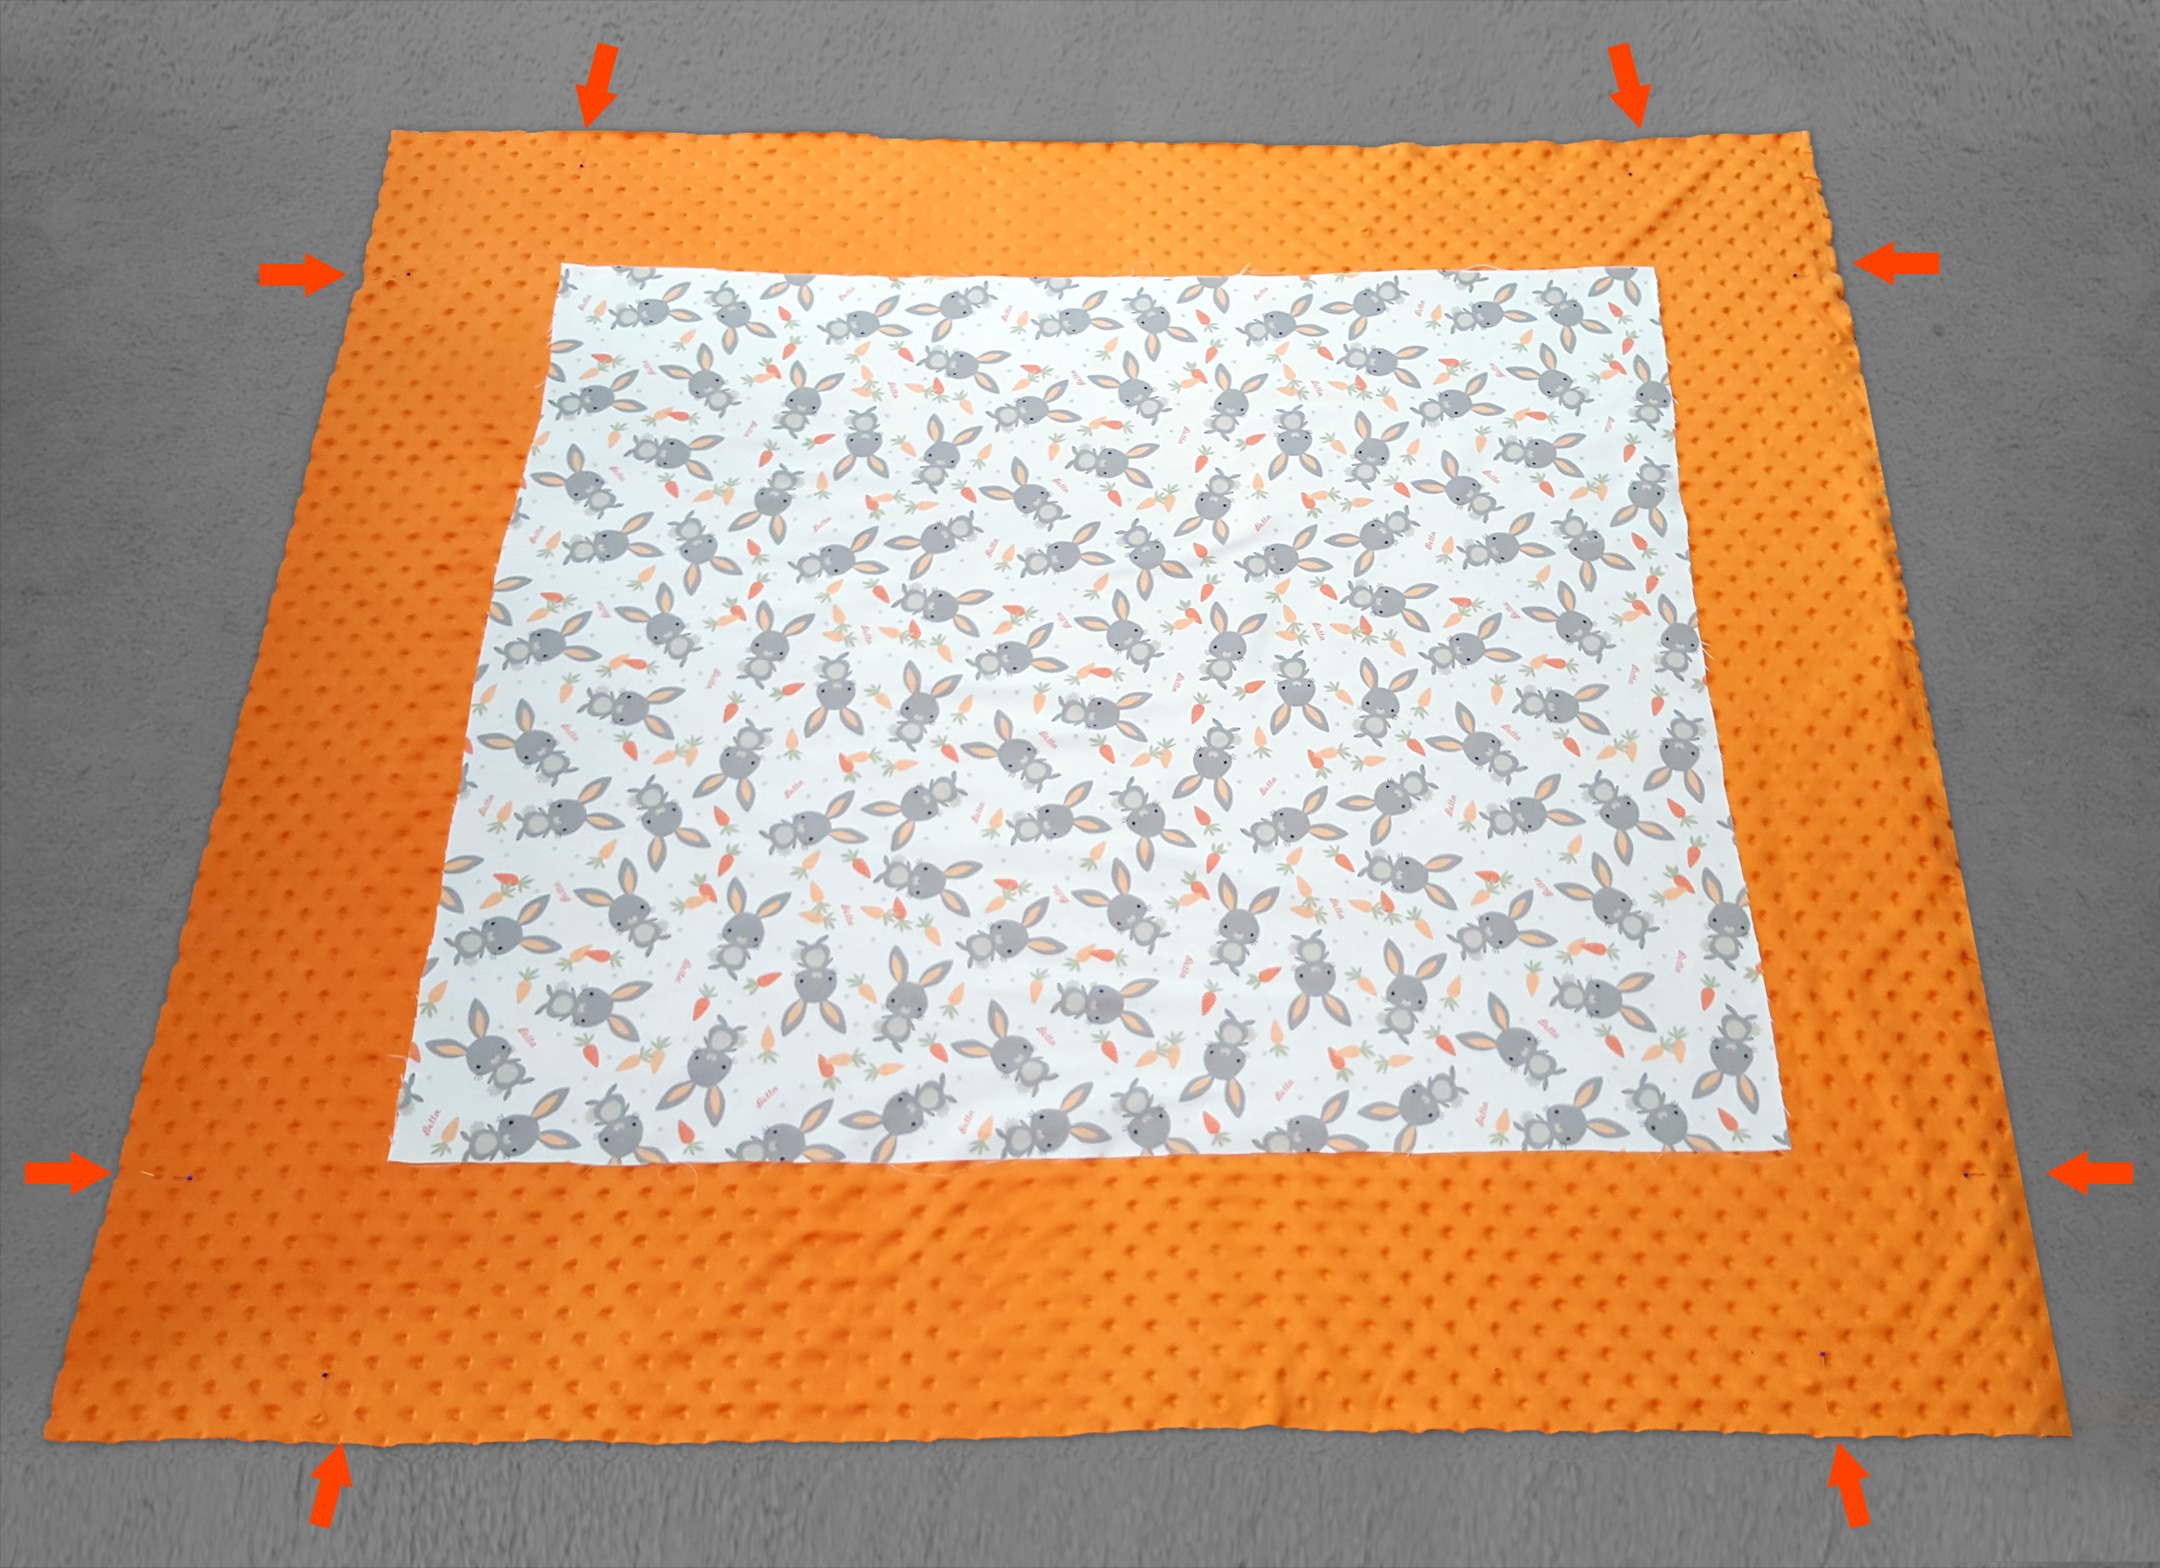
With right sides together, move your front panel of fabric down to the edge of the back fabric. It should fit exactly between the pins from the step above. Pin along the edge.
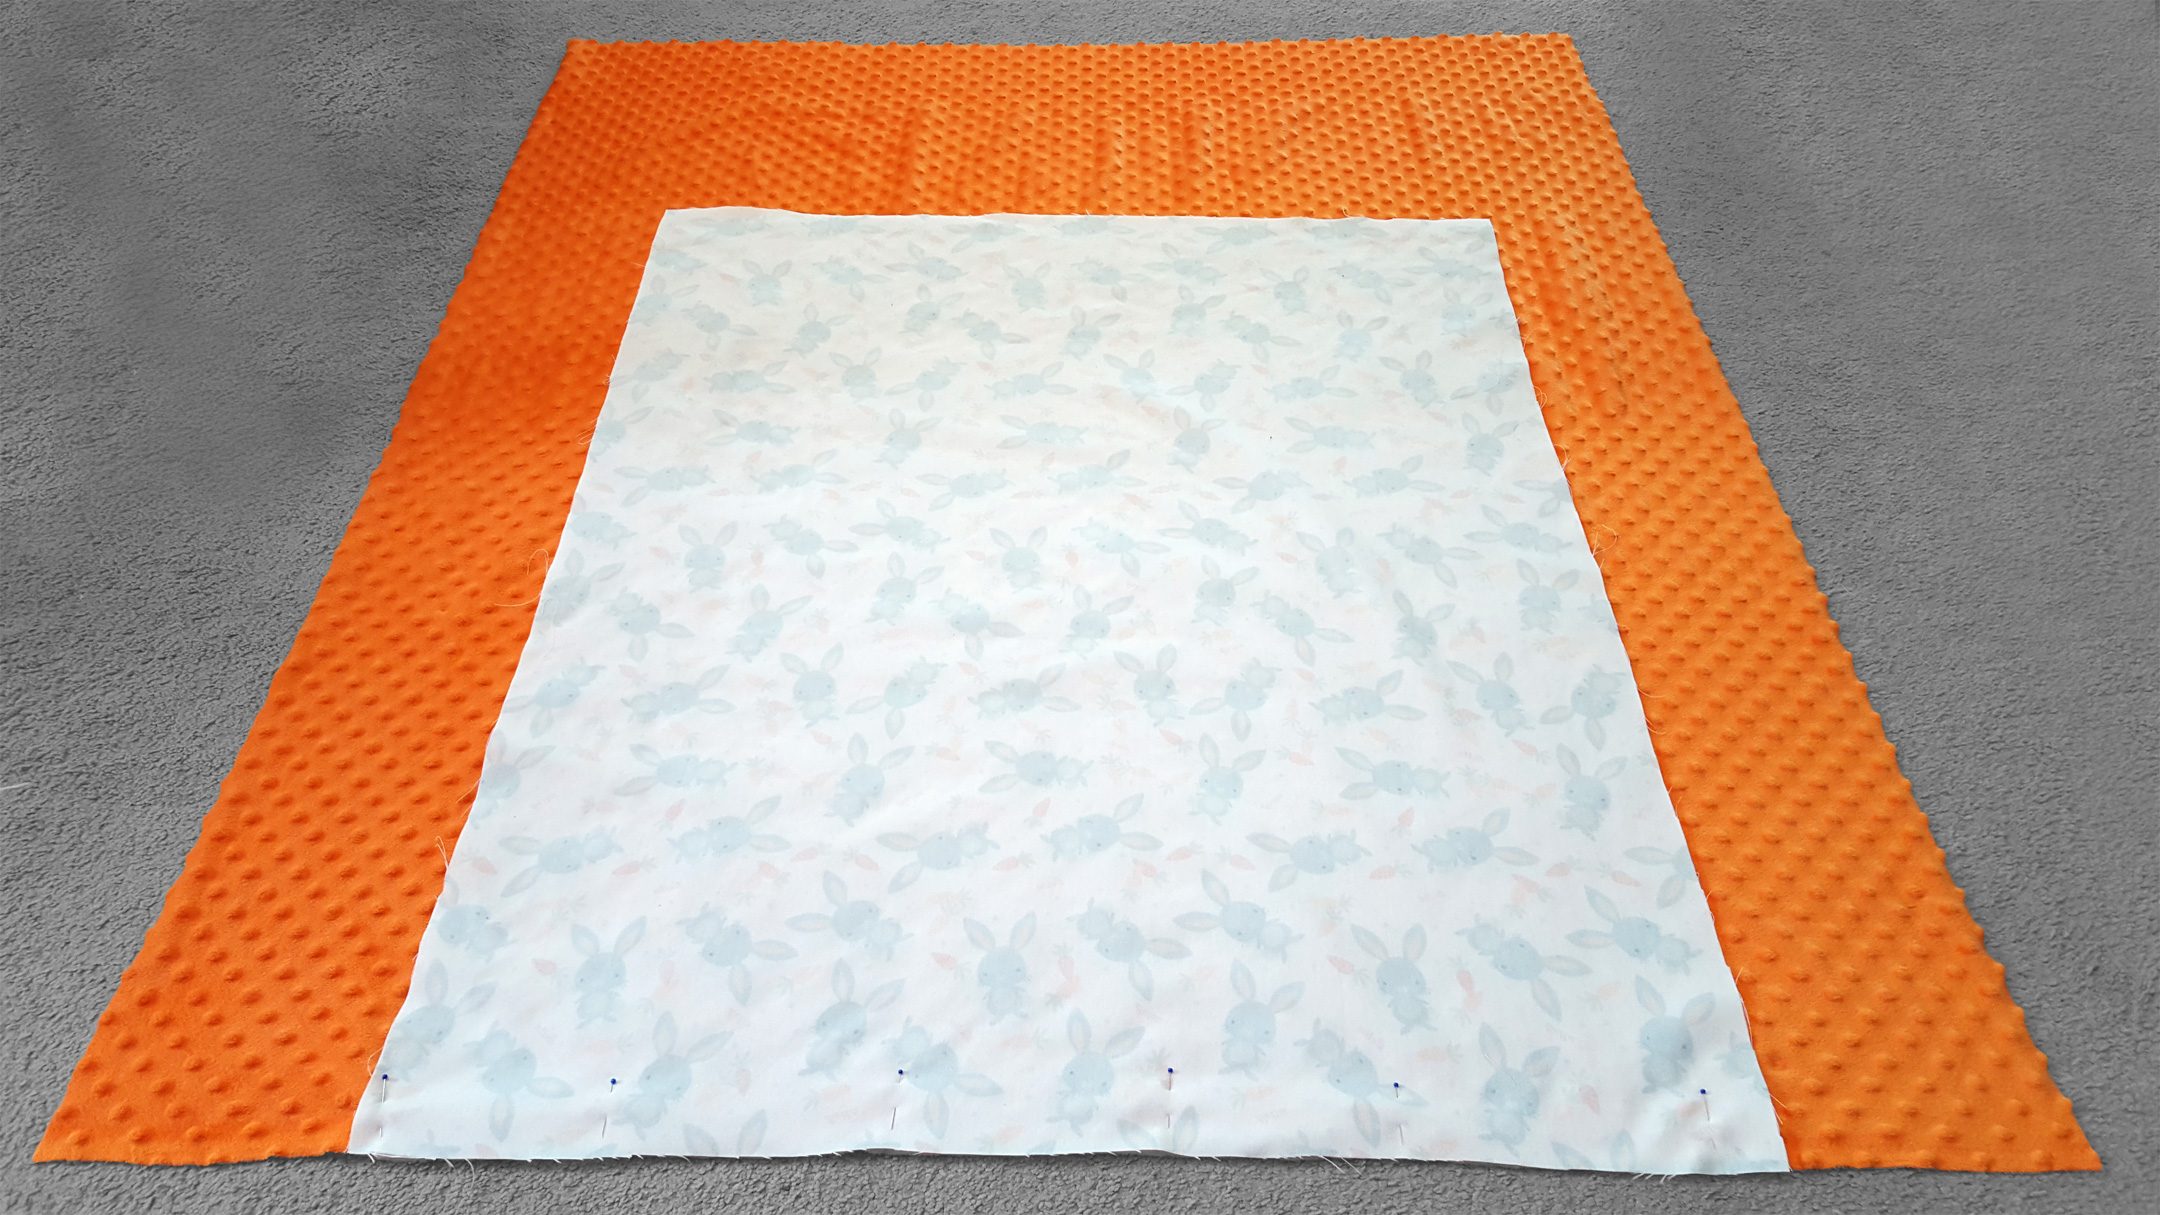
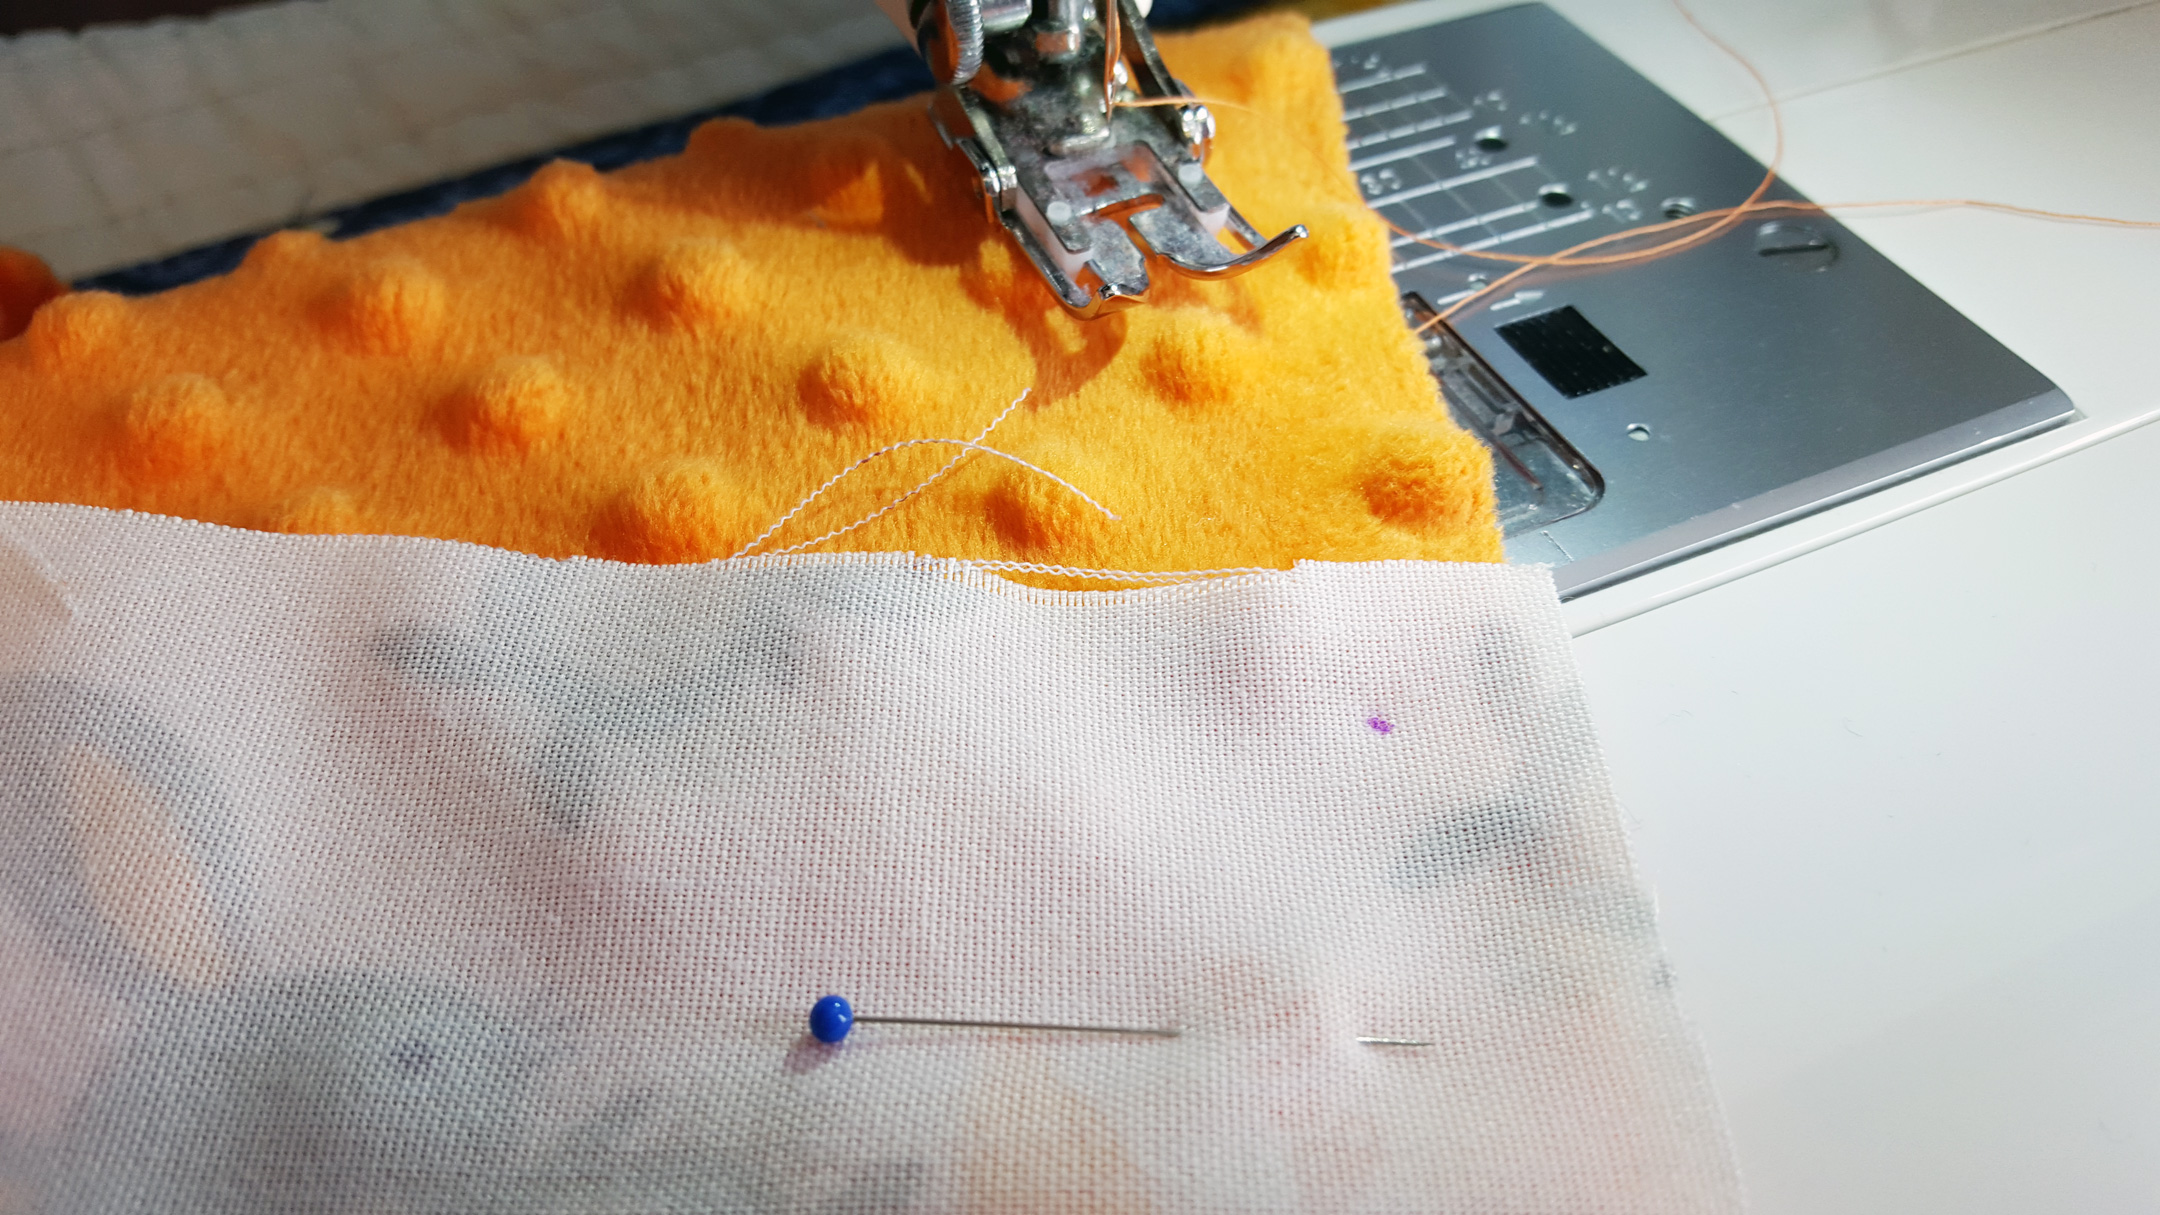
Before starting to sew, mark the corner of the front fabric 1/2″ in from each direction in all 4 corners. This is where you will start and stop sewing on all 4 sides. Sew between the corner marks along the bottom where you just pinned. The minky will want to stretch a bit so use lots of pins.
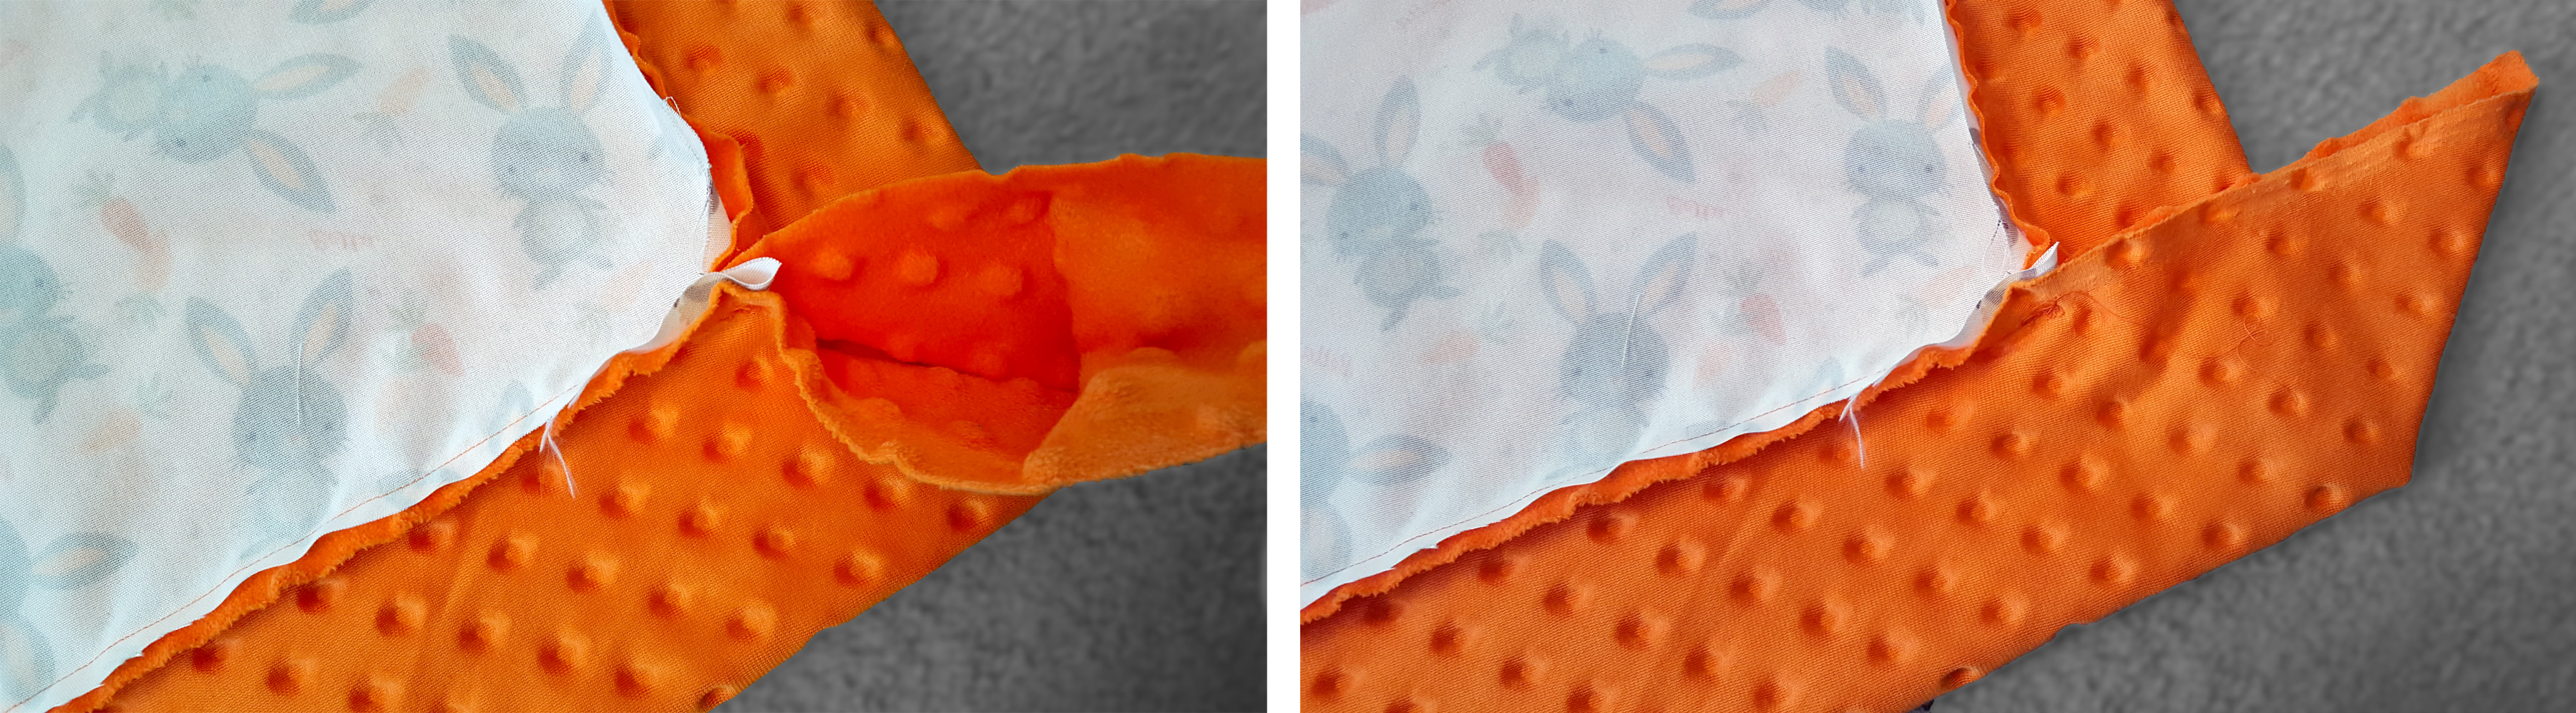
Next you’ll pull the other short edge of the front panel between the two pins on the other short edge of the back and sew it between your corner marks. When you pin the fabrics together it will create a fold on the side you sewed previously (shown in the top of this photo).

Center the front panel so you have an even folded border on the two sides you’ve already sewn. Then, bring your pin from one of the long minky edges over to the corner dot you made earlier and pin the two fabrics together in that exact spot. Do this for all 4 corners. Sew along both long edges but make sure to leave an 8″ opening in the middle of one of the sides so you’ll be able to turn it right side out later.
After the step above you’ll have an open flap in each corner as shown below.
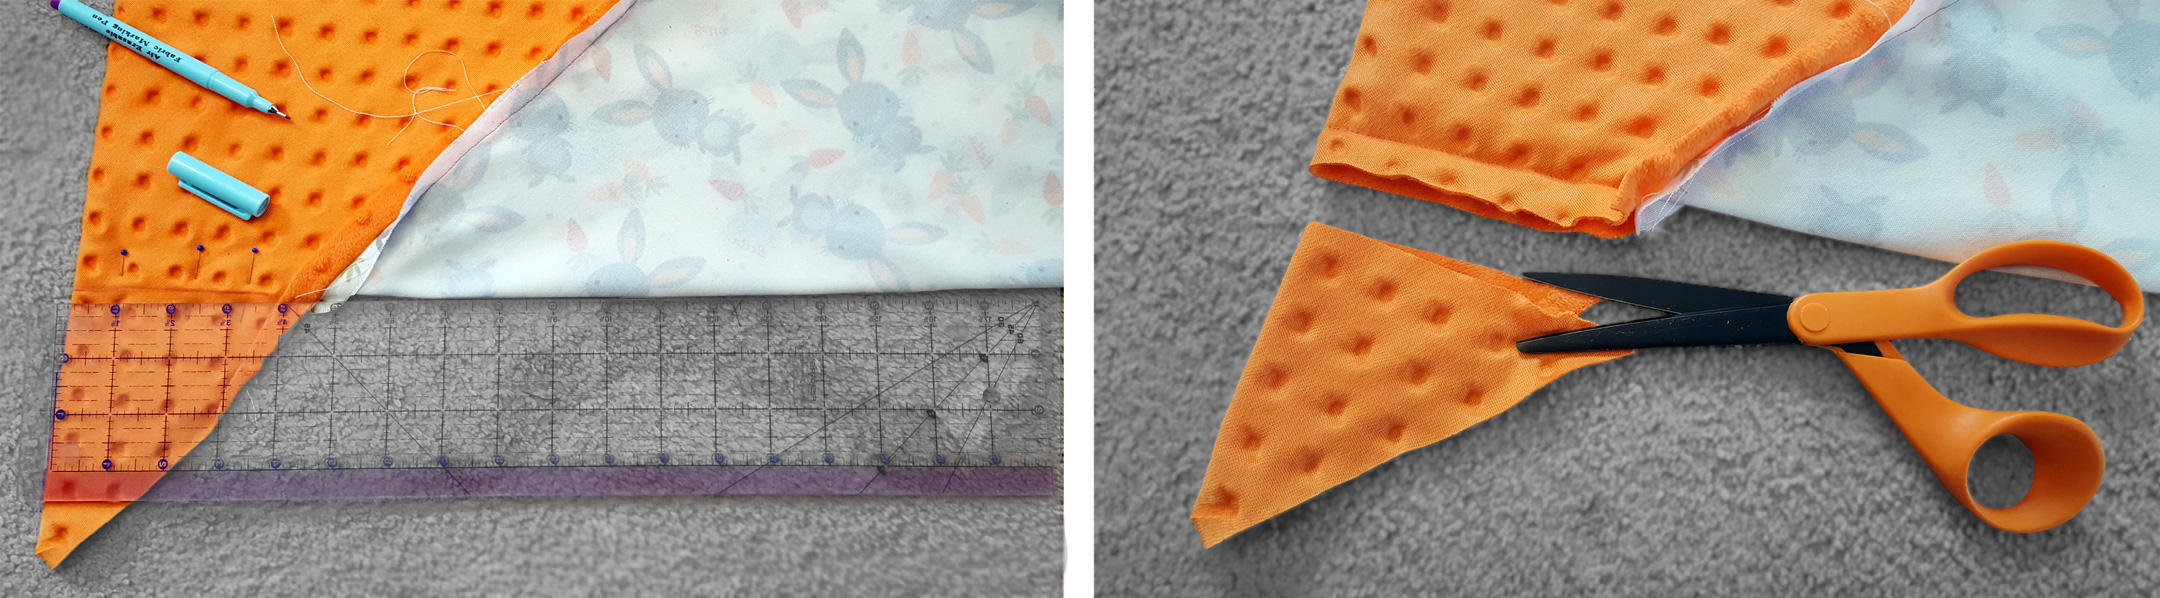
Here’s where it gets a little tricky. Pinch the center of the front panel and pull it away from the backing. Flatten out both the front panel and the back so the side seams are matched up in the corner as seen the the left photo below. Use a ruler and line it up along the edge of the center panel. Use a fabric pen to draw a straight line across the backing fabric then sew along that line. Do this one at a time for each of the 4 corners. Before cutting, I like to turn the blanket right side out to make sure the corners all look good. If they do, turn the blanket back to wrong side out, trim off the corner and leave a 1/2″ seam allowance.
Turn the blanket right side out and your blanket will now look like the photo below. You can see the opening in the top of the photo.
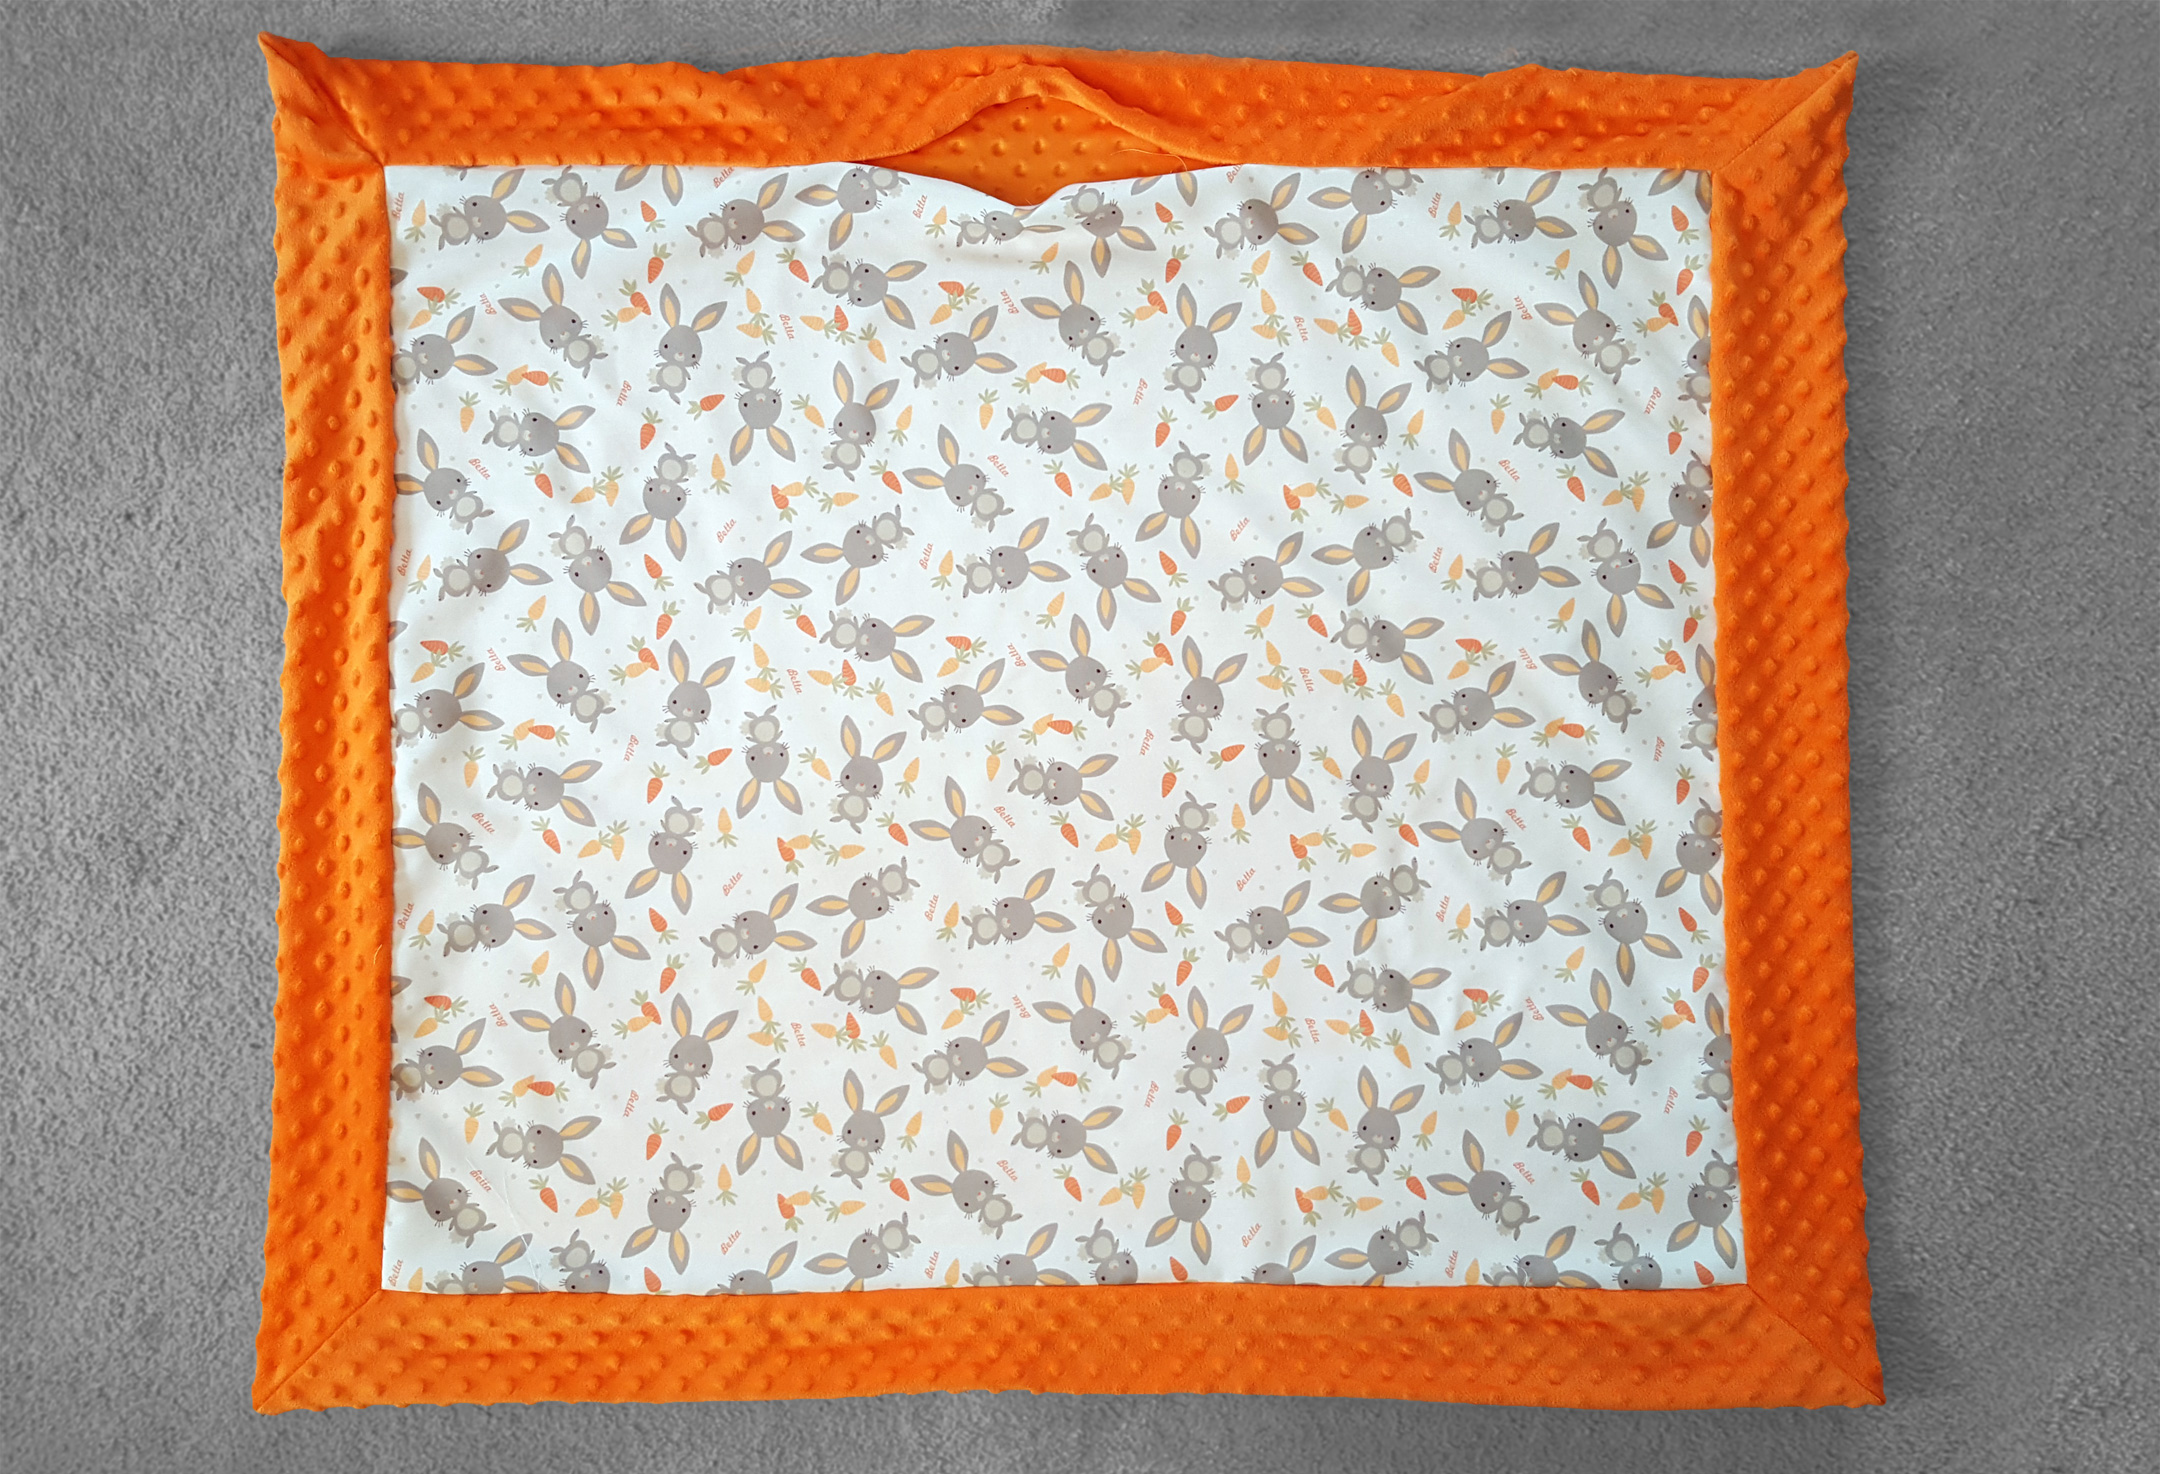
Fold both edges of the opening inward by 1/2″ and pin flat. Then pin around the edge of the front panel with the seam allowance folded toward the outside of the blanket. Sew around the entire rectangle with a zig zag stitch. This will help the blanket lay flat and it will close up the open edge from earlier.
And you’re finished! This becomes a really quick project once you get used to making it. Lastly, find a sweet baby to enjoy a new blankie!
This post was sponsored by Jo-Ann Fabric and Craft Stores. As always, all opinions honest and are my own.


2 comments
What a cute and great idea!
wow, what a creativity! Hands off to your work. Your style and designs are really exceptional. I really liked your ideas of designing baby blankets. Thanks for the post!