Art & Craft, DIY ideas and Tutorials – Craftbuds
  • About Us
  • Needlecraft
    • Crochet
    • Knitting
    • Quilting
    • Sewing
    • Embroidery
  • Cricut
  • Jewelry Making
  • Paper Craft
    • Origami
    • Drawing
  • Engraving
  • Collectibles
    • Numismatics
43K Followers
25K Followers
1K Subscribers
Subscribe
Art & Craft, DIY ideas and Tutorials – Craftbuds
  • About Us
  • Needlecraft
    • Crochet
    • Knitting
    • Quilting
    • Sewing
    • Embroidery
  • Cricut
  • Jewelry Making
  • Paper Craft
    • Origami
    • Drawing
  • Engraving
  • Collectibles
    • Numismatics
  • Craft
  • Crochet
  • Needlecraft

How to Crochet a Cylinder – Video Tutorial

  • Mahnoor Malik Awan
  • Posted: June 12, 2022 - Updated at: October 1, 2023
How to Crochet a Cylinder
Total
86
Shares
0
0
86

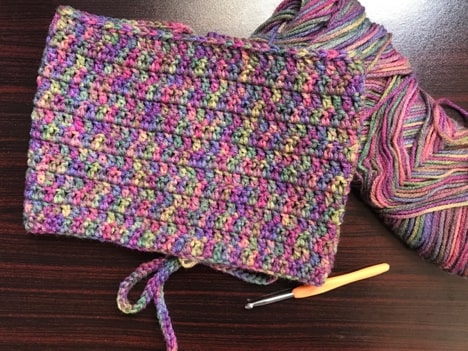
In order to crochet a cylinder, you will first need to create a foundation chain that is the desired length of your finished cylinder. Once you have your foundation chain, single crochet (sc) in each stitch across. When you reach the end of the row, turn your work so that you can continue crocheting along the other side of the foundation chain. Continue working sc stitches in each stitch until you have reached the desired height of your cylinder. Fasten off and weave in any loose ends. Your cylinder is now complete!

Related video tutorials:

  • How to crochet a tube
  • How to crochet a closed tube
  • How to crochet a tube top

How to crochet a cylinder step-by-step

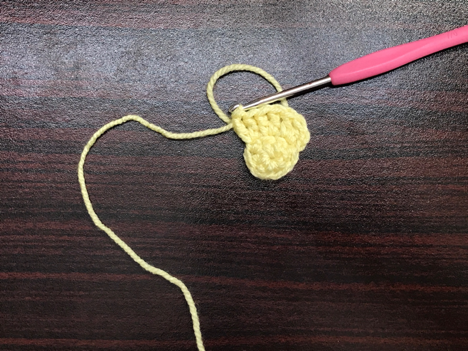
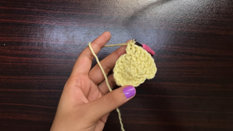
To make a cylinder, make a magic loop and then crochet 6 double or half double crochet. I’m using double crochet. Now slip stitch in the first double crochet.

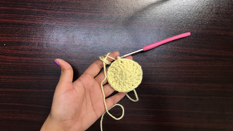
Round two: chain two and make a double crochet in the same stitch, now make one more single crochet in the same stitch, this is the round of increase so we’ll be making increases in every stitch. By the end of the round, you’ll have 12 DC.

How to crochet a Cylinder

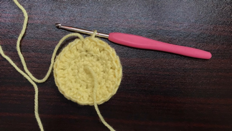
Round 3: Chain two and make an increase of double crochet in the same stitch. With the 2 chains make a DC, and the 3 chains make an increase. In this round, you’ll make an increase after each DC. By the end, you’ll have 18 DC.

How to crochet a Cylinder-1

How to crochet a Cylinder-2

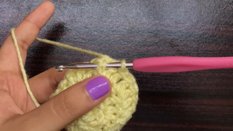
The base is ready now all that’s left is the walls. To make the wall of this cylinder pull the loop a bit and turn your circle to the wrong side. Now insert the hook in the post of the stitch, pull up a loop, and make a slip stitch. 

Insert the hook in the post of the next stitch, pull up a loop, and make a slip stitch up till the end of the round, then make a slip stitch in the first slip stitch.

How to crochet a Cylinder-3

How to crochet a Cylinder-4

How to crochet a Cylinder-5

How to crochet a Cylinder-6

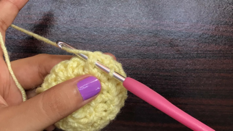
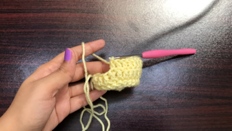
This was the foundation for the walls, now, to make the walls once again pull the loop that’s in the hook and turn the circle to the right side. Chain two and insert the hook in the very first slip stitch you’ve made and make a double crochet. 

Now you’ll keep on making double crochets in the slip stitches you’ve made up till the end of this round. Then, slip stitch in the first DC.

From here on you’ll make regular rounds of DC up till the desired height of the cylinder, starting with a chain two and ending with a slip stitch.

How to crochet a Cylinder-7

How to crochet a Cylinder-8

How to crochet a Cylinder-9

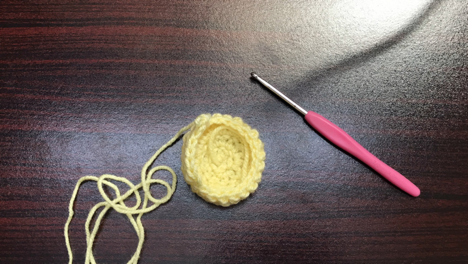
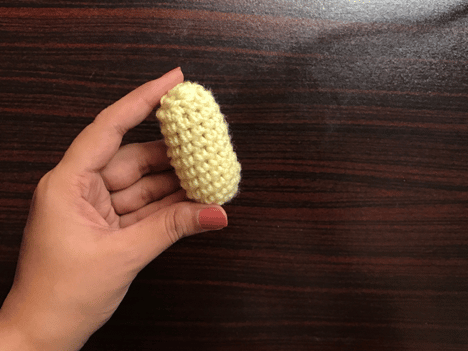
And this is how you’ll make a cylinder. 

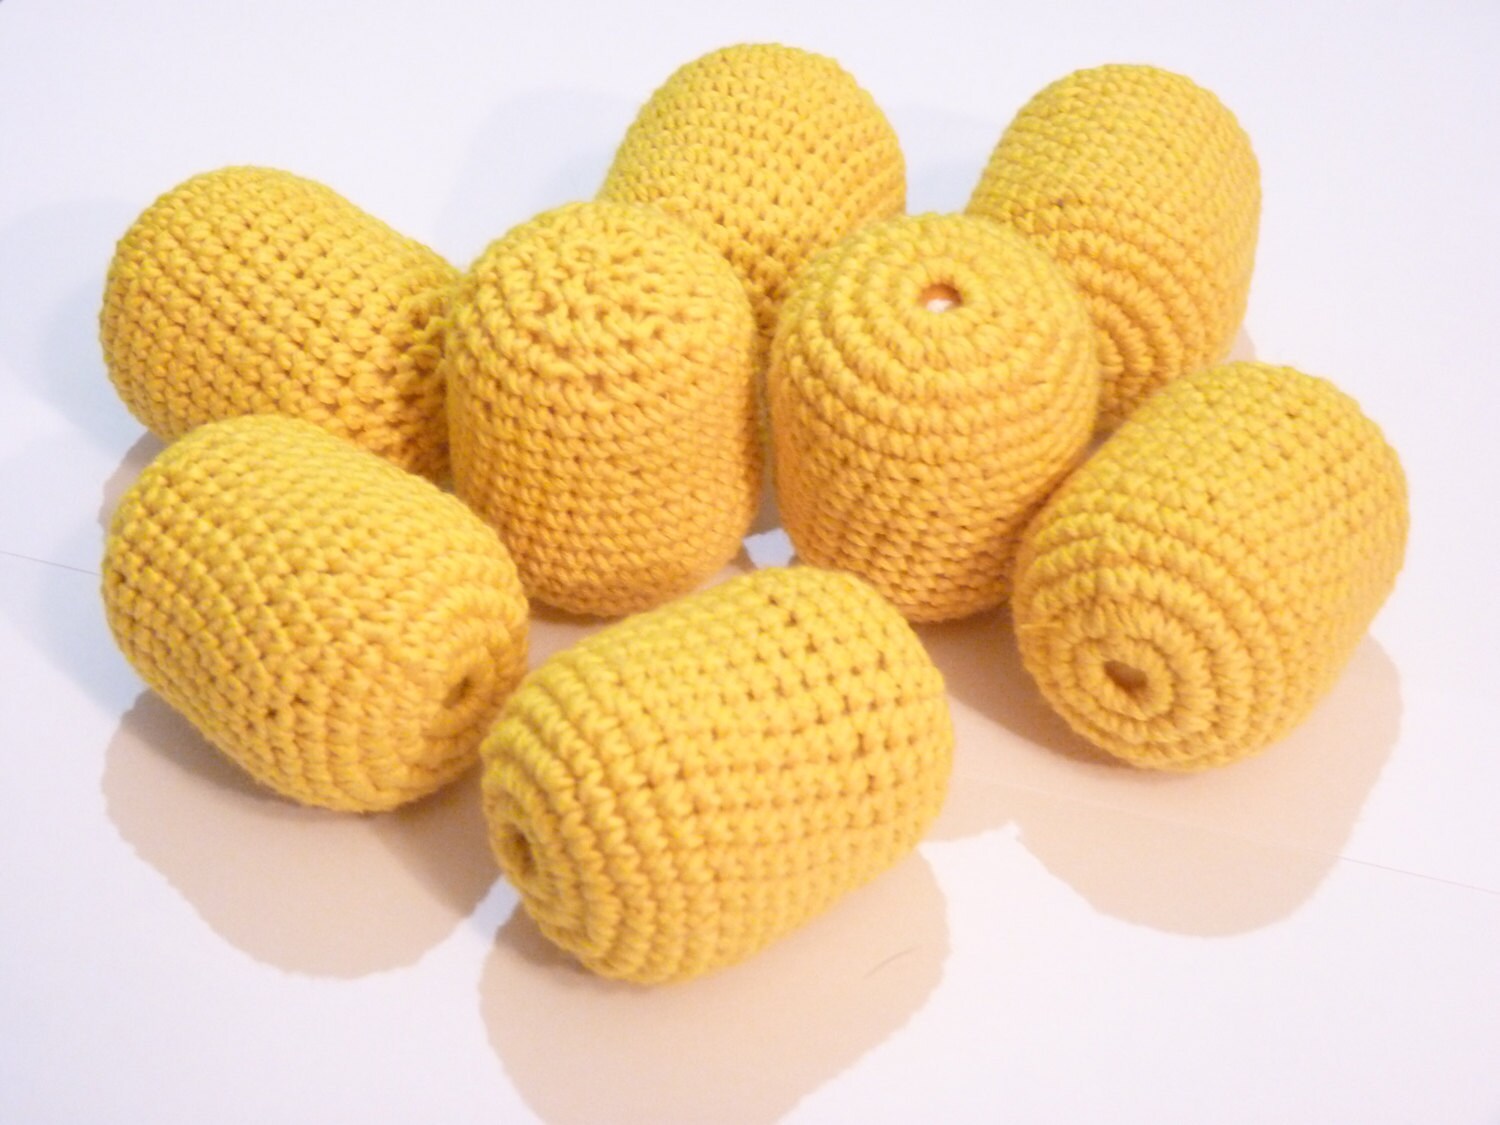
When do you need to make a cylinder in crochet?

There are a few different reasons why you might need to make a cylinder in crochet. One common reason is to create a tube-like shape for projects like socks, leg warmers, or sleeves. Additionally, cylinders can be used as the base for amigurumi projects or other three-dimensional shapes. Finally, some people use cylinders as part of their crocheted garment construction, shaping the fabric around the body before adding additional details like straps or closures. No matter what your reason is for making a cylinder, the process is relatively simple and only requires basic crochet skills. With a little practice, you’ll be able to achieve consistent results every time. Keep reading to learn how to make a crochet cylinder!

Total
86
Shares
Share 0
Tweet 0
Pin it 86
Mahnoor Malik Awan

Hi, I’m Mahnoor Malik Awan, a Crocheter, artist, freelancer, and writer. Art & Craft have been my best buddy for as far as I can remember. I used to make clothes and write stories when playing with my dolls. I even tried to record a film with my camera phone at the age of 10, where I was the director, writer, producer at the same, along with making the dolls act. I love to crochet, there’s nothing that I haven’t tried with it; from home decor to amigurumi to clothes and much more. I still remember how I used to sleep all day after school and one day my Mom bought me a hook and a ball of yarn and dropped me at my neighbors. She said “No More Sleeping In Noon.” And drove off. I’m still grateful to her for making this decision for me. I live in Pakistan with My Parents and Siblings. My Love for Craft has Honoured me with the Title of Crocheter and Ghostwriter. The Two jobs that don’t feel like working at all.

Previous Article
How to make a closed tube in crochet
  • Craft
  • Crochet
  • Needlecraft

How to Make a Closed Tube in Crochet

  • Mahnoor Malik Awan
  • Posted: June 12, 2022 - Updated at: June 13, 2022
View Post
Next Article
How to crochet a tube top
  • Craft
  • Crochet
  • Needlecraft

How to Crochet a Tube Top – Video Tutorial

  • Mahnoor Malik Awan
  • Posted: June 13, 2022 - Updated at: September 28, 2023
View Post
You May Also Like
View Post
  • DIY projects
  • Home

nPhoto – Professional Photo Printing Services for Photographers: Develop Your Brand with Us!

  • Jeremie Berton
  • Posted: January 14, 2025
View Post
  • Craft
  • Outdoor

5 Great Destinations in Costa Rica for Your Next Crafting Retreat

  • Craftbuds Editorial Team
  • Posted: December 16, 2024
Why-Professional-Locksmiths-Are-Essential-for-Home-Security
View Post
  • Home

Avoiding DIY Disasters: Why Professional Locksmiths Are Essential for Home Security

  • Jeremie Berton
  • Posted: April 3, 2024
Putting Together a Wooden Nativity Set for the Holidays
View Post
  • Craft
  • DIY projects
  • Home
  • Outdoor

Putting Together a Wooden Nativity Set for the Holidays

  • Sheila Mae Pedregosa
  • Posted: February 7, 2024
How is AI Impacting Crafting
View Post
  • Craft
  • Tools & Supplies

How is AI Impacting Crafting

  • Craftbuds Editorial Team
  • Posted: December 5, 2023 - Updated at: December 7, 2023
Embroidery Couching Stitch
View Post
  • Embroidery
  • Needlecraft

How to Do an Embroidery Couching Stitch: Variations and Applications

  • Jewel shaju
  • Posted: December 1, 2023
How to Do an Embroidery Back Stitch
View Post
  • Embroidery
  • Needlecraft

How to Do an Embroidery Back Stitch: Variations and Uses (+Video Tutorials)

  • Jewel shaju
  • Posted: November 13, 2023 - Updated at: December 1, 2023
How to Do an Embroidery French Knot
View Post
  • Embroidery
  • Needlecraft

How to Do an Embroidery French Knot Stitch & Variations: Step-by-Step Video Tutorials

  • Jewel shaju
  • Posted: November 6, 2023 - Updated at: December 1, 2023

Leave a Reply

Your email address will not be published. Required fields are marked *

Subscribe

Subscribe now to our newsletter

Art & Craft, DIY ideas and Tutorials – Craftbuds
  • About Us
  • Editorial Guidelines
  • Our Experts
  • Privacy Policy
  • Contact Us
Find fun and creative craft ideas and tutorials across various categories such as Knitting, Quilting, Sewing, PaperCraft, Jewelry Making and much more

Input your search keywords and press Enter.