Hi all! I’m excited to be the first guest blogger for Lindsay’s Mosaic Tiles QAL! My name is Amy and I blog over at www.13spools.com.
I first met Lindsay in the Indianapolis Modern Quilt Guild and even got to help her sew some of the charity quilt in her book – though I didn’t actually know what I was making the block for at the time!

I just thought I would mention a few of the things about the Mosaic Tiles pattern from Modern Bee that I really love:
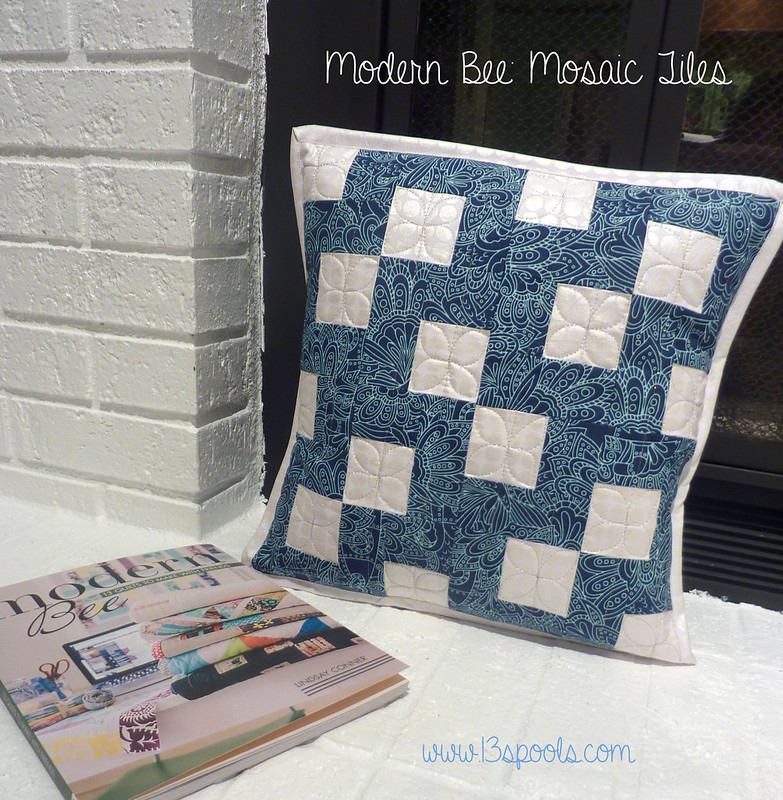
Since December is always a bit of a crazy month – yet also the time when I find myself scrambling for a few extra gifts – I thought a pillow would be the perfect project. Nice and quick, with all the coziness of a quilt. If you’d like to make a 14″ pillow from the Mosaic Tiles pattern, you’ll need:
Background Fabric (Tula Pink Salt Water)
– Cut 2 additional strips in each size needed for one block.
Focus Fabric (Mirror Ball Dots)
– Cut 1 additional square as needed for one block.
Additional Supplies
– 2 binding strips, or at least 70″ of binding
– (2) 10″ x 14″ rectangles for the envelope backing
– (1) 18″ square piece of batting
– (1) 18″ square piece of fabric for the backing of the quilt (pillow top) sandwich – this fabric will end up on the inside of the pillow and will not be visible
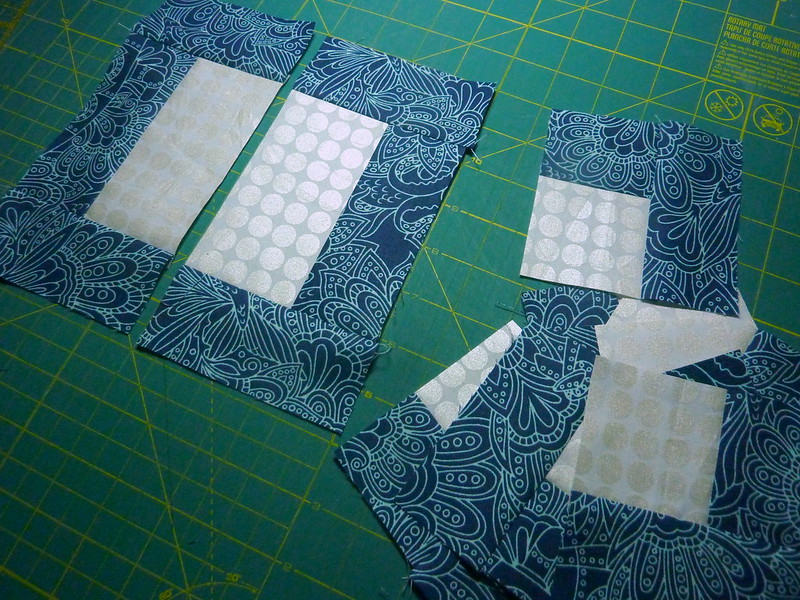
Step 1: Create your 8″ framed squares, as directed in the book.
Step 2: Cut your framed squares into quarters, as directed in the book.
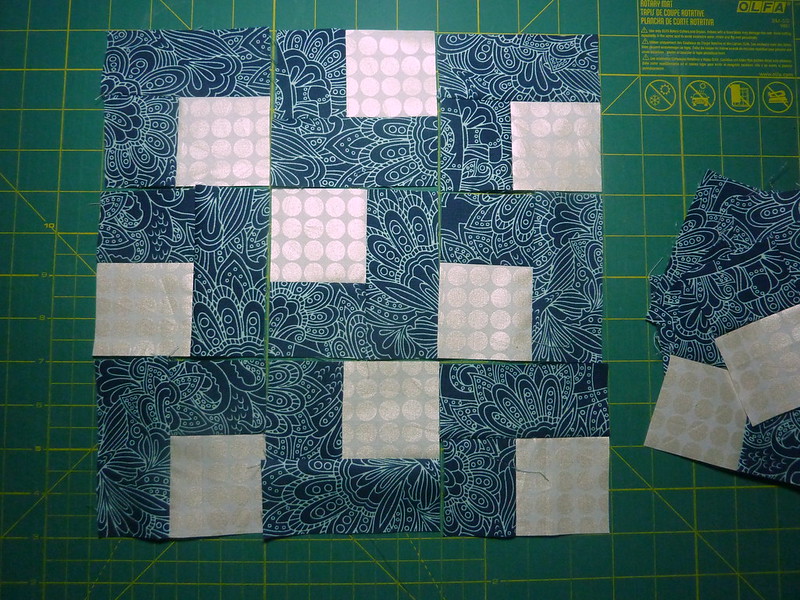
Step 3: Assemble the pillow top.
Here is the layout for one completed block, as shown in the book:
We still need to add 1 row and 1 column to this layout to make a completed pillow top. Here’s the layout I decided on:
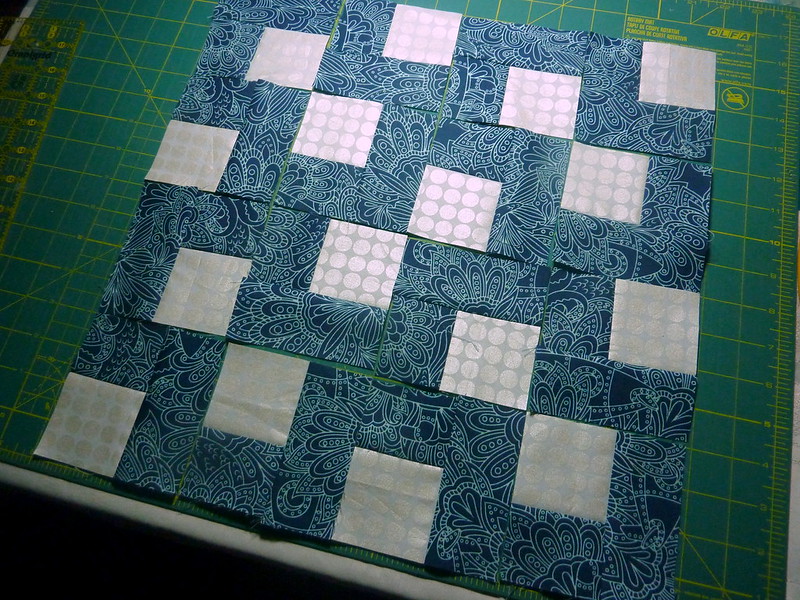
Sew into rows, then sew the rows together to complete the pillow top.
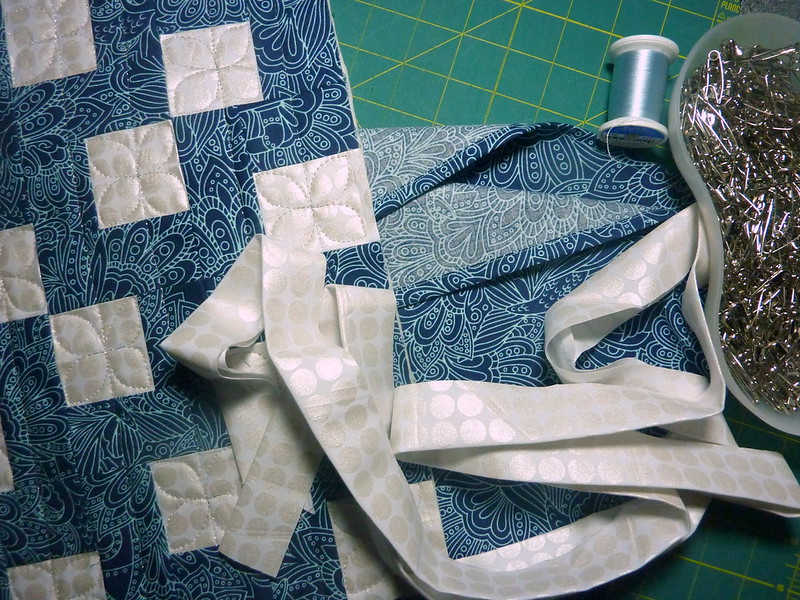
Step 4: Quilt the pillow top.
If you would like to quilt your pillow top for some extra cuddly texture, then make a quilt sandwich out of the pillow top, the batting, and the 18″ fabric square. Quilt as desired!
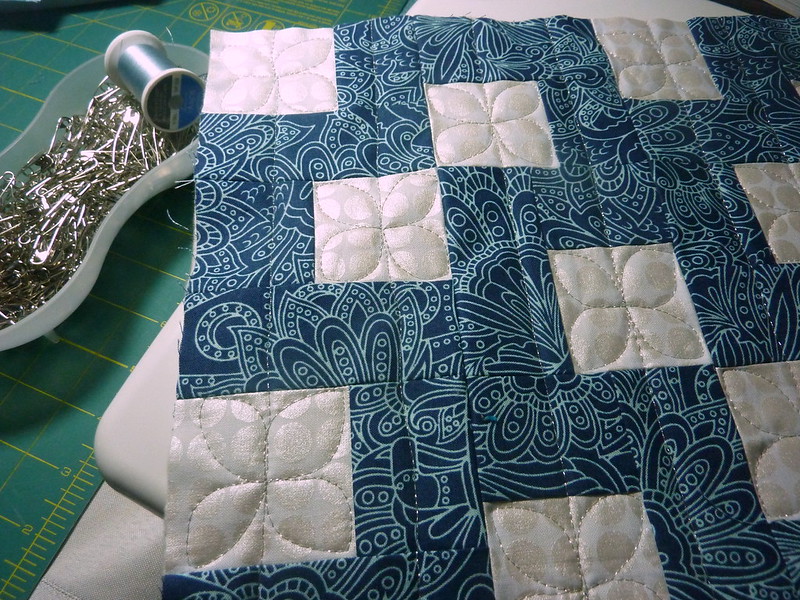
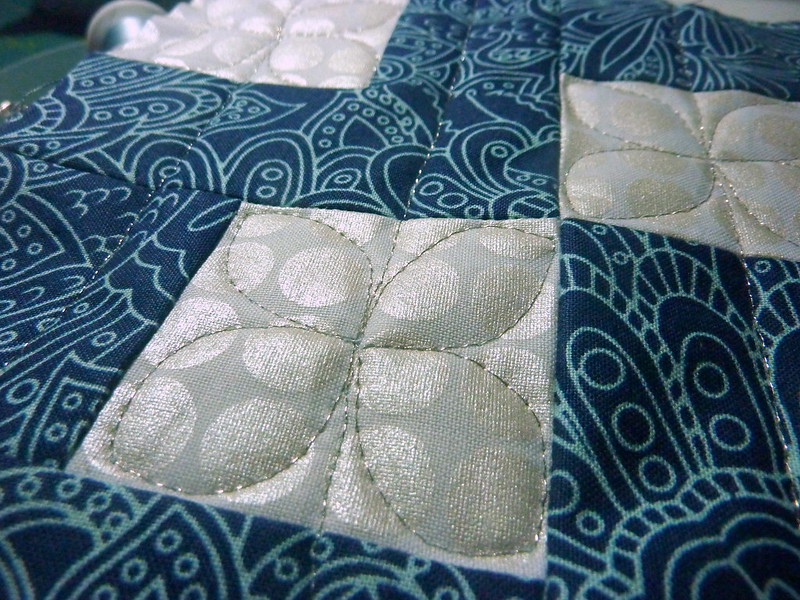
I had a lot of fun quilting this project with some organic straight lines, which “bloomed” into dogwoods when they hit each square. To play on the sheen from the Mirror Ball dots fabric, I used a metallic silver thread (see more on metallic thread use here).
When done, trim down the backing and batting to match the edges of the pillow quilt top.
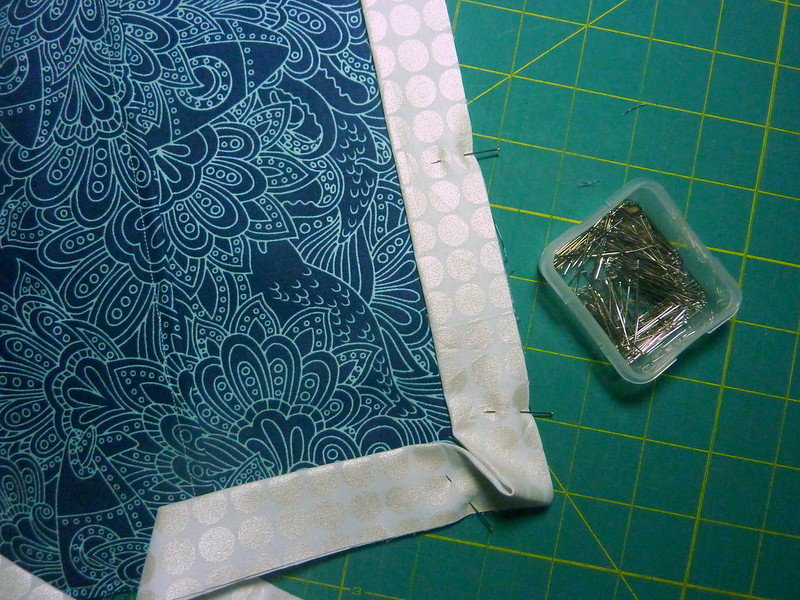
Step 5: Prepare the envelope backing.
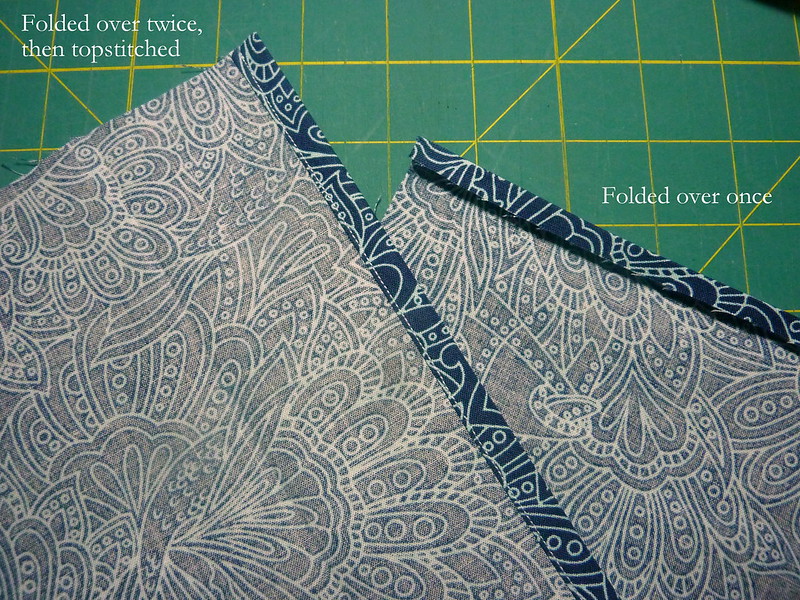
Along one of the long sides of each of the backing pieces, fold the fabric over 1/4″ and press. Fold over again and press. Stitch just next to the edge to secure the hem. Repeat with other backing piece.
Step 6: Attach the envelope backing.
This can technically be done at the same time as binding, but I prefer to tack it on first for security.
Lay the pillow top on your cutting mat right side down. Place the two backing pieces right side up on top of the pillow top. Place them on one at a time, lining up the raw edges with the raw edges of the pillow top.
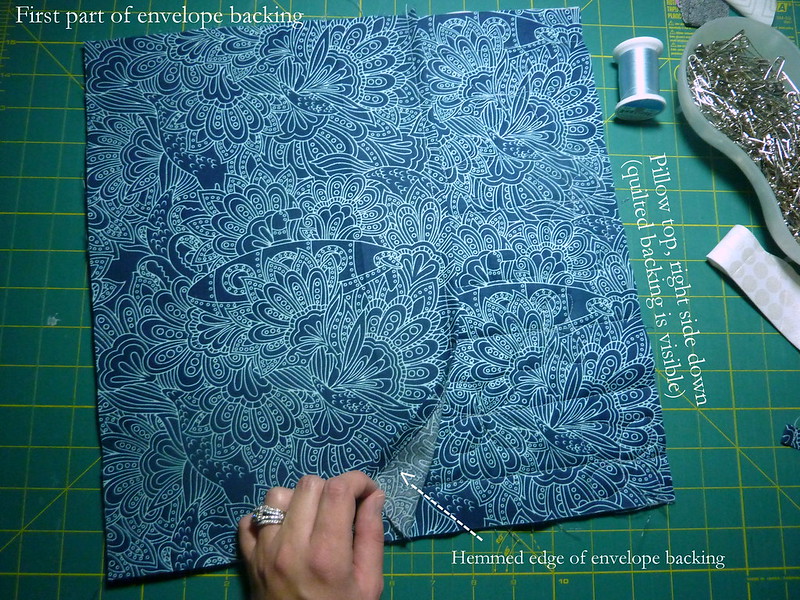
The hemmed edges will end up in the middle of the pillow back. They will overlap several inches. Pin in place.
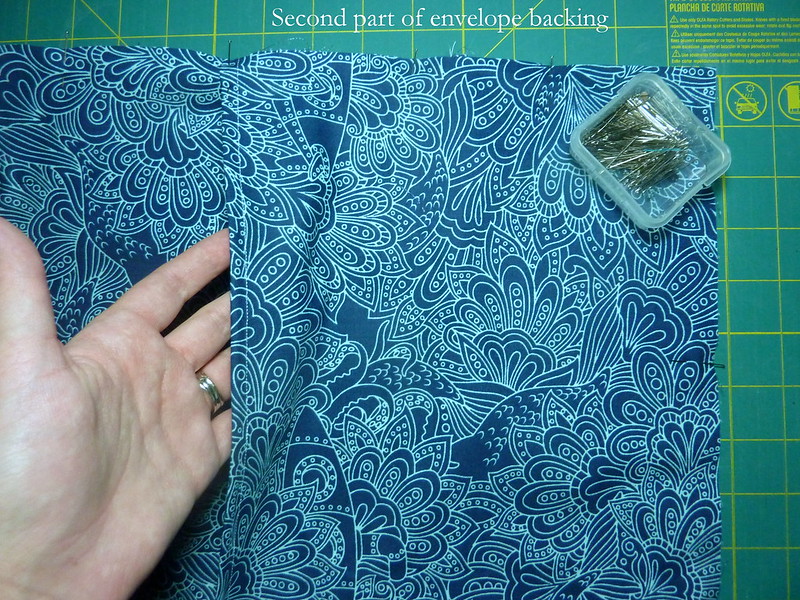
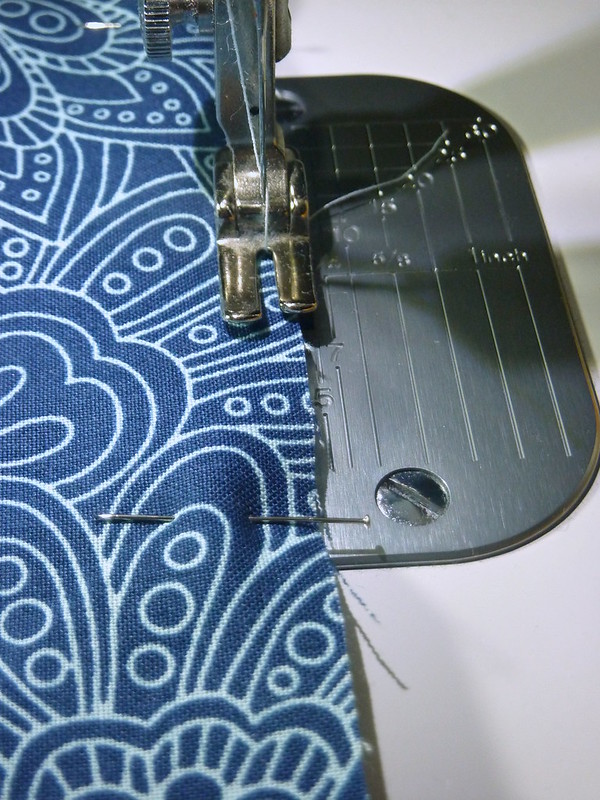
Stitch an 1/8″ in on all sides.
Step 7: Bind as desired.
For pillows, I like to use a machine stitched zig zag binding. I sewed the binding to the back of the pillow, flipped it over, and zig zagged it from the front. I used metallic thread for this step, as well.
Ta-dah! A fast a scrumptious pillow. I feel like this color palette works well as a winter pillow.
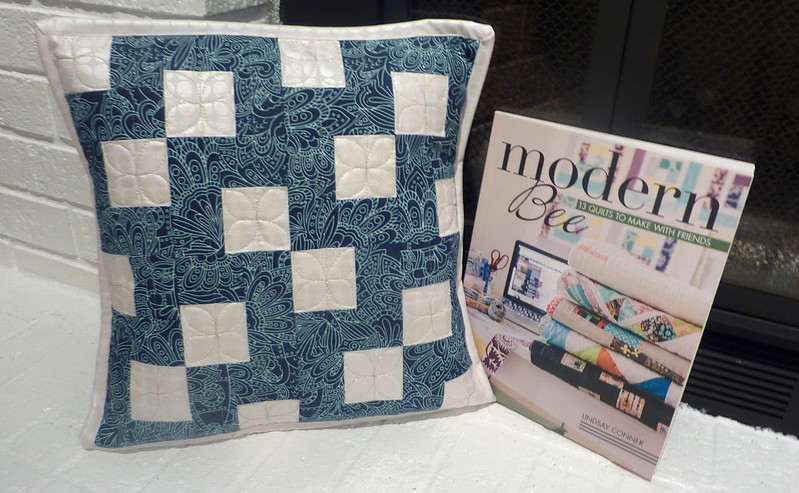
And because it’s always so enjoyable to play around on Illustrator, here are a few mock-ups of other fun colorways for this quilt:
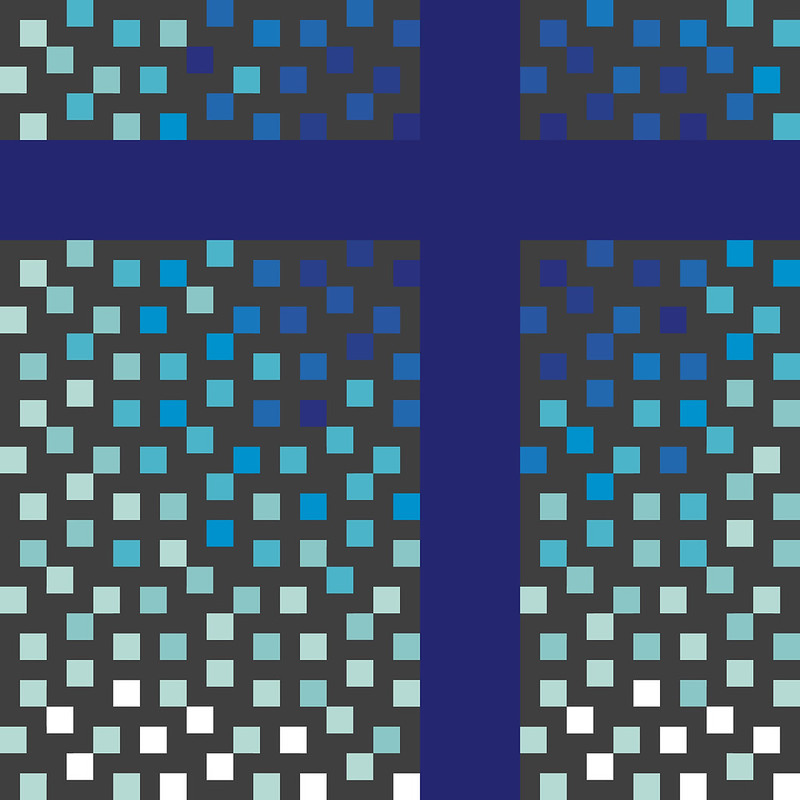
Red and Gray
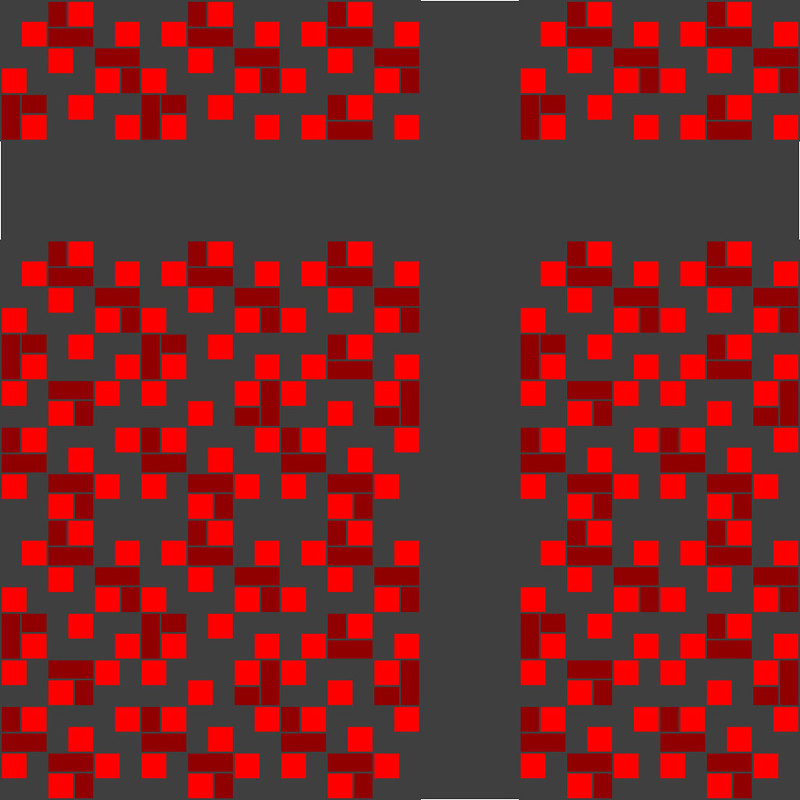
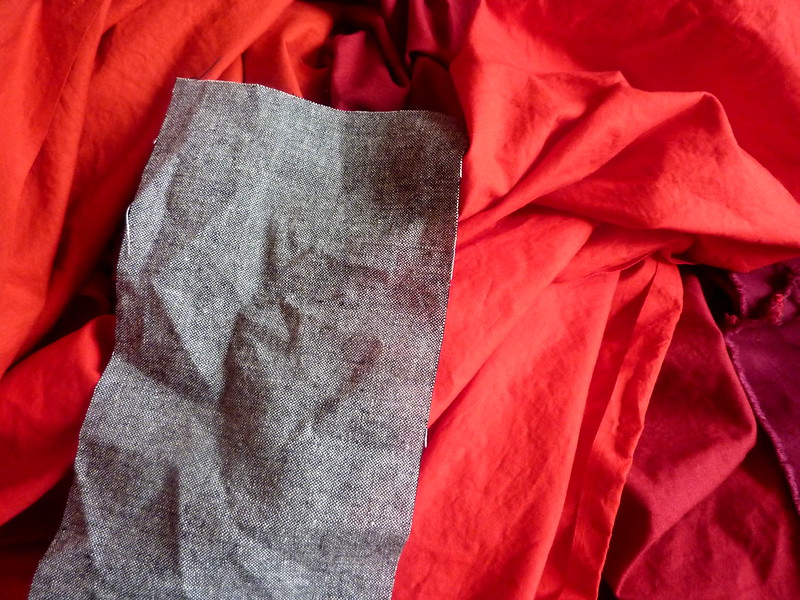
For this layout, I used only one red color for the squares. 1/3 of the framed squares are made with darker red background strips, instead of gray. Instead of having a darker fabric for the larger cross of negative space, I opted to go with the same gray as I used in the rest of the background. I think this option would look great with some of the reds and Essex Linen I bought recently!
Blue Ombre
If you read my blog, you know I’m a huge sucker for ombre! This would probably work best with a design wall, so you can lay out pieces as you complete them and continually assess what colors you need next.
Lighter Palette

The example in the book, as well as all of the mockups I have given so far, use a gray background, but this pattern would work well with a lighter background, as well! This one gives a nice wintery feel, which I’m into at the moment :).
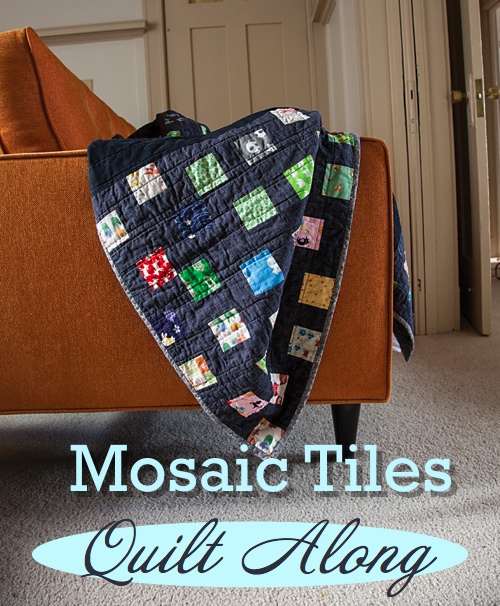
I hope that gives you all a great starting point for the Mosaic Tiles QAL! Don’t forget to join the Flickr group so you can share any projects you’ve made from the book.


2 comments
Lovely cushion, and great fabric choices 🙂
Awesome.. Great pillow!!