Art & Craft, DIY ideas and Tutorials - Craftbuds
  • All Craft
  • Needlecraft
    • Crochet
    • Knitting
    • Quilting
    • Sewing
    • Embroidery
  • Jewelry Making
  • Paper Craft
  • Engraving
  • Collectibles
43K Followers
24K Followers
407 Subscribers
Subscribe
Art & Craft, DIY ideas and Tutorials – Craftbuds
  • All Craft
  • Needlecraft
    • Crochet
    • Knitting
    • Quilting
    • Sewing
    • Embroidery
  • Jewelry Making
  • Paper Craft
  • Engraving
  • Collectibles
  • Uncategorized

Covered Light Switch Plates

  • Lindsay
  • Posted: October 4, 2014 - Updated at: July 16, 2020
How often should you clean your light switch plates
Total
2
Shares
2
0
0

IMG_0335

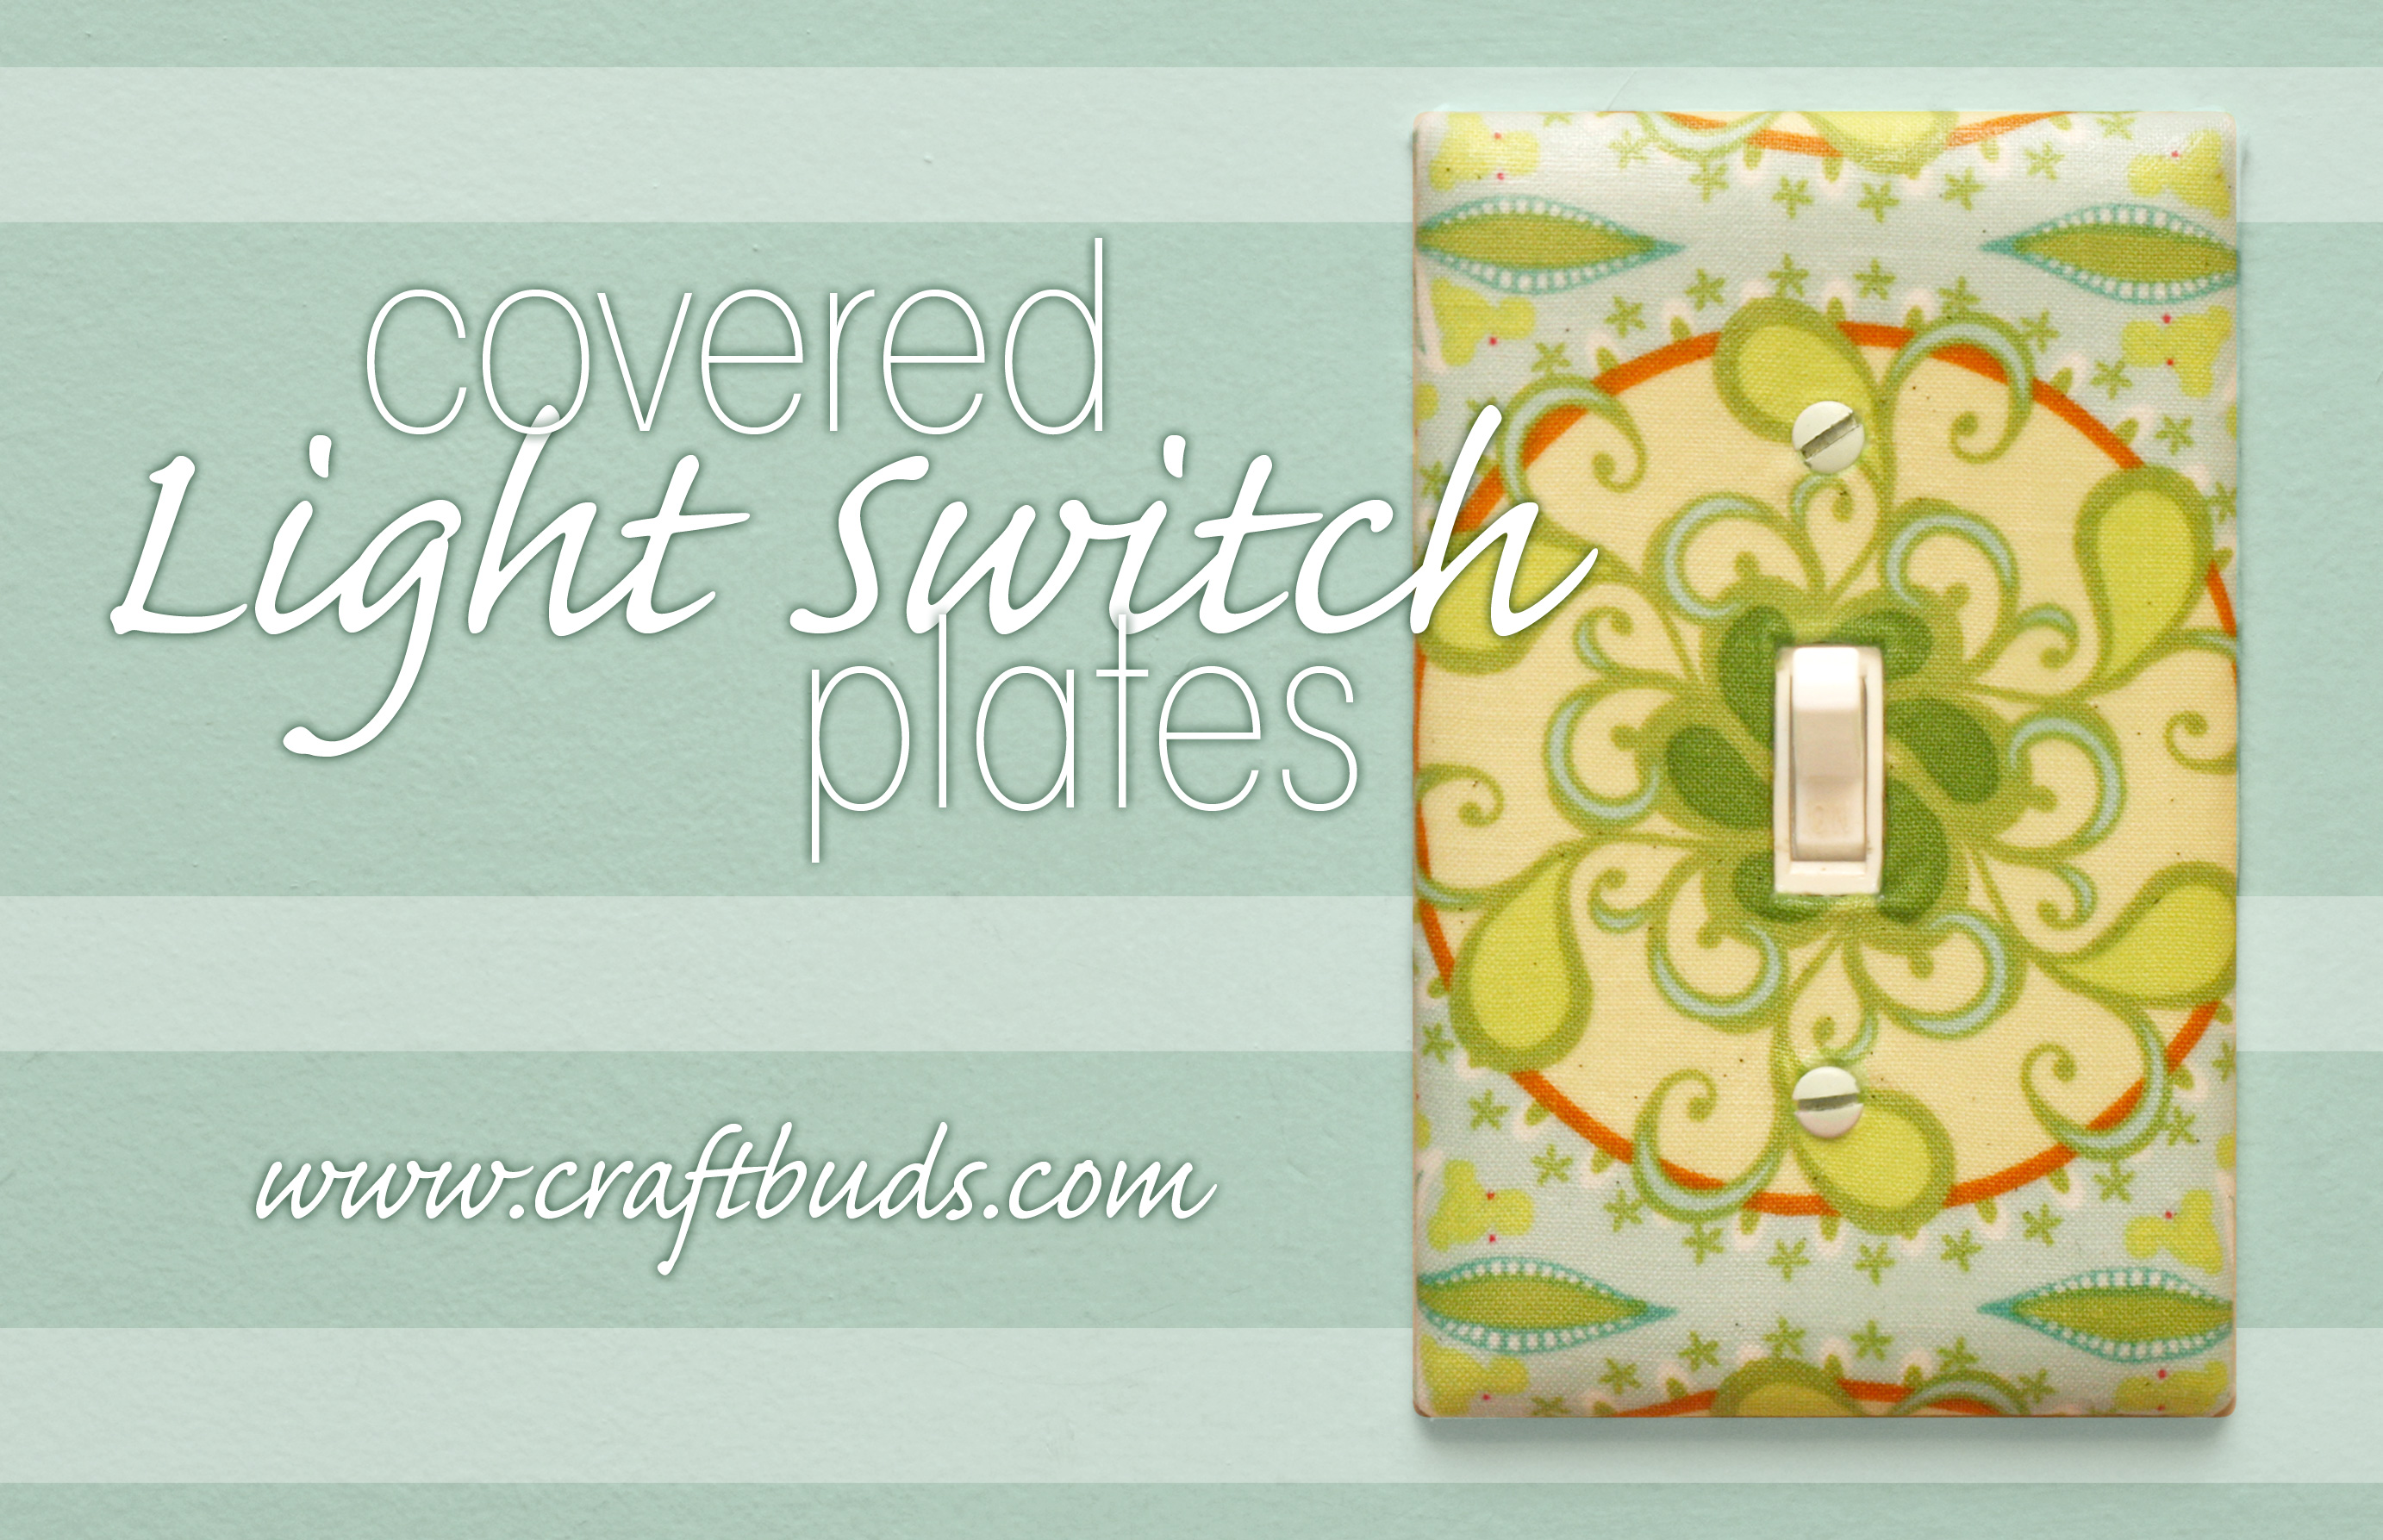
Turn something ordinary into something special by designing and creating a unique wall light switch plate (also called wall protectors, light switch surround or finger plates). Say goodbye to boring wall features and brighten your home!

IMG_0327

Materials:

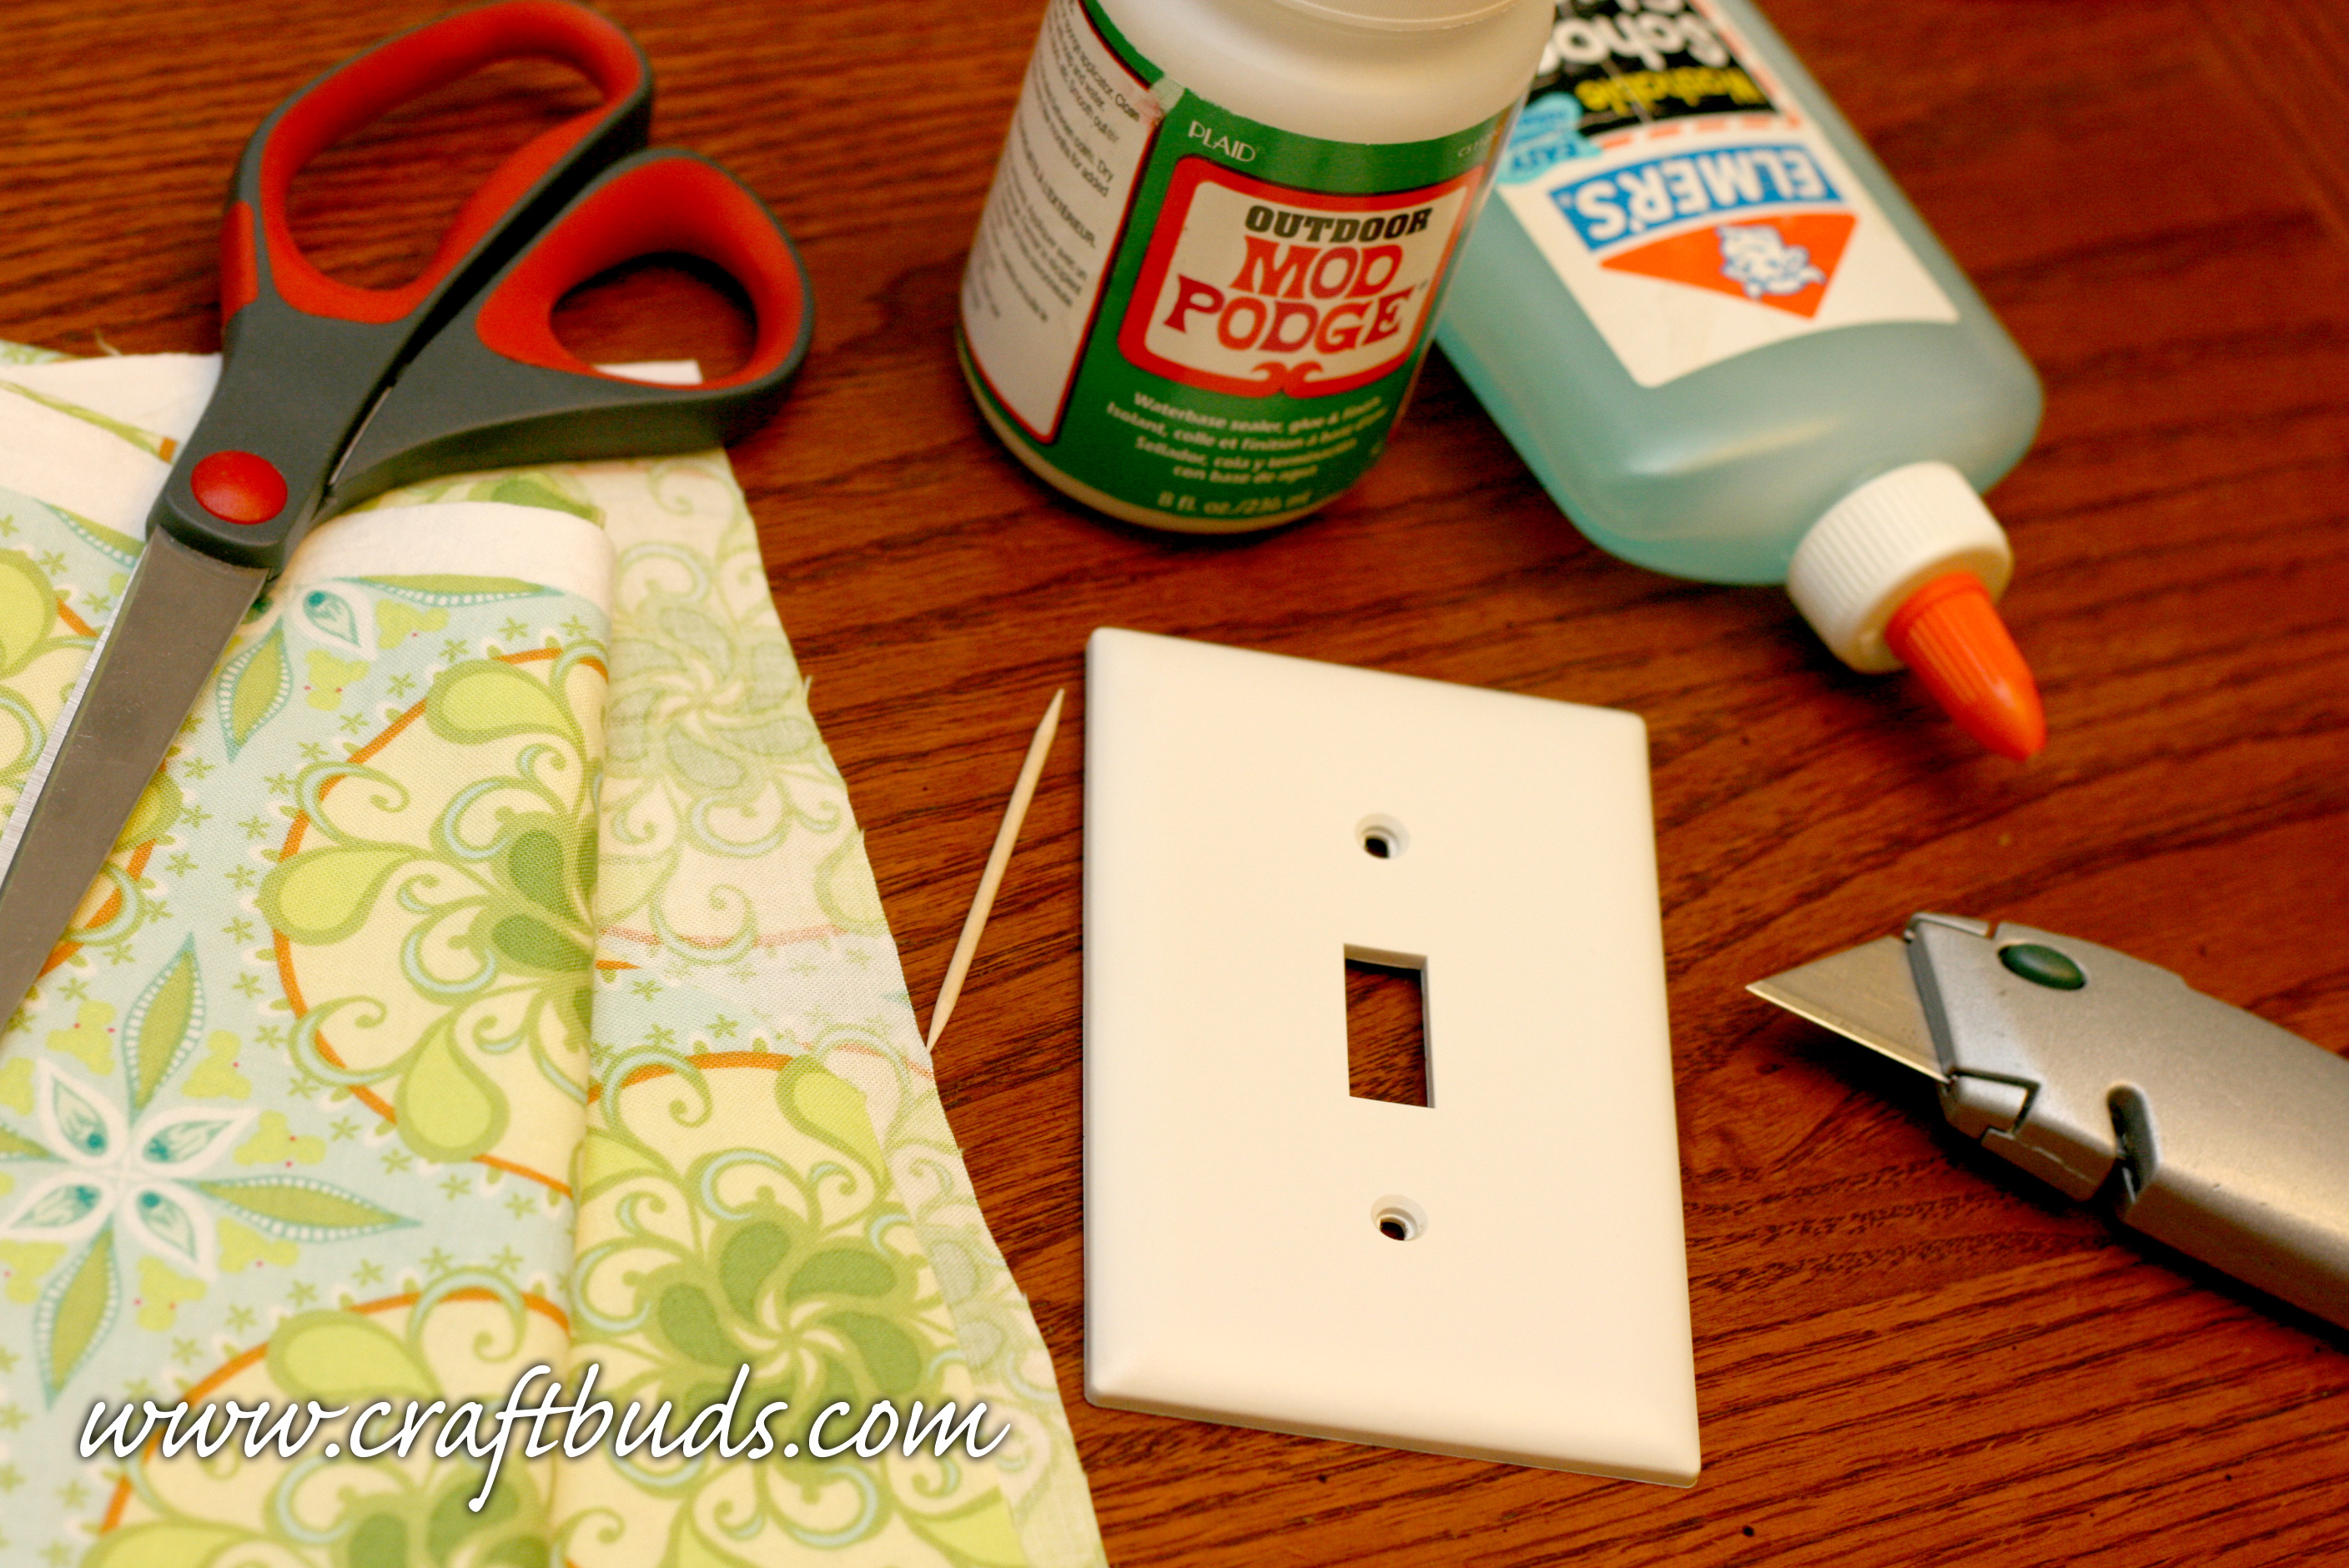
To make your own light switch plate, you will need:

– Fabric, wrapping paper or thin paper with a printed image
– Switch plate – used or new, metal or plastic
– Pair of scissors
– Adhesive or spray glue
– Spray lacquer (or acrylic gloss) or Mod Podge
– Toothpick
– Utility knife and a cutting mat

Step One 

Cut out your selected design or, if you have a piece of favorite artwork on your computer, use a graphics program to edit it to the right size and print. Hold the switch plate up to the light to find a good position for the light switch hole to fit into the picture. Trace plate boundary lines adding a margin of 1/2″ or so and then remove any excess paper with a sharp knife. Make notches at the corners – this makes it easier to fold the covering around the plate corners later.

Step Two

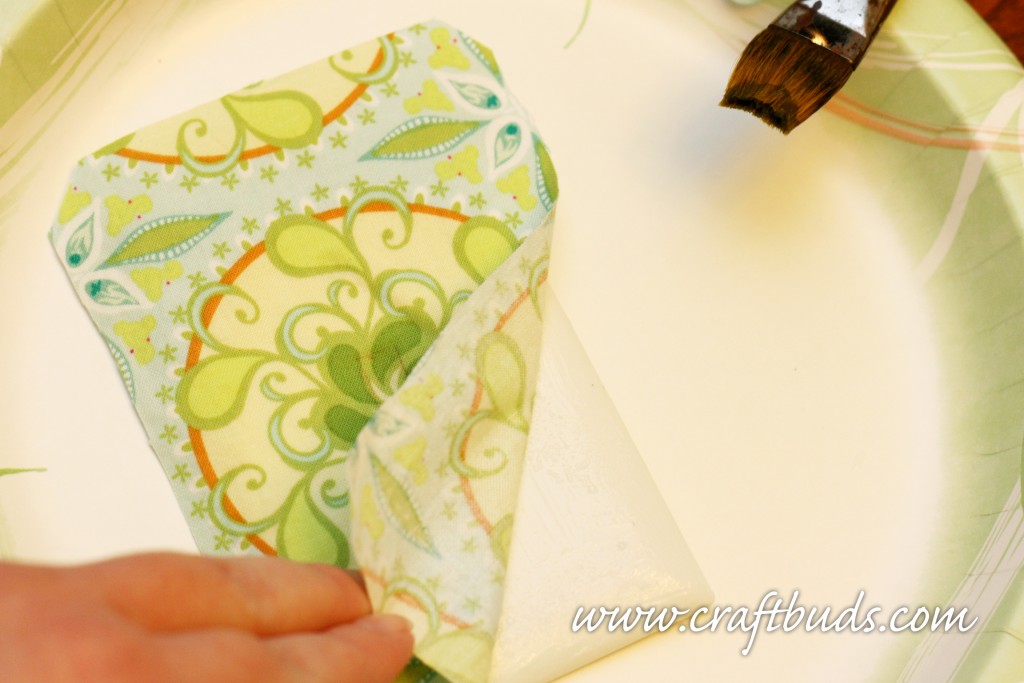
Spray on or brush on a coat of adhesive on the entire front of the plate and its back edges, using a paper plate or old newspaper to protect your surface. Press the fabric or printed image on the front of the plate, then flip the plate over to the back and fold the fabric or image over the edges around to the back. Use a toothpick or small implement to carefully handle and press any small pieces. Fold over the corners first, then the sides. Check the covering for possible bubbles, and gently press them out.

IMG_0328

Step Three

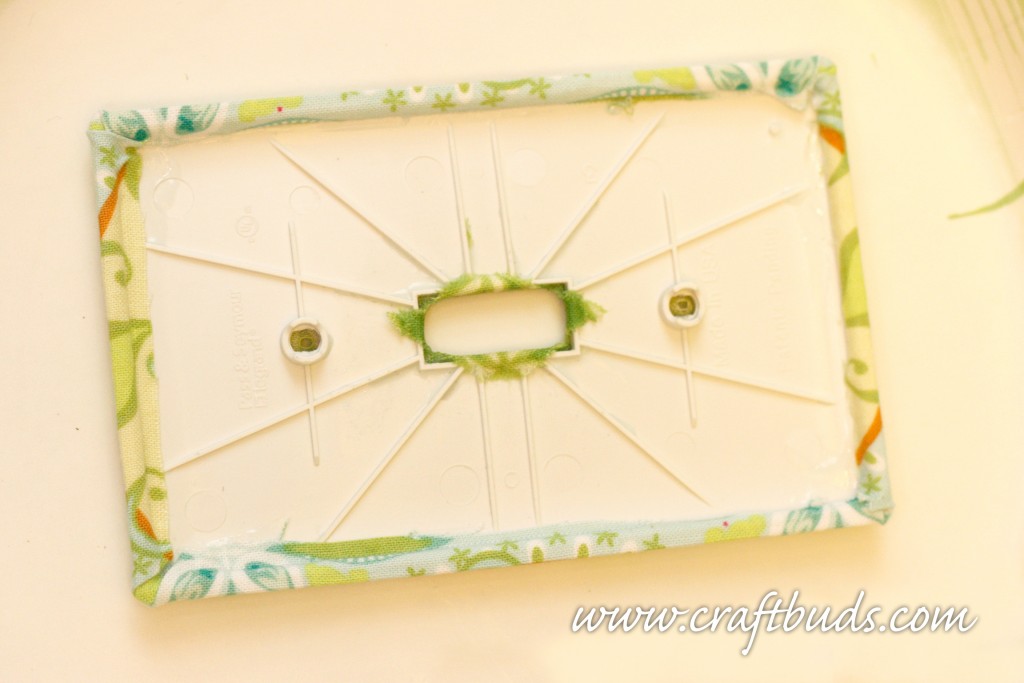
Cut an ‘X’ in the center of the plate inside the switch opening and fold the triangles inwards towards center and to the back of the plate. Use the toothpick to make any holes (if necessary) for screws. If using fabric, use sharp thread snip scissors to cut out the switch opening all the way to the corners and to cut out the screw holes. Cover with Mod Podge or spray the front of the plate evenly with up to three coats of lacquer, allowing half an hour between coats to dry, and overnight before your new surround is ready to fit and use. Enjoy the new look!

IMG_0329


Although it is not difficult to make these at home, another option to design your own wall lights switch surround is to use a custom switch plate vendors (found via Amazon or eBay) and use the option to upload your own design and print. The high-quality switch plate is then created to your preferences.

Do you have any custom light switch plate covers in your home?

Note: This post was written in collaboration with Tesco Direct and Creative Bloq.

Total
2
Shares
Share 2
Tweet 0
Pin it 0
Lindsay

Hi, I’m Lindsay Conner, an author, modern quilter, editor, and founder of the Lindsay Sews blog. I’m a Baby Lock ambassador and Stash Books author who loves writing modern sewing and quilt patterns for beginners and weekend sewists! I live in Indianapolis, Indiana with my husband, son, and two loveable cats, Murph and Chloe. I’ve been crafting for as long as I can remember. As a kid, I saved my dollar bills for trips with my mom to Jo-Ann Fabrics, where I’d find new floss for friendship bracelets or mini cross-stitch kits. Because my mom has always shared my love for crafting, she bought me my first sewing machine, a Hello Kitty Janome.

Previous Article
  • Craft Book Month

Craft Book Month: Week 2 Inspiration!

  • Lindsay
  • Posted: September 18, 2014 - Updated at: July 16, 2020
View Post
Next Article
  • Craft
  • Sewing

Easy Fabric Letters

  • Lindsay
  • Posted: October 6, 2014 - Updated at: May 10, 2022
View Post
You May Also Like
Arbor Press For Jewelry Making
View Post
  • Craft
  • Uncategorized

Best Arbor Press For Jewelry Making

  • Petar Dimov
  • Posted: October 21, 2020 - Updated at: April 25, 2022
View Post
  • Uncategorized

Teach Them Young: The Benefits of Arts and Crafts for Kids

  • Lindsay
  • Posted: June 2, 2019 - Updated at: July 9, 2020
View Post
  • Uncategorized

4 Tips For Starting Your Own Home Craft Business

  • Lindsay
  • Posted: March 27, 2019 - Updated at: July 9, 2020
View Post
  • Craft
  • Uncategorized

Sign up for the Mod Bee online quilting conference!

  • Lindsay
  • Posted: February 1, 2019 - Updated at: July 9, 2020
View Post
  • Uncategorized

DIY Acoustic Speakers For Your Mobile Phone

  • Lindsay
  • Posted: June 28, 2017 - Updated at: July 10, 2020
View Post
  • Uncategorized

How to Grocery Shop and Cook More Efficiently

  • Lindsay
  • Posted: September 16, 2016 - Updated at: July 11, 2020
View Post
  • Uncategorized

Sporty Strap Pack Sew Along – Post #3: Finishing the Bag

  • Lindsay
  • Posted: May 11, 2016 - Updated at: July 11, 2020
View Post
  • Uncategorized

Quick & Easy Printable Valentines! Mini Bubble Flags

  • Lindsay
  • Posted: February 11, 2016 - Updated at: January 9, 2022
Social Links
Facebook 43K Followers
Pinterest 24K Followers
YouTube 407 Subscribers

Subscribe

Subscribe now to our newsletter

Art & Craft, DIY ideas and Tutorials – Craftbuds
  • Privacy Policy
  • About
  • Contact
Find fun and creative craft ideas and tutorials across various categories such as Knitting, Quilting, Sewing, PaperCraft, Jewelry Making and much more

Input your search keywords and press Enter.