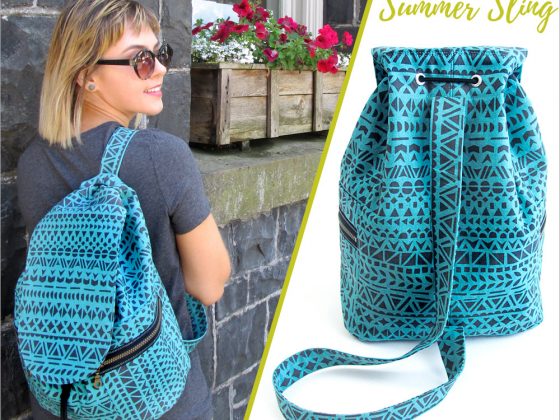

Welcome to the second post of the Sporty Strap Pack sew along! This is the one-shoulder backpack pattern featured on the cover of our book On the Go Bags, co-written by Janelle MacKay of Emmaline Bags.
Janelle kicked off our sew along with several helpful posts for those of you sewing the Airport Sling Bag, (another one from the book!) which you’ll find here:
Airport Sling:
- Post #1: Supplies, Cutting & Interfacing
- Post #2: Creating the Passport Pocket
- Post #3: Finishing the Bag Exterior
- Post #4: Finishing the Bag & Link Up Your Photos
Sporty Strap Pack:
- Post #1: Supplies, Cutting + Interfacing
- Post #2: Straps + Pockets
- Post #3: You are here!
You may have already joined the On the Go Bags Facebook group, but in case you haven’t, check it out for all of the sew along info.You can share your bag progress, ask questions, and even enter to win prizes just for sewing along! We’ll do about 2 weeks of instruction for each bag, and then you’ll have 4 weeks to finish for a chance to enter your bag for giveaways.
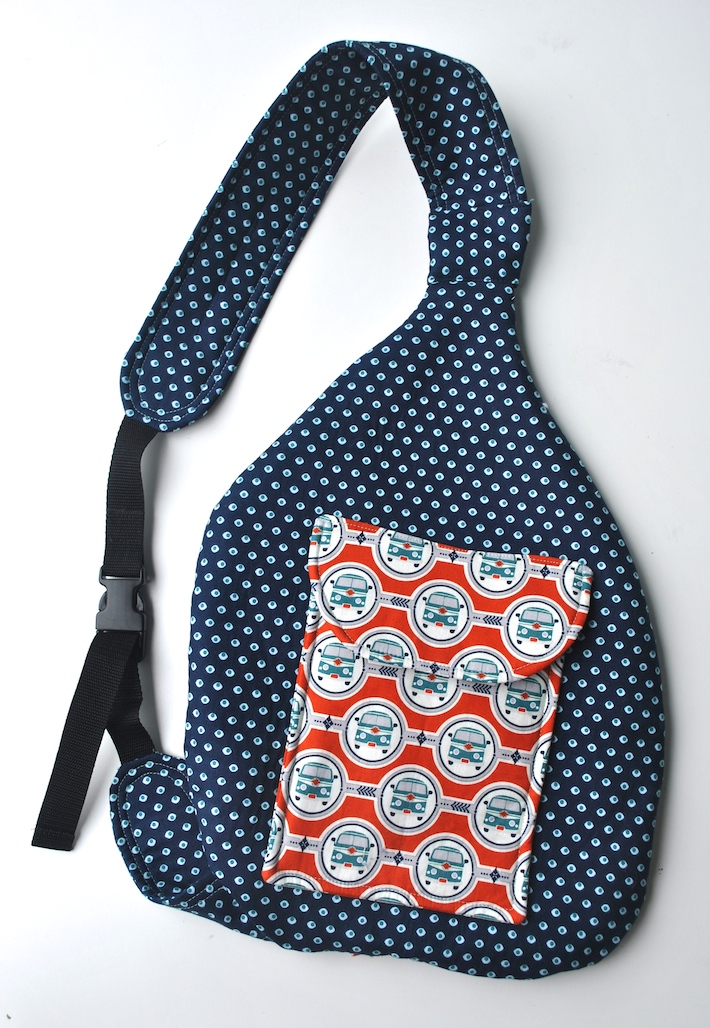
Here’s the bag again, featured in Keep on Groovin’ from Riley Blake Designs.
Adding the Zipper Flap
In the last post, we talked about getting the pockets and straps made for the bag. Now we are focusing on that zipper and zipper flap.
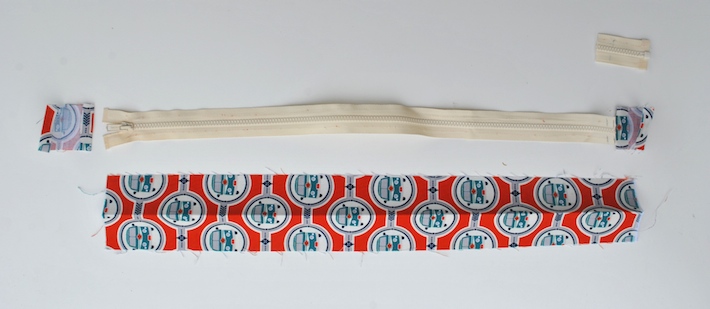
Fold your interfaced zipper flap piece in half. Prepare the zipper tabs by folding in half, then opening up and folding each raw edge in an extra 1/4″ toward the center. Insert both ends of your 18″ zipper into one of these zipper tabs about halfway.
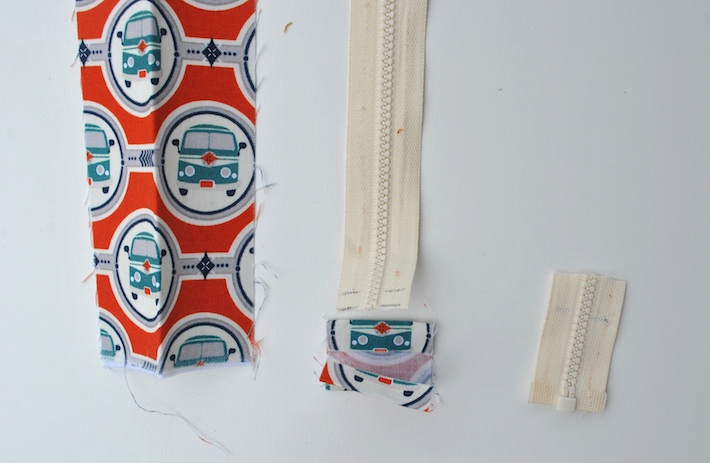
Cut off the metal stopper end of your zipper if needed to get it to 18″ in length.
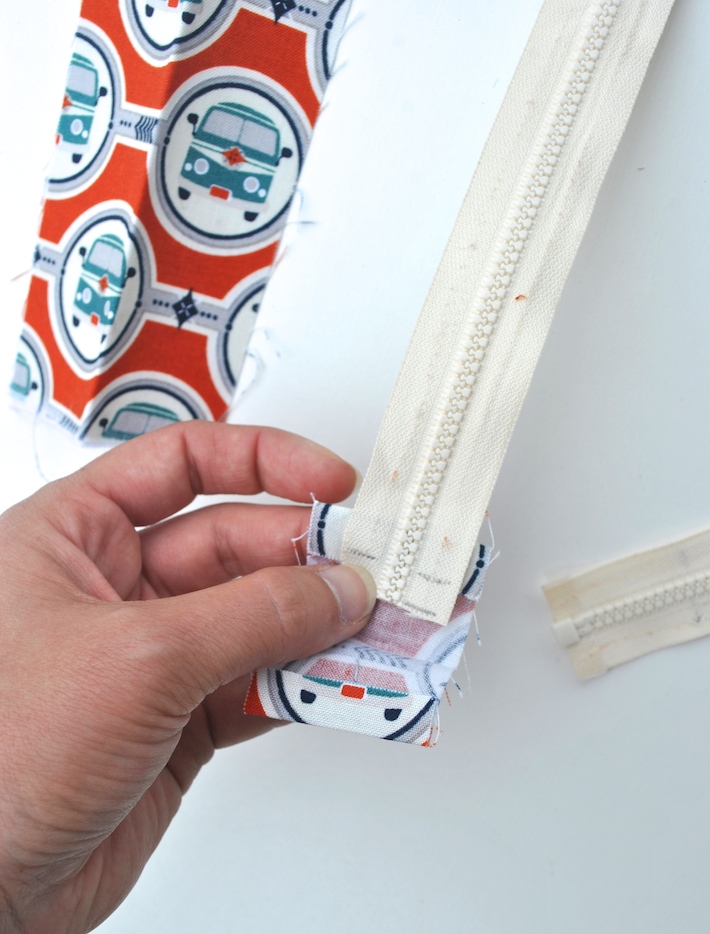
Here’s another view showing how I inserted a zipper end in a zipper tab. Note that it goes about halfway down. This is because you want to extend the zipper with fabric, in a sense, and leave a little fabric to sew through at the very tip to where you don’t have to sew through the actual zipper along with all the layers of your backpack.
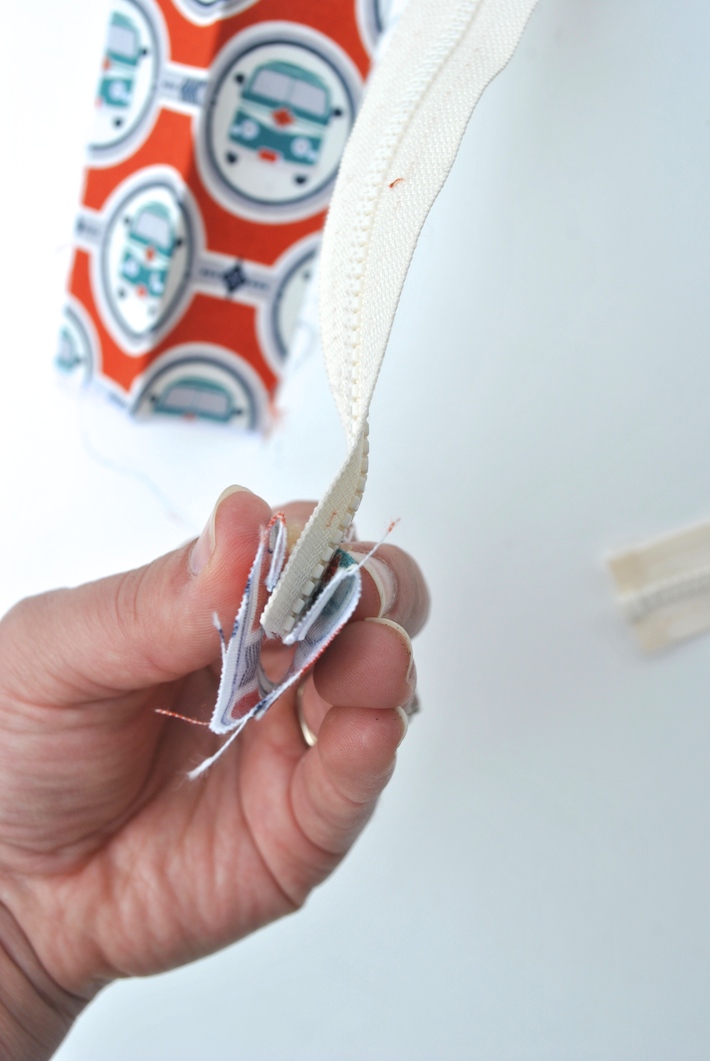
Now stitch the zipper tab to each end of the zipper as shown in the book.
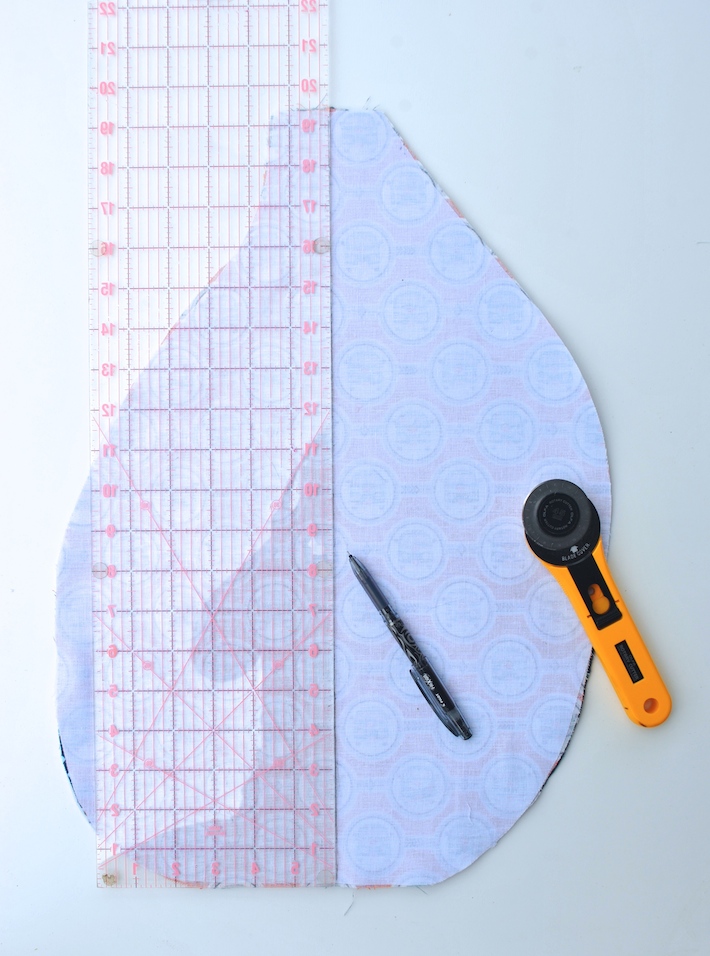
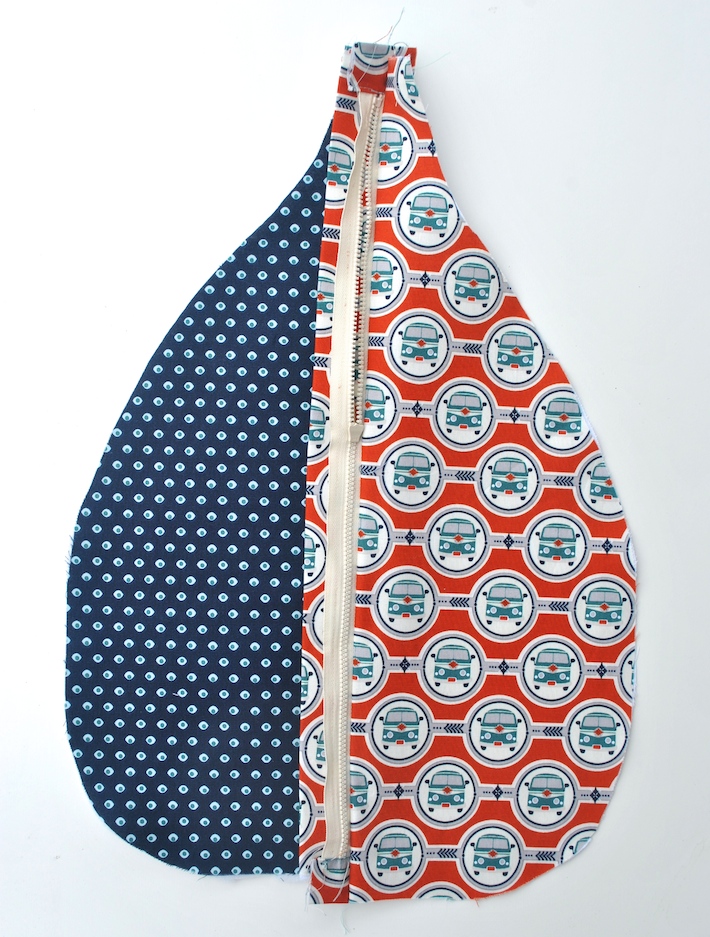
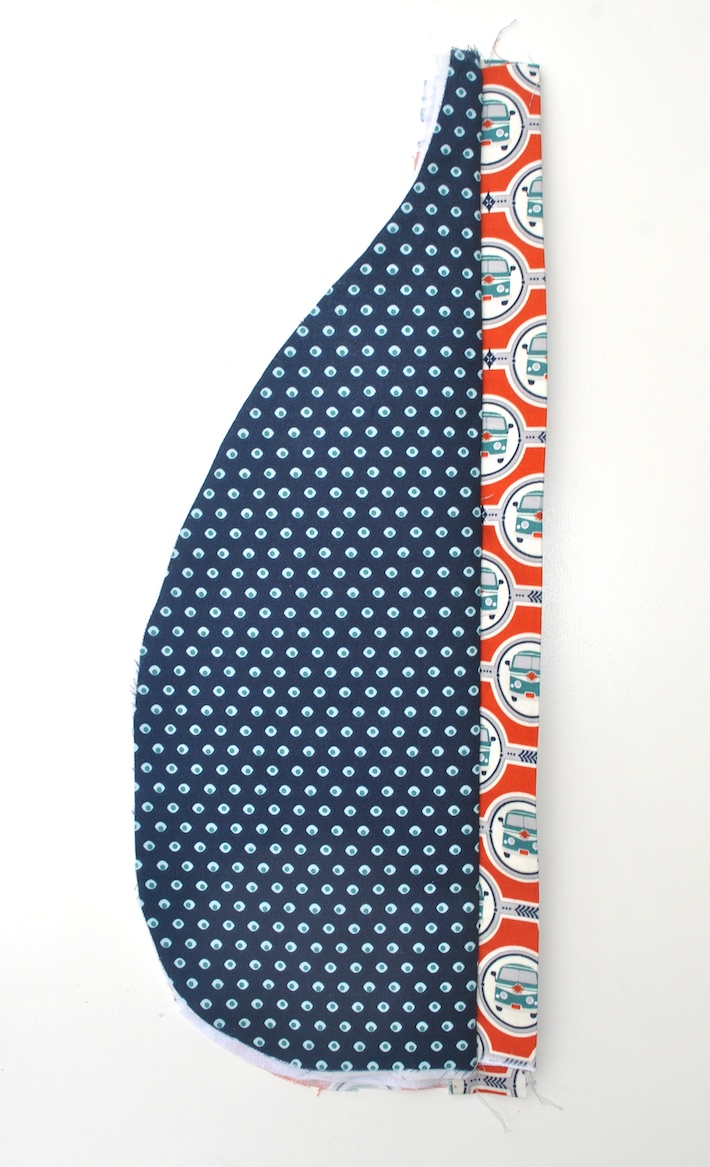
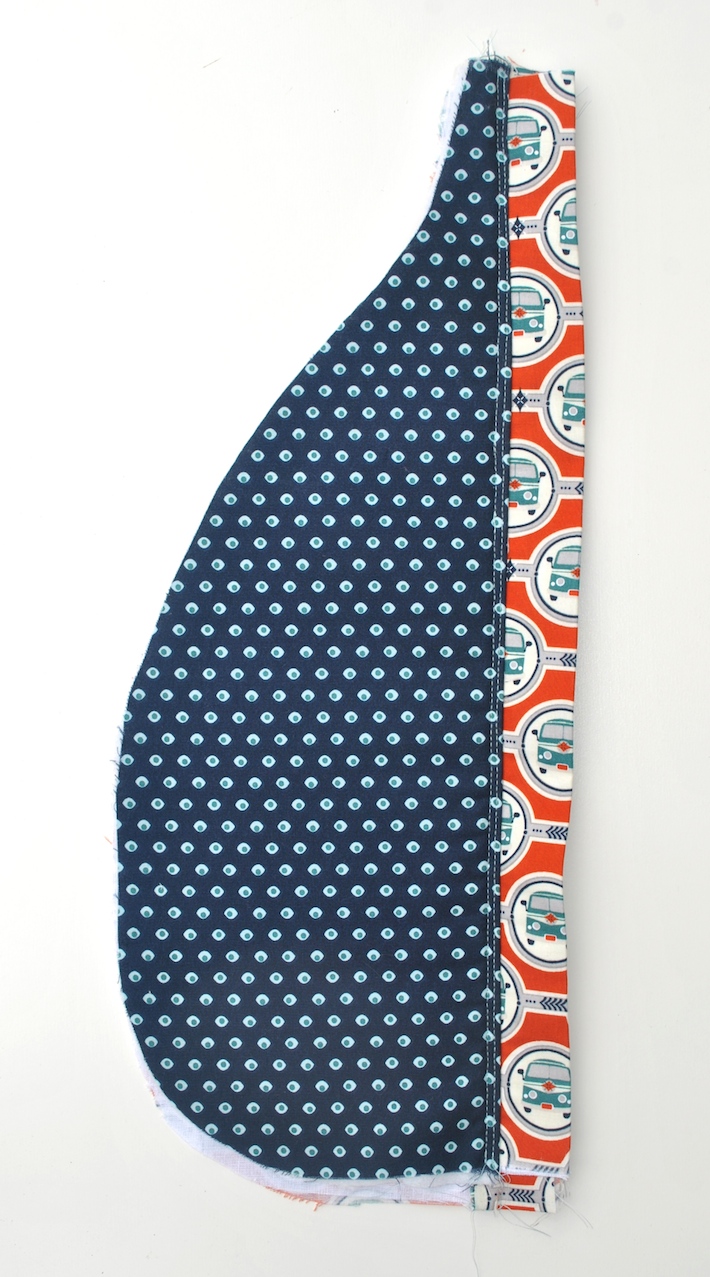
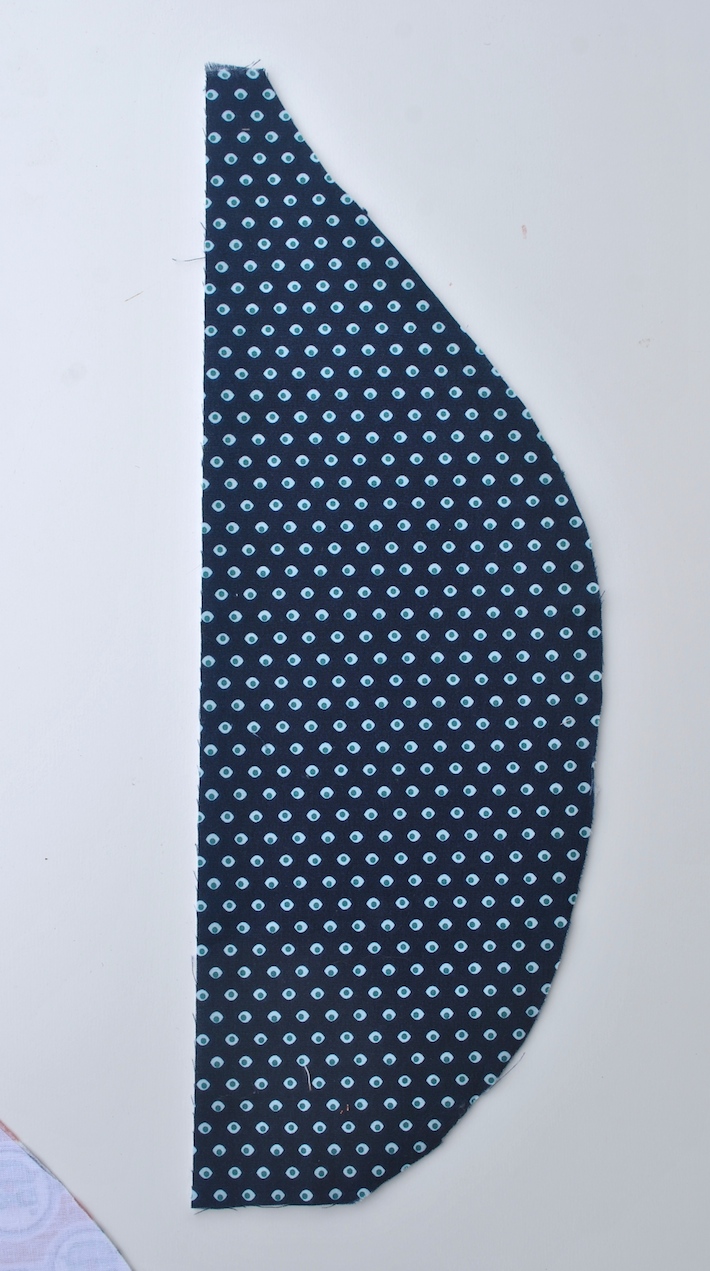
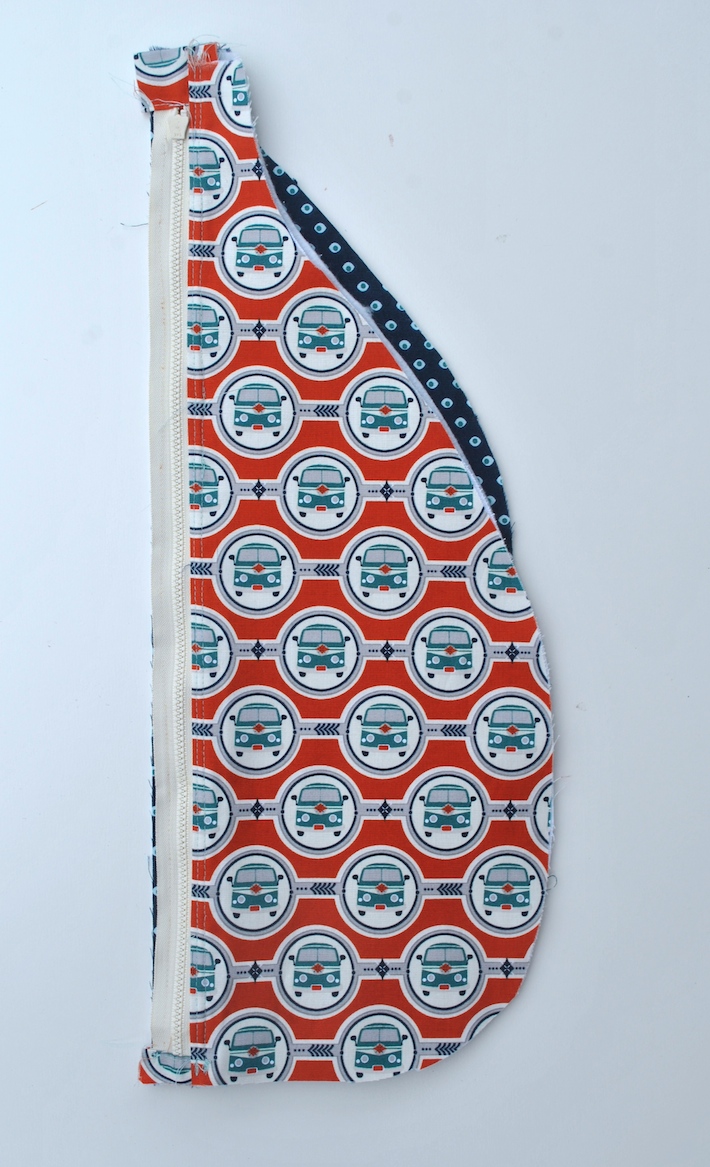
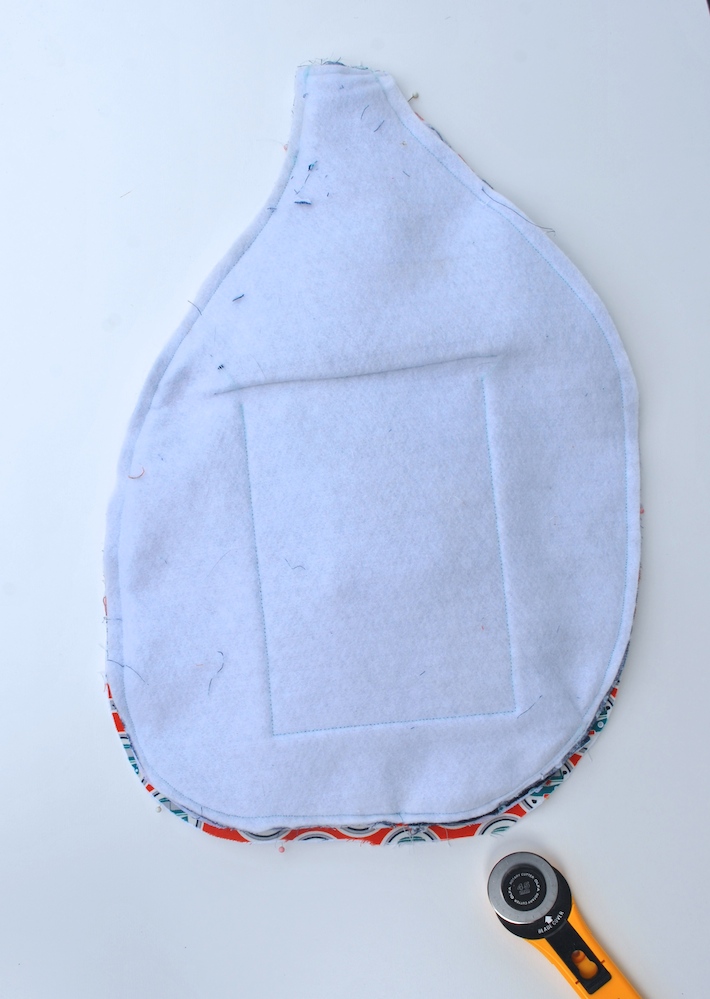
Here comes the scary part. But it really doesn’t have to be scary! Take the lining panel and outer panel that look like this (neck pointed slightly to the left) when placed right sides together, with the lining closest to you. Or refer to the pattern notches and directions in the book. Place your long ruler 1 1/2″ from the left side of the neck, traveling straight down to the center of the bag pieces. Use your rotary cutter to slice through both layers along this line. You can mark it with a pen to be safe!
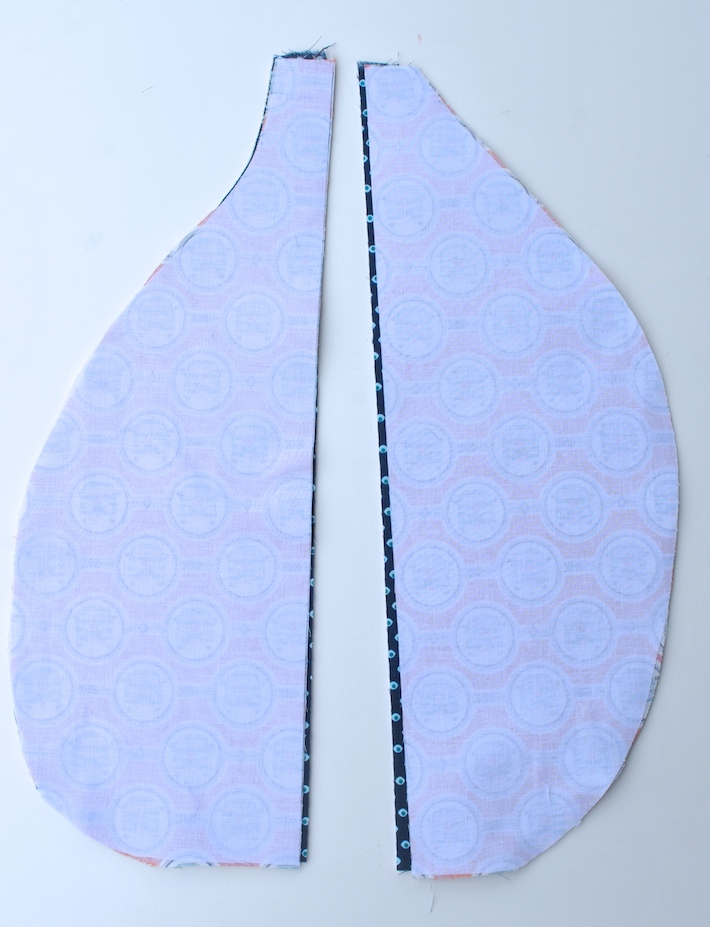
Slice! That wasn’t so bad.
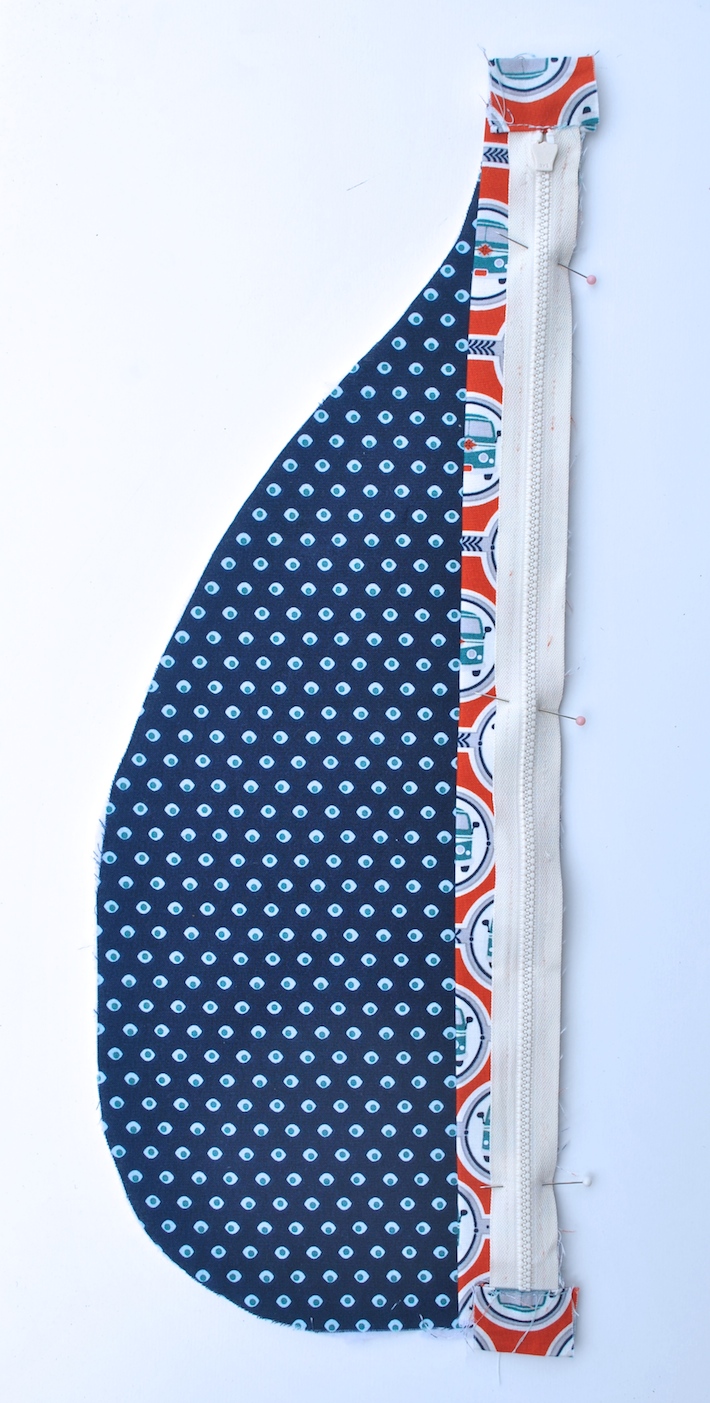
Next, take the left half of the outer body piece you just sliced and place it in front of you, right side facing up. Place the zipper flap, which you pressed in half earlier, on top so the raw edges align. Then, place the zipper on top of that, with the zipper pull side face down. The right edge of the zipper will align with the raw edges of your outer panel and zipper flap. Pin together if you’d like… we’ll be adding one more layer!
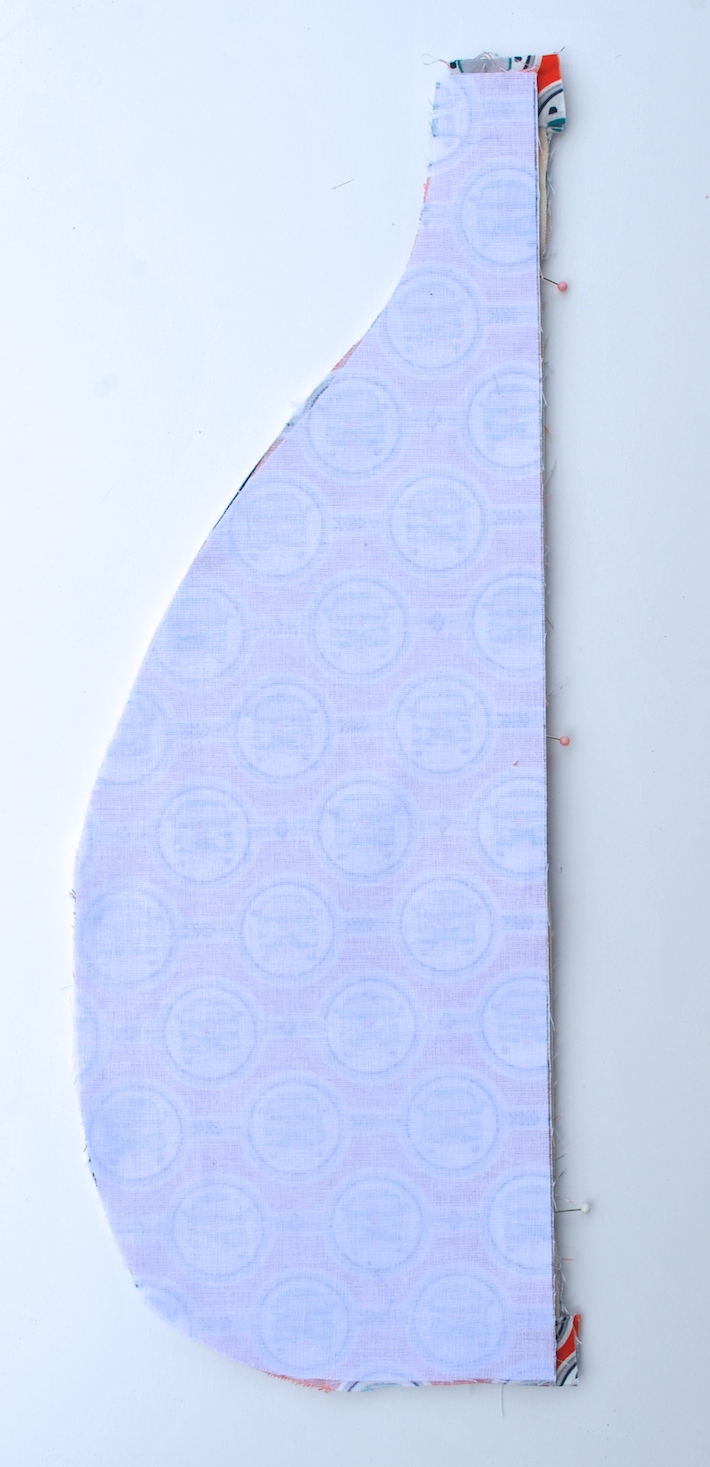
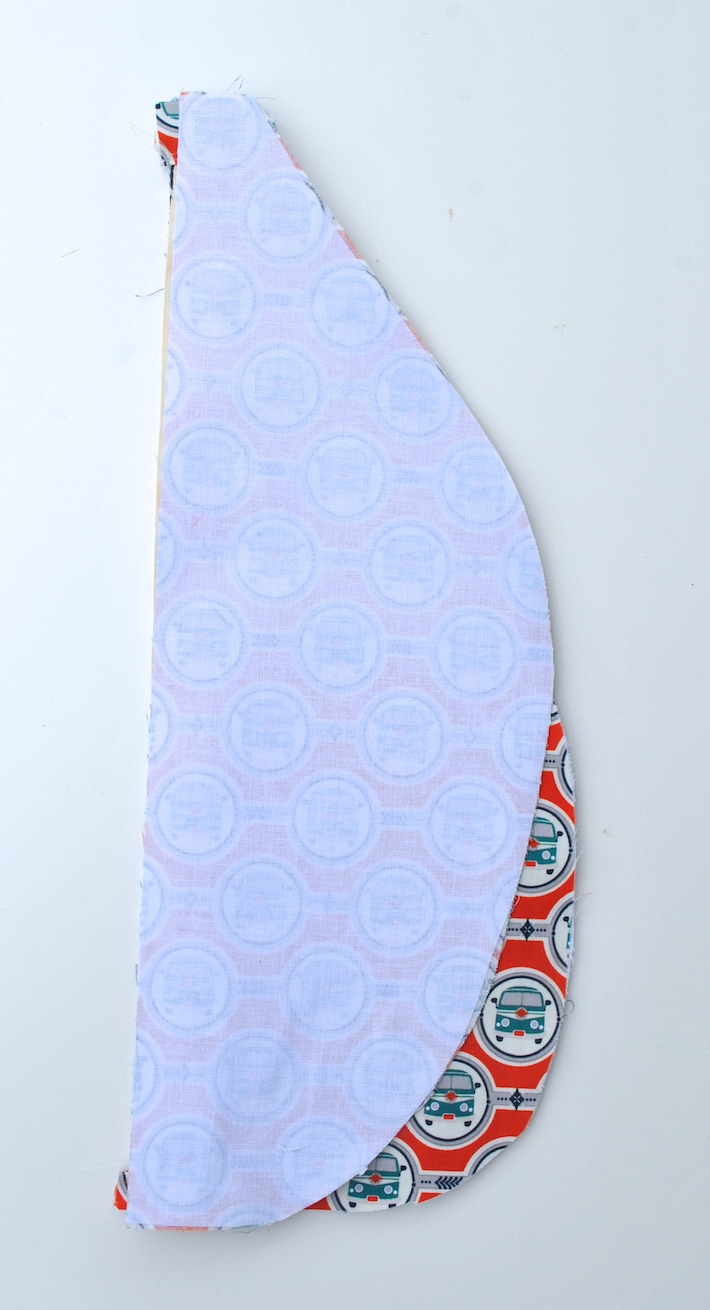
Next, layer the half of the lining flap you cut earlier face down on this stack. Make sure it has the same shape/notches as the body piece below.
Pin or clip everything in this stack together (not pictured)…
Carefully removing pins as you go, stitch together everything you pinned together in the last step. Use your fingers to make sure everything stays aligned along the raw edges as you sew.
The zipper will especially want to get away from you when you are stitching past the zipper pull. No worries! Just lift your presser foot when you get close, raise the needle, unzip the zipper a bit, and continue stitching. I like to start with it in the middle, and then move it out of my way back toward the beginning so I can finish stitching in peace.
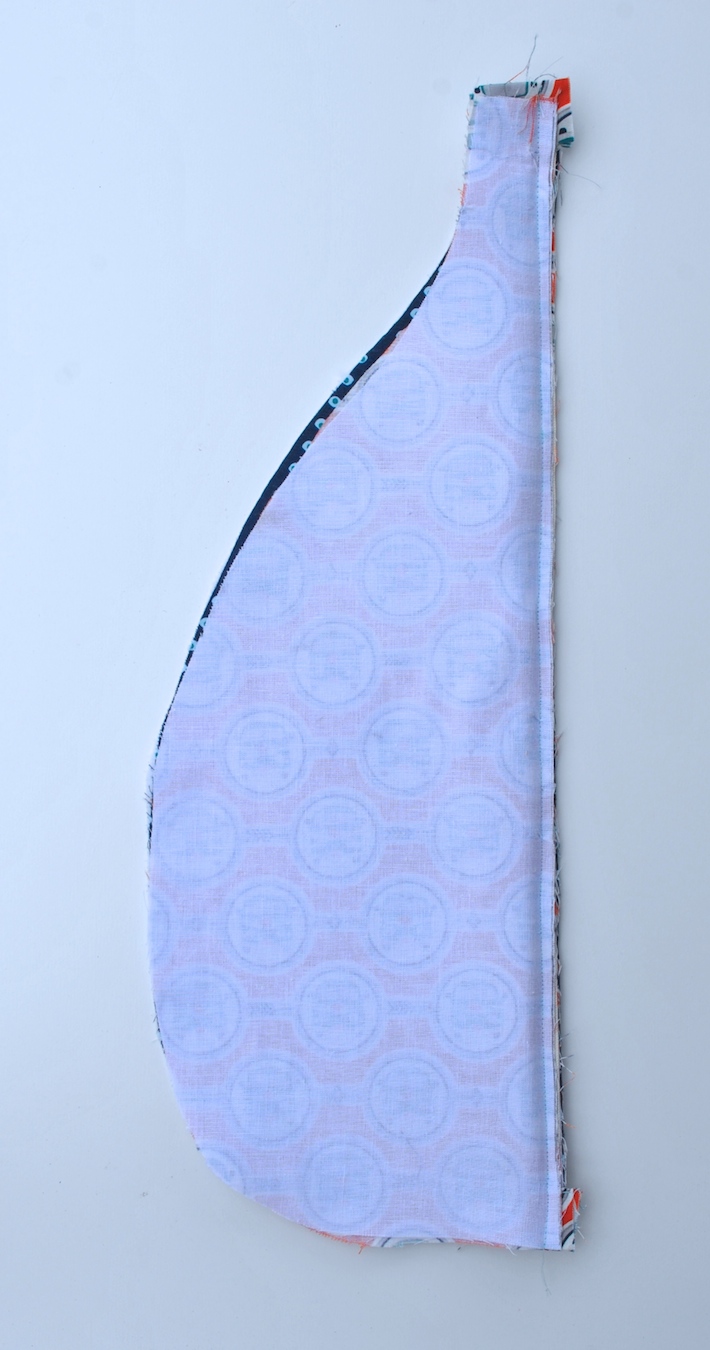
When you have completed this step, your panel will look something like this. You can see the zipper flap naturally falls over to the left of the zipper.
Now take that whole panel and fold it in half, so the wrong sides of the fabric are facing…
And press it so it looks like this. Fold the zipper flap over the zipper and press.
Now topstitch two lines to the left of the zipper flap, on the outer fabric, going through the lining fabric on the other side.
Notice how my lining is sticking out a bit below my outer panel? Not concerned… we’ll trim that off in a bit, as well as the excess zipper tab peeking out.
Okay, now it’s time to take your remaining outer body panel (the right half when you sliced it earlier) and place it right side up in front of you.
Next, take the bag panel we just worked on. Stack it on top, so the zipper edge is facing left and the neck is pointing up. Line up the raw edges.
To complete this “bag sandwich” you’ll add the final half of the lining panel, face down.
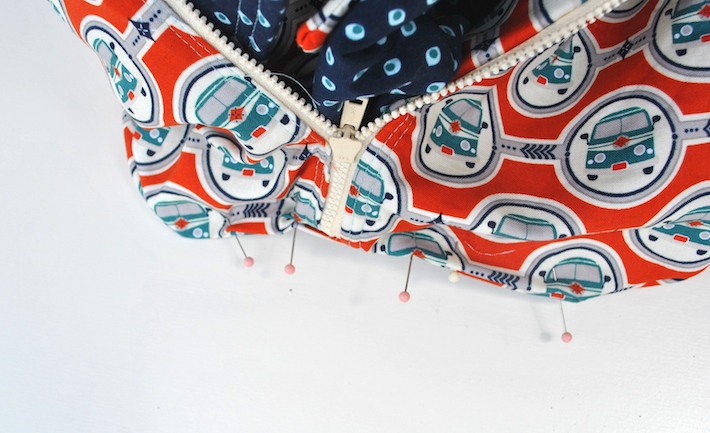
Pin along the raw edges as before, and stitch.
Now repeat the same steps as before, pressing and topstitching. More details on this in the book.
You’ve got it!
Putting it all together
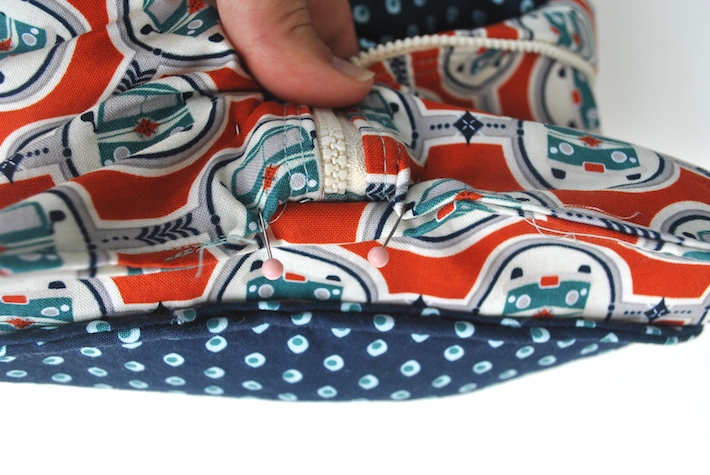
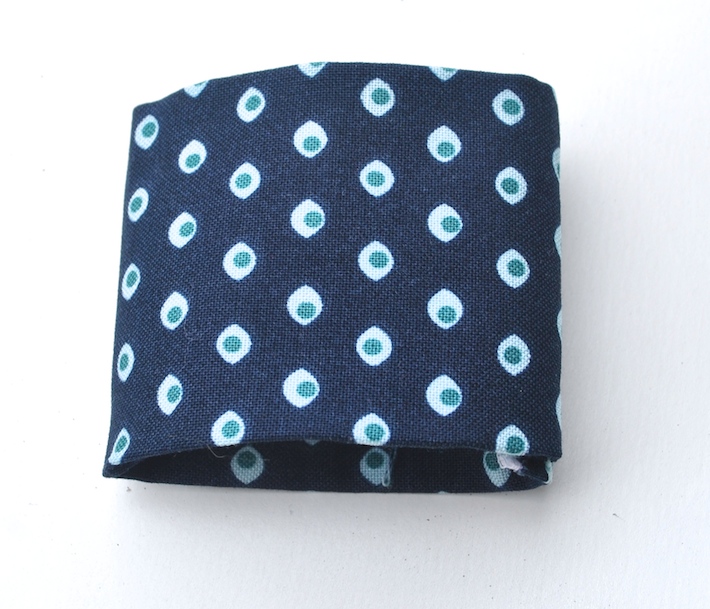
Remember that bag panel with the pocket and straps? Grab it, and stuff the straps inside the pocket. Add some pins if you’d like. You’ll want them out of the way.
Okay, now pin the two outer fabric panels together. the one on the bottom (right side facing up) has the pocket. The one on top (right side facing down) has the zipper. Since you don’t want the lining to get caught, roll it up like a burrito in the center and pin.
Important tip! When sewing around the neck, you don’t want to sew too much of the strap corners. This is because you’ll want the strap free so it can swing in any direction. We’ll be covering this raw edge with the strap facing later. So either before or after you do this step, you can unpick a few stitches to get that top strap out of the way. Then, just use your fingers to manipulate it through the sewing machine so you don’t have to sew the strap too… just the outer body panels!
Here’s another great tip! When sewing the body panels together, your lining will be pinned to the center, right? What happens when you inevitably have to sew over the tip of the lining, near the zipper? It’s okay…. just go right over it. for the inch that you need to, but pull back the lining before and after the zipper so it doesn’t get caught in your stitch line. You want it to be free for the next step…

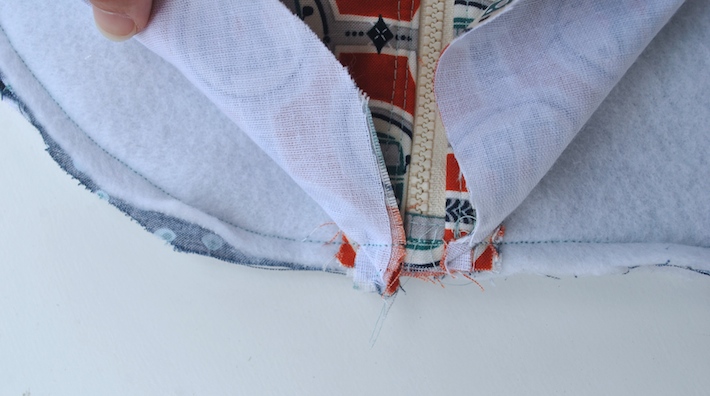
Take the lining panel (the one with the elastic pocket, and place it face down on the other lining panel (the one with the zipper. Pin around the edges of just the lining panels. You can pin the body pieces out of the way, if you’d like. Stitch, leaving a hole for turning.
Note: I’d love it if someone wanted to try leaving their turning hole in the side instead of the bottom of the lining. After several bags, we think this might be easier!
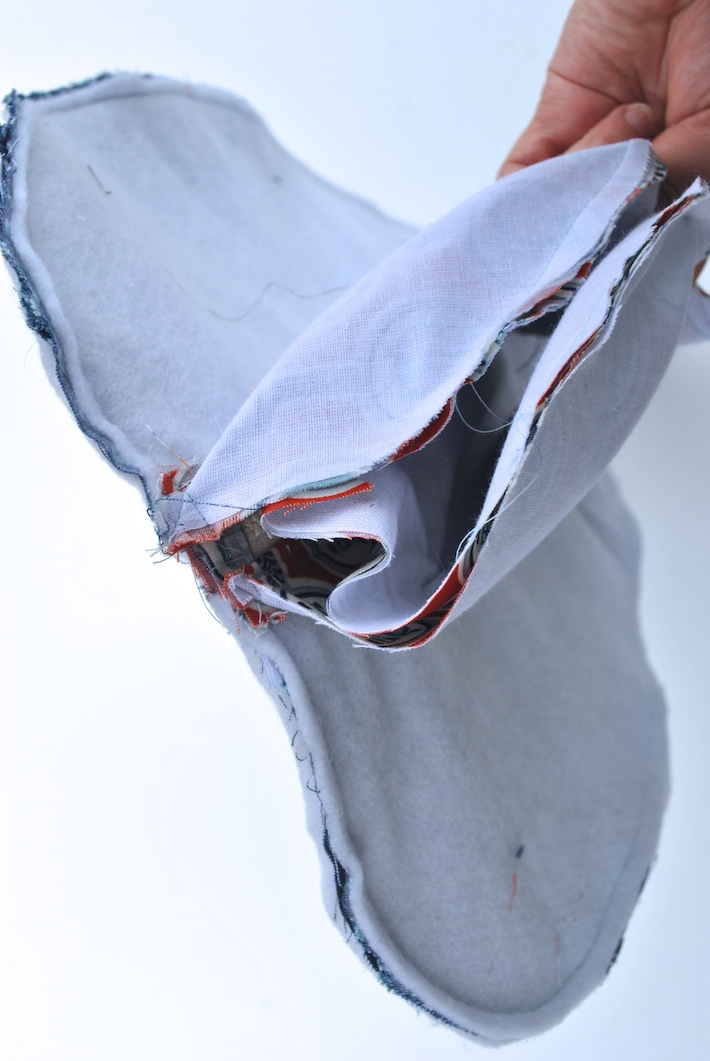
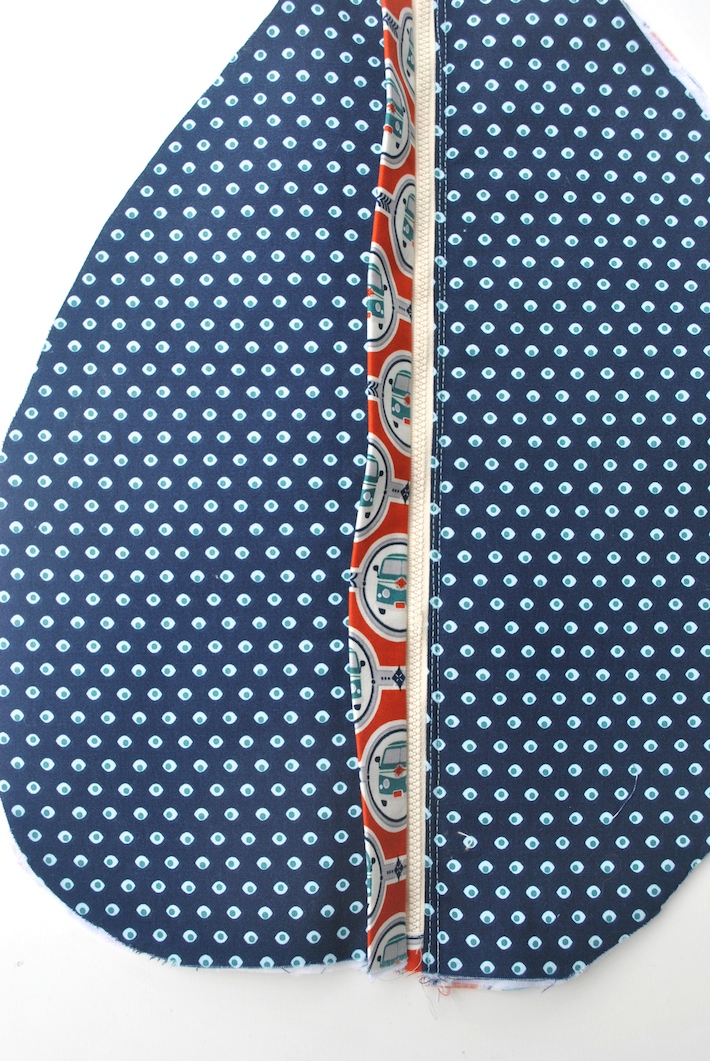
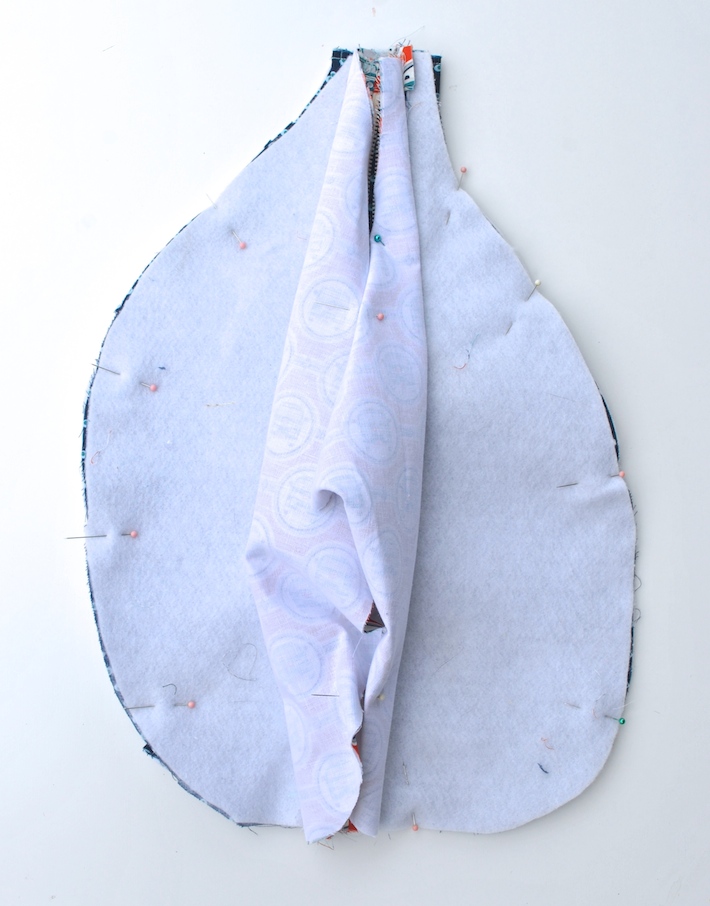
Here’s what your bag will look like after the body pieces are joined and the lining pieces are joined. It’s kind of like a star fruit!
Tip! Your bag has probably shifted a little bit. Since one panel has a zipper and one doesn’t, one will naturally be larger. Just use your rotary cutter to gently trim off the excess lining. The shape of this bag is very forgiving.
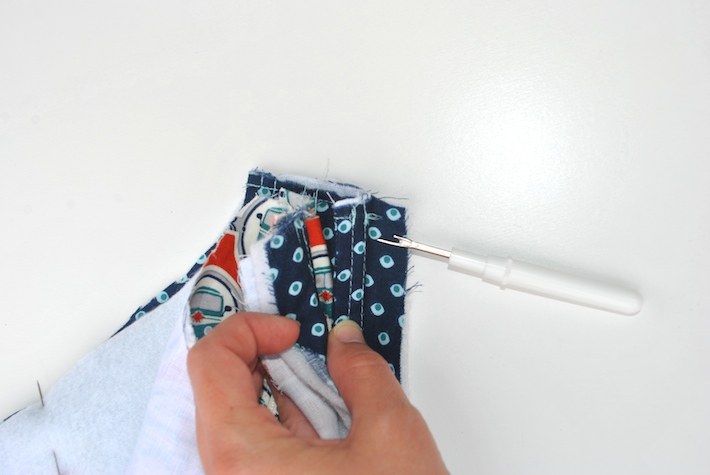
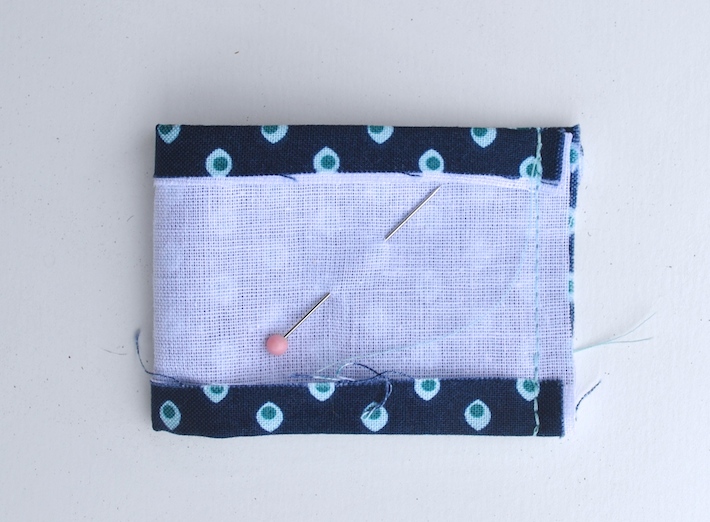
Turn that bag right side out and pin the lining closed so you can hand or machine stitch it.
When you get to this 1″ section nearest the zipper, you might have to just bite the bullet and hand stitch it. Or be lazy like me, and just leave that bit of the lining open.
Prep the Strap Facing
This one is pretty straightforward in the book, but I wanted to give you some pics of the strap facing I sewed for the bag…
Here it is right side out.
And here it is stitched to the bag strap. Ta da!
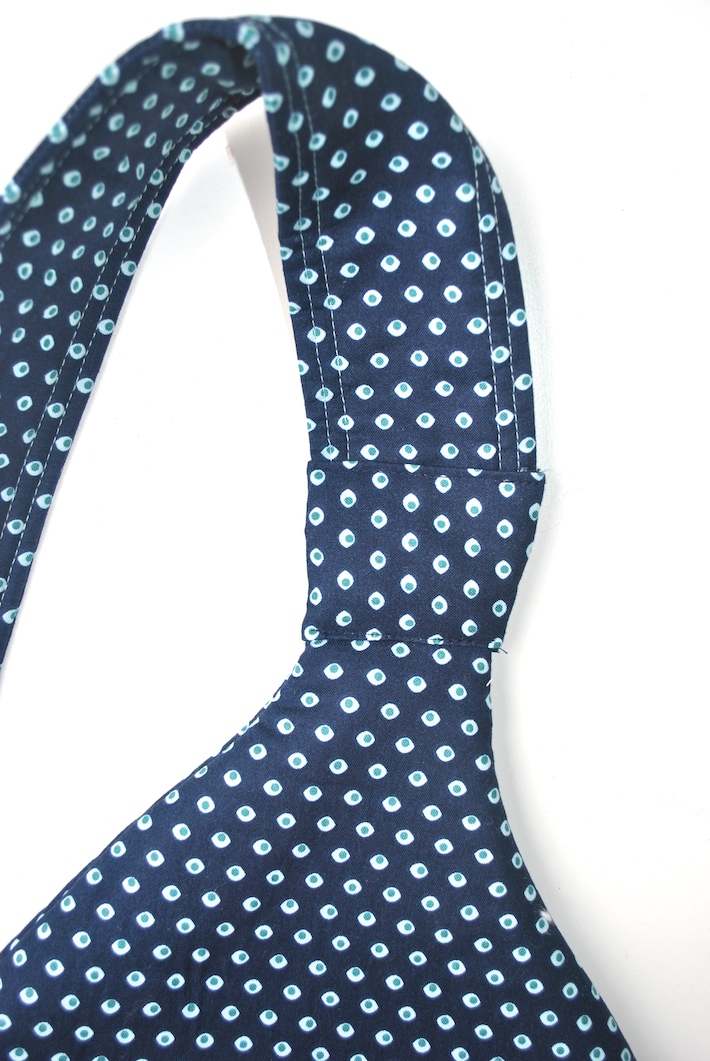
I think a matching or contrasting strap facing can work well here, so feel free to change your mind. It’s just a small scrap of fabric, so pick something you’ll be really happy with.
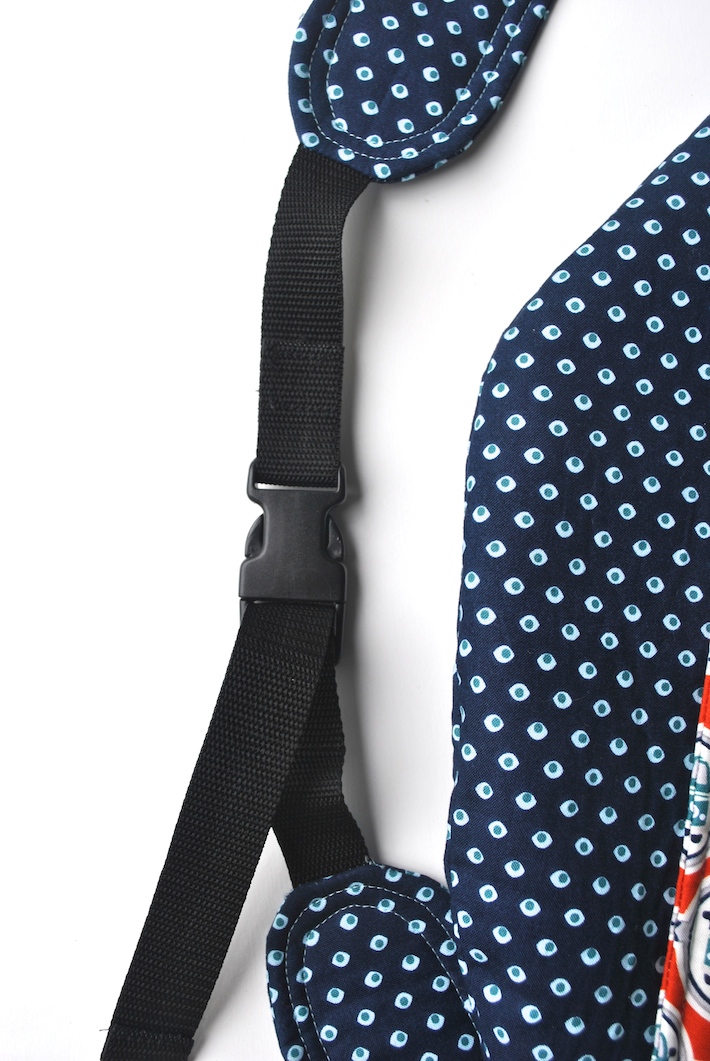
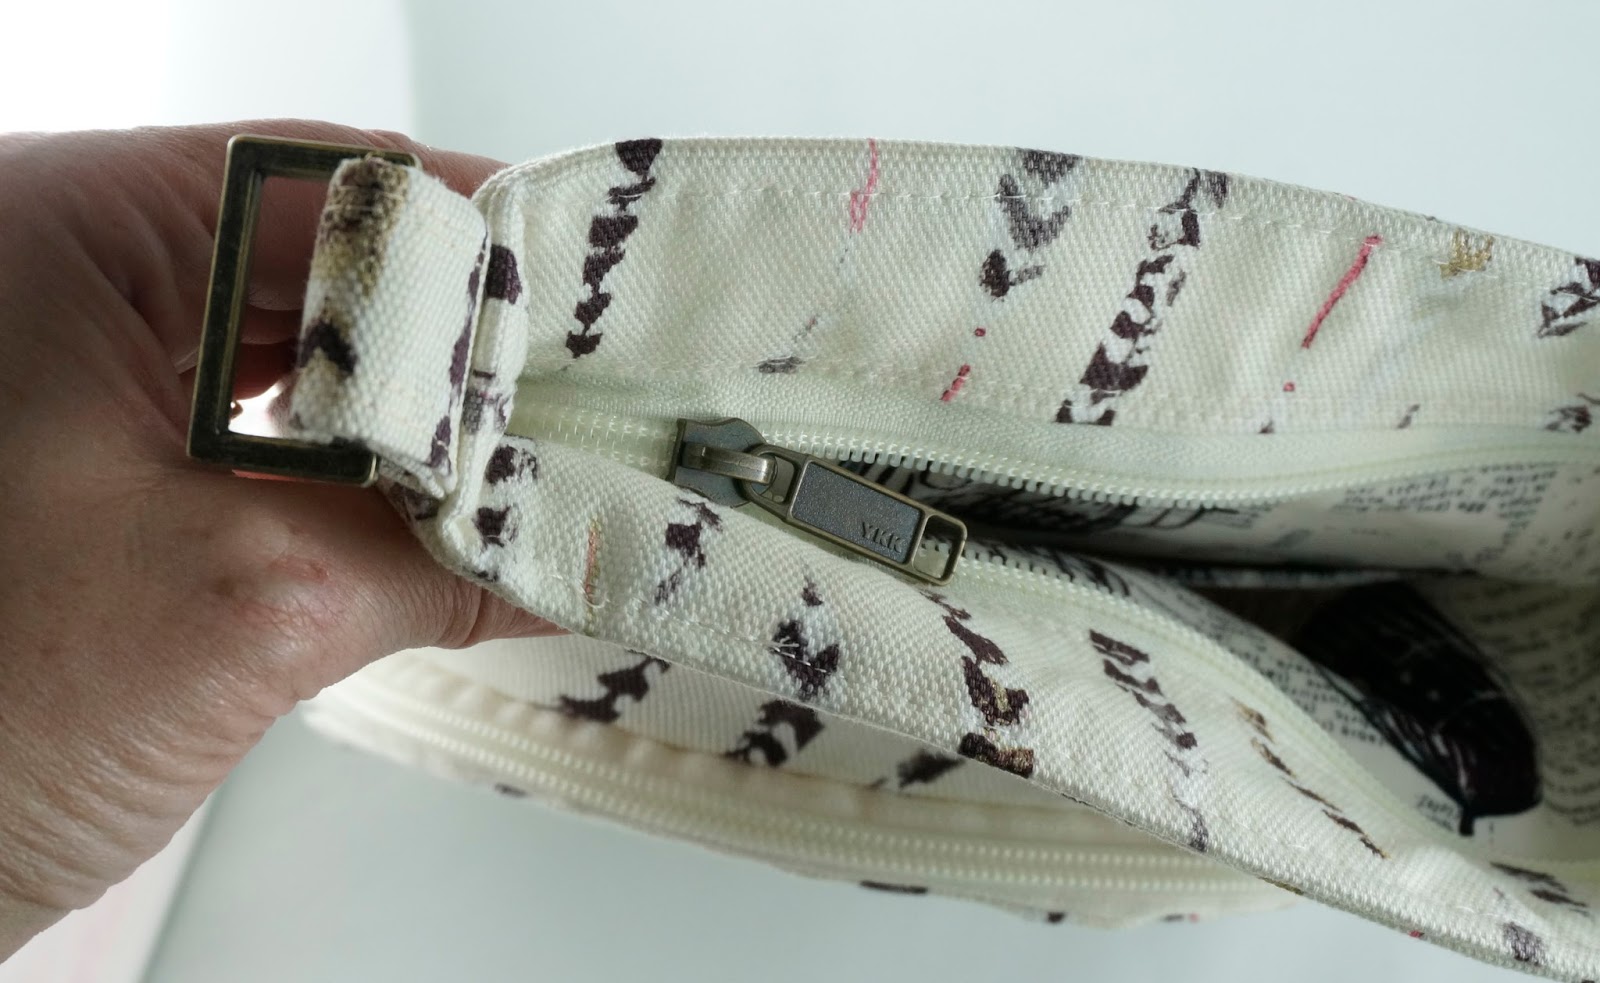
Remember that strap buckle? I rarely read the instructions when putting one on… I kind of slip it on and off in different directions until something just “feels right.” This is why my husband and I can never assemble IKEA furniture together. He wants to read the directions, and I’m all… “Eh, this looks like it could go here.” 🙂
Thank goodness for instruction-type people!
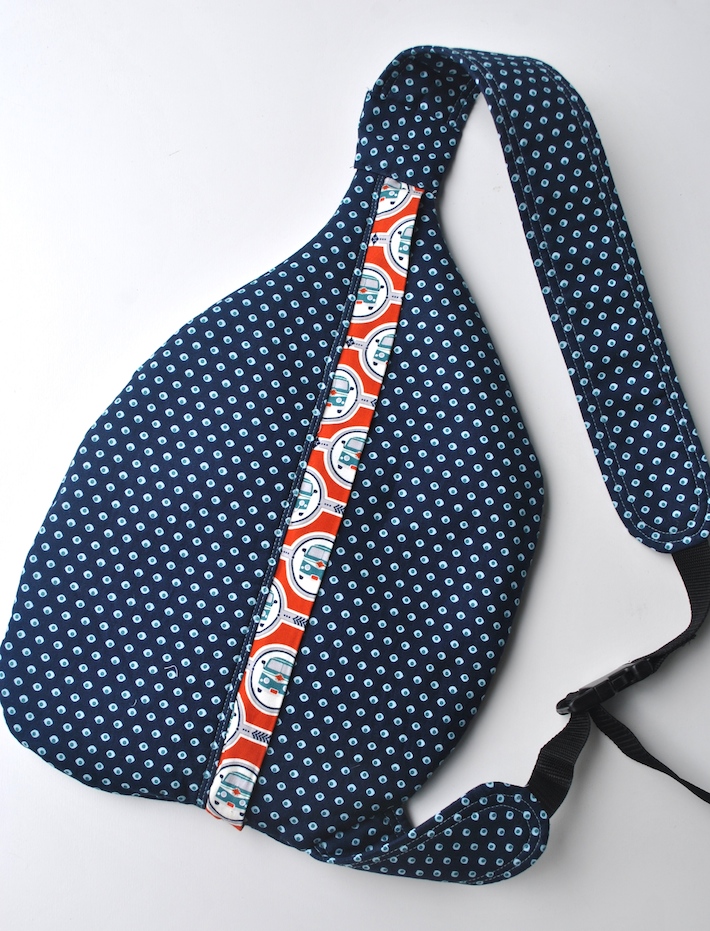
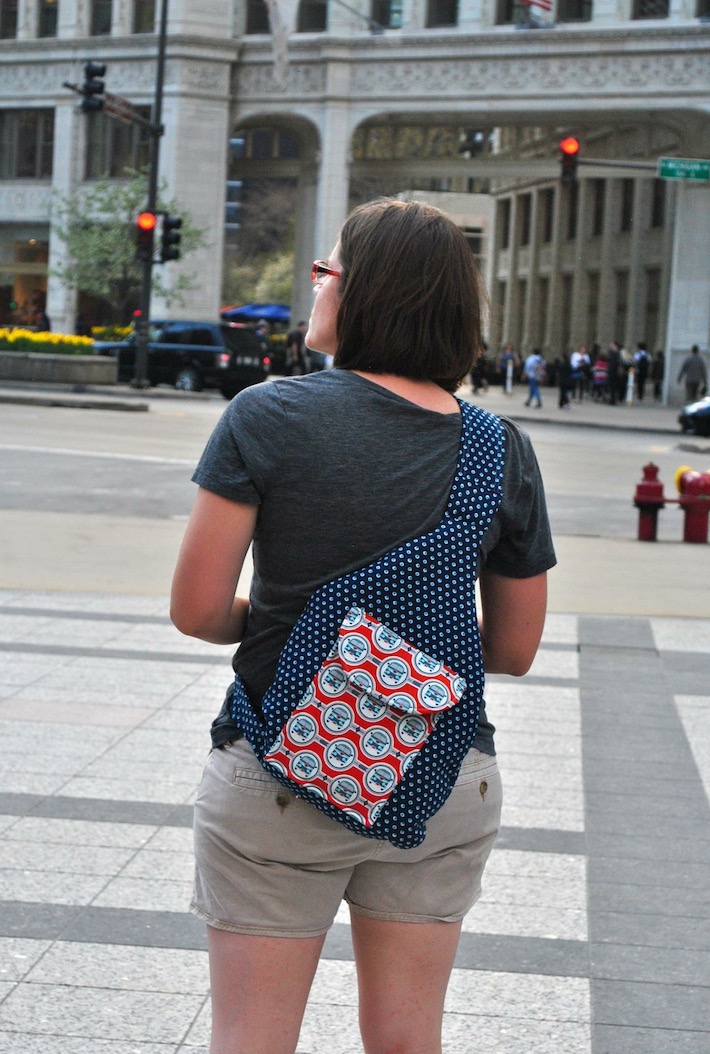
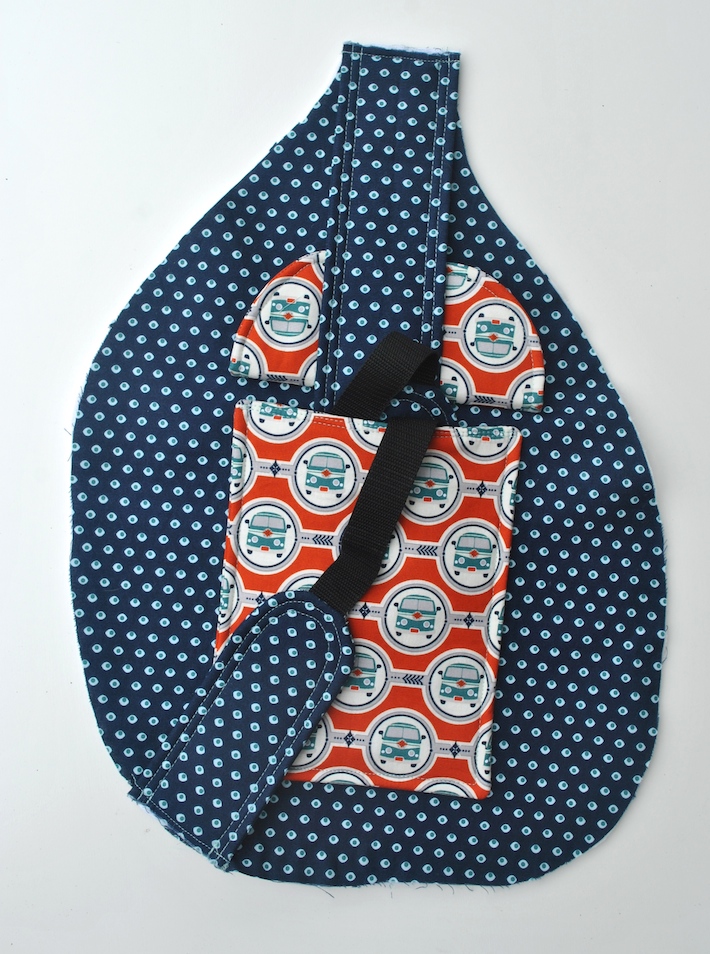
Here is a fresh look at the back of the bag, which shows the strap situation a little better. When I took it to Chicago, it was a little “slidey” on me, so if that happens to you, just take it out and try, try again.
Tip: Burn and melt the end of nylon strapping with a lighter for a few seconds to keep it from unraveling.
Goodness, this was fun!
I hope you’ve enjoyed this Sporty Strap Pack Sew Along! I hope it encouraged you to try something new, and that it was fun and not too intimidating. Those who know me also know that I’m often sewing during my son’s nap times or late at night. I may have only small amounts of time to work on a bag, and then I get interrupted… Then I come back and make a mistake, losing my train of thought. It happens! We can all be brave and try something new, and let our seam rippers do their jobs. 🙂
And now, here’s where you can link up your bag for prizes…. 5 winners will be randomly selected from all entries submitted by June 15th! Don’t forget to enter your finished Airport Slings by May 30th… you’ve still got time!
And if you have a moment, we’d also like to invite you to upload a picture of your finished bag (any one from the book) to an Amazon review, to share with the world. And share it on the Facebook group, because we want to ooh and ahh over it. 🙂