First things first. The winner of the Mend It Better book is comment #53 Sofia, who said, “A seam ripper. Who knows how many times I’ve used and it has saved my project. Great idea for a book I’m excited to see it.”
Congrats Sofia!

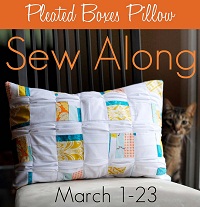
This will be our final instructional post of the Pleated Boxes Pillow Sew Along.
If you haven’t had time to start yours yet, don’t worry. We’ll be back on Friday with a chance to link up your pillow for prizes, and you have until March 23 to enter. That’s 12 more sewing days!
Today I’ll guide you through the steps to make a simple envelope pillow back, and a custom-size pillow form for your pillow. This method can be applied to any of your throw pillow projects, so let’s get started!
Make Envelope Pillow Back
1. From your remaining background fabric, cut two rectangles 14” x 14” for the sides of your envelope pillow back. You’ll see here that my squares are stacked.

On the edge of one square, press a half-inch fold with your iron. Then fold over again and press, sandwiching the rough edge inside the fold.

Repeat with one edge of other square.

2. With the folded edge facing up so you can follow along with your sewing machine foot, stitch on top of the fold, ¼” from the flap edge. Repeat with other square. If you stitch it too far away from this edge, your flap will splay open and won’t have the finished edge you are looking for.

This is what your finished seam will look like. I’m showing you the back side of the fabric, which will be tucked inside your pillow.

3. Place your pillow front on a flat surface, right side up.

On top, place one of your squares, right side down with raw edge aligned to raw edge of pillow front and folded edge across the third column of boxes. Since you want the smoothest finished edge to show, place that side so it is face down and touching your pillow front.

Place matching square right side down, raw edges aligned to the other side of the pillow front. Reminder: Everything currently visible will be tucked to the inside of your pillow cover after turning. All “right sides” should face to the inside of your stack.

4. Pin stack together and stitch ¼” around entire perimeter.

Here it is after stitching the perimeter.

5. Trim and finish edges with a wide zigzag foot, or clip with pinking shears to prevent fraying over time.

6. Turn pillow cover right side out and press.

Make Pillow Form
1. Lay your pressed pillow cover flat on top of folded, inexpensive muslin fabric. You could use muslin from the bolt, or something you have around, like an old sheet, pillow case, t-shirt, etc. Just make sure the print of your muslin fabric will not show through your pillow case.
Cut two rectangles of fabric 2” larger than pillow top on every side (two pieces of 18” x 22”).

2. Align muslin rectangles with right sides together. Stitch ¼” around perimeter, leaving a 4” gap for turning. Turn right side out and fill with 8 oz. to 10 oz. of polyester fiber filling, depending on desired thickness of pillow form. Try to keep fiber filling in one large piece, rather than separating into handfuls, as you push it uniformly into the pillow form. Leave end open until you have tested for fullness inside pillow cover.

3. Insert pillow form into pillow cover. Adjust filling, using your fingers to push into corners. Roll pillow form with hands to smooth out filling. Once you are satisfied with the shape, remove pillow form and stitch opening closed before inserting.

You may choose to machine stitch the pillow form on one end like I did here, or hand stitch so your thread is barely visible. Since this will be hidden inside the beautiful case, this is a step I don’t worry about looking too perfect.
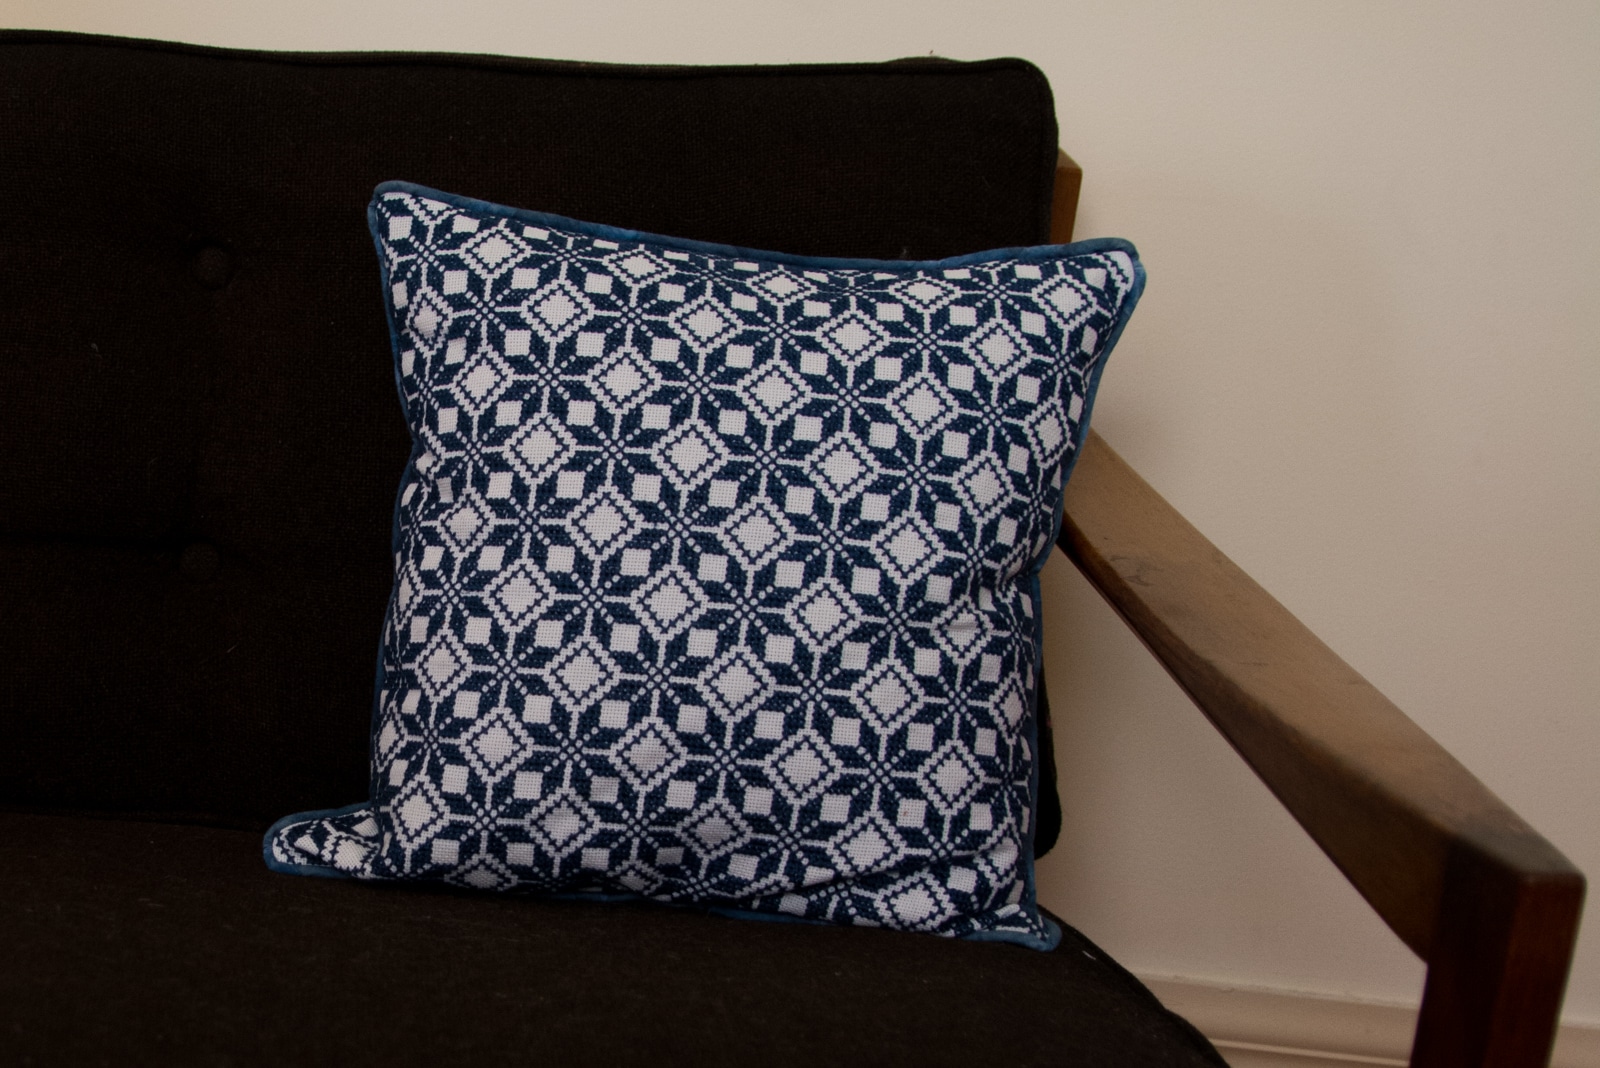
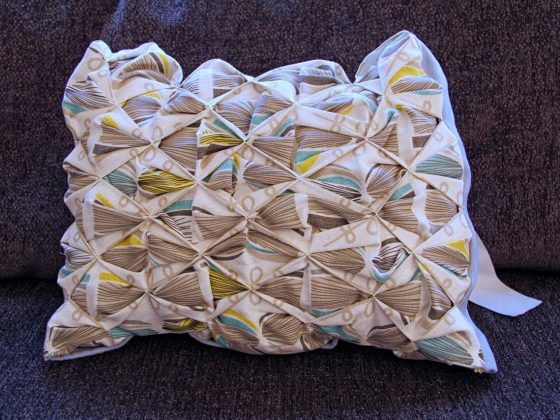
And it’s that easy! Here are some in-progress beauties and the first finished pillow from our Flickr group! Gorgeous interpretations here.
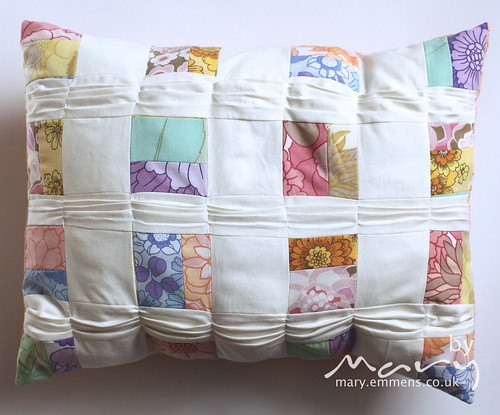


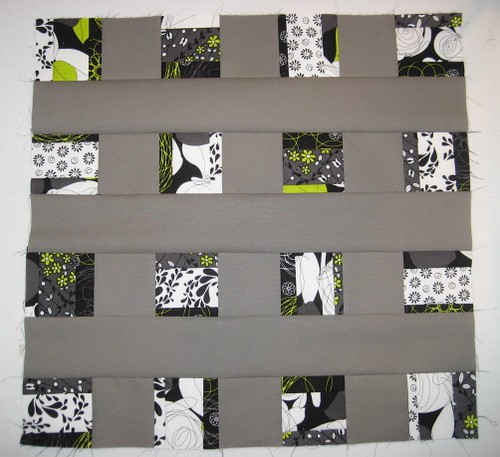
Photos: 1. Mary 2. Janelle 3. Bayeaston 4. QuiltingLodge
If you haven’t already, you may download your free PDF pattern here.
Schedule
- Friday, 2/24: Supplies + Prizes
- Thursday, 3/1: Cut and Arrange Squares
- Monday, 3/5: Join Rows
- Friday, 3/9: How to Pleat
- Monday, 3/12: Envelope Pillow Back + Make Pillow Form
- Friday, 3/16 (through 3/23): Link Up Your Pillows!
- Saturday, 3/24: Sew Along Winners Announced


2 comments
I finished mine! Thanks for the tutorial and the help along the way. I’m off to post on the Flickr page.
This is so beautiful. Thanks for sharing.