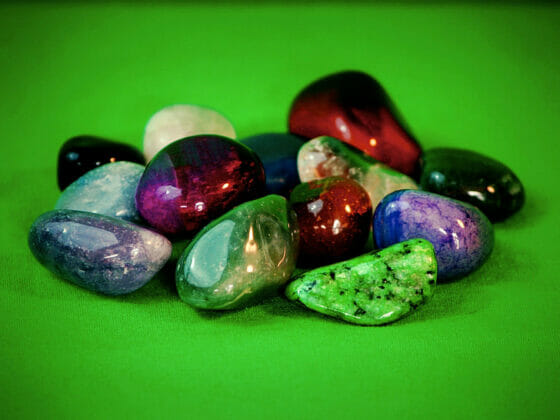
Your resin jewelry can last forever. However, it will quickly become dull, scratchy, or damaged if you do not adequately care for it. If you want to keep it in perfect condition for a long time, you must set aside some time to polish it properly. How to polish resin jewelry? It is pretty easy actually. You have to follow some easy steps to give it back its original beauty. The first step is the cleaning process, then sanding, and the last is polishing.
Before you get started, you have to make sure everything is ready. Here is what you will need for polishing your resin jewelry:
- Soap
- Water
- Microfiber cloth
- Sandpaper 400 grit, 600, 800, 1000, and 1500 grit
- Towel
- Polishing compound
- Mask or respirator
Keep reading the following step-by-step guide to learn more about how to polish your resin jewelry.
Table of Contents
Step 1: Clean your resin piece
First, you’ll use soap, water, a sponge, or a soft cloth. The process is simple but you have to do it gently and slowly. Dip the sponge in warm and soapy water, and scrub your resin with it. If you prefer using a soft cloth, you should also dampen it with soapy water and clean any dust or debris from the resin.
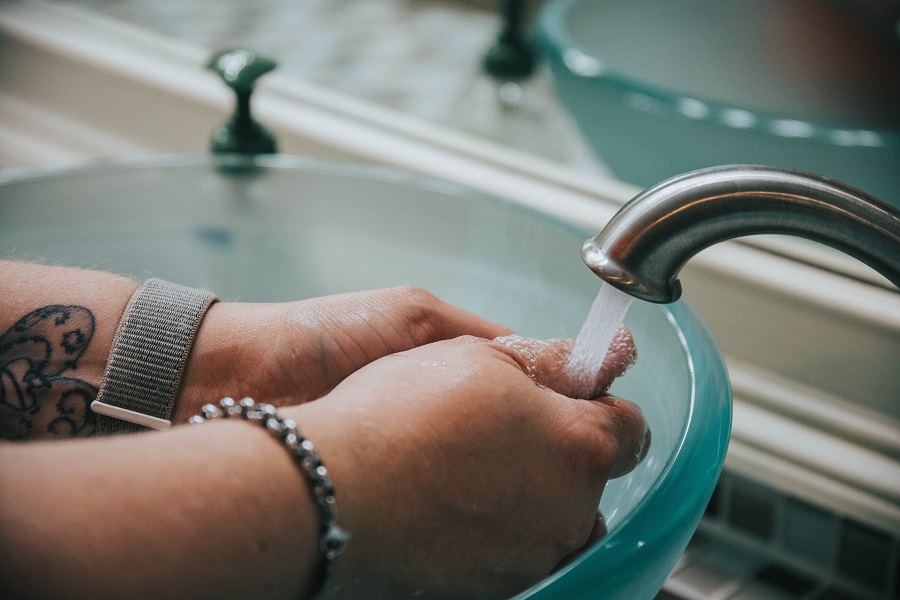
A more abrasive cloth will be helpful in case your jewelry has tarnished gold or silver. You want to avoid submerging your jewelry, even if there is something a bit more challenging to remove from it. Before moving on to the second step, sanding, you need to ensure that the piece is squeaky clean.
Step 2: Sand the resin
What you should do now is to sand your resin. The objective here is to get your resin smooth enough to polish. First, you have to get your resin piece wet for a much smoother finish. To do so, you spray some water on it.
Now you’ll need sandpaper, more precisely, wet and dry sandpaper. Start by using 400 grit sandpaper to get rid of any scratches. Make sure you have sanded the entire surface twice or three times before moving on. When you have finished with the 400-grit sandpaper, keep on sanding with higher-grit sandpaper. Sand it with 600 grit, 800, 1000, and 1500-grit. By doing so, you will see that you get a smooth finish, without any apparent imperfections.
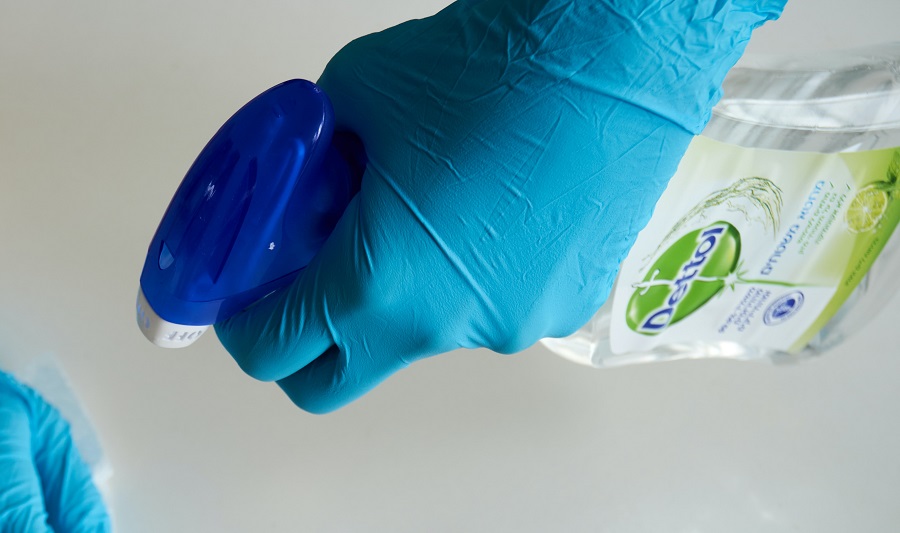
Beware:
While sanding, wearing a mask or respirator is essential. You then need to dry off the resin piece with a towel or deep it quickly in water to make sure there is no leftover grit or dust. In addition, you’ll be able to see if your resin jewelry needs more sanding.
Step 3: Polishing the resin
When it comes to polishing your resin, it is worth noting that as there are different types of resin used for jewelry, you should treat them in different ways. Some resins are hard curings, such as polyester and polyurethane resins. You can polish them with a buffing wheel and compound. For soft-curing ones, you should hand-polish them with a polishing compound.
We have a complete guide on the best rotary tools for jewelry making, which could help you choose from the different options on the market.
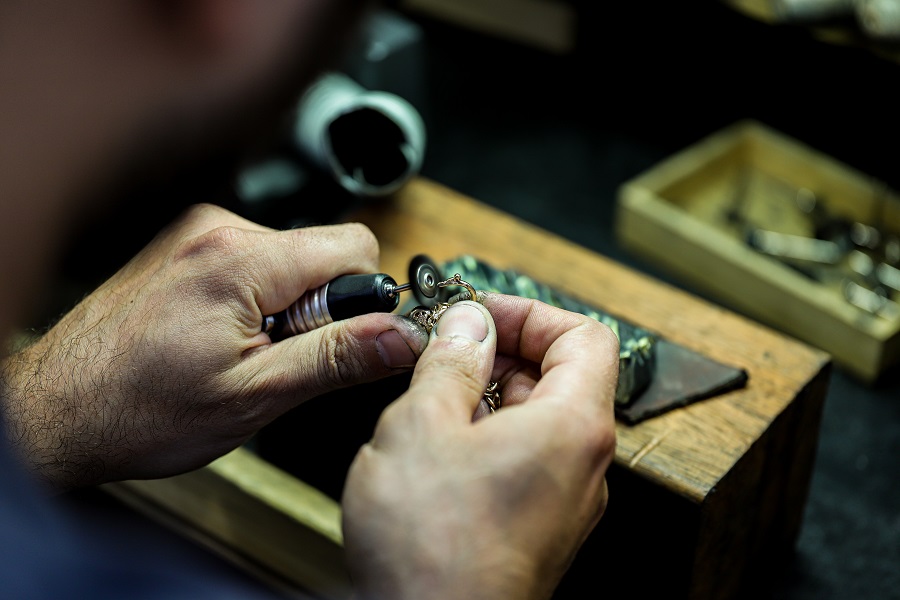
Now that you have finished sanding, you can apply a polishing compound and make sure you use the best products for removing scratches from resin-like Turtle Wax Polishing Compound, for instance. You can also use an automobile polishing compound. You have to spread the product uniformly across the entire surface of the resin.
Using a microfiber cloth is preferable for rubbing the compound into a small piece of resin. To polish a larger one, you need a buffing wheel. You have to attach the buffing wheel to a power drill. While the wheel is spinning, move it along the surface gently and uniformly.
This step may take longer than you would expect! Only stop when you finally get the finish you like.
Take care of your cute resin jewelry
Now that you have restored your jewelry piece, you should take care of it properly. You need to develop some simple habits. First, you need to think about where you will store it. It would be best to keep it in an airtight, protected space. In other words, it is not a good idea to display it in the open. It is better to store it in dark, airtight boxes or bags.
Apart from that, you should not wear your jewelry too frequently. You should avoid exposing it too often or too long to UV sunlight. Besides, avoid wearing resin jewelry when swimming, bathing, or showering.
If you’re looking for ideas for your next resin jewelry project, check out our article on how to make resin jewelry with flowers.