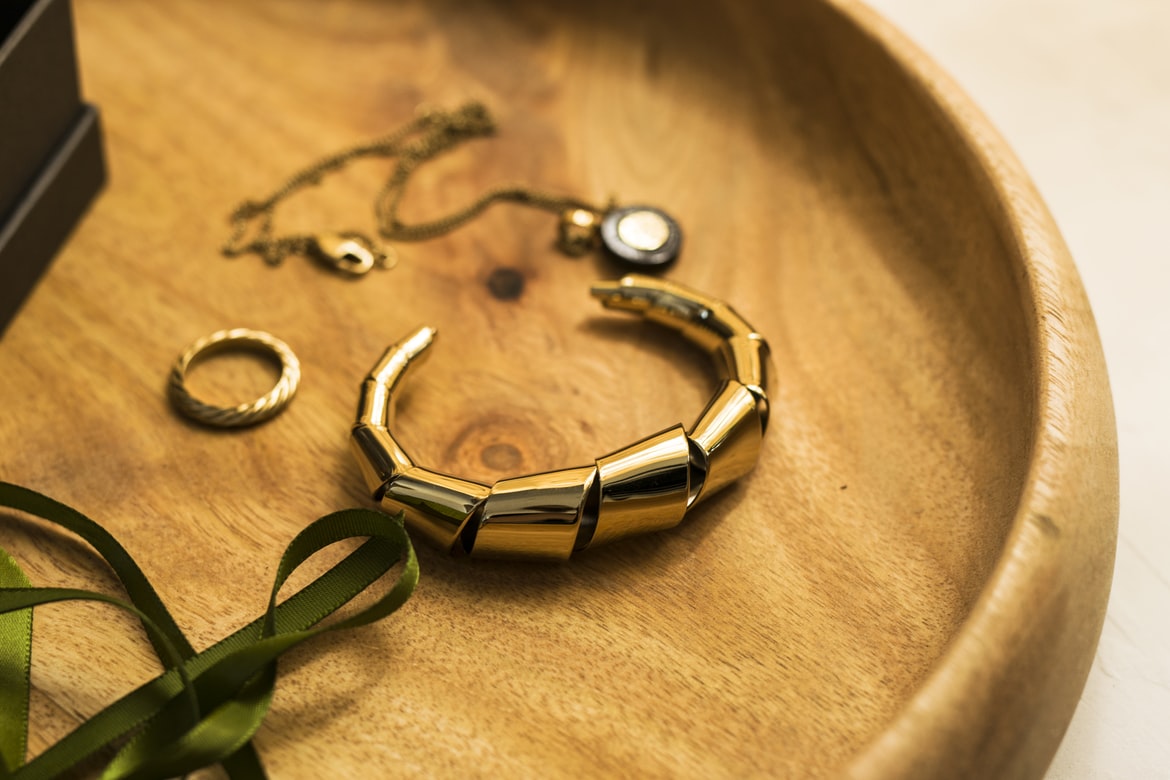
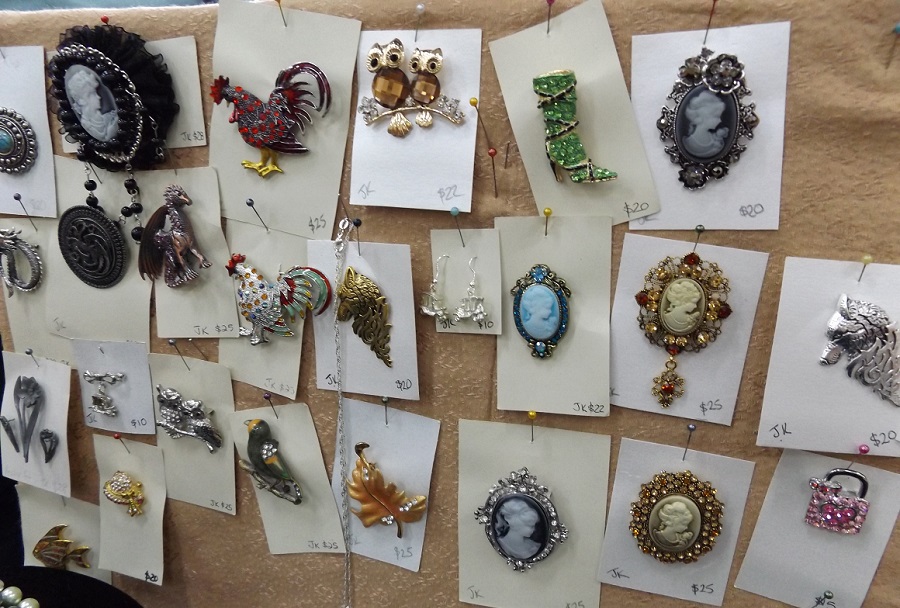
We often use resin molds when making resin jewelry in order to get the shape and/or the colors we desire. Did you know that it is possible to make resin jewelry without molds, on your own, at home? Well, of course, it is. You may wonder how! You can make resin jewelry using jewelry bezels or bezel blanks. Jewelry blanks are just the industry terms for the metal cups you use for making jewelry. It is much easier to work with, as there is no need to remove the resin after it cures.
They are available in different shapes, styles, and finishes to make the jewelry of your choice, like earrings, rings, bracelets…Open-backed bezels also let the light shine through the resin, whereas closed-back ones do not allow the light through. Do not worry! We are going to dive more into it later. On a side note, if you don’t feel like going left and right to buy the different tools and materials you need to consider buying a resin jewelry kit that will have all the necessary equipment in one box. It can avoid a lot of frustration!
Here is what you will need to make resin jewelry without molds:
- Resin and jewelry bezels
- Supplies and embellishments like candy, feathers, flowers, etc
- Safety goggles and plastic gloves
- Respirator
- Stirring sticks
- Mixing and measuring jug or cups
- Wax paper or a garbage bag
- Resin colors (optional)
It is worth noting that it will take about 24 hours to cure the resin.
Table of Contents
Step 1: Prepare your work area and everything you need
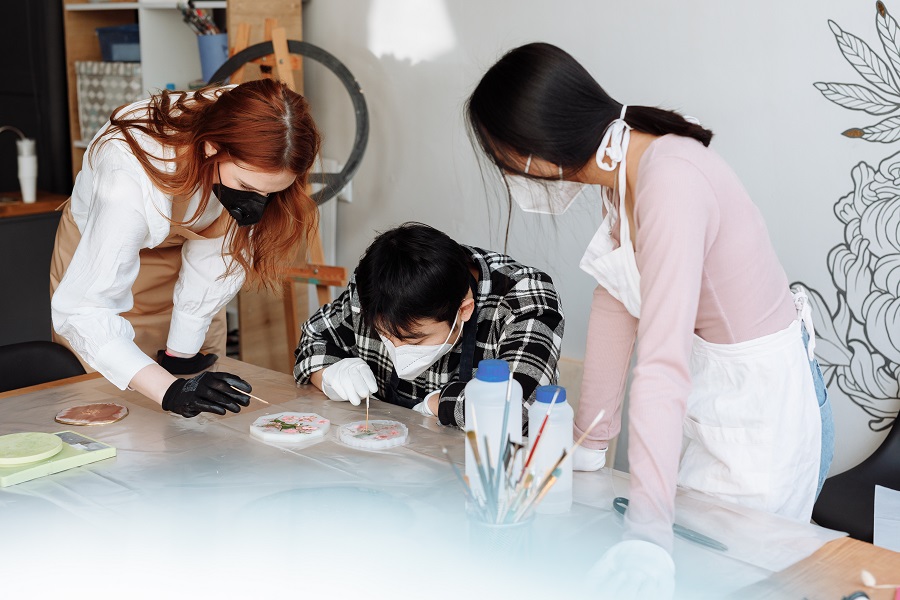
Before you get started, you need to have everything ready. First, working in a well-ventilated area is better as the fumes may build up. It would help if you also ensured that there was enough space for your supplies. Moreover, as it will not be easy to remove resin drips and splashes, the use of wax paper, a garbage bag, a silicone mat, or something similar is essential. It would be best to keep yourself safe, so wearing safety goggles and plastic or rubber gloves is essential. Apart from the resin and the bezels, you will also need stirring sticks and mixing cups to succeed in making your resin jewelry.
Step 2: Collect your supplies
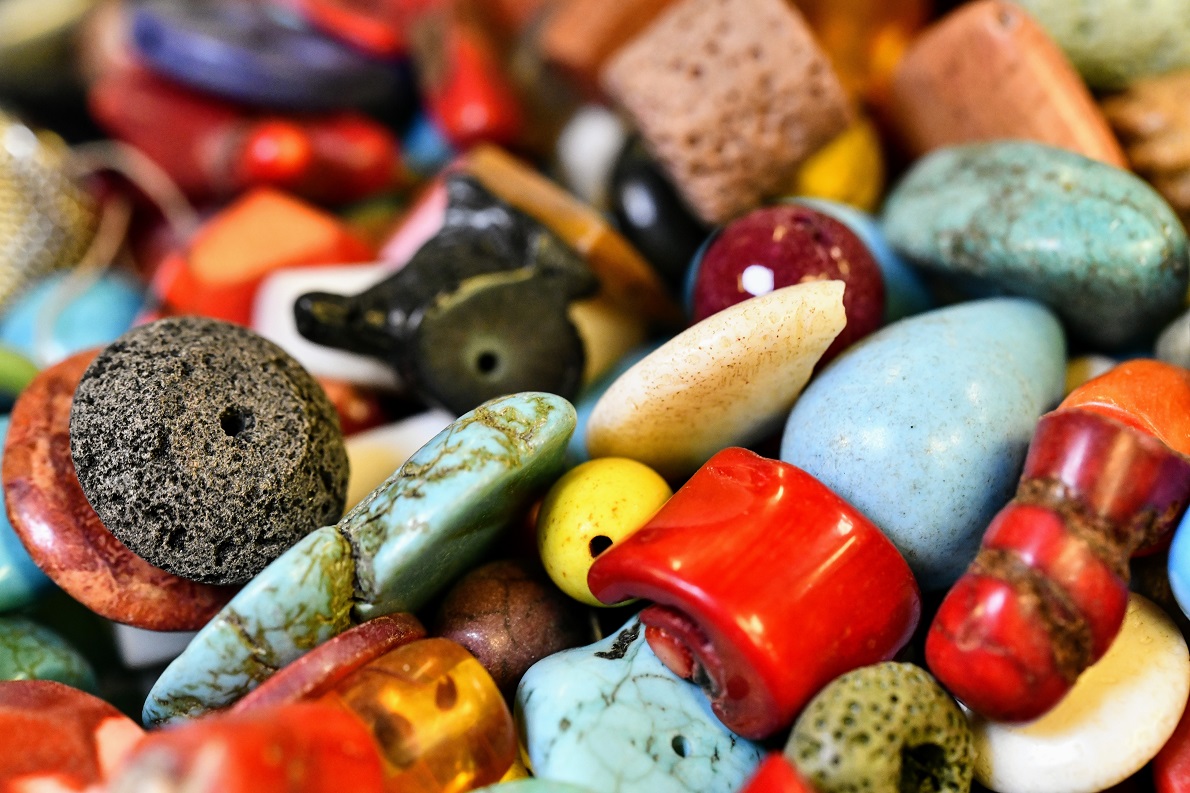
The good news is that to make resin jewelry without molds; you can use the same supplies and embellishments as you would in a resin mold. You can then put in pieces of paper, candy, feathers, flowers, charms, beads, glitter, shells, doll parts, stickers, etc. An important point to remember is to dry everything before including it in the resin.
You should also have the proper resin. When choosing the right type of resin, it is better to use Polyurethane Casting Resin instead of polyester casting resin. In addition, the resin should be mixed in a one-to-one ratio with its catalyst.

Step 3: Prepare your bezels and embellishments.
Before mixing and pouring the resin, make sure you have everything trimmed and sealed so that it does not gel before adding all of your decorative items. In addition, cutting everything helps ensure your design fits well into your bezel. Most of the bezels are empty and open-ended; therefore, you need to put something on the back so that the resin does not spill on the other side. As mentioned above, there are open-backed bezels and closed-back ones. With open-backed bezels, sticky tape is helpful to keep the liquid resin inside. Before adding the resin, you have to press the bezel firmly onto the sticky side of the masking tape first. Then, once the resin cures, you can peel off the tape. You do not need to do so with closed-back ones as the resin is in the back of the cup while it cures.
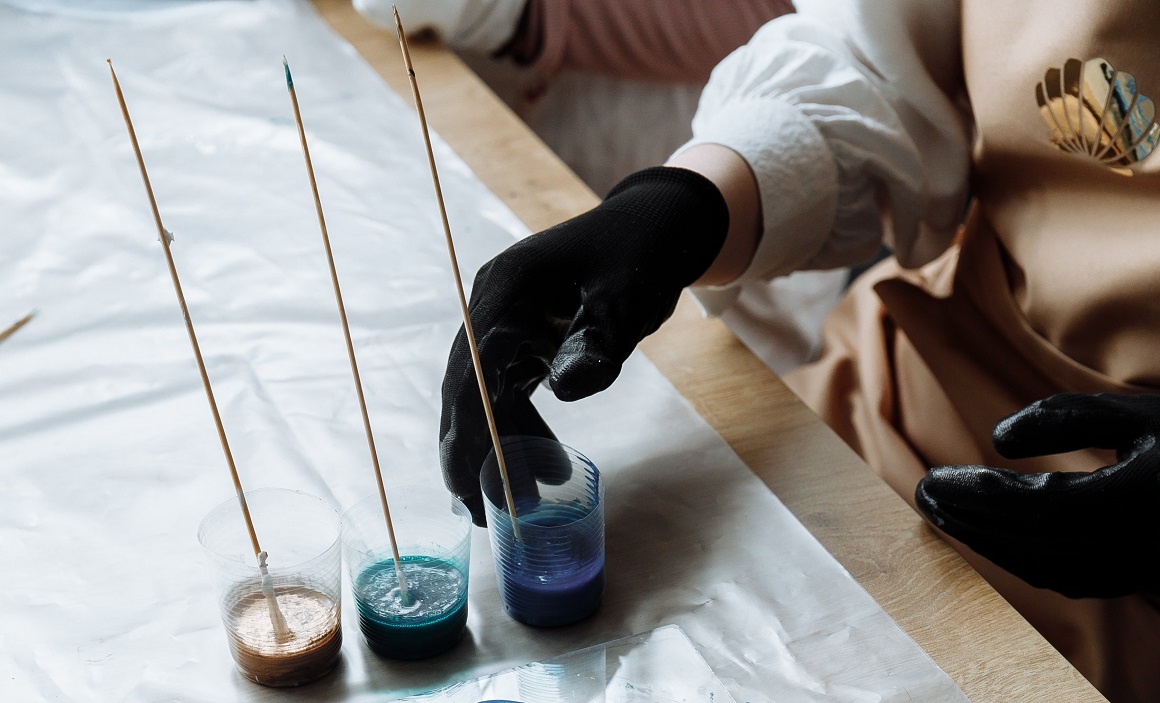
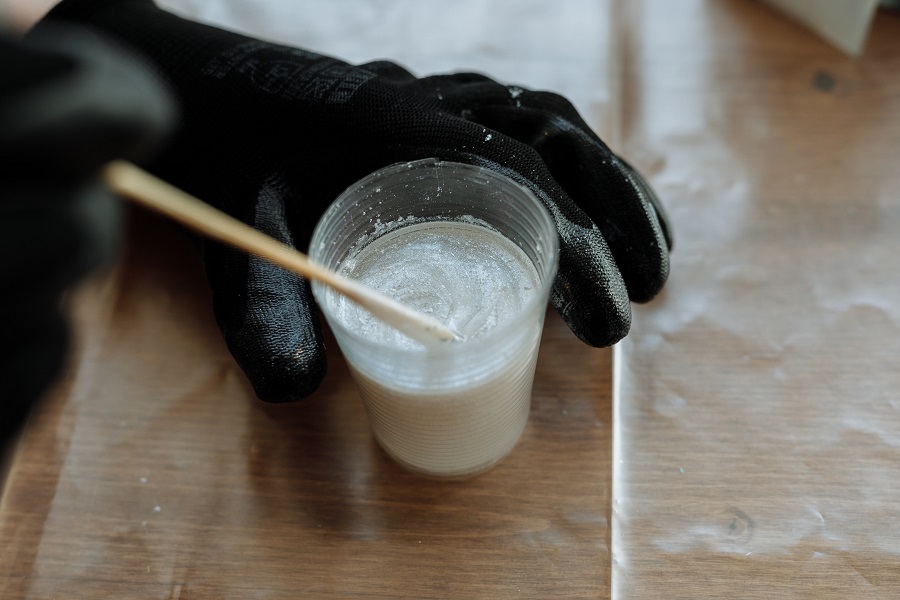
Step 4: Mix the resin
Now, you should let the resin harden slightly in a bowl of hot water to make mixing easier and avoid bubbles. I recommend reading carefully and following the instructions on the bottle before starting mixing. You should only mix the resin you will be using because resin does not remain liquid for long. Pour the resin into the cup first. Using a graduated measuring cup is better, so you add the right amount of the catalyst as it allows you to measure both components directly into the cup. It is worth noting that you cannot use the cup you used for the former steps.
Step 5: Pour, pop, and cure your resin.
Next, pour the resin mixture into your bezels. This operation needs to be done slowly to prevent air bubbles. It would be best to pop any air bubbles as quickly as possible. Then, it would help if you put your embellishments on the first layer of resin. After that, add a bit more resin, and do not stop until you have all of your layers complete.
Generally, it will take about 24 hours for your resin to cure; therefore, it is worth placing your jewelry in a place where it will remain covered. Another option is to place resin under a UV Flashlight to cure it in seconds instead of hours!
Once all of these steps are complete, you’ll have to polish your project. Make sure to check out our article 100% dedicated to how to polish resin jewelry.
Final thoughts
We have seen above all the necessary steps to make resin jewelry without molds. I hope you find all the instructions helpful for creating beautiful and unique resin jewelry at home. Take your time if you want to succeed!