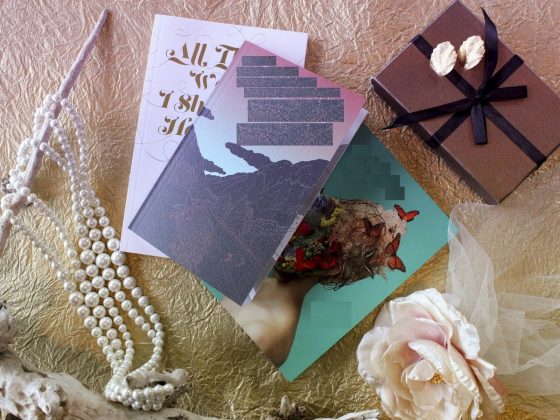
Flowers have been a source of inspiration for countless artists over the centuries. The infinite color panel, boundless shapes as well as geographic distribution make them unique but unfortunately perishable. Today, we offer you a clear and simple Step by Step guide on how to make resin jewelry with flowers so that you’re chosen bloom will live forever on your ornament of choice.
Here is your easy step-by-step guide on how to make resin jewelry with flowers.
Table of Contents
- 1 What you will need?
- 1.1 Step one: Get dried flowers
- 1.2 Step two: Prepare the mold
- 1.3 Step three: Get the quantities right
- 1.4 Step four: Prepare your solution
- 1.5 Step five: Mixing
- 1.6 Step six: Pour your resin
- 1.7 Step seven: First layer of resin with flowers
- 1.8 Step eight: Second layer of resin
- 1.9 Step nine: Let it rest
- 1.10 Step ten: Unmold your jewelry
What you will need?
Necessary :
- Flowers or dried flowers
- A plastic measuring jug
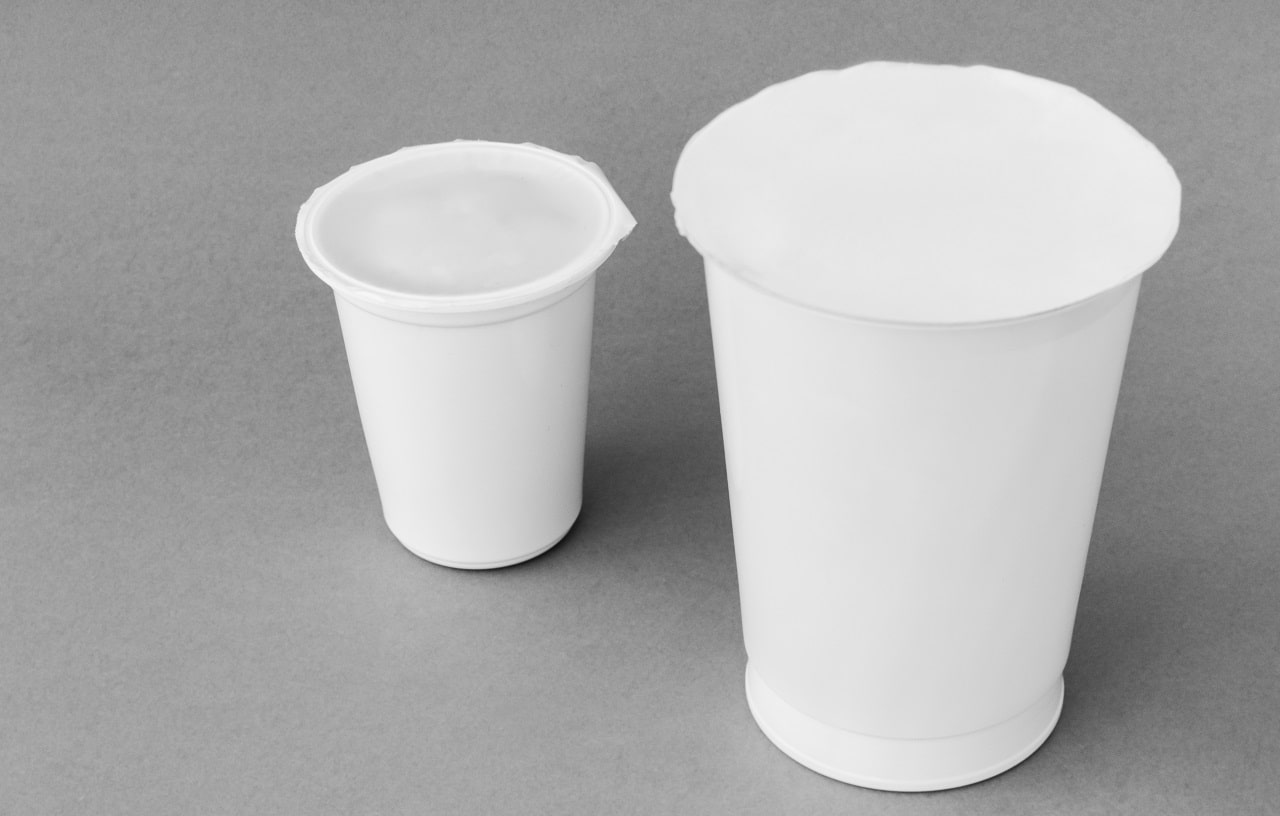
- Two plastic cups
- Paddle pop stick or stir stick
- Silicon resin jewelry mold based on what you wish to make (It’s important that you use a silicone mold because it’s flexible, so the resin won’t stick to it.)
- Paper towels
- Alcohol spray
- Resin (2 components resin: resin and hardener)
- Plastic gloves
Optional :
- Respirator
- Pendant bails or else depending on what you wish you make
- Small paintbrush
- Glitters
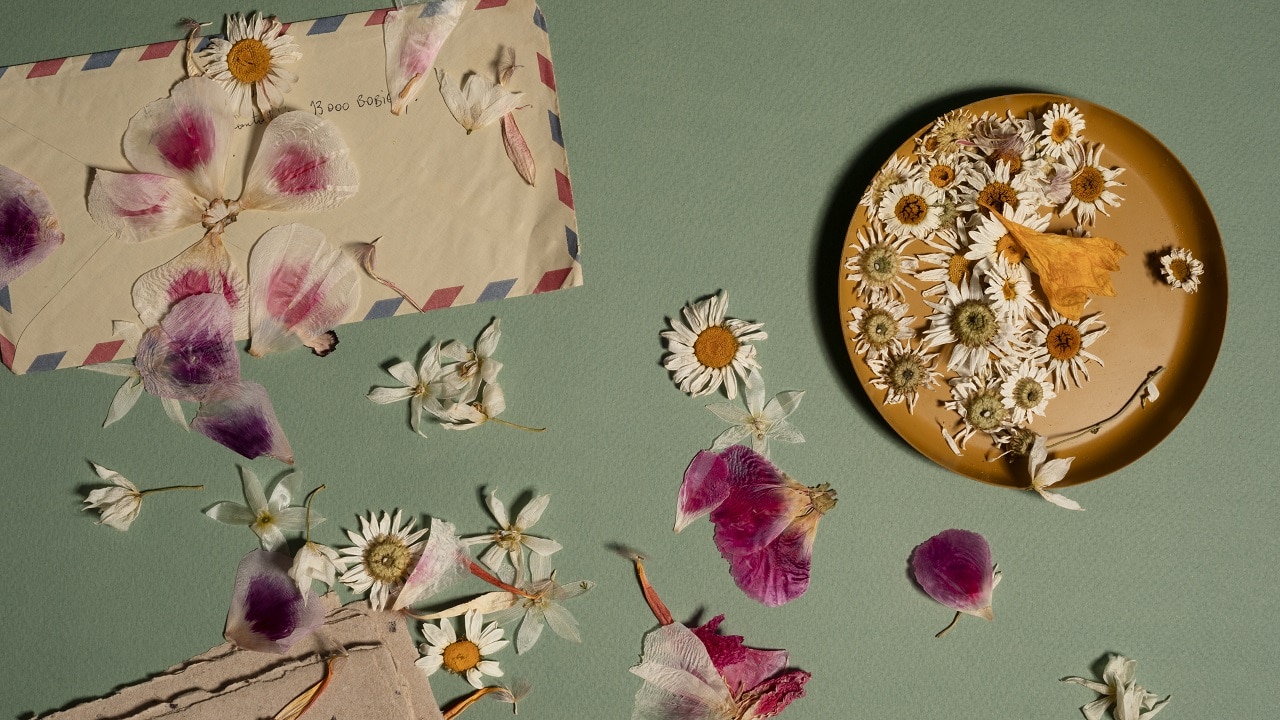
Step one: Get dried flowers
It’s important that the flowers be dried beforehand. Only dried items should be used in resin; because if there is any moisture left in the flowers, it will affect the resin. In others words, fresh flowers will slowly rot over time and the color of the resin will change within a couple of weeks.
You can buy pre-dried flowers, but you can also dry them yourself.
There are a number of ways to dry flowers:
- You can dry them by hanging them in a dark area with good airflow for a couple of weeks.
- You can place them between some paper towels and leave them there to dry for a couple of weeks.
- You can press them with iron by using greaseproof paper
- You can press or flatten them in a book, then place a heavy object on top and let it. This process will also take a couple of weeks.
- You can use desiccant powder, which is a substance that absorbs water or removes moisture.
Step two: Prepare the mold
If you do not have a mold, don’t worry we have a guide on how to make resin jewelry without molds.
Grab your mold and apply the Alcohol spray, then wipe it thoroughly with some paper towels. You want to make sure the mold has no contaminants from other types of resin or anything that was in it previously. You should not underestimate the importance of that step as if there is a bit of color or oil from previous use, it will affect the result.
It is suggested that you still use the Alcohol spray and wipe the inside of the mold even though it is new.
When you are done, put the mold aside and your gloves on for the next step!

Warning:
It’s essential that you work in a well-ventilated space. You can open your windows or turn on the fans. You can use a respirator as well.
Step three: Get the quantities right
The resin includes two components; the first component is the hardener and the second is the resin itself.
The quantity of the two components you are going to use is up to you, as long as you have equal amounts of each. It really depends on what you wish you make, earrings, pendants or else.
Take two plastic cups, then pour your chosen amount of hardener into the first cup and the same amount of resin into the second cup.
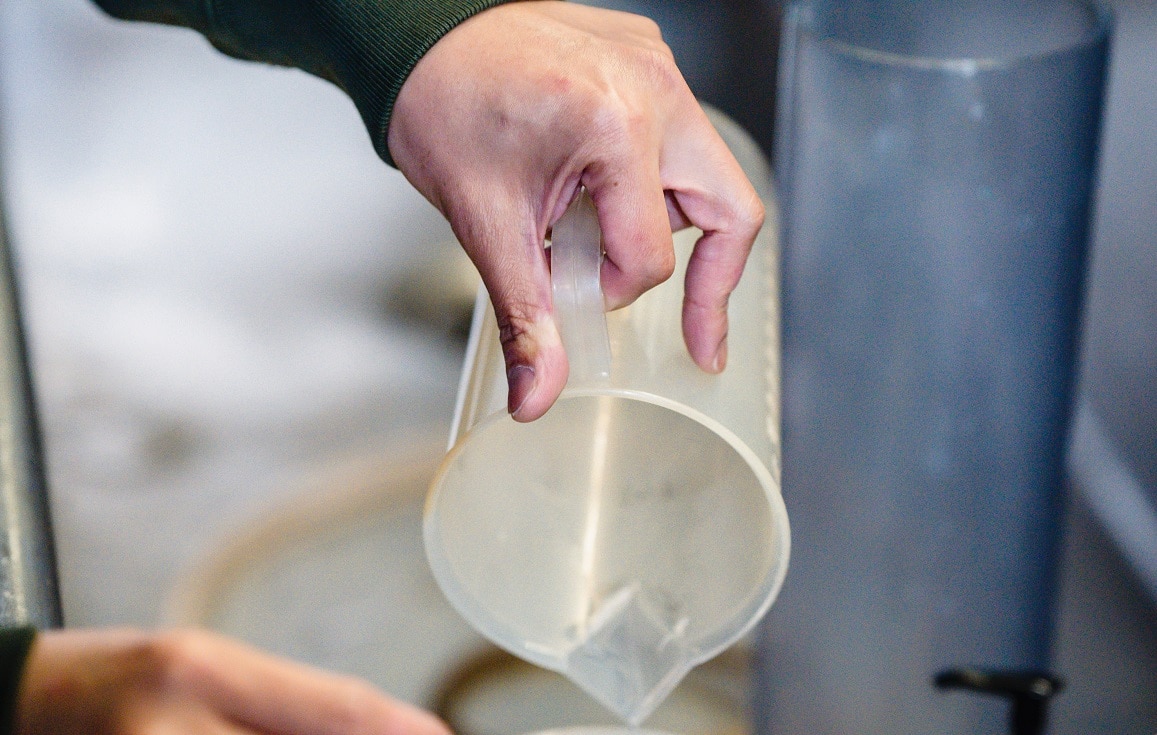
Step four: Prepare your solution
Get the measuring jug ready! Then grab the plastic cup containing the hardener and pour it into the measuring jug, then take the other plastic cup which carries the resin and pour it into the measuring jug as well.
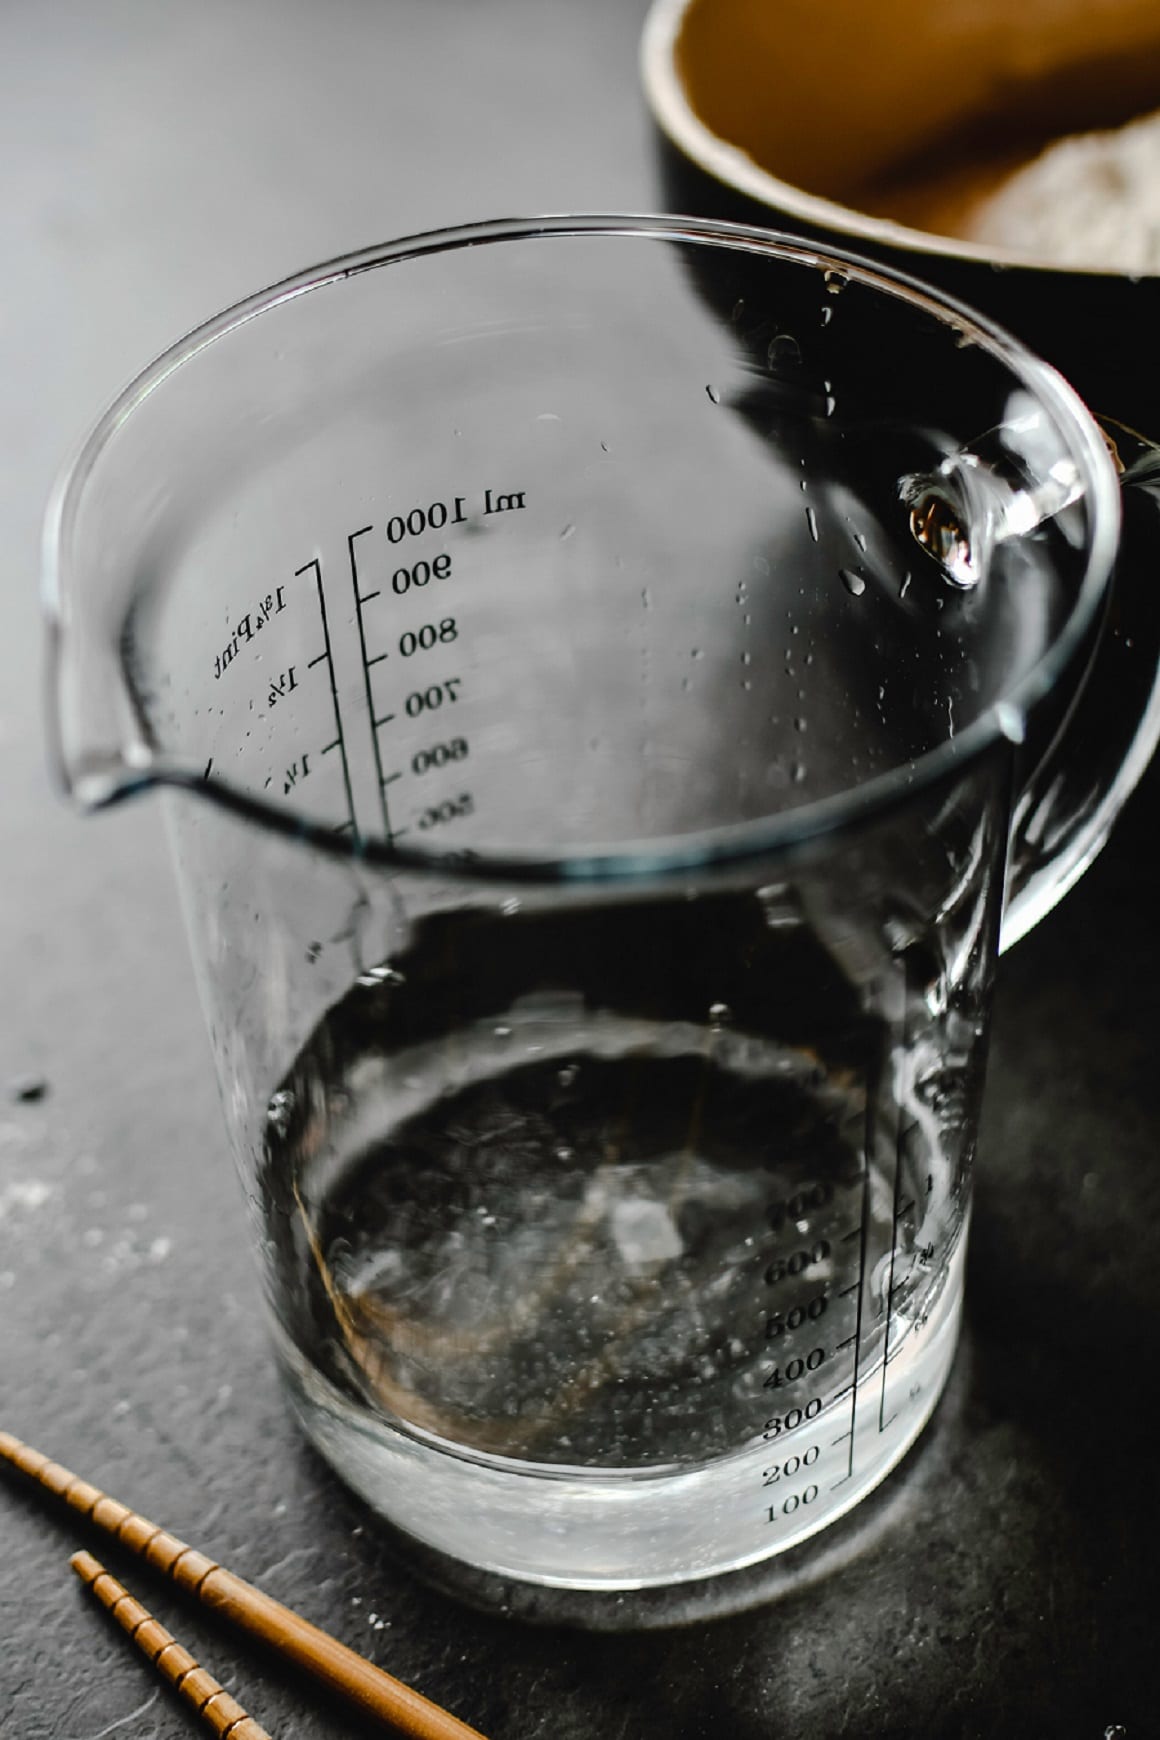
It doesn’t matter which one you pour first, but make sure you have an equal amount of both parts of resin (The resin and the hardener).
Step five: Mixing
Mix them together using the stir stick. It should create a chemical reaction, which causes the resin to harden. Slowly and Steady is the name of the game here as you want to avoid creating bubbles. It should take around three minutes to have it thoroughly combined.

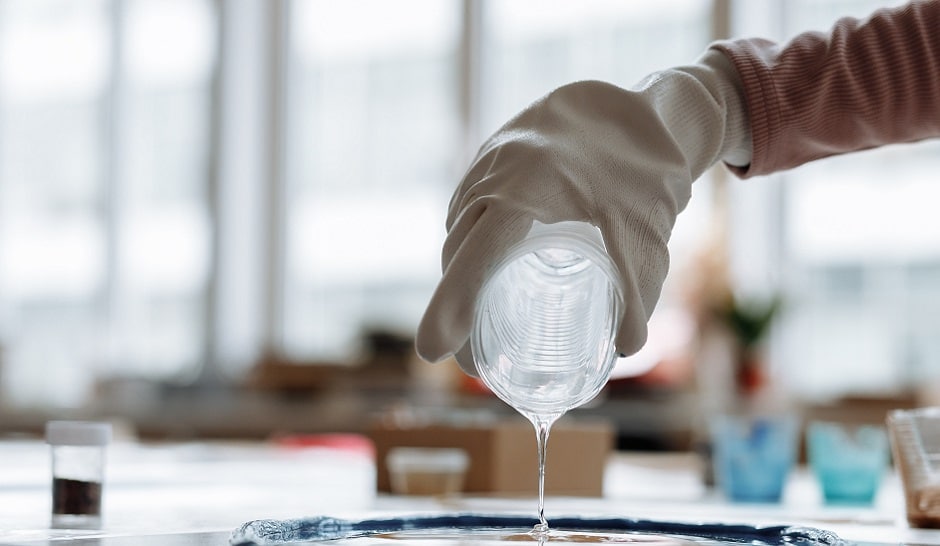
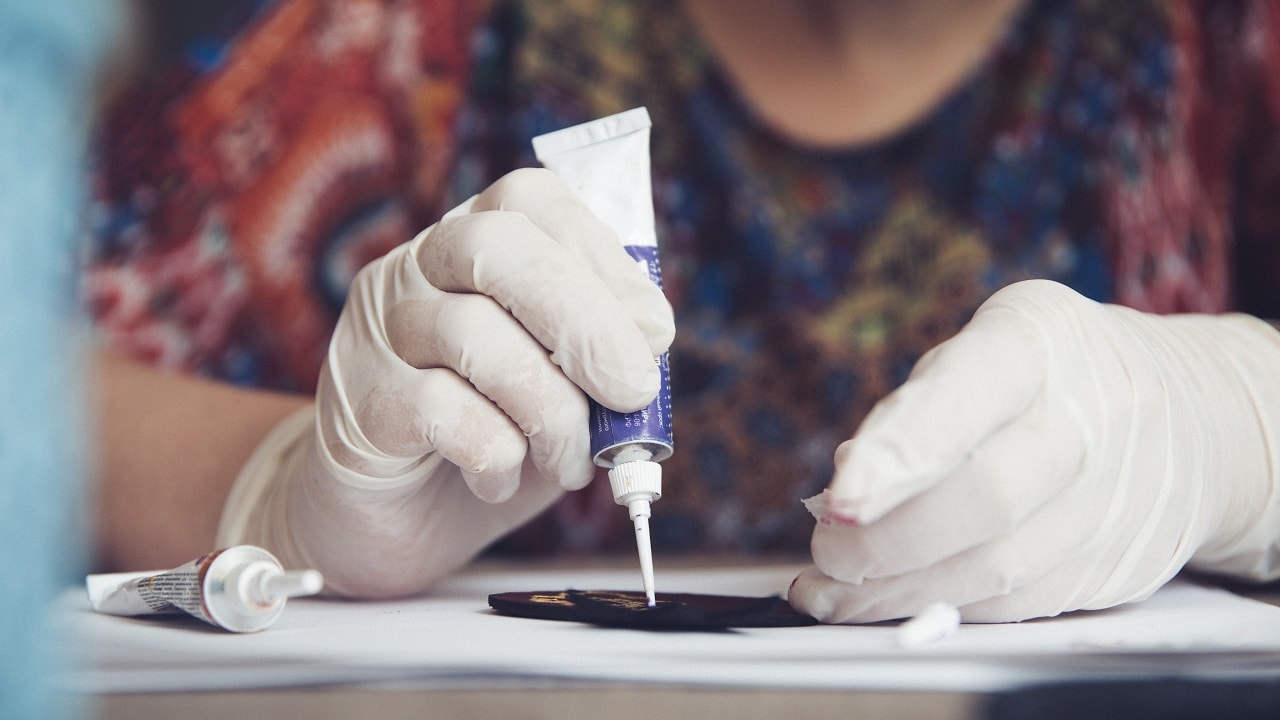
Step six: Pour your resin
Take your jewelry resin mold, and pour a small amount of resin into it; it will be the first layer of resin. Then, place the flowers on the layer and arrange them whichever way you please. Use your paddle pop stick to help you move the flowers in position. You can add the flowers randomly and cut them if needed. You can even add colors and glitters. Let your creativity loose!
Step seven: First layer of resin with flowers
Now that you have your first layer done with the flowers set on top, you should cover it to protect it from dust and let it rest for about three hours.
Do not rush the process by adding the second layer of resin right away. If you rush, the flowers will float up in the resin, and you will have one part of your jewelry full of flowers and the other part empty.

Step eight: Second layer of resin
Three hours later, add the second layer of resin all the way to the top of the mold.
Step nine: Let it rest
Leave your jewelry to rest in your mold, and cover your creation for 24 hours.
Step ten: Unmold your jewelry
Remove your jewelry from the mold: all you need to do is peel it back. In other words, split gently the mold from the resin jewelry. Then, go around the edges to take off any excess resin. Once done you’ll have to polish your piece, we have an article dedicated to how to polish resin jewelry, make sure to check it out.
You can add pendants or bails depending on what type of jewelry you want.
Making resin jewelry with flowers takes some time and as such, you may want to make more than one piece at a time. Remember not to rush and to follow each step diligently and everything should be just fine.
Here is a great video from Claire’s Crafty Corner showing you exactly how to proceed: