Welcome to this comprehensive tutorial, where we will guide you through the fascinating process of making an origami frog! This little amphibian looks cute and can jump when you’re done. Perfect for origami beginners and experts alike, all you’ll need is a single square piece of paper and a bit of patience. So, let’s hop right in!
Table of Contents
- 1 Paper Frog Step-by-Step Instructions
- 1.1 1. Select Your Paper
- 1.2 2. Initial Fold
- 1.3 3. Unfolding
- 1.4 4. Second Fold
- 1.5 5. Top Fold
- 1.6 6. Undo Top Fold
- 1.7 7. Diagonal Fold 1
- 1.8 8. Diagonal Fold 2
- 1.9 9. Unfold Diagonal
- 1.10 10. Forming a Triangle
- 1.11 11. Bottom to Triangle
- 1.12 12. Sides to Center
- 1.13 13. Align with Triangle
- 1.14 14. Shape Lower Flaps
- 1.15 15. Create Front Legs
- 1.16 16. Fold Points Down
- 1.17 17. Front Legs
- 1.18 18. Back Legs
- 1.19 19. Pleat Preparation
- 1.20 20. Make the Spring
- 1.21 21. Final Flip
- 1.22 22. The Final Touch
- 1.23 More Origami Tutorials
- 2 How To Decorate Your Origami Frog
Paper Frog Step-by-Step Instructions
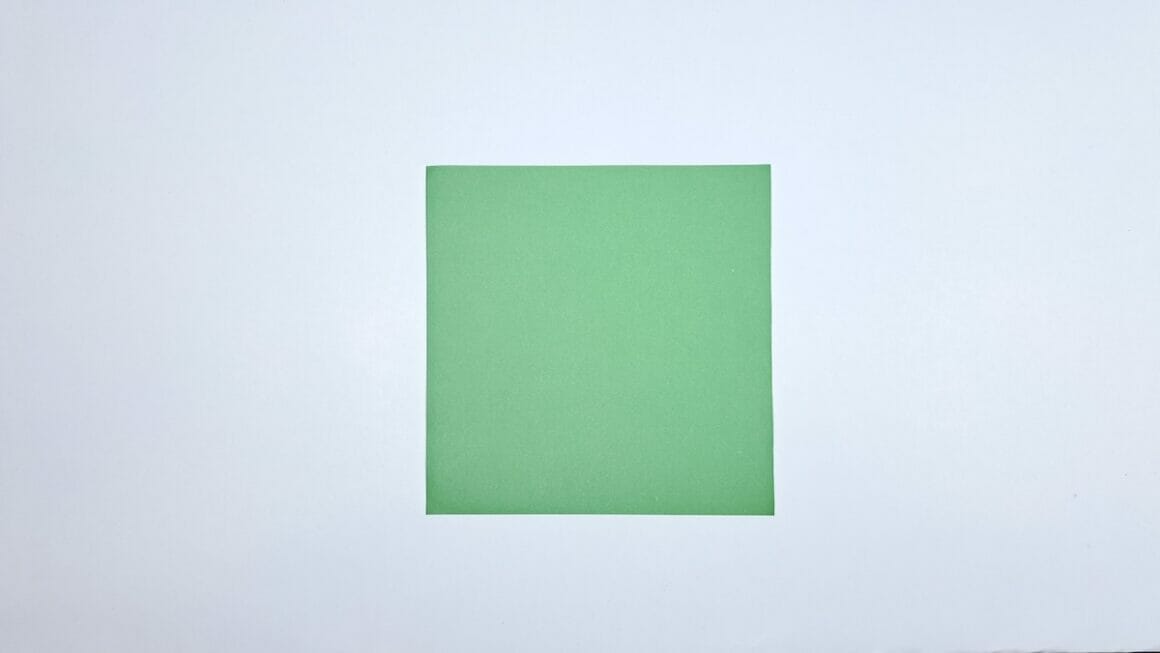
1. Select Your Paper
Start by taking a 15×15 cm square piece of paper. The color of your choice will serve as the frog’s skin.
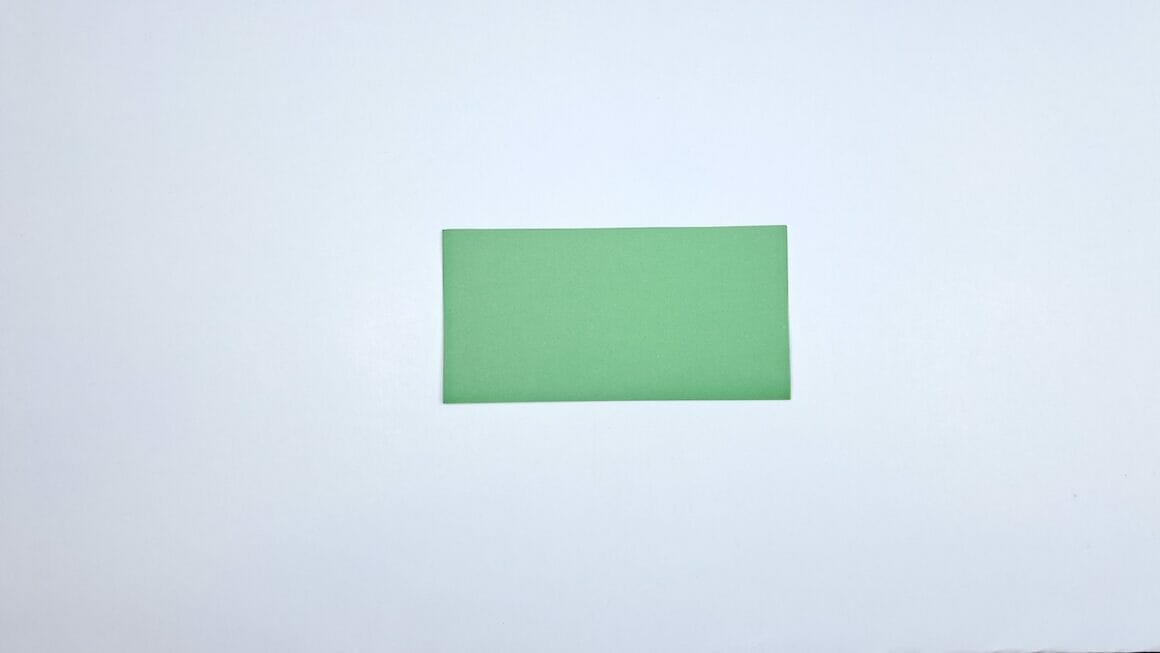
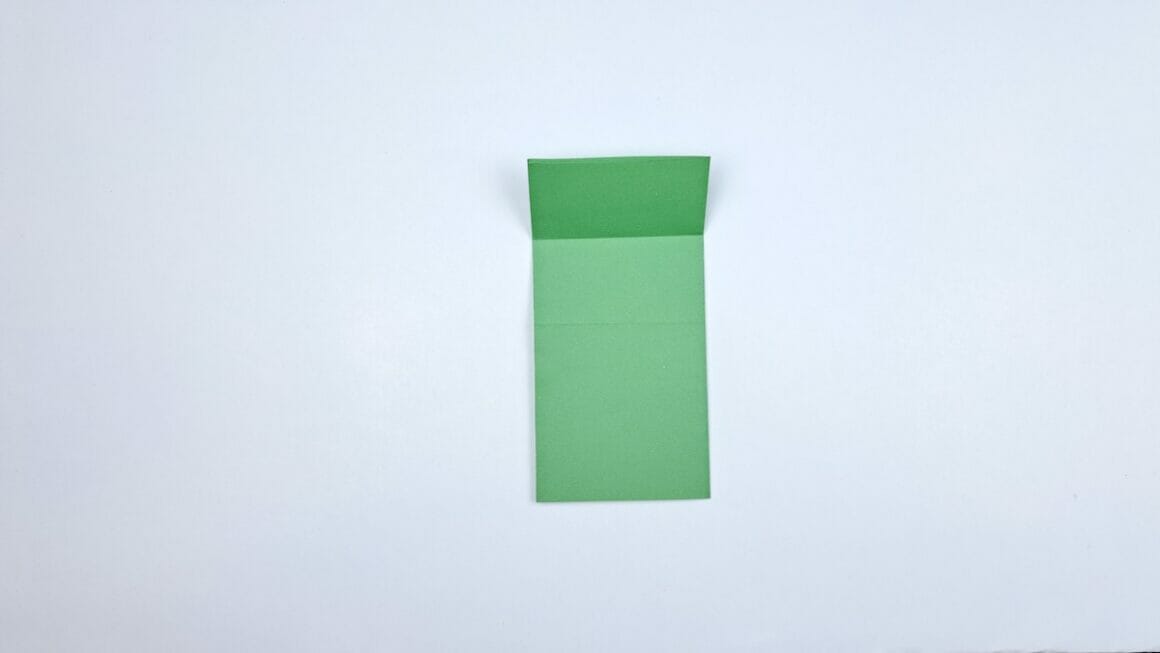
2. Initial Fold
Fold the bottom edge of the paper up to the top edge. This will give you a guideline for the subsequent folds.
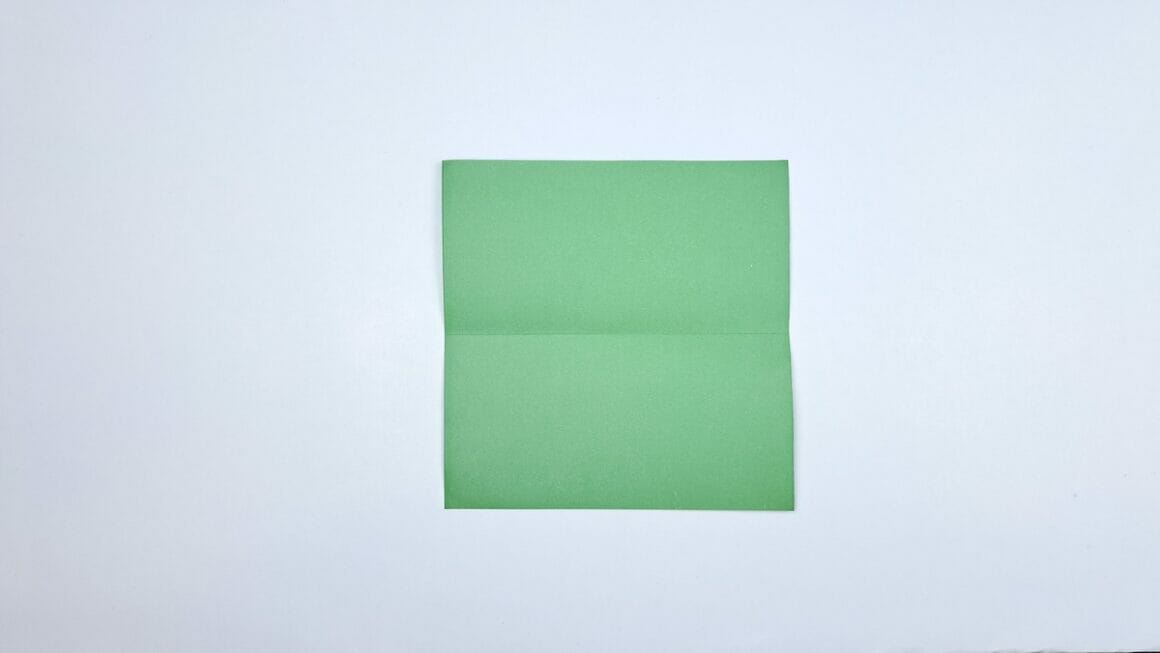
3. Unfolding
Unfold the paper back to its original square shape. You should now see a crease in the middle.
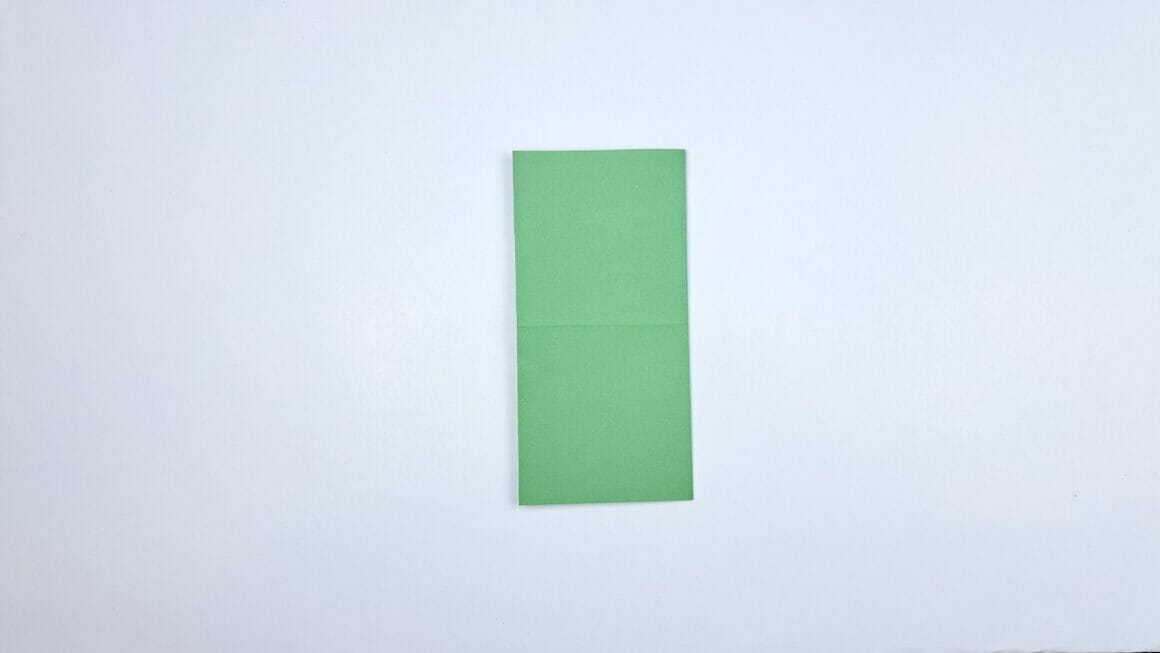
4. Second Fold
Fold the paper again, this time bringing the right edge to meet the left edge.
5. Top Fold
Fold the top portion of the square towards the middle. Aim for a point that’s slightly below the center crease.

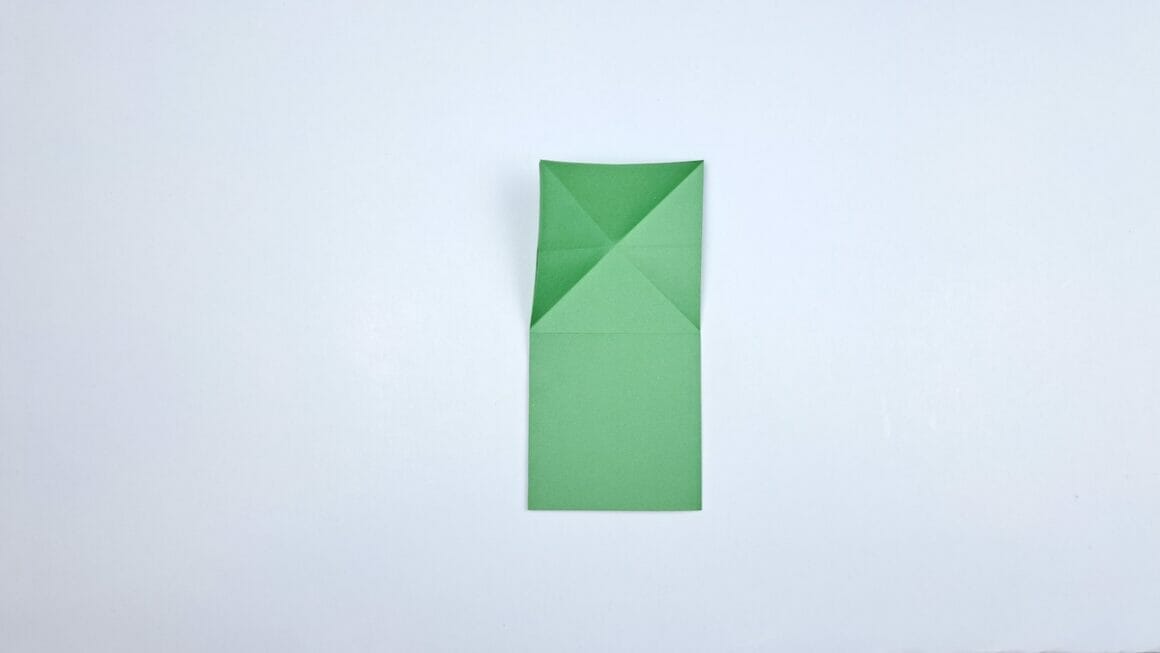
6. Undo Top Fold
Carefully unfold the top portion that you just folded. This will create guidelines for later steps.
7. Diagonal Fold 1
Fold the top right corner diagonally down to align with the left edge. Then unfold it back.

8. Diagonal Fold 2
Fold the top left corner diagonally down to align with the right edge.
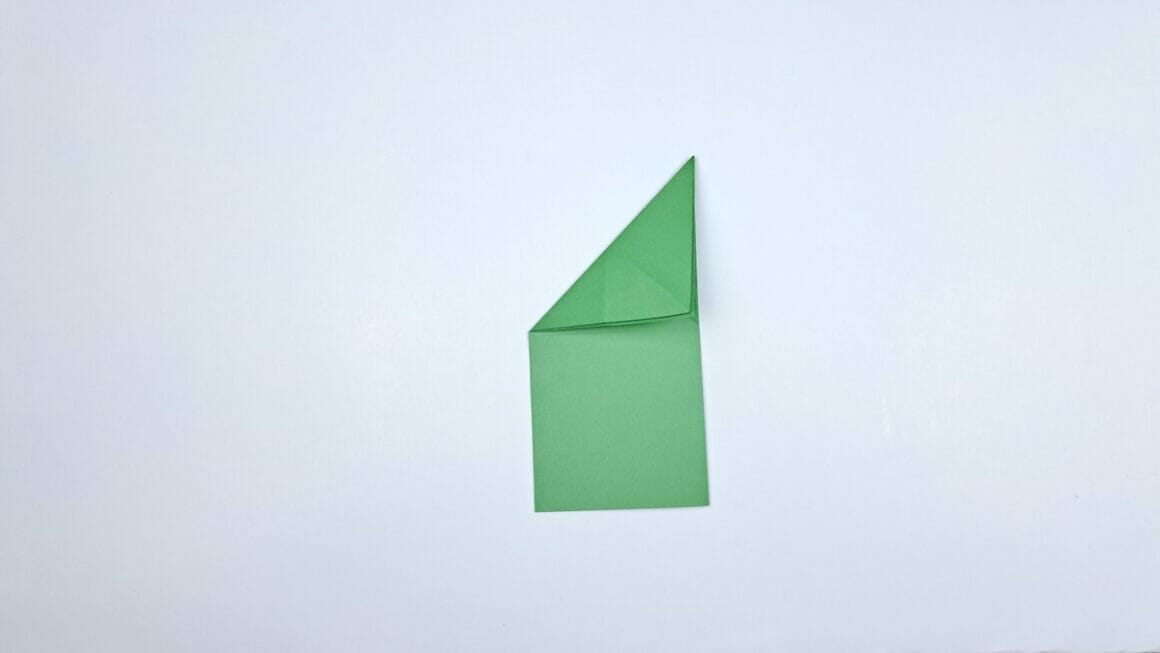
9. Unfold Diagonal
Unfold the top left corner back to its original position.
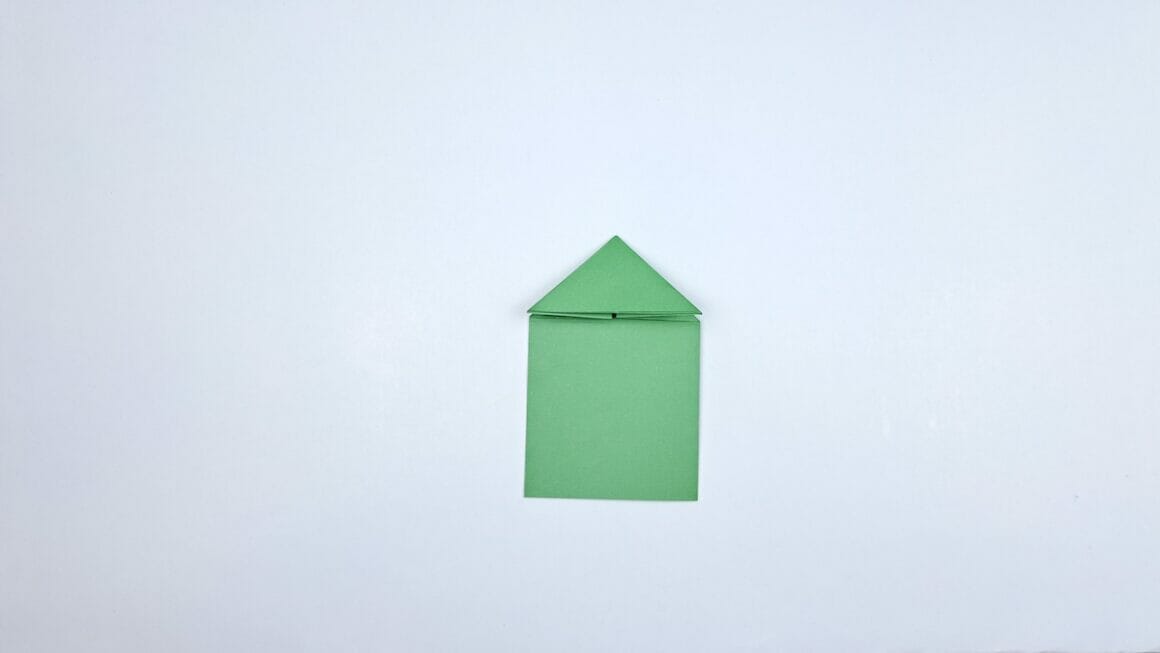
10. Forming a Triangle
Using the creases as a guide, fold in the left and right edges and press down to flatten the paper into a triangle shape.
11. Bottom to Triangle
Fold the bottom edge of the paper upwards to meet the bottom point of the triangle.
12. Sides to Center
Fold both the right and left edges inwards towards the center line.
13. Align with Triangle
Fold the bottom edge upwards to align with the triangle’s base at the top.
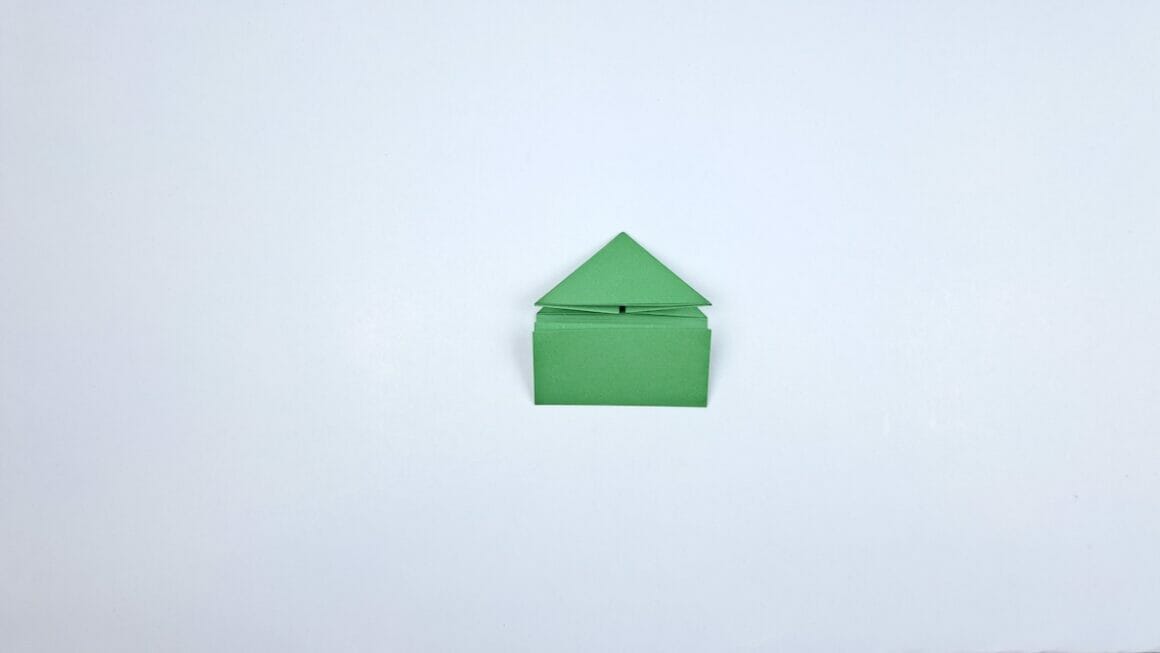
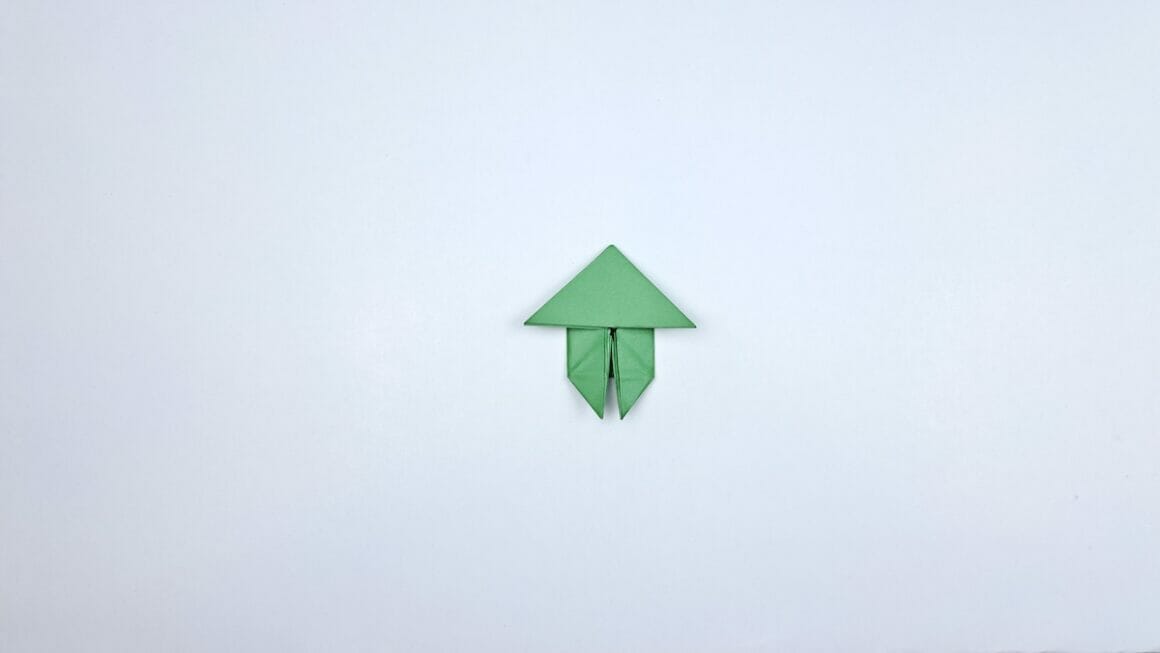
14. Shape Lower Flaps
Fold the top left and right corners of the bottom flap inwards to form what will become the frog’s back legs.
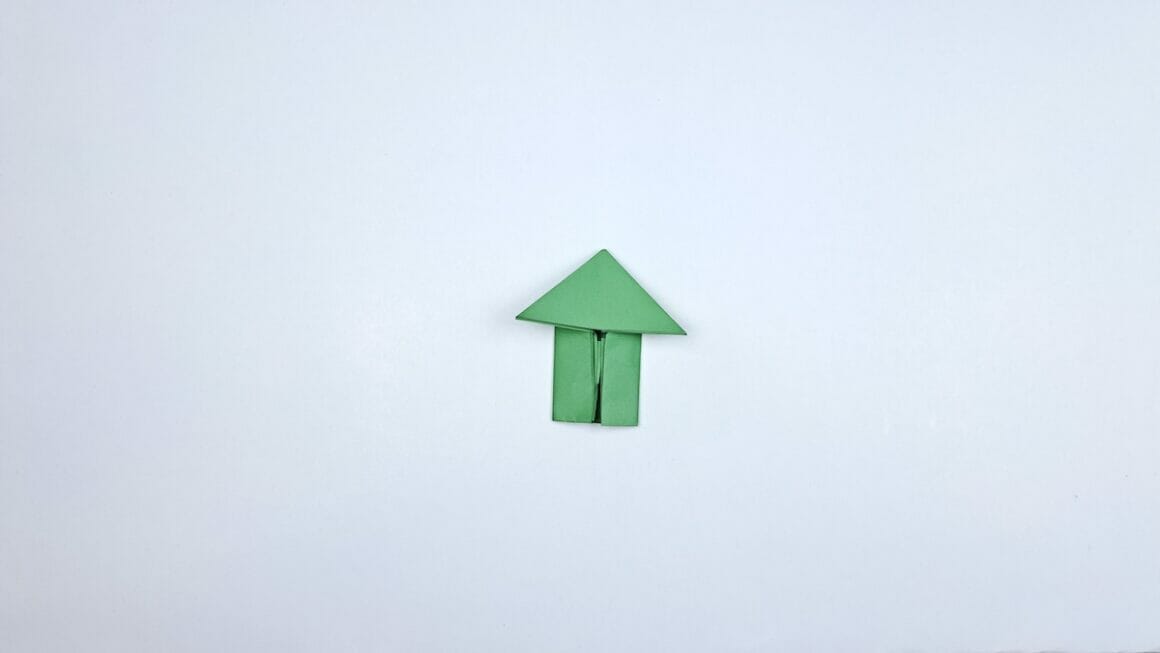
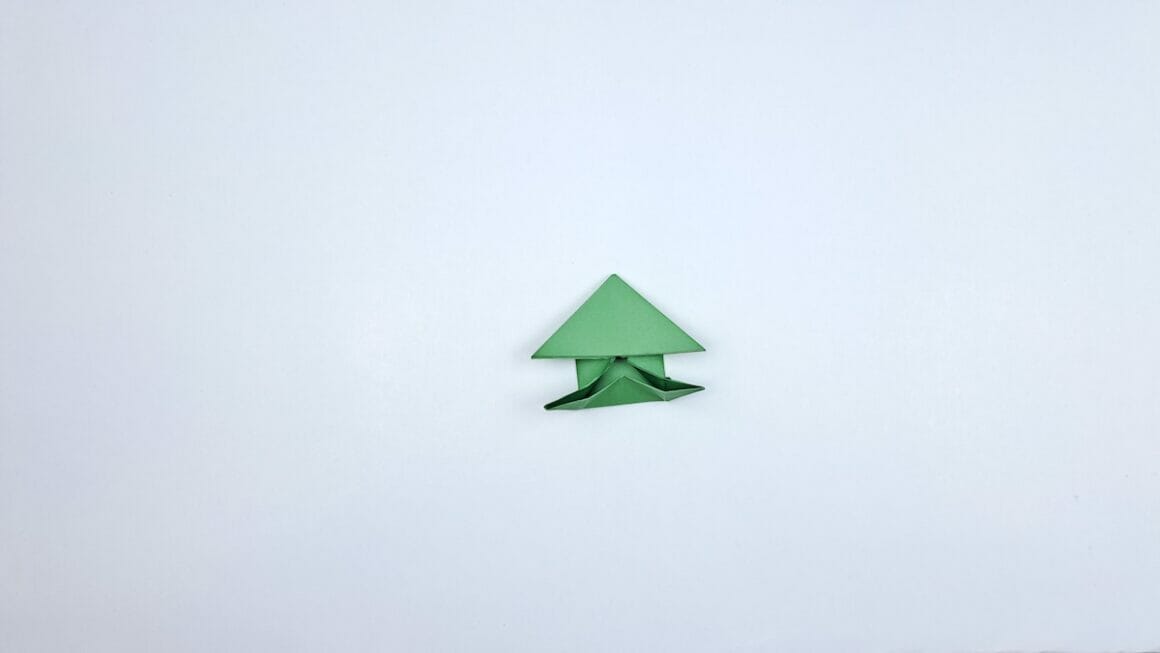
15. Create Front Legs
Gently lift and fold out the inner corners of the lower section to give your frog a boat-shaped base.
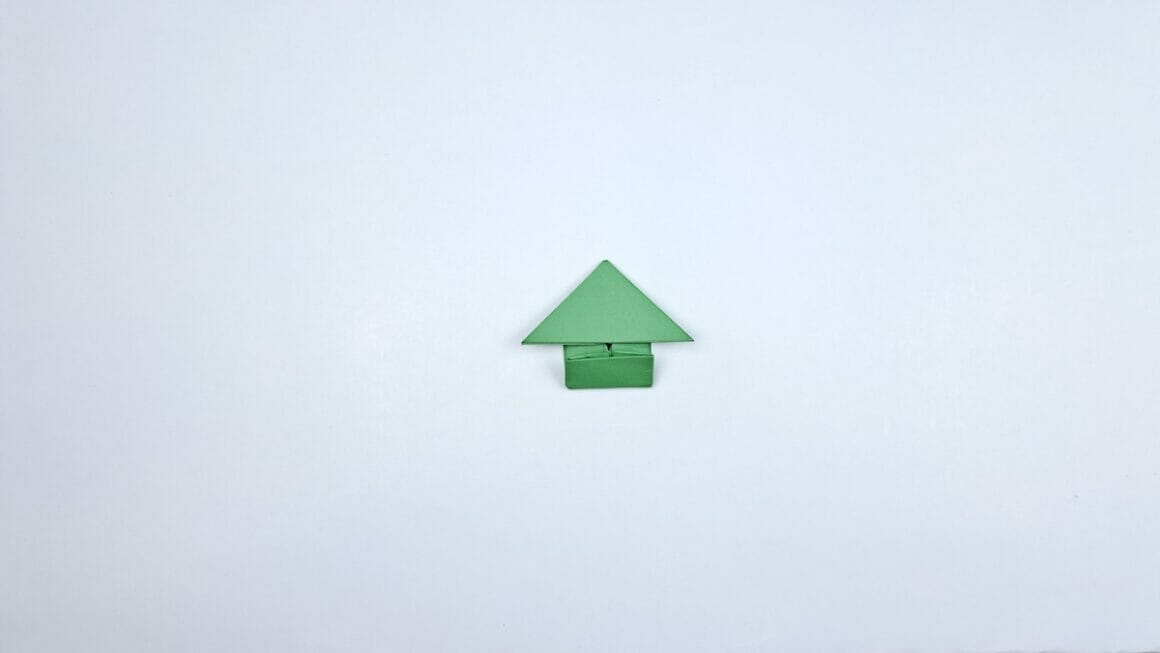
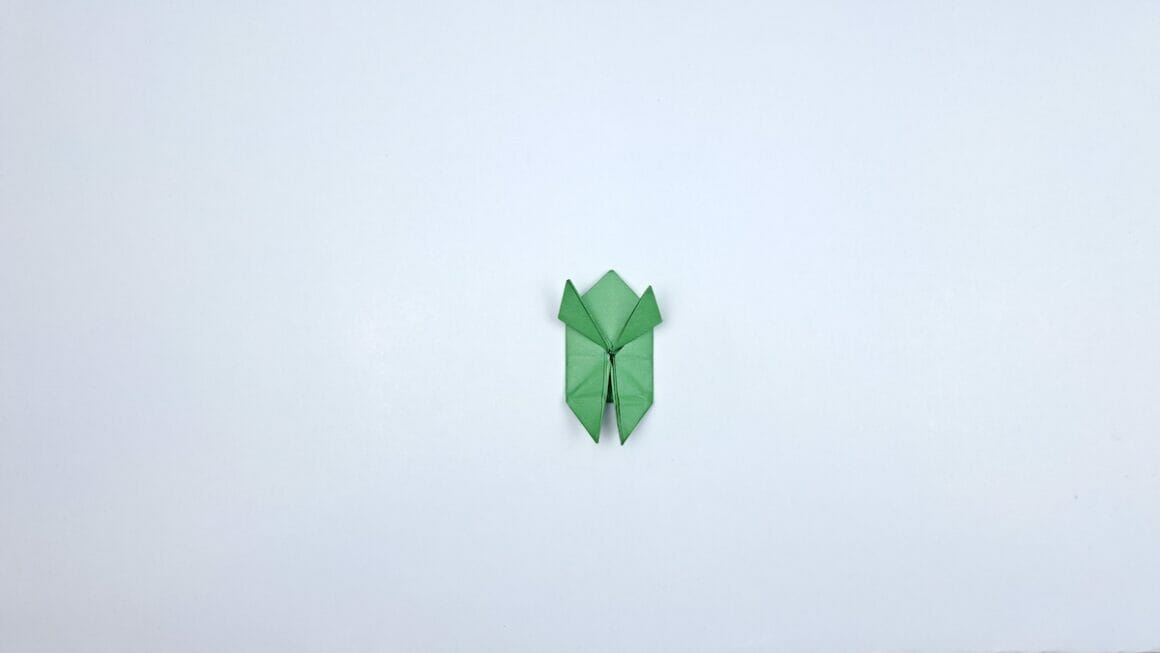
16. Fold Points Down
Fold the right and left points at the lower section downwards.
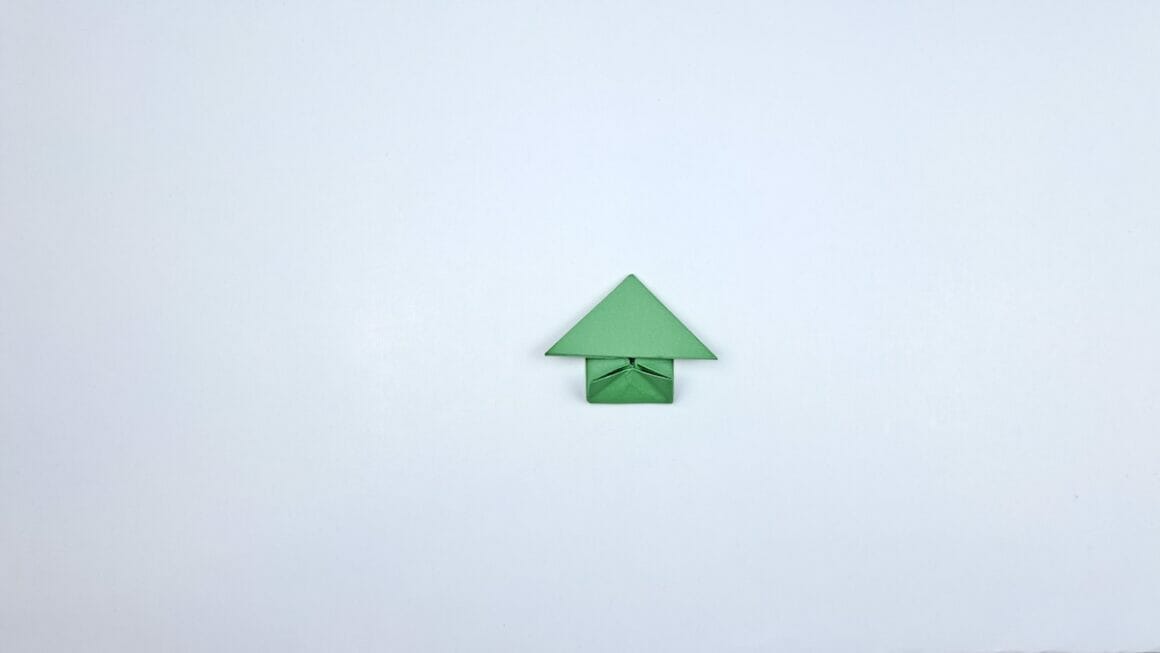
17. Front Legs
Fold these points diagonally outwards to form the frog’s front legs.
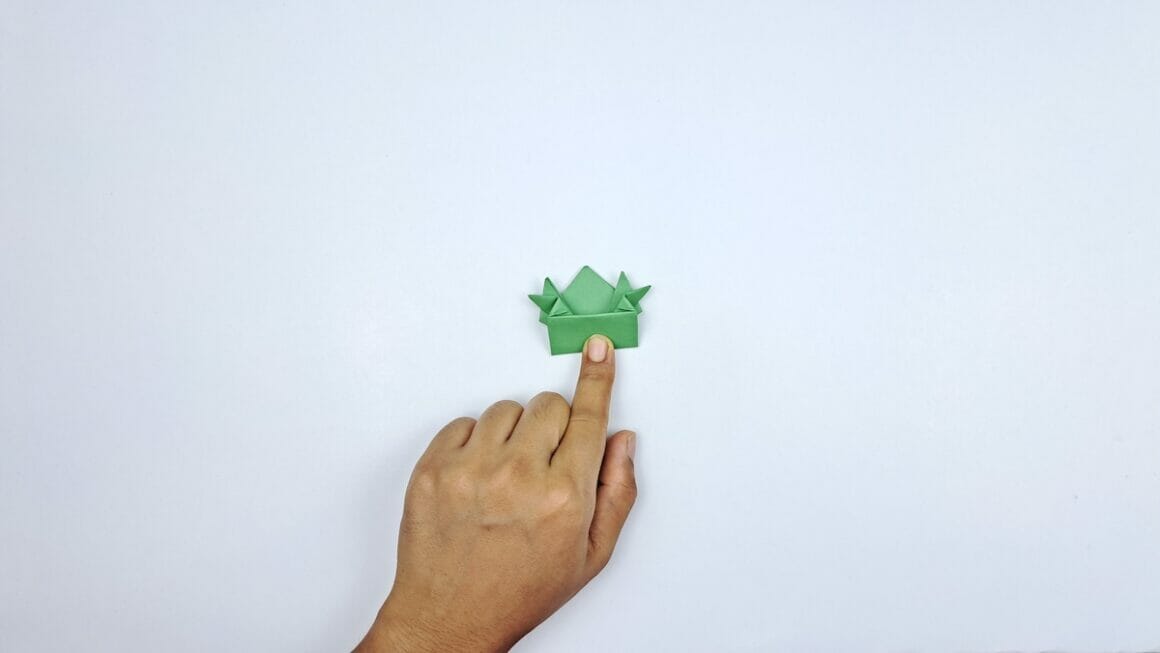
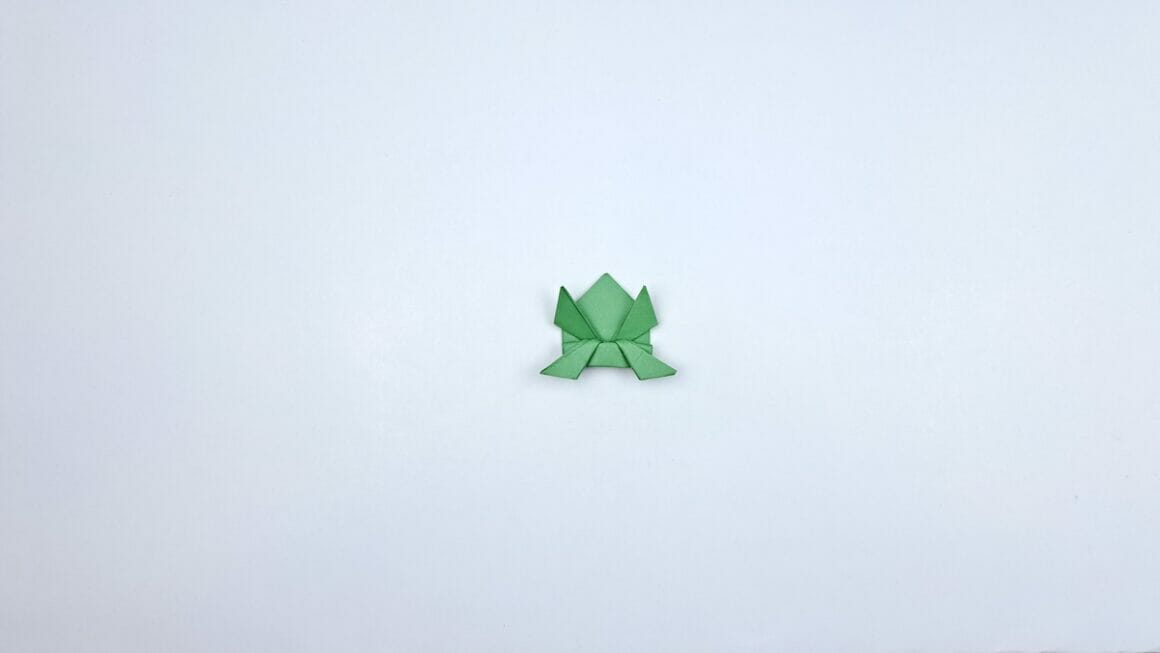
18. Back Legs
Create the frog’s back legs by folding the bottom points of the boat shape diagonally outwards.

19. Pleat Preparation
Fold the bottom part of your frog upwards along the center line.
20. Make the Spring
Fold this edge back down, creating a pleat. This pleat acts as the frog’s spring and helps it jump.
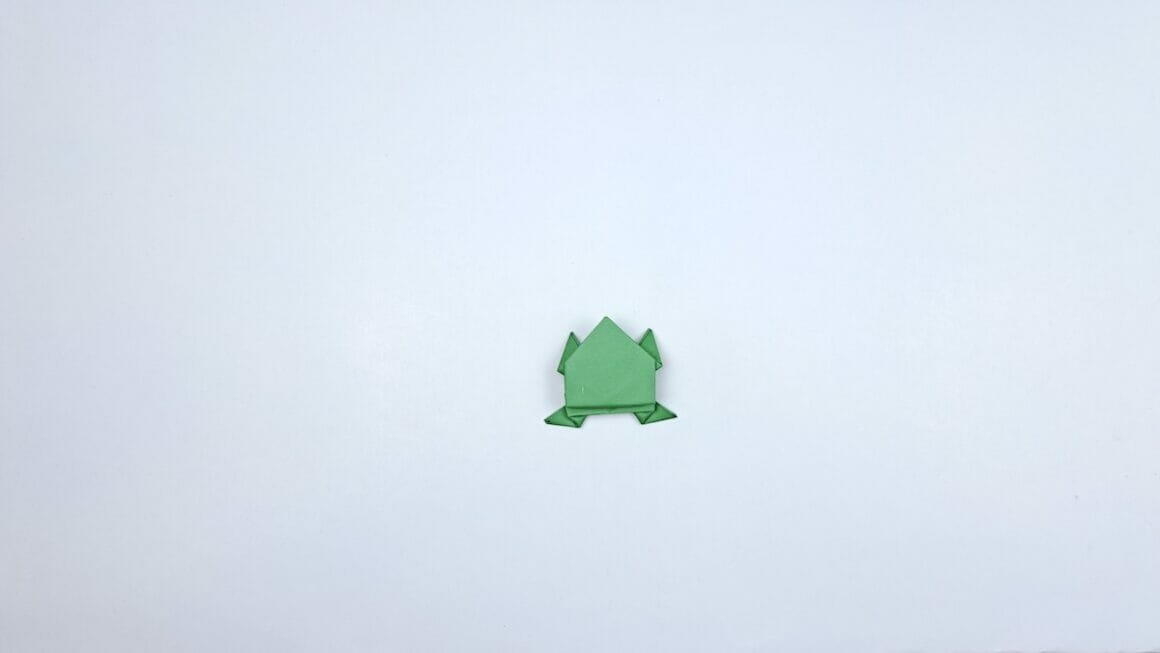
21. Final Flip
Turn your frog over so it is sitting on its newly created legs.
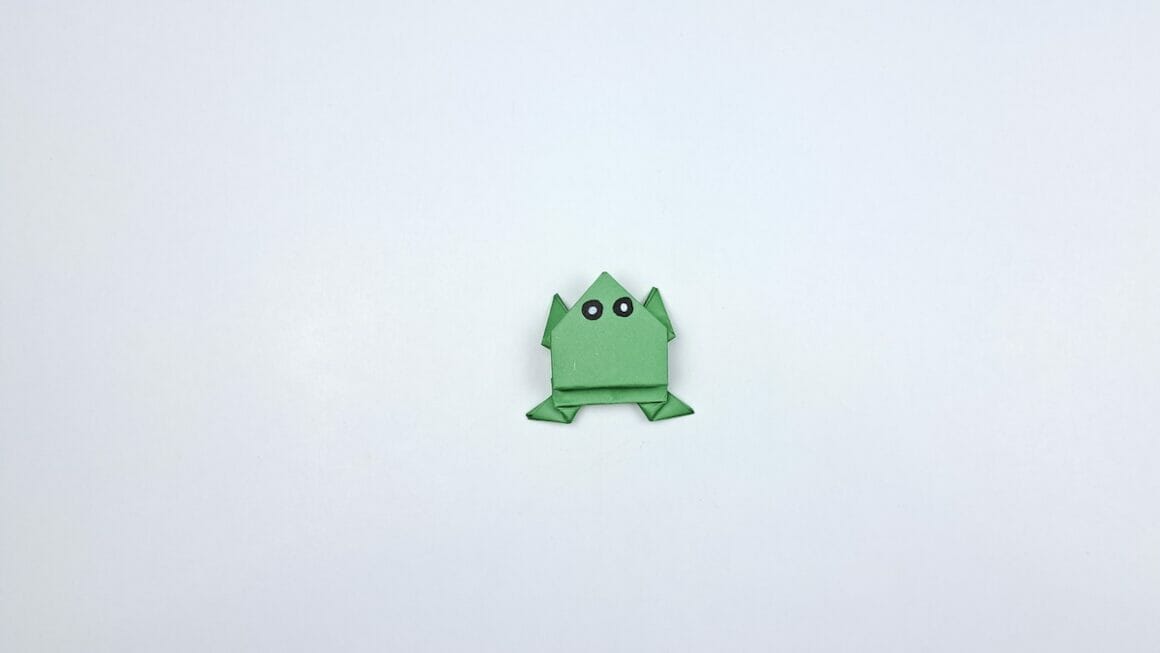
22. The Final Touch
Draw a pair of eyes on the top to complete your origami frog. Your frog is now ready for some jumping action!
There you have it! A cute, jump-ready origami frog made entirely out of paper. This can serve as a fun project or even a thoughtful handmade gift. Happy folding!
More Origami Tutorials
- How To Make An Envelop
- Origami Owl
- Origami Butterfly
- Origami Crane
- How To Make A Fortune Teller
- Origami Ninja Star
- How To Make An Origami Dragon
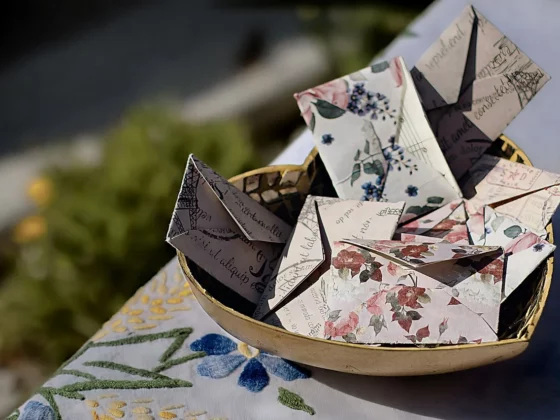
- Origami Paper Box
How To Decorate Your Origami Frog
Decorating your finished origami frog can add a touch of personal flair and make your creation even more unique. Here are some ideas on how to embellish your paper frog:
- Colored Markers: Use colored markers to draw patterns, stripes, or spots on the frog’s body. You can also draw eyes, a mouth, and other facial features.
- Glitter Glue: Add some sparkle to your frog by applying glitter glue along its back or legs. Make sure to let it dry thoroughly before handling.
- Googly Eyes: Glue small googly eyes onto your frog for a fun, 3D effect.
- Stickers: Add stickers to give your frog a cute or whimsical look. Consider stickers like stars, hearts, or even tiny bugs to give it some character.
- Paint: If you’ve used thicker or sturdier paper, you could even lightly paint your frog with watercolors or acrylics.
- Sequins and Beads: Glue tiny sequins or beads to add texture and sparkle. This can make your frog look more like a ‘royal’ species or a unique fantasy creature.
- Cut-Outs: Use colored paper cut-outs to add elements like a crown, a cape, or even a lily pad for your frog to sit on.
- Tissue Paper: Attach tiny pieces of colored tissue paper using glue to give your frog a “scaley” or “warty” texture.
- Feathers: For a whimsical touch, glue tiny feathers to the legs or back of the frog. This could turn your frog into a mythical flying frog!
- Jewels: For a luxurious look, consider gluing tiny faux jewels or crystals onto the back or sides of the frog.
- Washi Tape: Use strips or pieces of washi tape to create patterns or add color to your frog.
- Felt Pieces: Cut small shapes out of colored felt and glue them onto your frog for a unique texture.
- Ribbon or String: Tie a small piece of ribbon or string around the frog as a scarf or just for a cute embellishment.
- Metallic Pens: Use metallic or gel pens to draw intricate patterns or to outline the frog’s body for a more artistic flair.
- Chalk Pastels: Rub on some chalk pastels for a soft color gradient effect. Be sure to fix it with a spray fixative so that it doesn’t rub off.
Remember to let any glued or painted elements dry thoroughly before handling or playing with your origami frog. Have fun decorating!