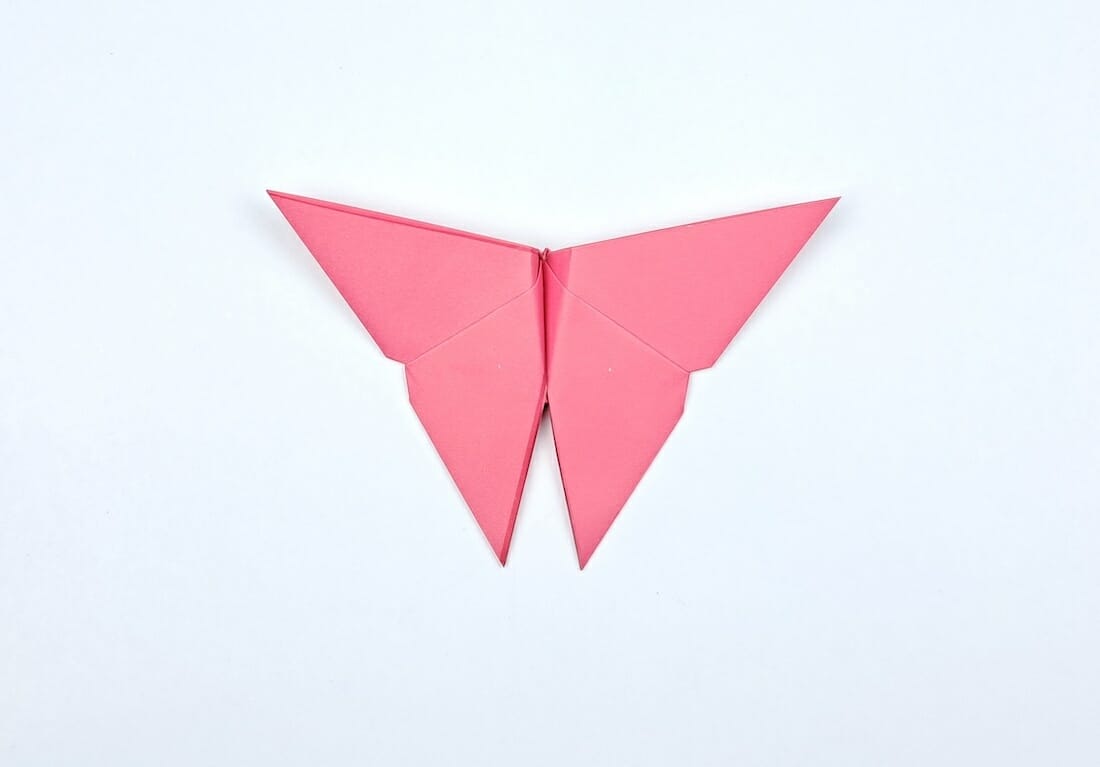
Crafting an origami butterfly can be a meditative and delightful experience. These handmade wonders symbolize transformation and beauty, making them the perfect ornament for your space or a thoughtful gift for a loved one. With just a few simple folds, you can transform a square piece of paper into a graceful butterfly that seems almost ready to flutter away. Below is a comprehensive step-by-step guide to help you achieve this intricate but rewarding craft.
Table of Contents
- 1 A Few Tips for Beginners
- 1.1 Choose the Right Paper
- 1.2 Quality Over Speed
- 1.3 Use a Flat Surface
- 1.4 Follow Instructions Carefully
- 1.5 Practice, Practice, Practice
- 1.6 Sharp Folds
- 1.7 Double-Check Your Creases
- 1.8 Be Patient and Persistent
- 1.9 Watch And Re-Watch Videos for Complex Folds
- 1.10 Enjoy the Process
- 1.11 More Origami Tutorials:
- 2 Origami Butterfly Steps
- 2.1 Step 1: Prepare Your Paper
- 2.2 Step 2: Create a Horizontal Crease
- 2.3 Step 3: Create a Vertical Crease
- 2.4 Step 4: Form an Upward Triangle
- 2.5 Step 5: Flip Your Craft
- 2.6 Step 6: Create a Second Triangle
- 2.7 Step 7: Fold the Right Corner
- 2.8 Step 8: Fold the Left Corner
- 2.9 Step 9: Turn Over Again
- 2.10 Step 10: Fold Bottom Layer Upwards
- 2.11 Step 11: Secure the Fold
- 2.12 Step 12: Flip for the Last Time
- 2.13 Step 13: Final Crease
- 2.14 Step Final: Unveil Your Butterfly
A Few Tips for Beginners
Choose the Right Paper
Opt for origami-specific paper, which is thinner and easier to fold than regular paper. If you’re a beginner, you might want to start with larger squares, which can be more forgiving during folding.
Quality Over Speed
Take your time. Rushing through the folds can result in less accurate shapes and may lead to mistakes. It’s better to fold slowly and accurately.
Use a Flat Surface
Always work on a flat, clean surface. This will help you make precise folds and will keep your paper free of dirt and wrinkles.
Follow Instructions Carefully
Make sure to follow each step as closely as possible. One small mistake in the beginning can result in a less-than-perfect final product.
Practice, Practice, Practice
As with anything, practice makes perfect. Don’t be discouraged by early mistakes—keep folding!
Sharp Folds
Use a flat edge, like a ruler or a bone folder, to make your folds as sharp as possible. This will help your final product look crisp and professional.
Double-Check Your Creases
Before moving on to the next step, always double-check your creases to ensure they are aligned correctly. Misaligned creases can throw off the whole project.
Be Patient and Persistent
You’re unlikely to master complicated designs right away, and that’s okay! Start with simpler projects and gradually work your way up to more complex creations.
Watch And Re-Watch Videos for Complex Folds
If you find yourself stuck on a particularly complex fold, re-watching the video of that step might be helpful. Sometimes, seeing the fold in action can clarify any confusion.
Enjoy the Process
Remember, origami is about the final product and the journey of creating. Enjoy each fold, each crease, and each moment of transformation as your paper becomes a work of art.
Armed with these tips, you’ll be better prepared to tackle your origami projects. Happy folding!
More Origami Tutorials:
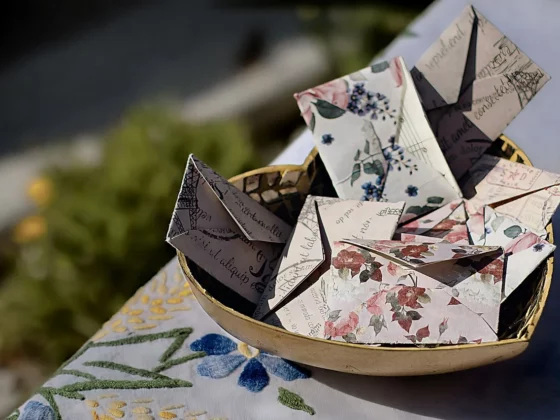
- How To Make An Envelop
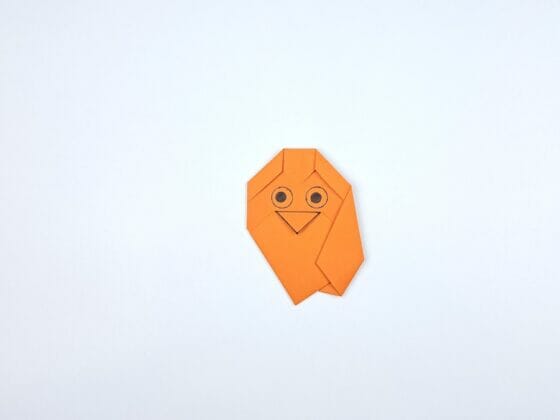
- Origami Owl
- How To Make A Fortune Teller
- Origami Crane
- Paper Ninja Star
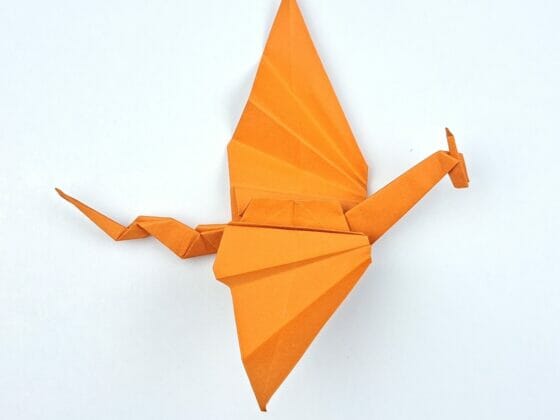
- Origami Dragon
- Origami Frog
- Origami Paper Box
Origami Butterfly Steps
Step 1: Prepare Your Paper
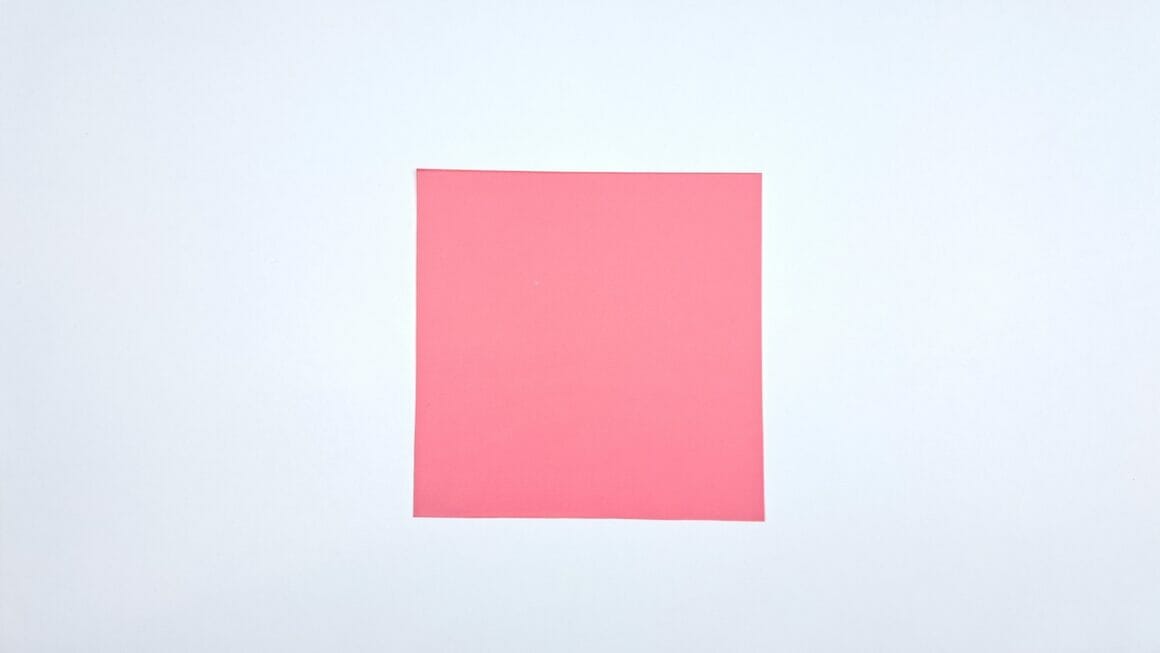
Begin with a 15x15cm square piece of paper. Make sure it’s a clean and smooth surface for easy folding.
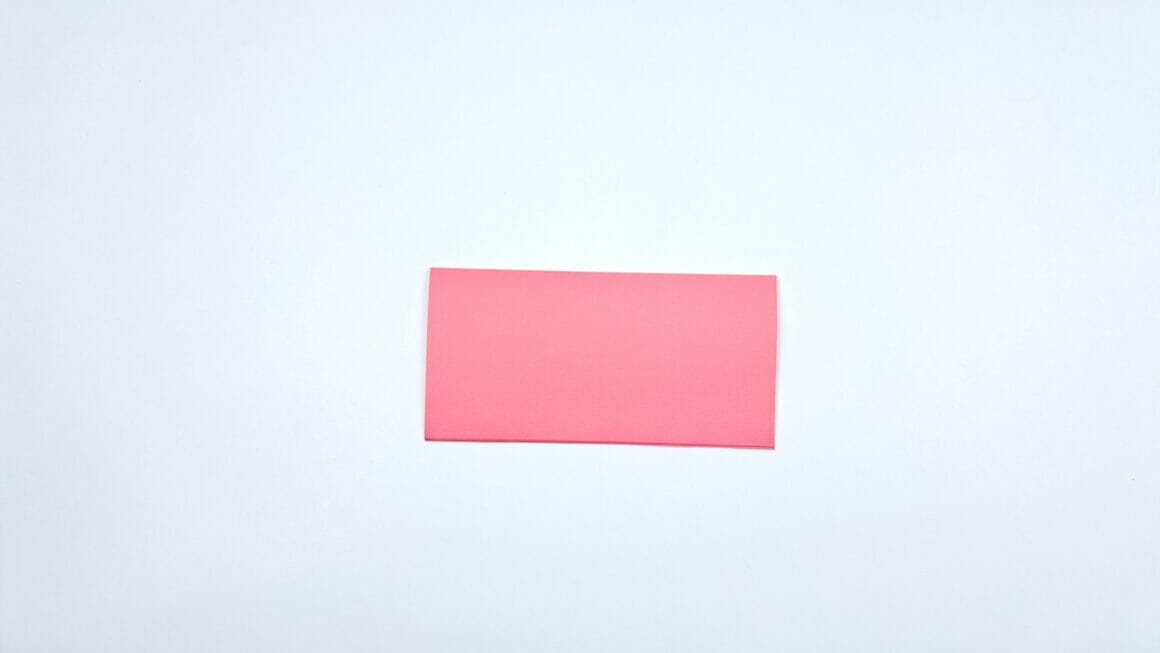
Step 2: Create a Horizontal Crease
Fold the bottom edge of the paper up to meet the top edge. Smooth out the fold to create a sharp crease. You should now have a rectangle.
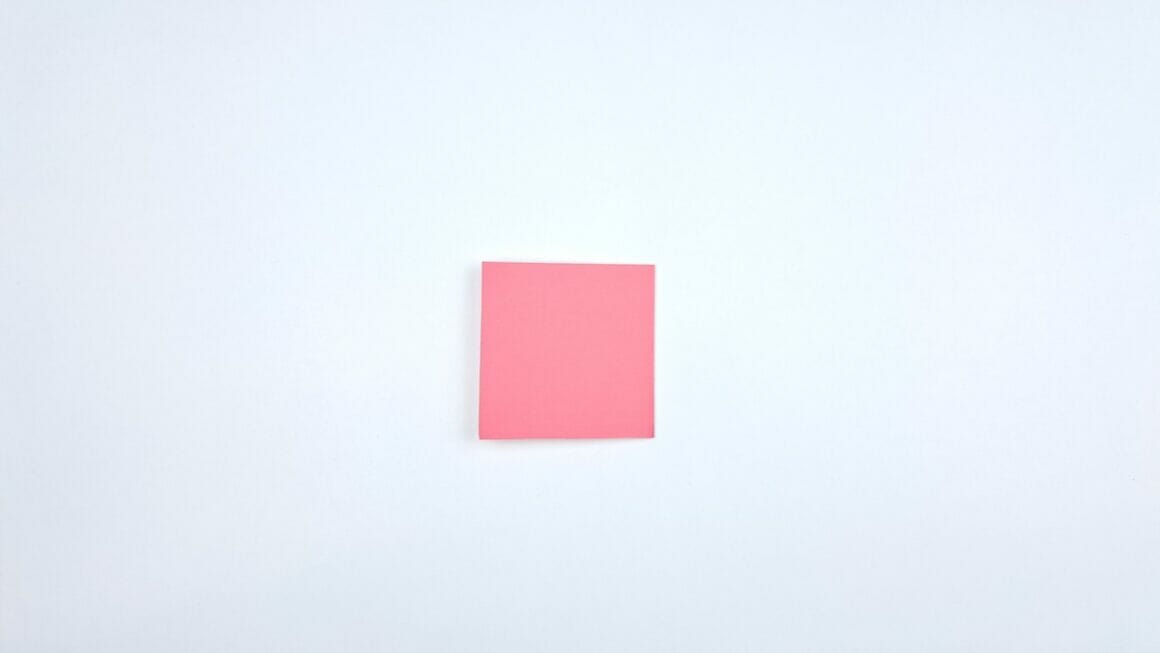
Step 3: Create a Vertical Crease
Take the right edge of the paper and fold it over to meet the left edge. You should now have a square with creases that divide it into four smaller squares.
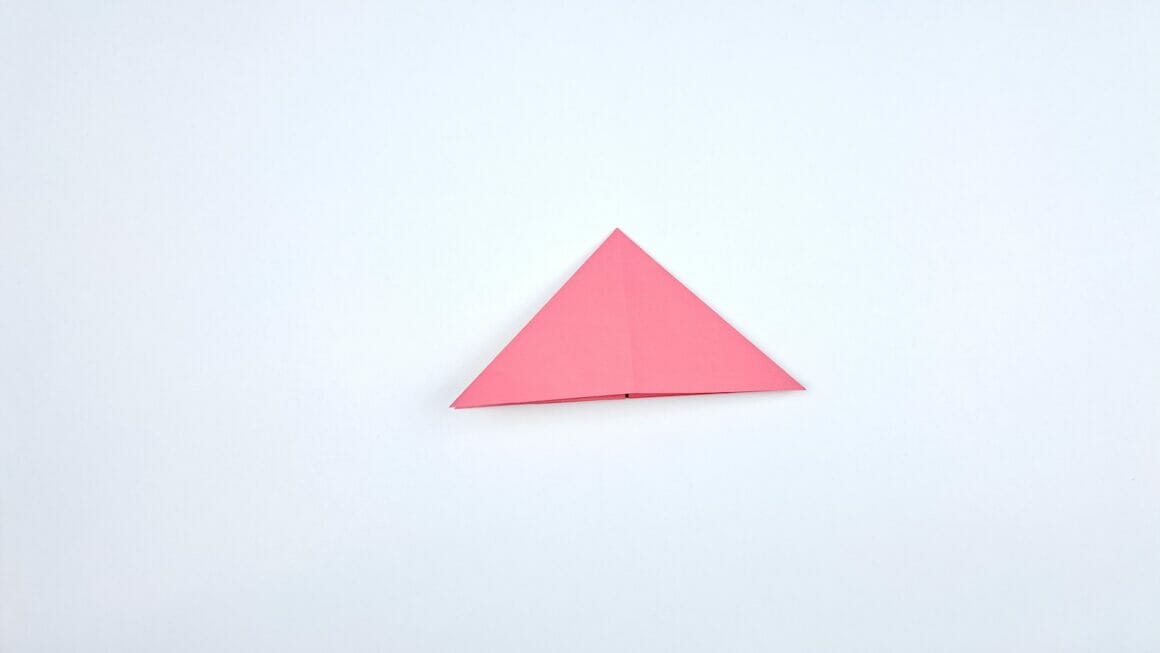
Step 4: Form an Upward Triangle
Open up the top flaps that you just folded. Use your fingers to push inwards and upwards at the crease lines, forming a triangle.
Step 5: Flip Your Craft
Turn the paper over from right to left so that the triangle you just made is now face down.
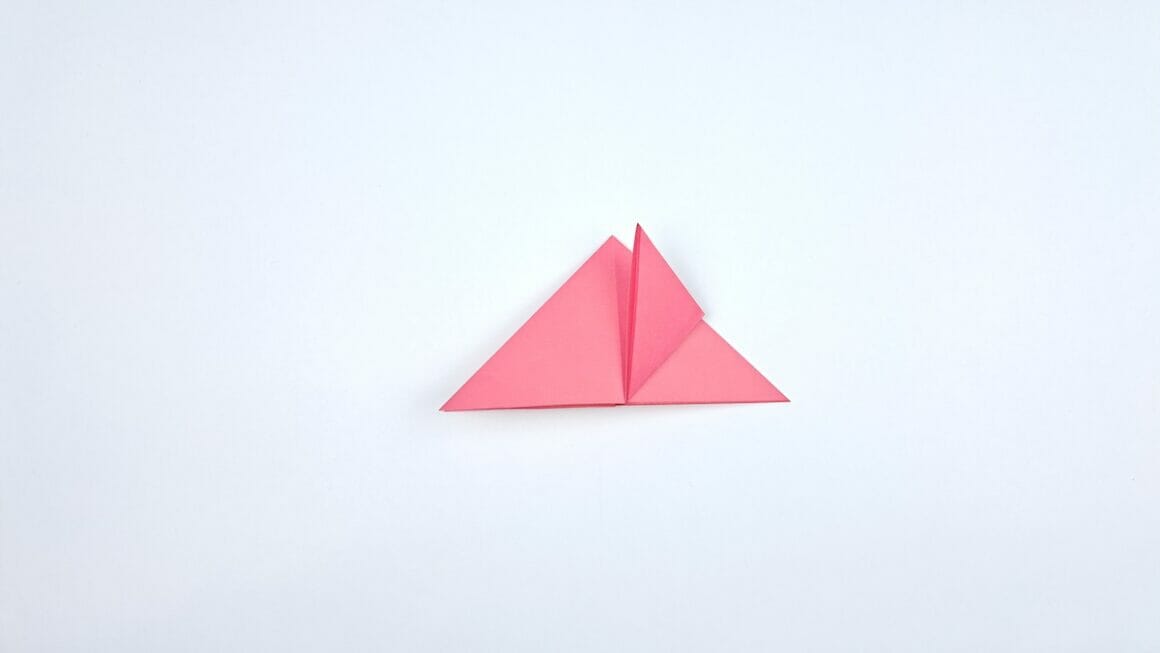
Step 6: Create a Second Triangle
Press on the upper layer of the square and fold it into another triangle shape, similar to the first one you made.
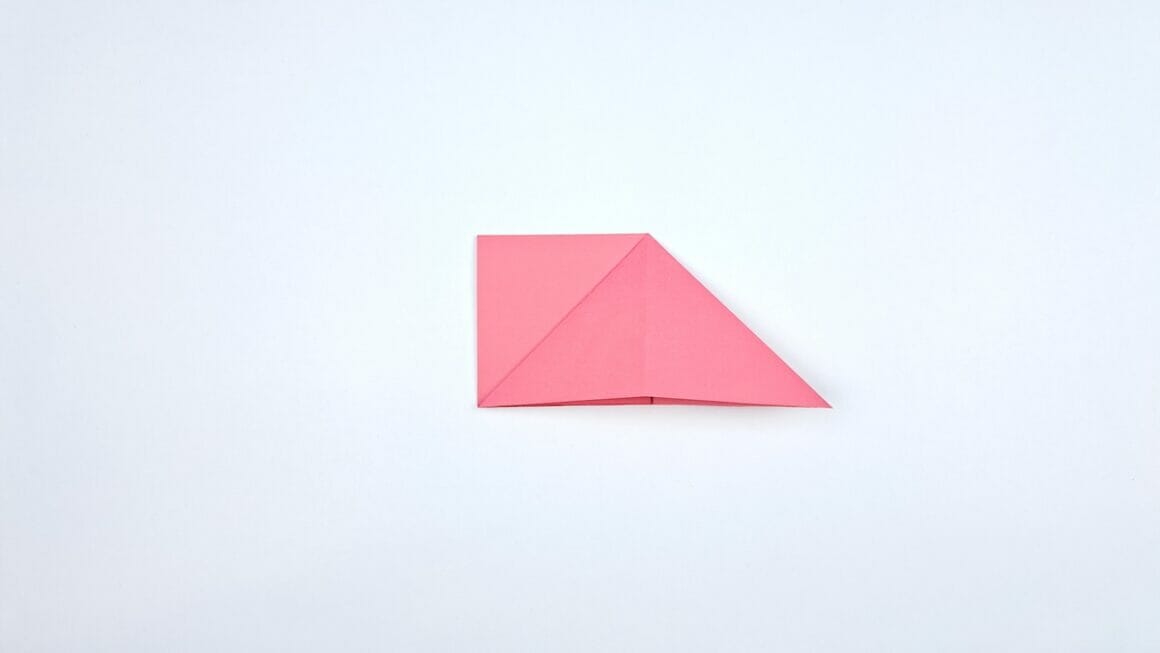
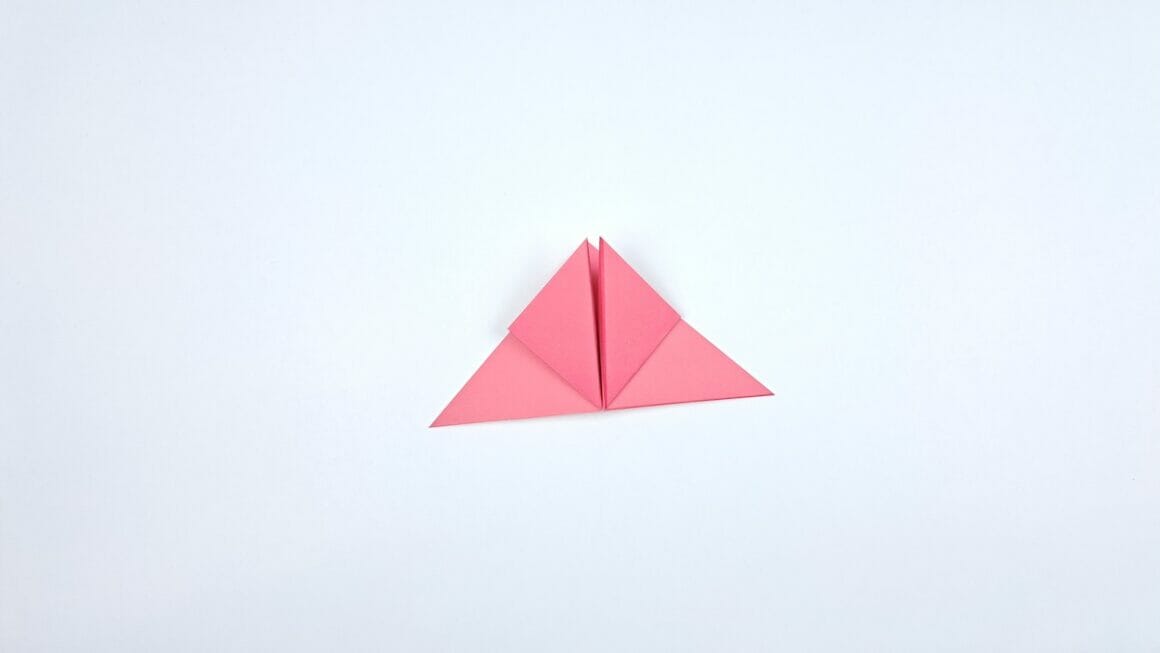
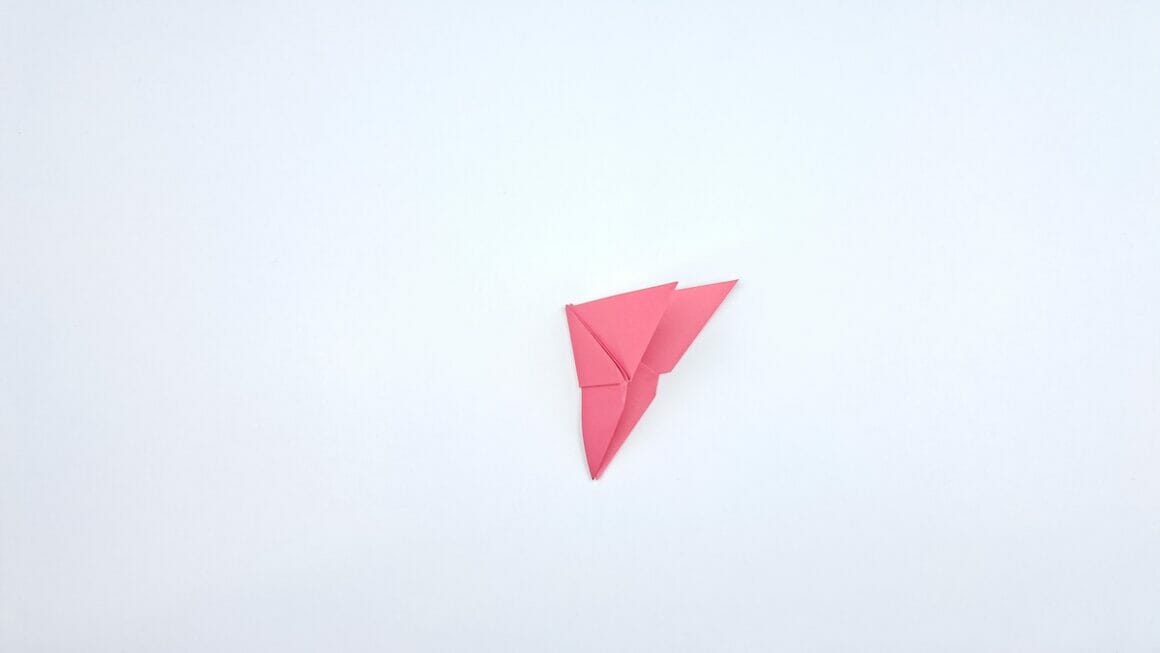
Step 7: Fold the Right Corner
Take the upper right layer of the paper and fold it so that the tip meets the top corner of the triangle.
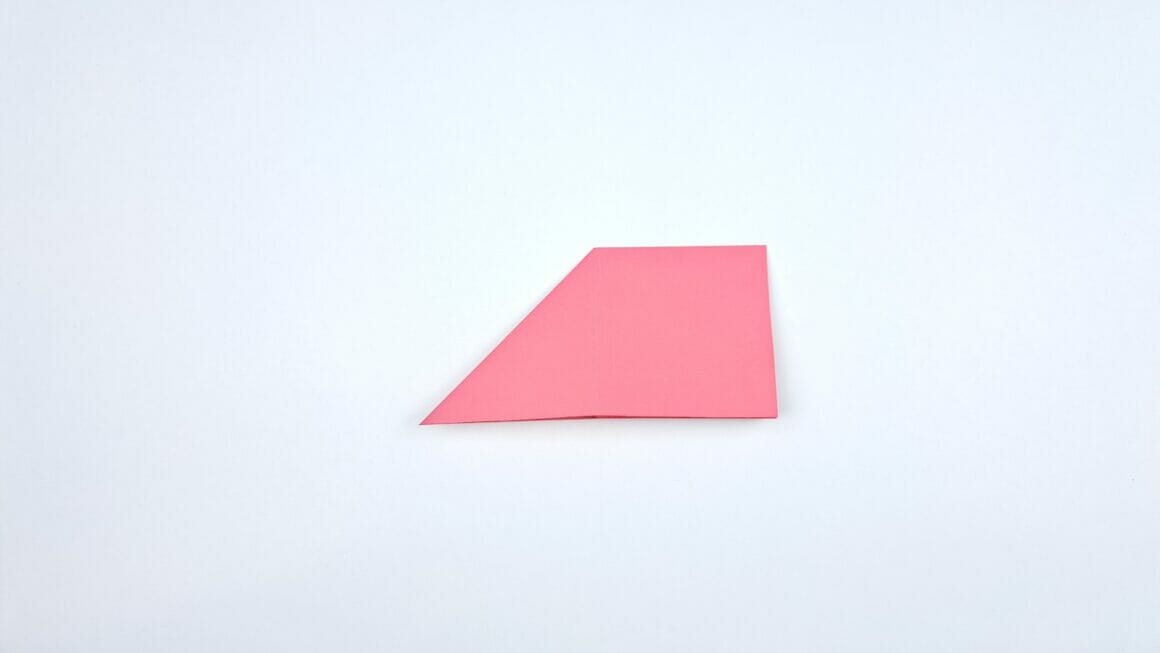
Step 8: Fold the Left Corner
Similar to the previous step, fold the upper left layer so that its tip also meets the top corner of the triangle.
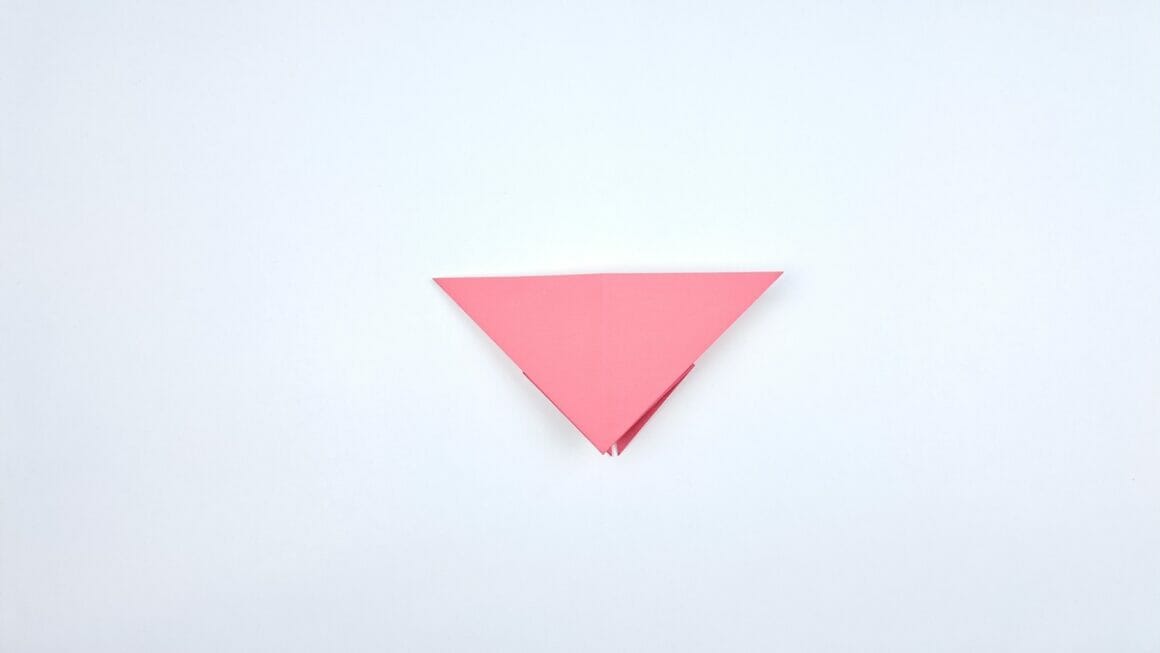
Step 9: Turn Over Again
Carefully flip your craft over, preparing it for the next series of folds.
Step 10: Fold Bottom Layer Upwards
Grab the upper layer of the craft’s bottom section and fold it to meet the top edge.
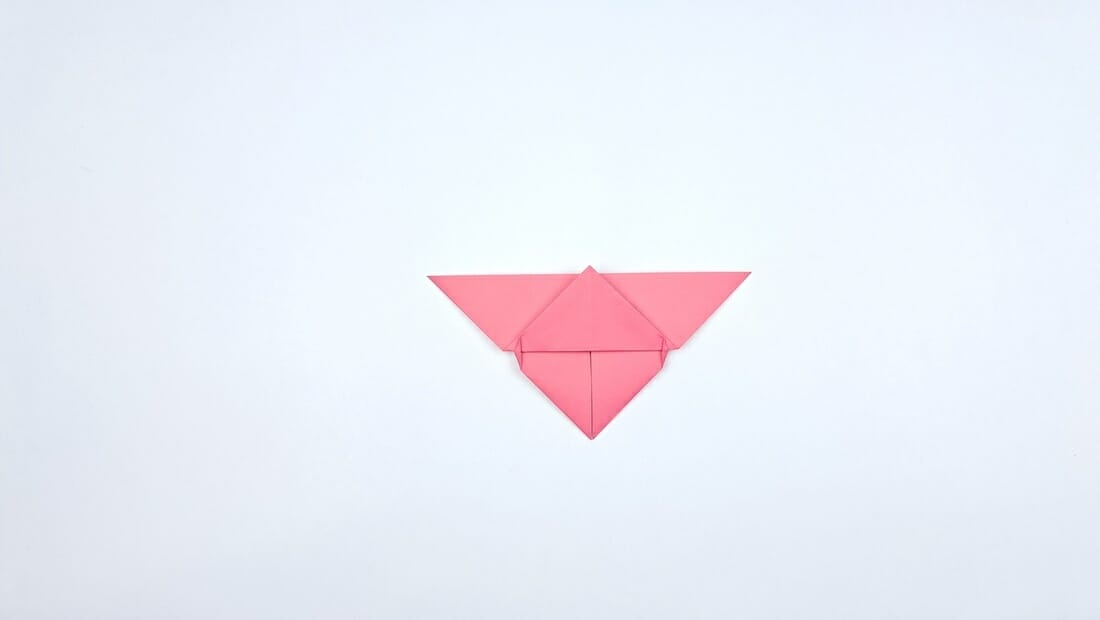
Step 11: Secure the Fold
Hold down the top of the newly folded section with your thumb to keep it in place.

Step 12: Flip for the Last Time
Once again, turn your craft over.
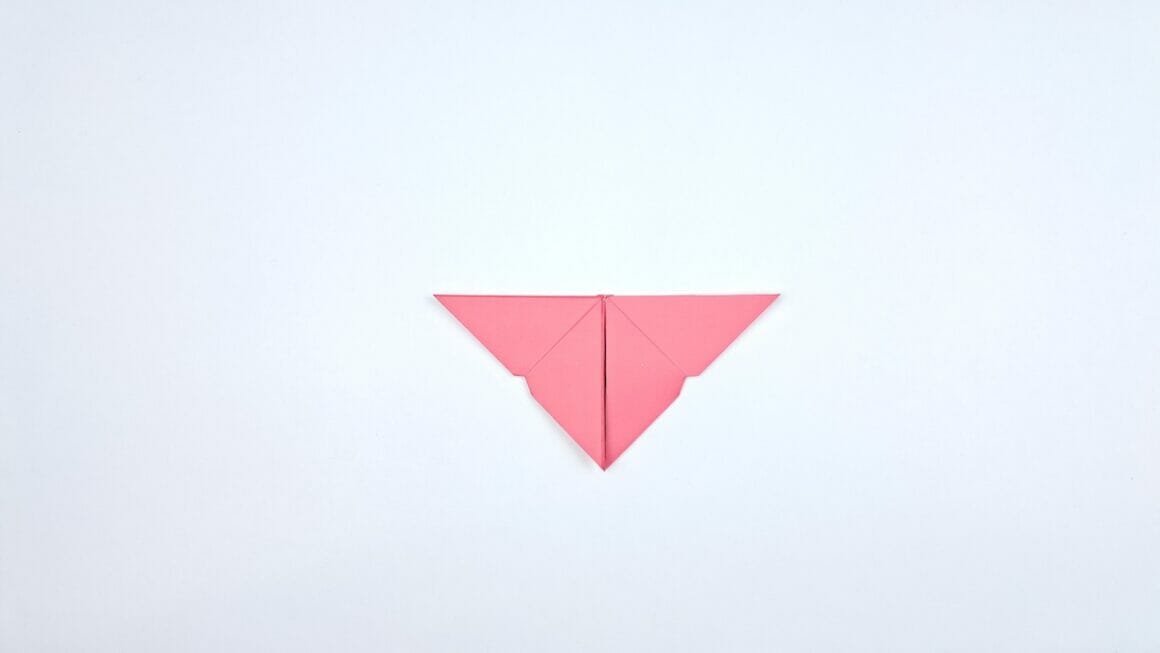
Step 13: Final Crease
Locate the middle crease that runs horizontally across your craft. Fold along this crease, ensuring that your fold is as accurate as possible.
Step Final: Unveil Your Butterfly

Carefully unfold the last step, revealing your completed origami butterfly! You should now have a beautiful, symmetrical butterfly ready to display or give away as a gift.
And there you have it! You’ve successfully turned a simple square piece of paper into a lovely origami butterfly. Happy crafting!