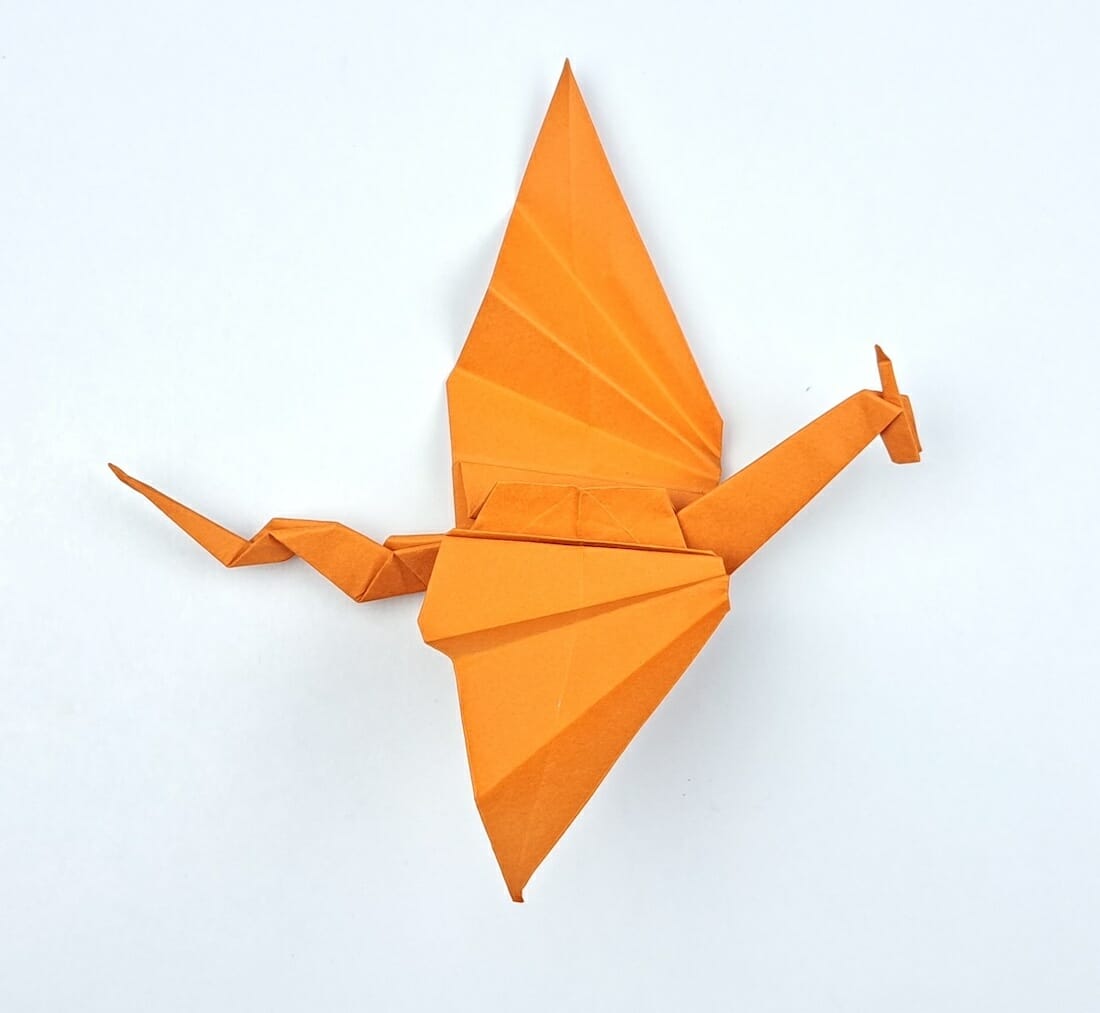
Unleash the mythical creature from a sheet of paper! In this tutorial, you’ll learn how to make an origami dragon through 26 detailed steps. This intricate craft is perfect for origami enthusiasts looking for a challenging and rewarding project. Let’s begin!
Step-by-Step Guide to Creating an Origami Dragon
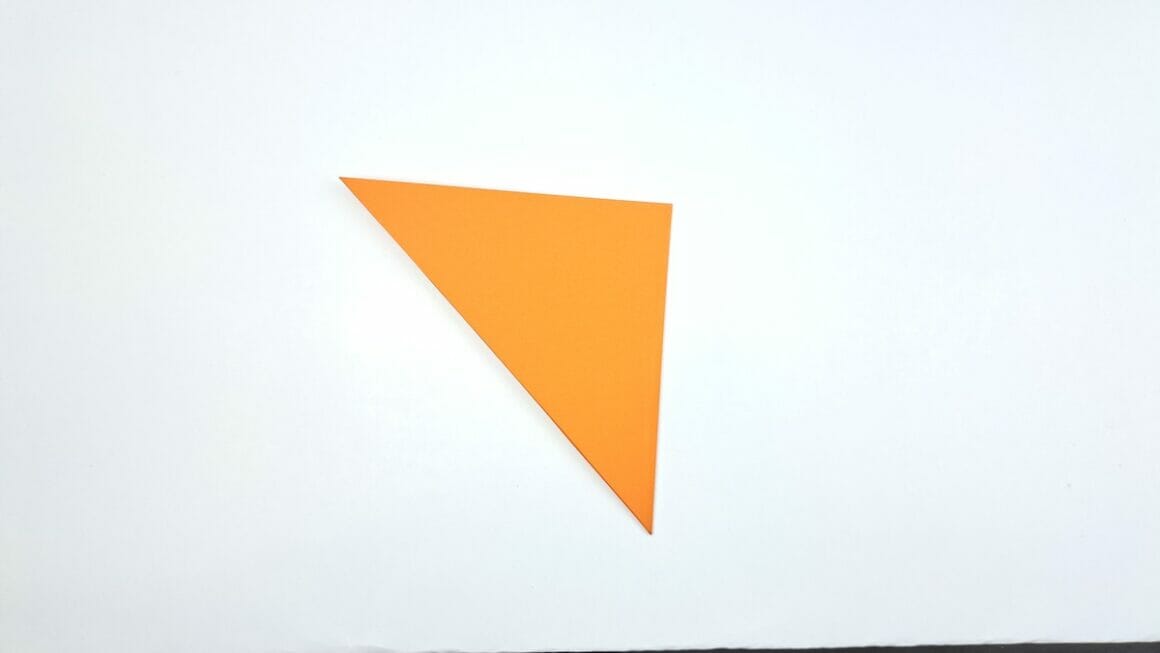
Step 1: Prepare Your Paper
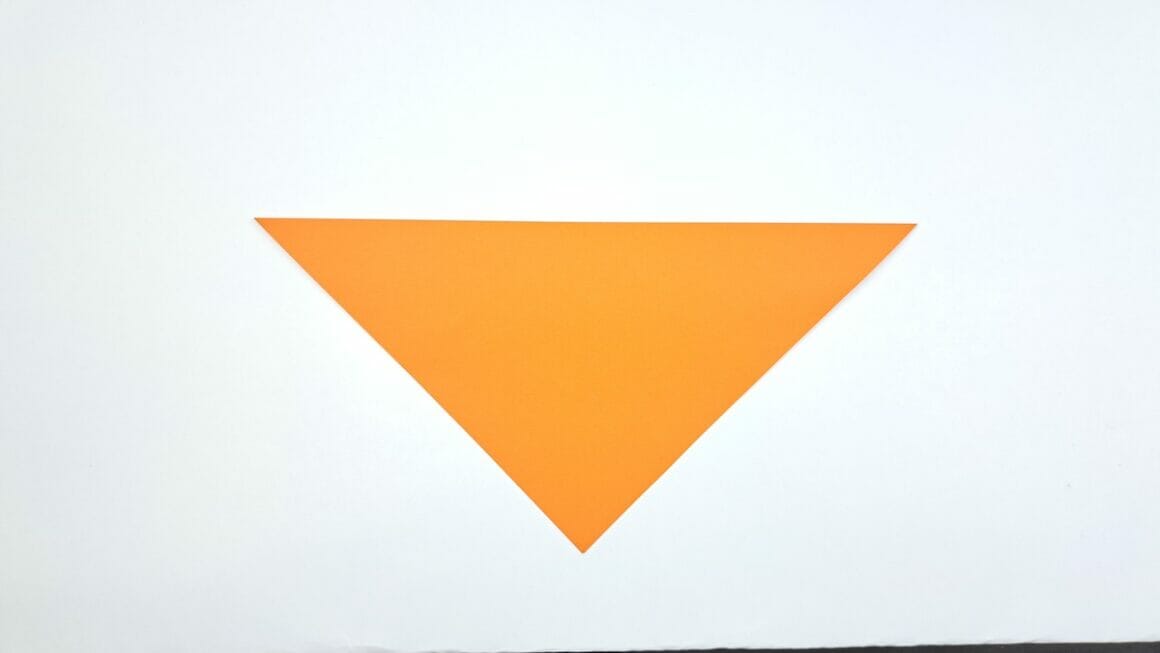
Start with an 18×18 cm square sheet of paper. This will be the canvas for your dragon.

Step 2: Create a Triangle
Fold the paper diagonally from the top corner to the bottom corner, forming a triangle.
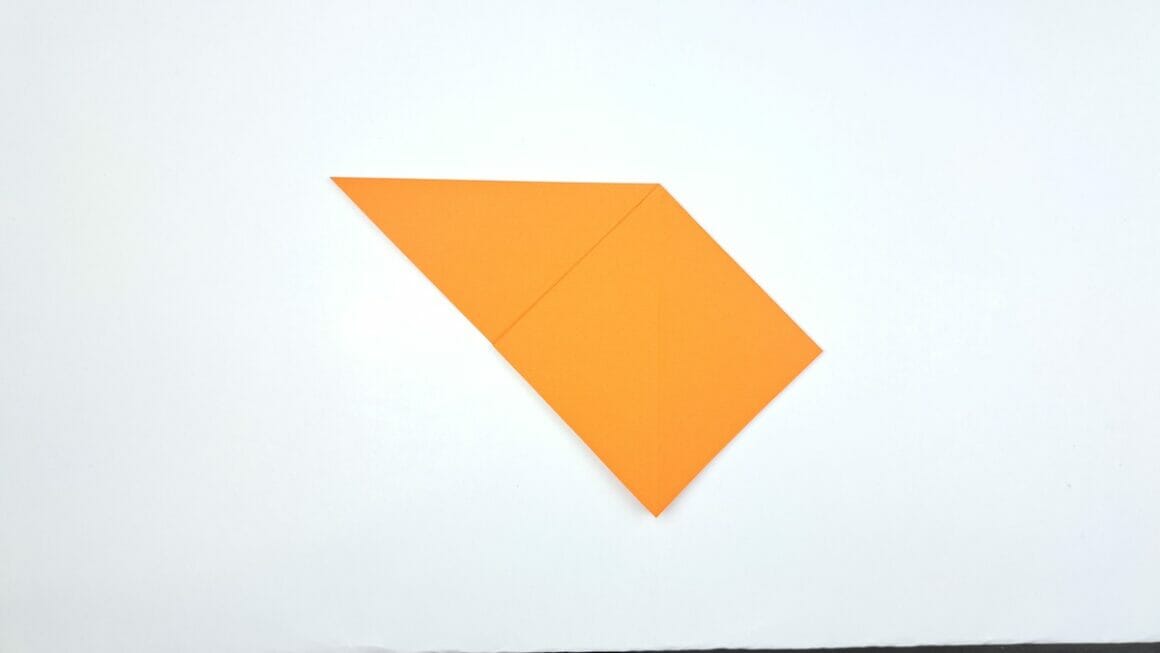
Step 3: Fold Again
Fold the right corner over to the left corner of the triangle.
Step 4: Create a Diamond Shape
Holding the bottom layers in place, lift the top layer and pull it towards the right. Simultaneously, press the bottom corner down to form a diamond shape.
Step 5: Flip it Over
Turn your project over, moving the left side to the right.
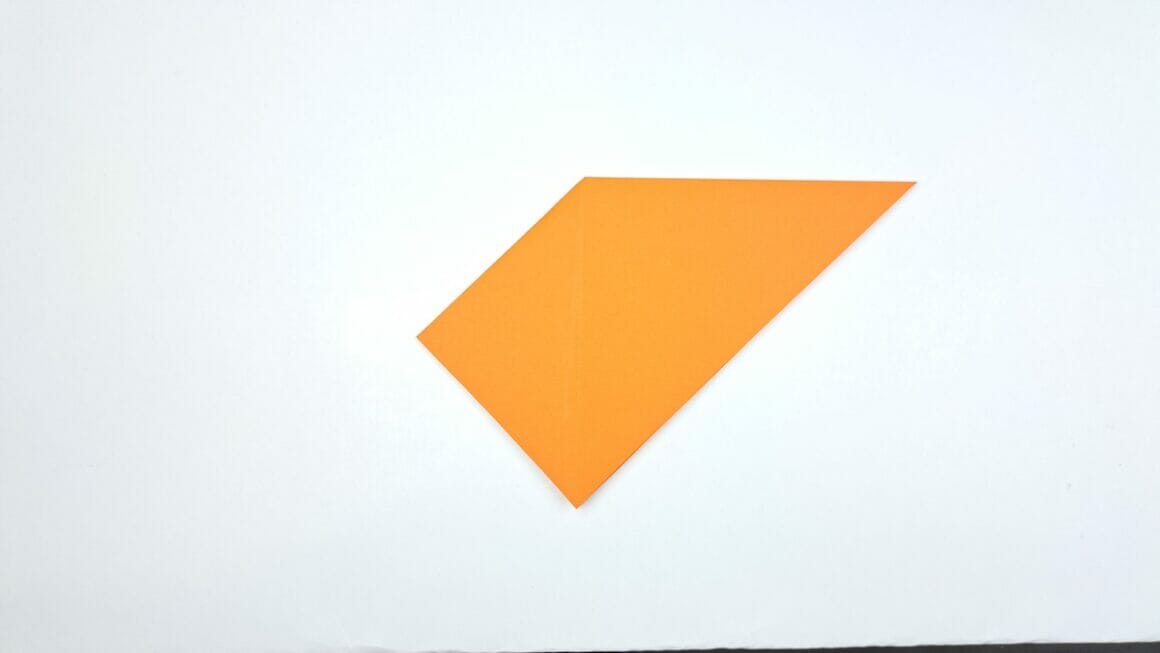
Step 6: Form Another Diamond
As you did in Step 4, pull up the top right layer to form another diamond shape.
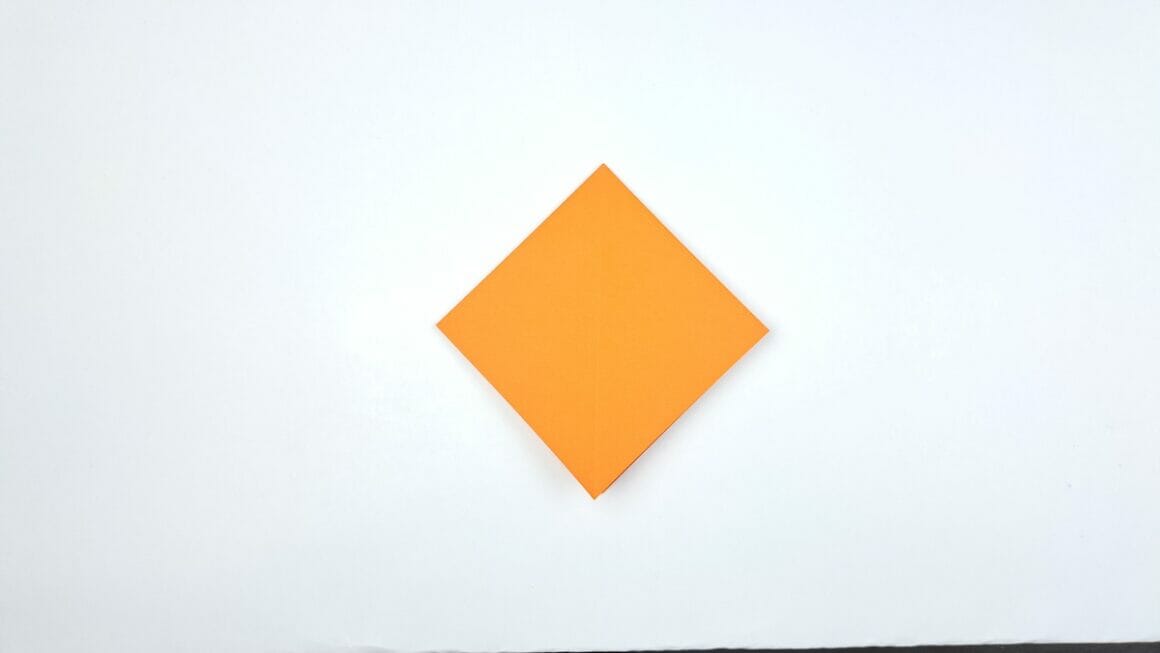
Step 7: Fold to the Center
Fold the top layer’s left and right corners towards the center. Then, fold the top corner down.
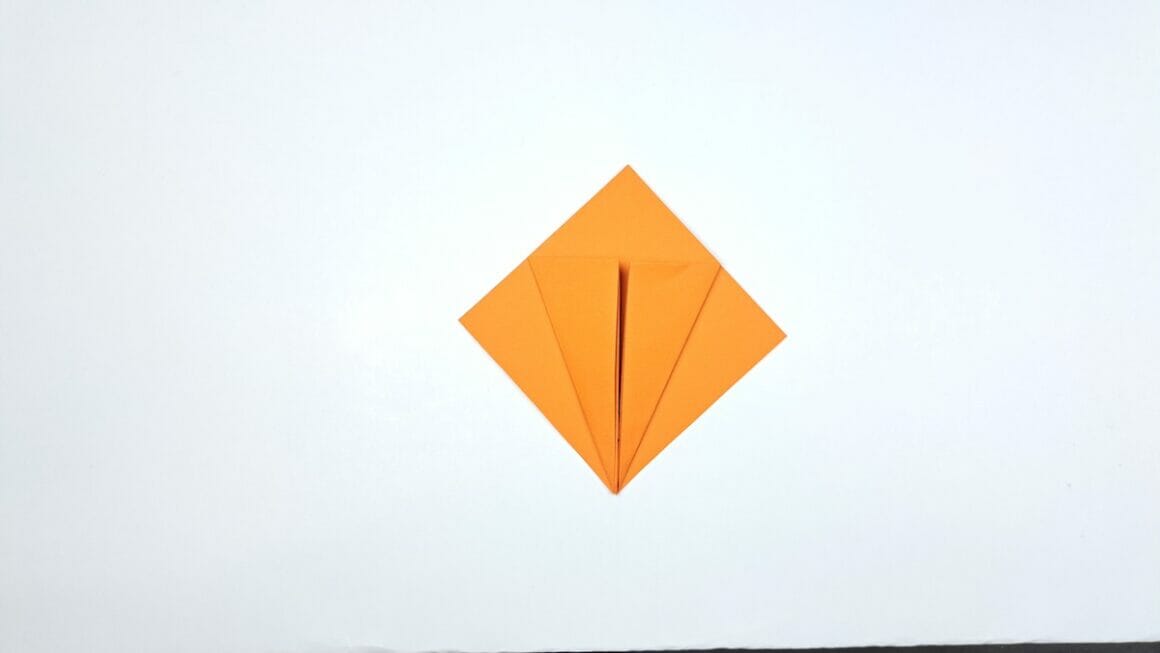
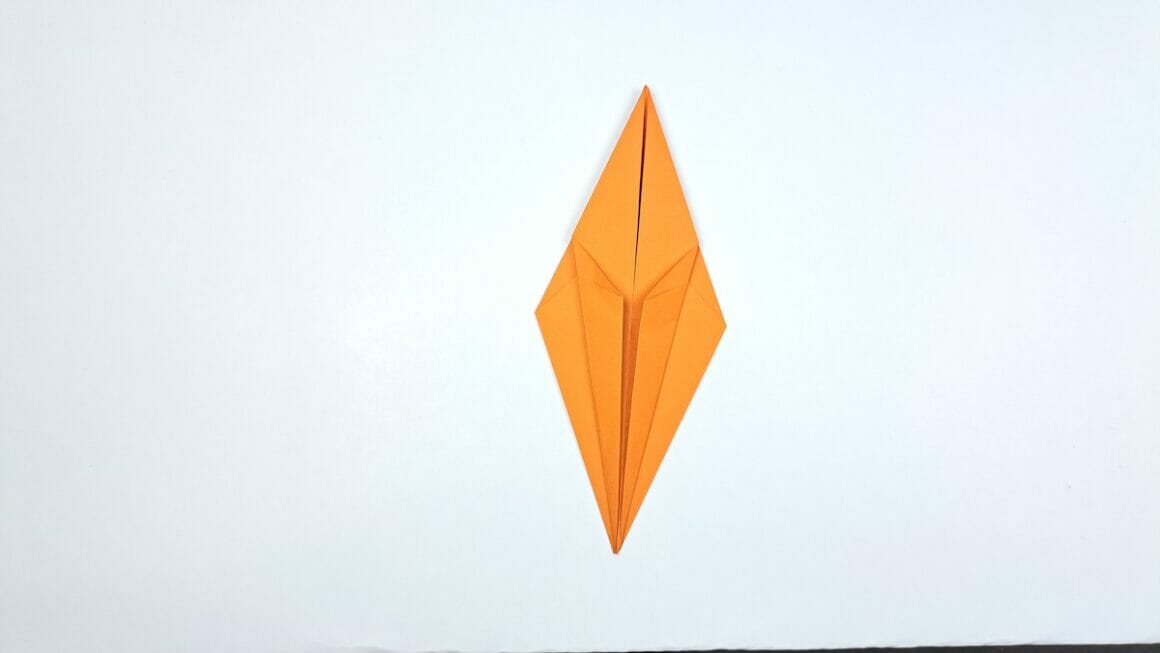
Step 8: Unfold and Lift
Undo the folds from Step 7. Lift the top layer from the bottom corner, pulling it upwards while pressing in the sides to flatten it.
Step 9: Turn Over Again
Turn your craft from right to left this time.
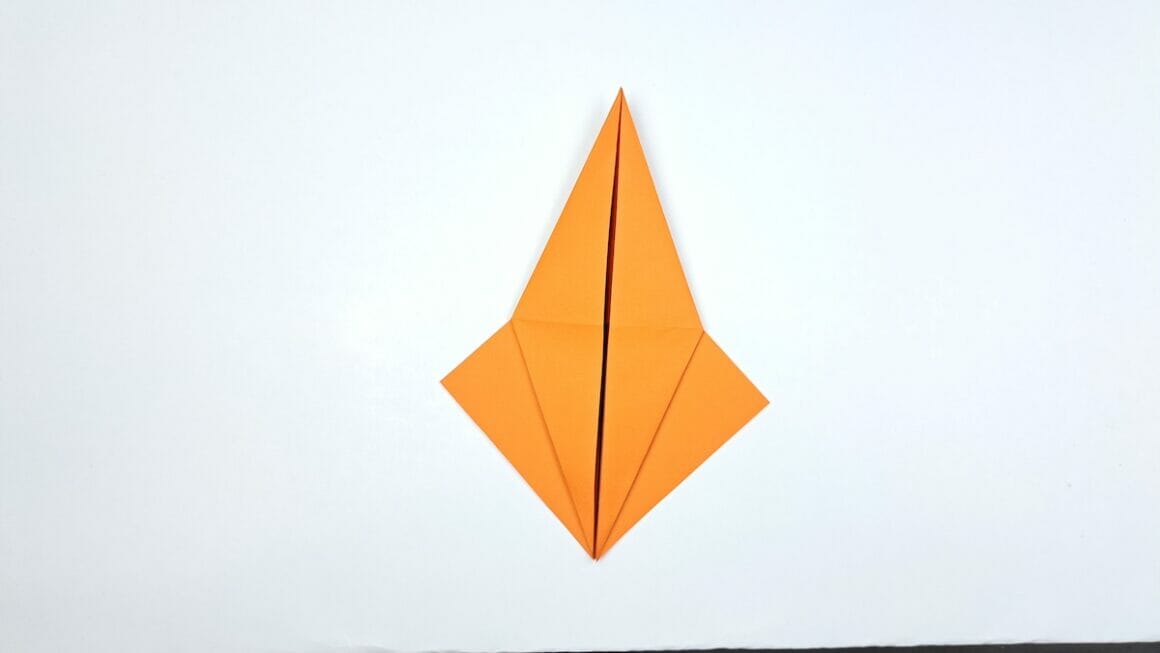
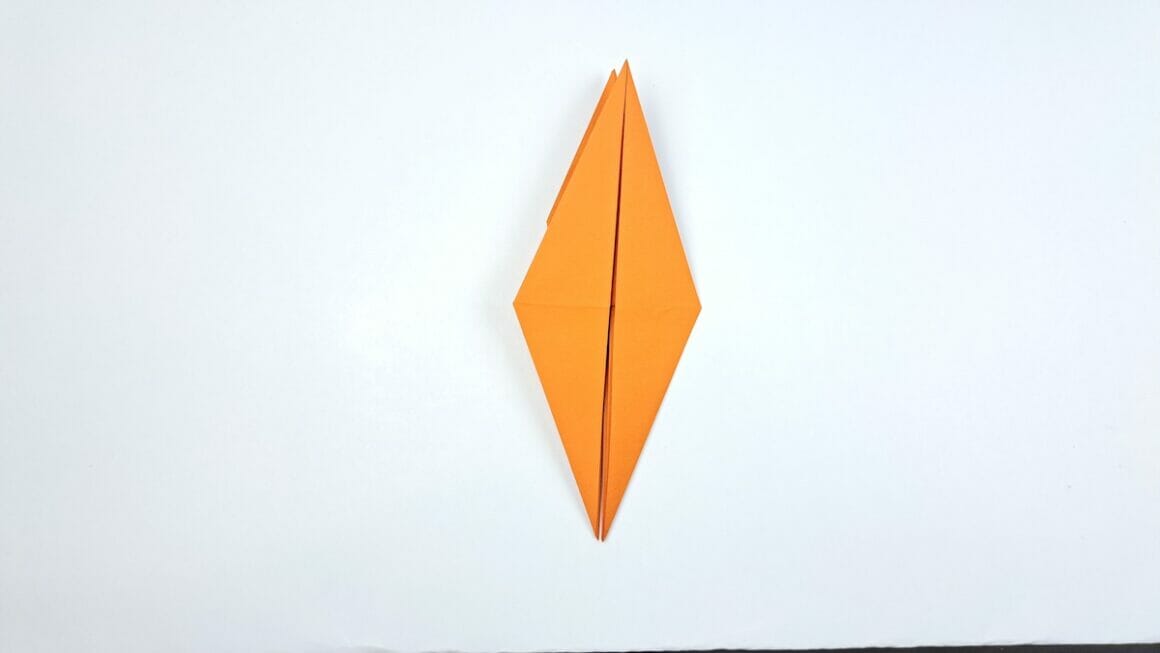
Step 10: Corners to Center
Fold the left and right corners toward the center line.

Step 11: Unfold and Lift Again
Unfold the folds you made in Step 10. Then, lift the top layer, pulling it upwards and flattening it out.
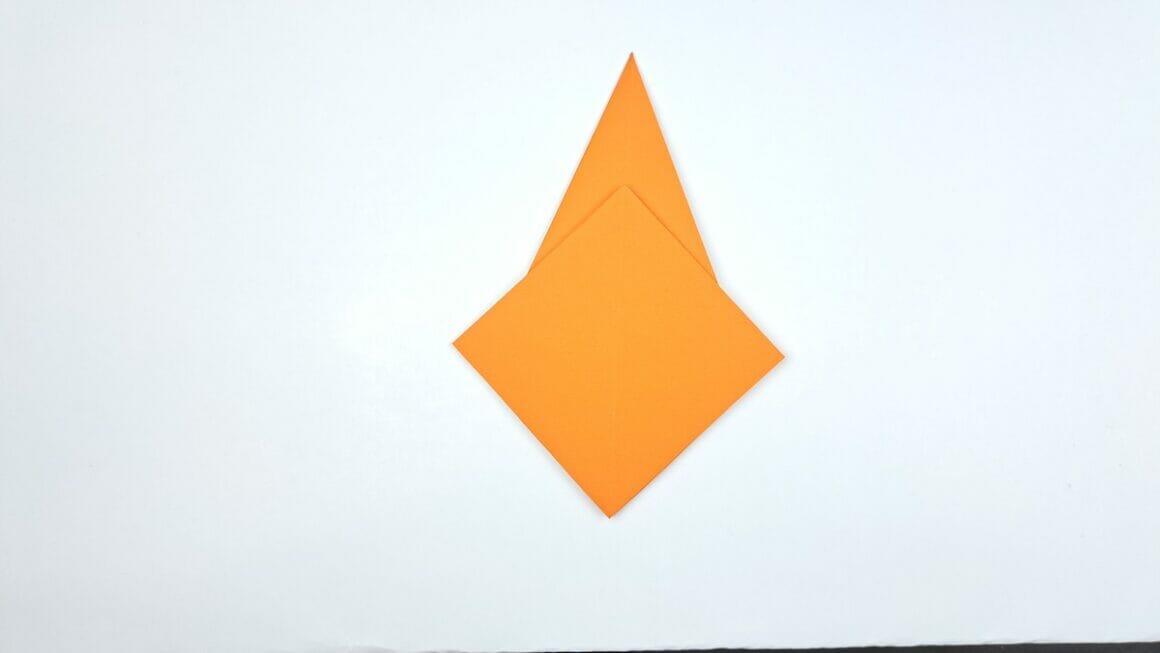
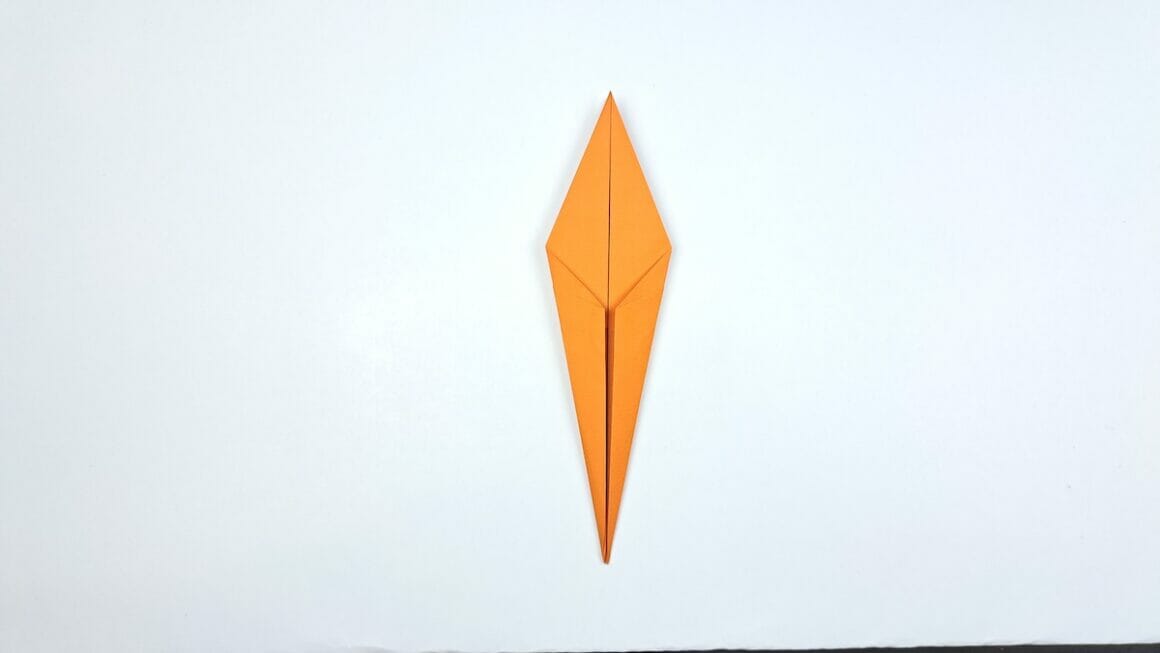
Step 12: Top Layer to Center
Fold the top layer’s left and right corners into the center line.
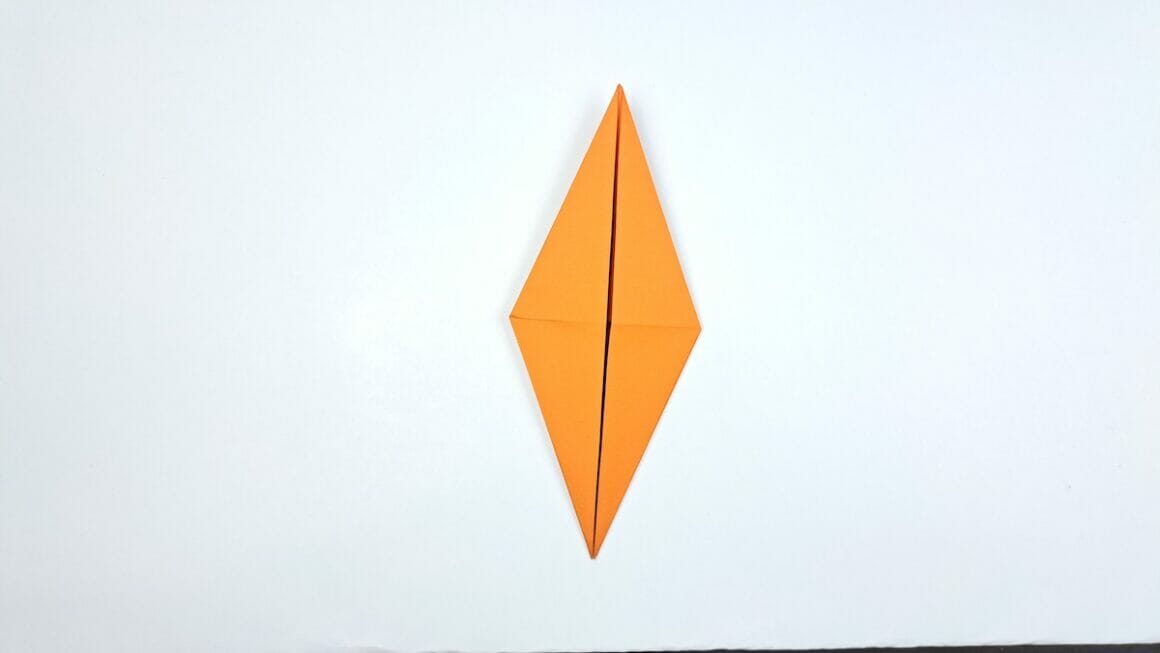
Step 13: Another Turn
Turn your project over from right to left.
Step 14: Repeat Folds
Fold the top layer’s left and right corners into the center line, just like in Step 12.
Step 15: Lift the Left
Hold the craft with your right hand and lift the left top layer, pulling its point upwards. Flatten it down.
Step 16: Lift the Right
Hold the craft with your left hand this time, lift the right top layer, pull its point upwards, and then flatten.
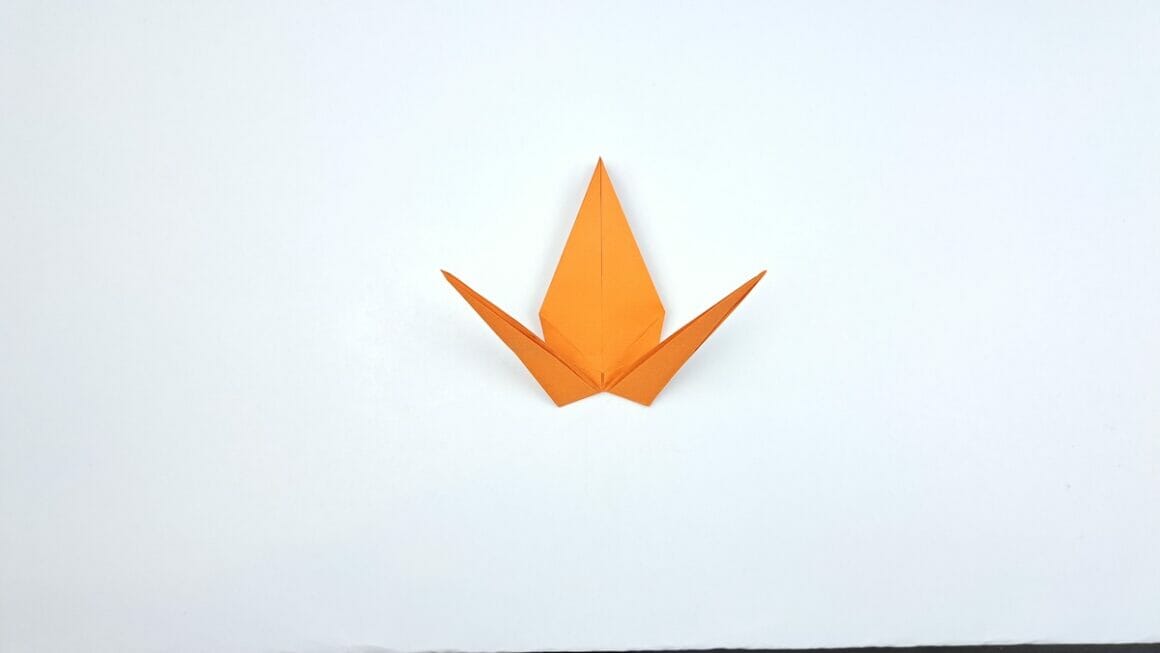
Step 17: Fold the Right Flaps Inside
Straighten the right flaps and fold them inward.
Step 18: Fold Left Flaps Inside
Do the same for the left flaps—straighten and fold them inward.
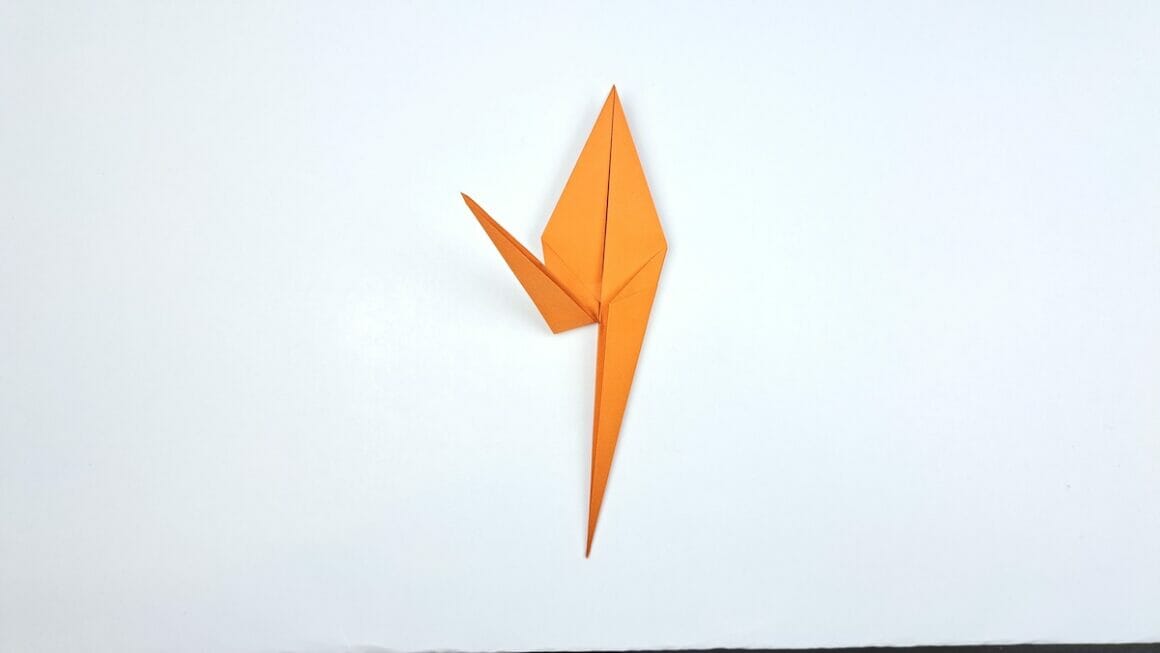
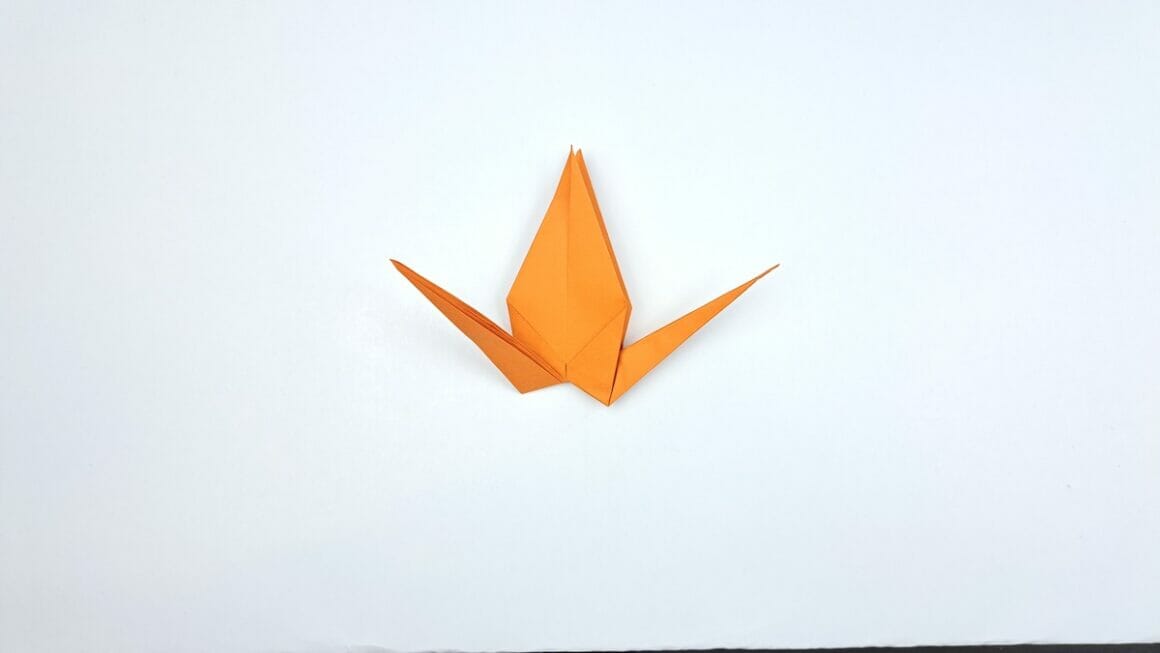
Step 19: Dragon Head
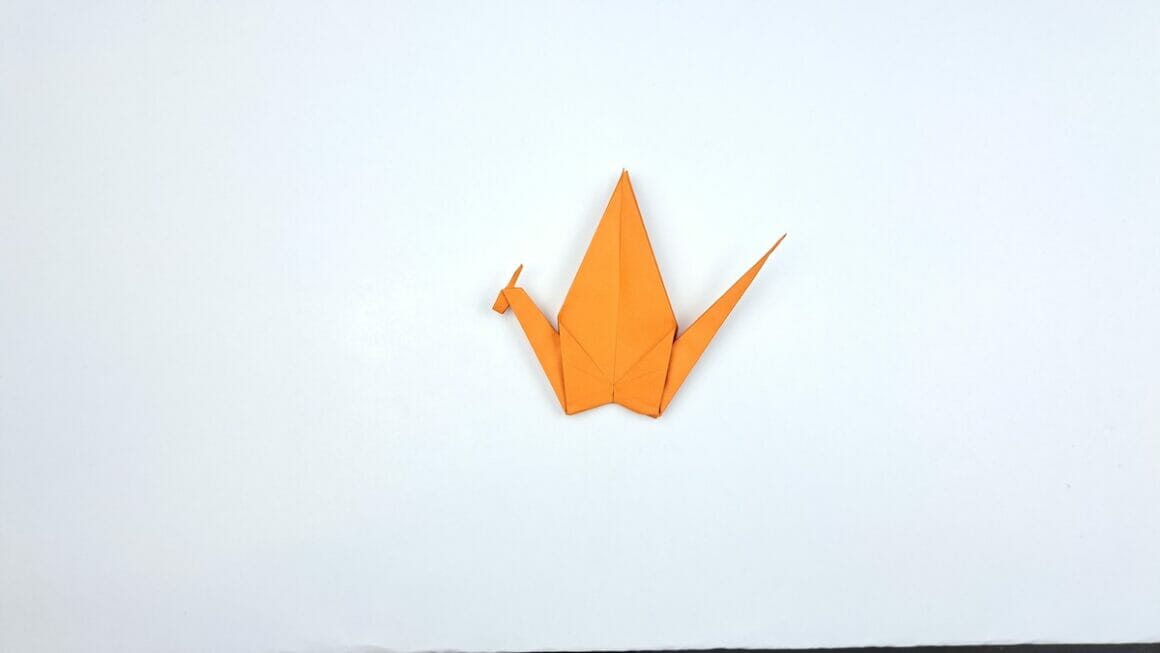
To create the dragon’s head, press down on the bottom left corner and push the left point downwards. Flatten it.
Step 20: Fold Up the Detail
Fold the dragon’s left thin point upwards to add a unique detail.
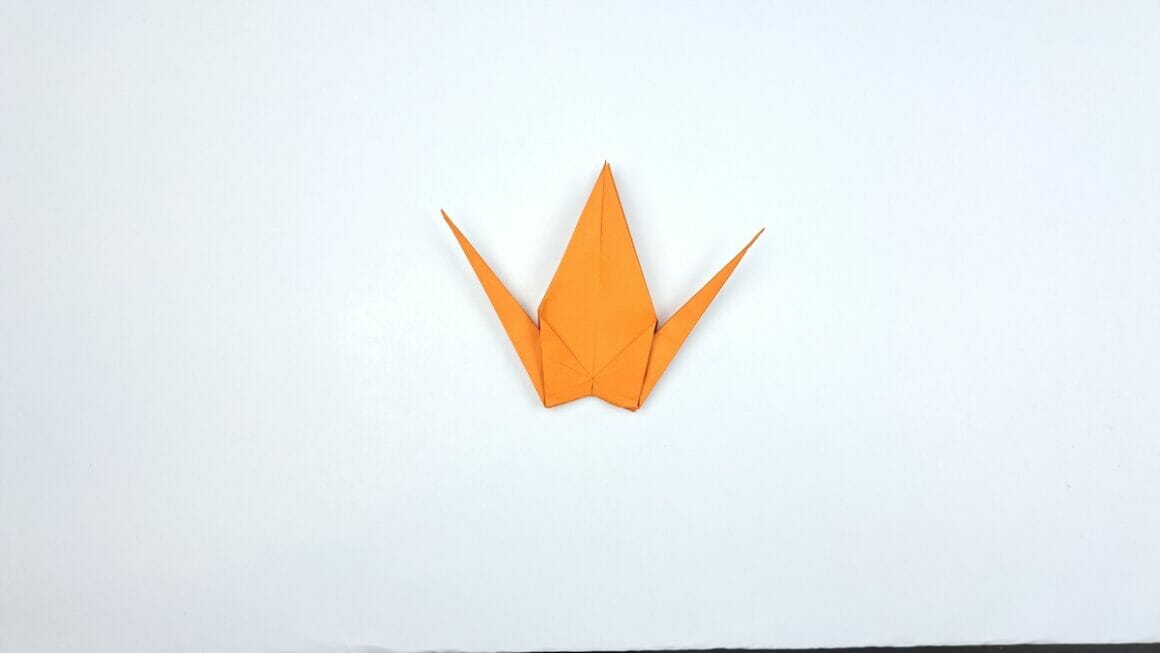
Step 21: Tail Base
Fold inward at the base of the tail on the right side.

Step 22: Perfect the Tail
Make your dragon’s tail by folding it in a zigzag or “crooked” manner.
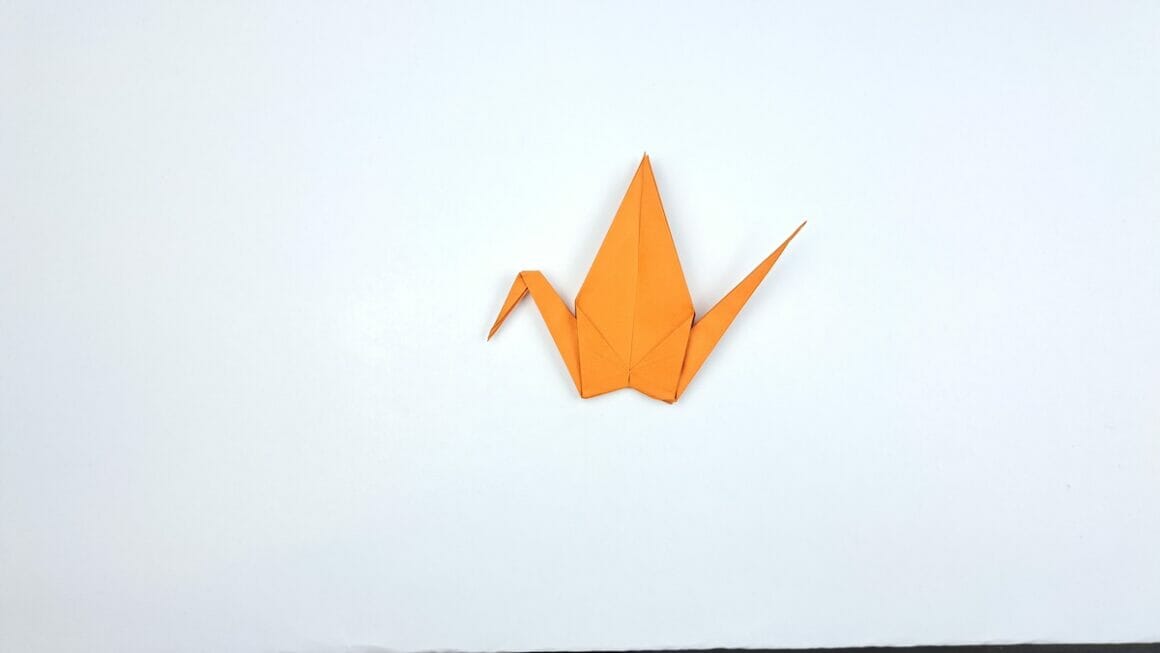
Step 23: Raise the Back
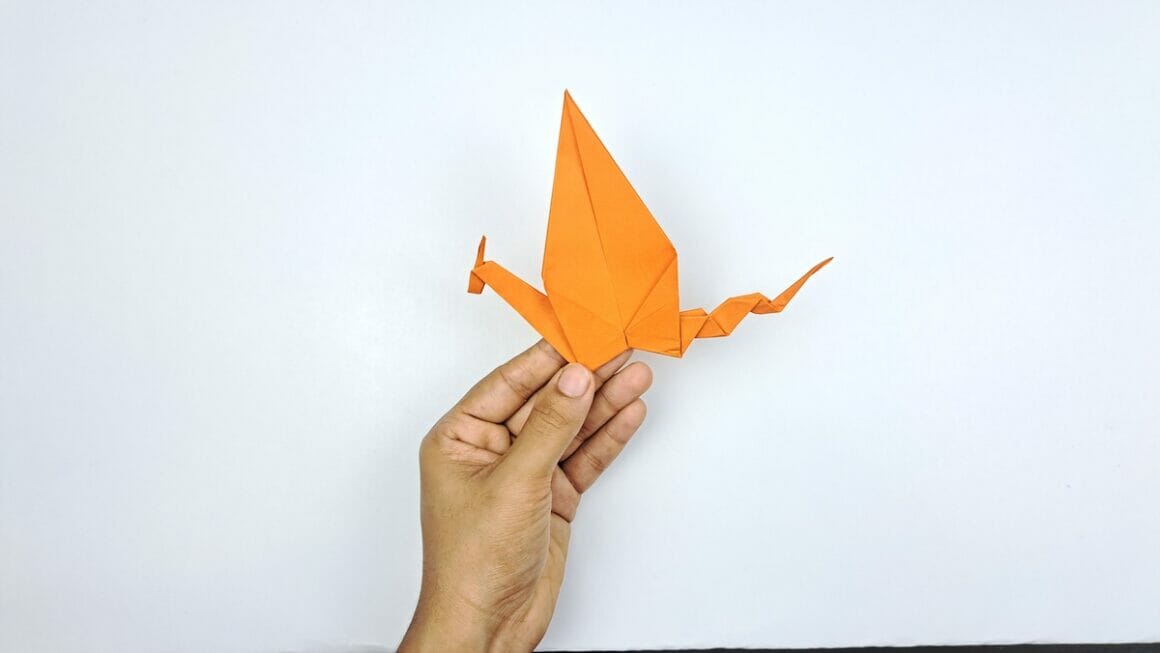
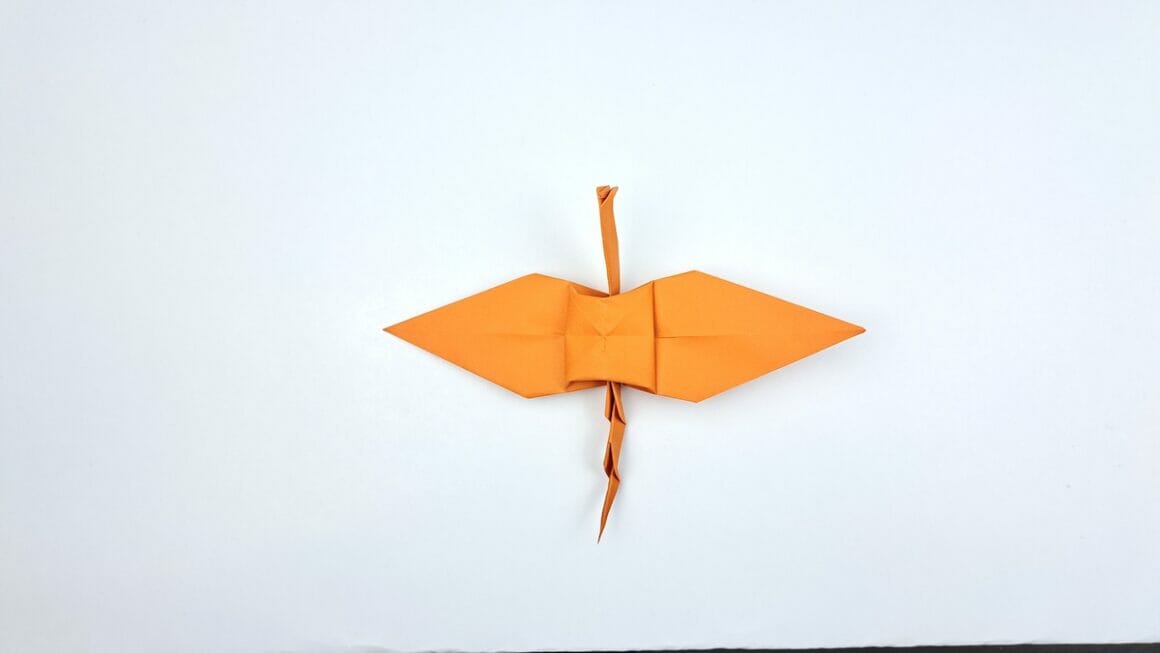
Pull the two wings in opposite directions to elevate the dragon’s back.
Step 24: Fold the Left Wing
Fold the dragon’s left wing inwards.
Step 25: Additional Folds for Left Wing
Add two more inward folds to the left wing for more detail.
Step 26: Finalize the Wings
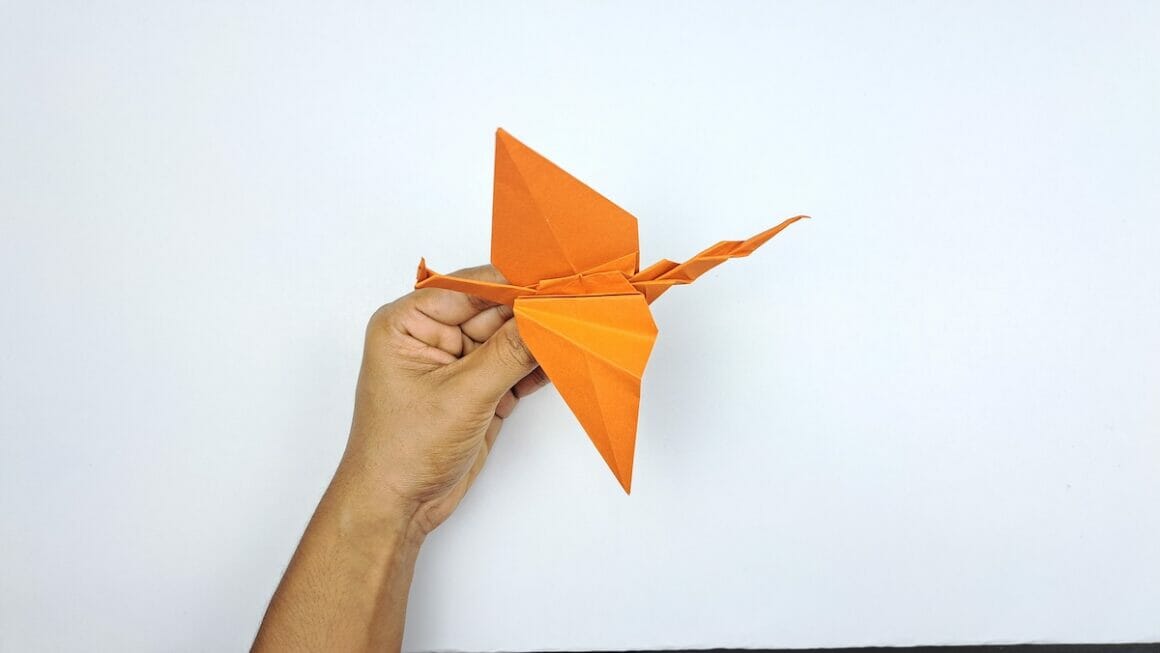
Replicate the same folds on the right wing as you did on the left wing.
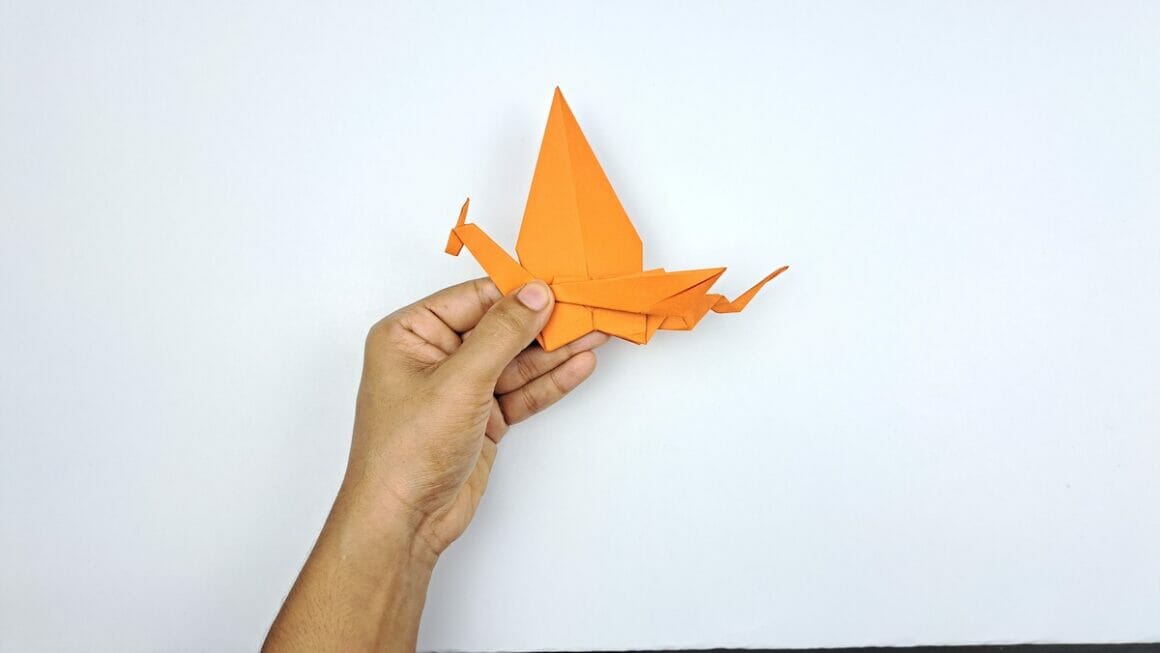
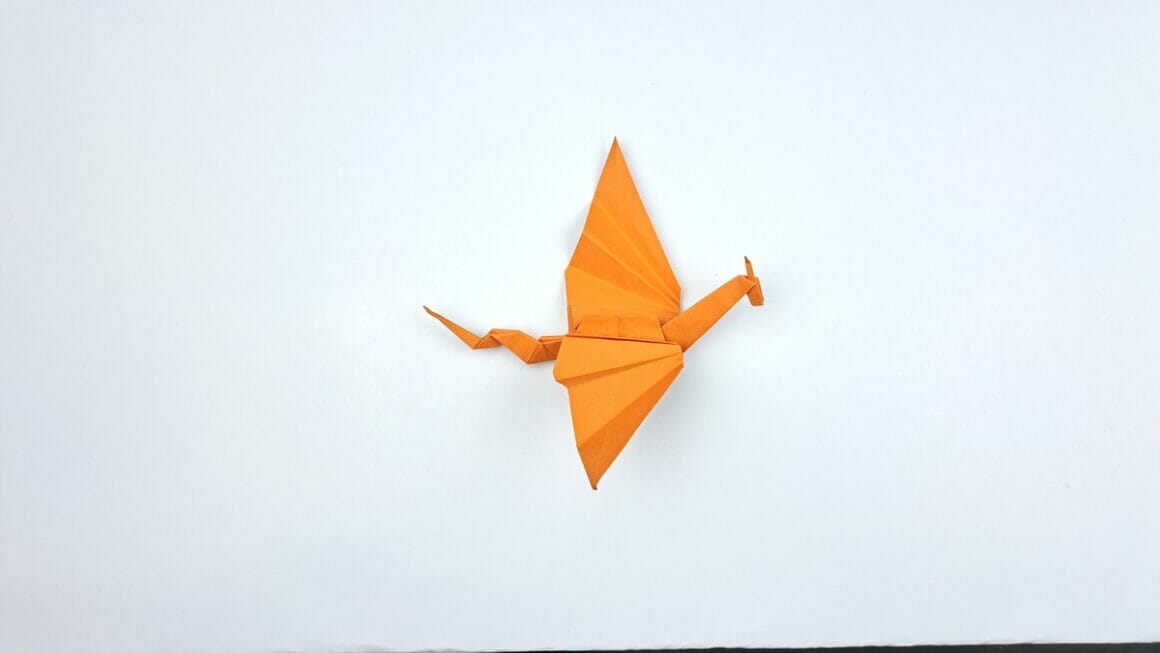
Congratulations, your origami dragon is now complete!
More Origami Tutorials
- How To Make An Envelop
- Origami Owl
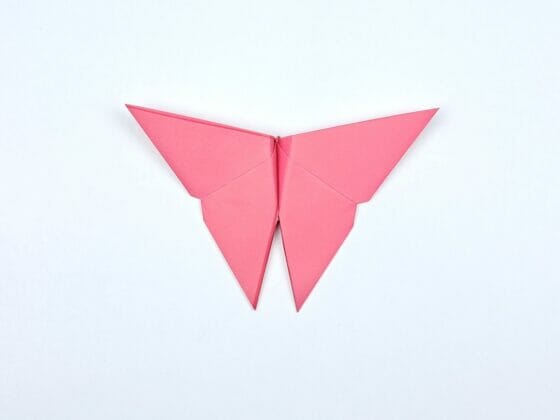
- Origami Butterfly
- Origami Crane
- How To Make A Fortune Teller
- Origami Ninja Star
- How To Make A Paper Frog
- Origami Paper Box
Tips To Embellish Your Origami Dragon
After completing your origami dragon, you might want to add some finishing touches to make it truly unique and eye-catching. Here are some tips for embellishing your paper dragon:
Add Colors
- Coloring: Use colored pencils, markers, or even watercolors to add color to your dragon. You can focus on details like the eyes, scales, and wings for more depth.
- Stickers: Add some sparkle or texture with metallic or textured stickers for the eyes or along the spine.
- Patterned Paper: Make your dragon from patterned origami paper for a more exotic look.
Add Scales
- Cut-Outs: Cut small-scale shapes from a different paper color and glue them onto the dragon’s body.
- Embossing: If you’re advanced in crafting, use an embossing pen and powder to create raised scales.
Add a Fiery Breath
- Red/Yellow Tissue: Attach a small piece of red or yellow tissue paper to the mouth to simulate flames.
- LED Light: For something more exciting, a tiny LED light can be positioned to illuminate a tissue paper flame.
Eyes and Teeth
- Googly Eyes: Small googly eyes can be glued on for a whimsical effect.
- Teeth: Tiny pieces of white paper can be folded and inserted as teeth in your dragon’s mouth.
Additional Features
- Wire or Pipe Cleaners: You can insert thin wire or pipe cleaners to adjust the tail and wings.
- Glitter: A light application of glitter to the wings can add a magical effect.
- Ink: Use ink to add shadows or contours, giving the dragon a more three-dimensional look.
Display
- Pedestal: Place your dragon on a small pedestal or in a shadow box to truly showcase it.
- Hanging: Attach a small string and hang your dragon from the ceiling, allowing it to fly.
Remember, the only limit is your imagination. Enjoy adding your own personal touches to your origami dragon!
Happy crafting!