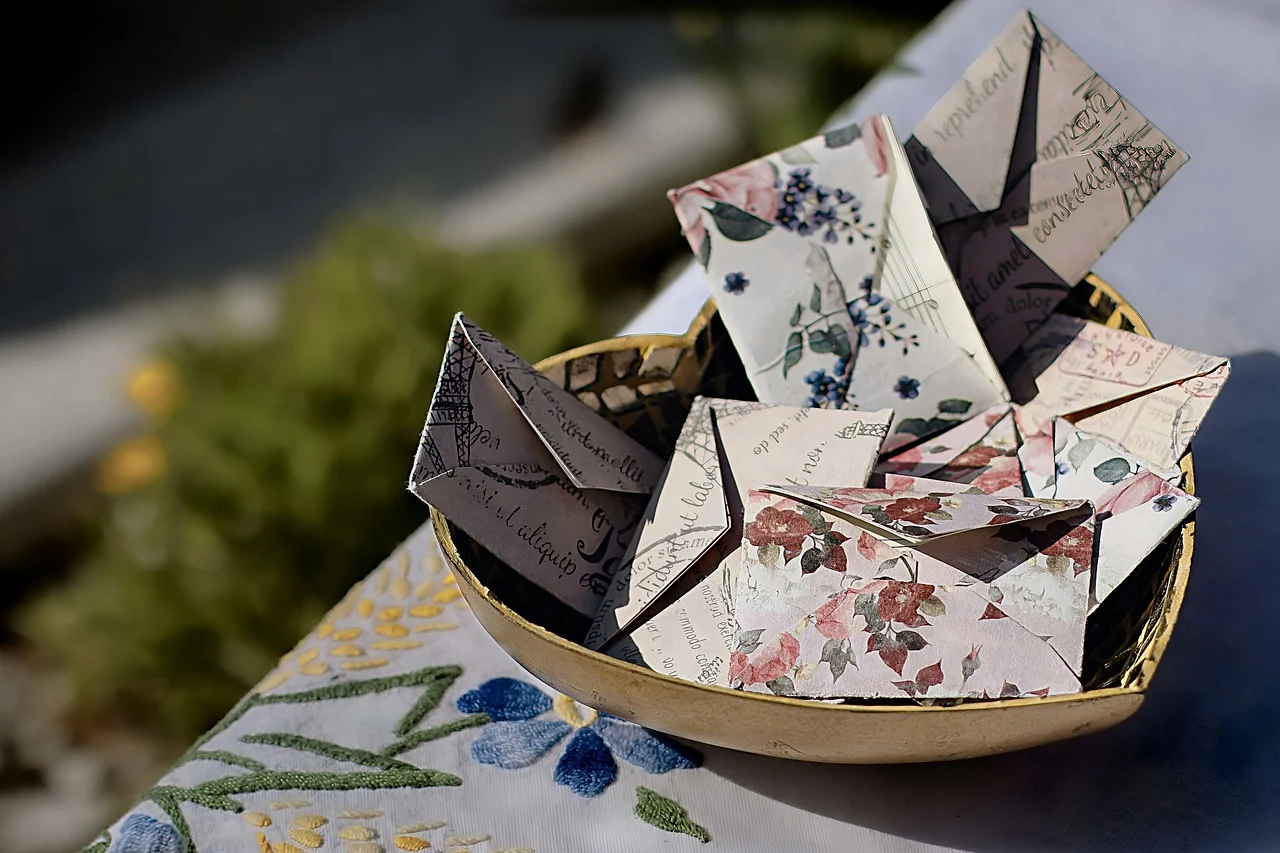
Welcome to this comprehensive tutorial on creating your own origami envelope. Whether you’re a seasoned paper folder or this is your first dive into the art of origami, this step-by-step guide is designed to be accessible for crafters of all levels. Comprising 20 detailed steps, this tutorial will lead you through each fold, crease, and rotation needed to transform a simple square of paper into a functional and aesthetically pleasing envelope. So grab a 15x15cm piece of paper, and let’s get folding!
Table of Contents
- 1 How To Make An Envelope Step-by-Step
- 1.1 Step 1: Get Your Paper Ready
- 1.2 Step 2: Create a Triangle
- 1.3 Step 3: Undo the Triangle
- 1.4 Step 4: Fold Corner-to-Corner
- 1.5 Step 5: Unfold Again
- 1.6 Step 6: Left Corner to Center
- 1.7 Step 7: Right Corner to Center
- 1.8 Step 8: Fold the Top Corner
- 1.9 Step 9: Fold Bottom Corner Upwards
- 1.10 Step 10: Undo the Last Fold
- 1.11 Step 11: Fold the Bottom Corner to Fold the Line
- 1.12 Step 12: Tuck in the Bottom Left Corner
- 1.13 Step 13: Tuck in the Bottom Right Corner
- 1.14 Step 14: Apply Glue and Seal
- 1.15 Step 15: Fold Down the Top
- 1.16 Step 16: Your Envelope is Complete
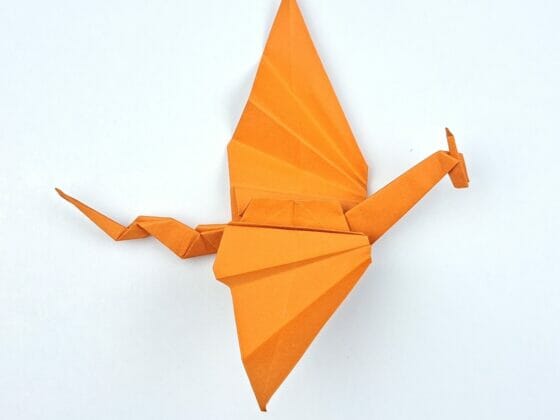
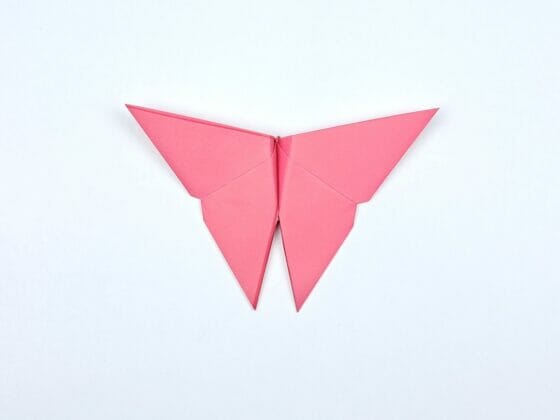
- 1.17 More Origami Tutorials:
How To Make An Envelope Step-by-Step
Step 1: Get Your Paper Ready
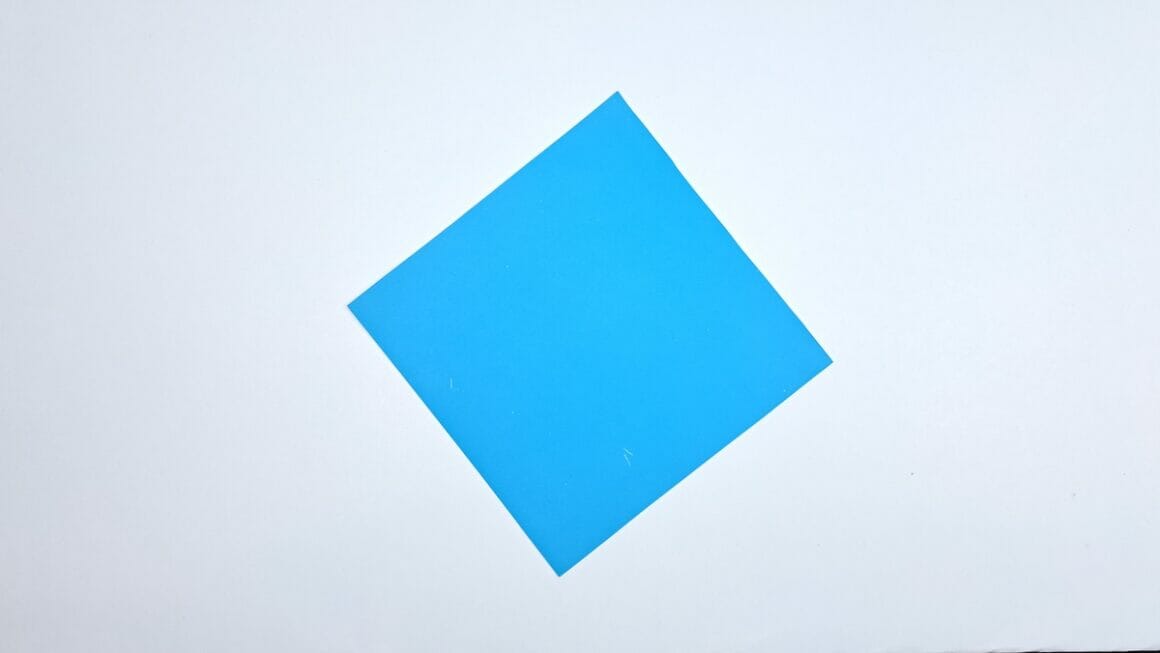
Start with a 15x15cm square piece of paper. Make sure it’s smooth and flat for the best folding experience.
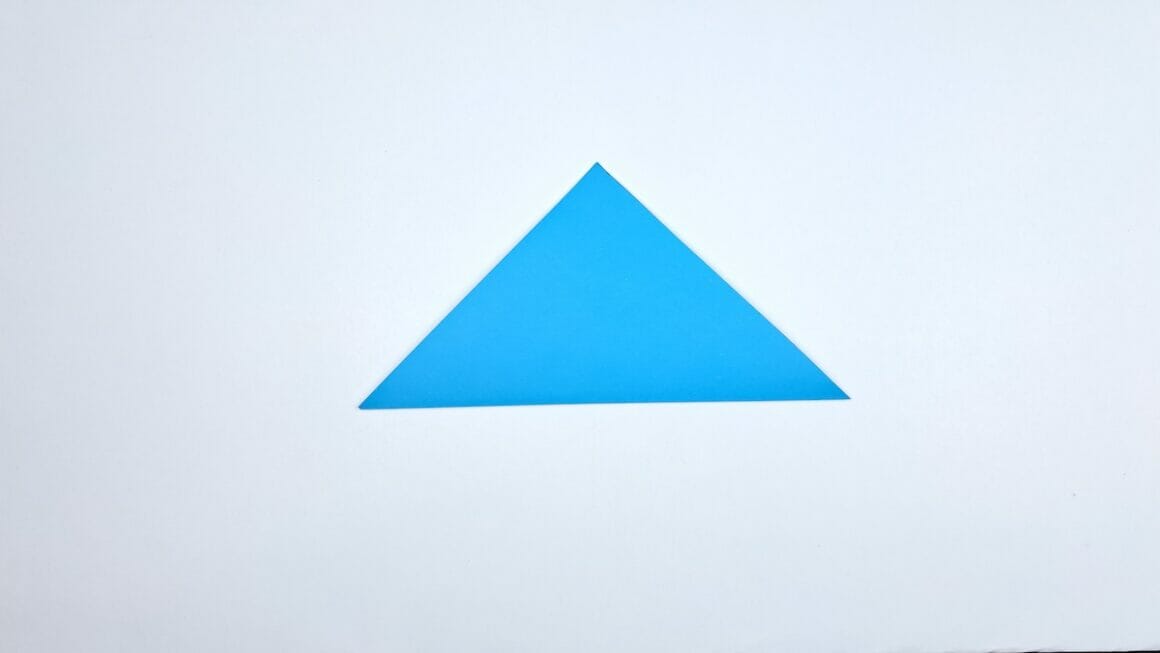
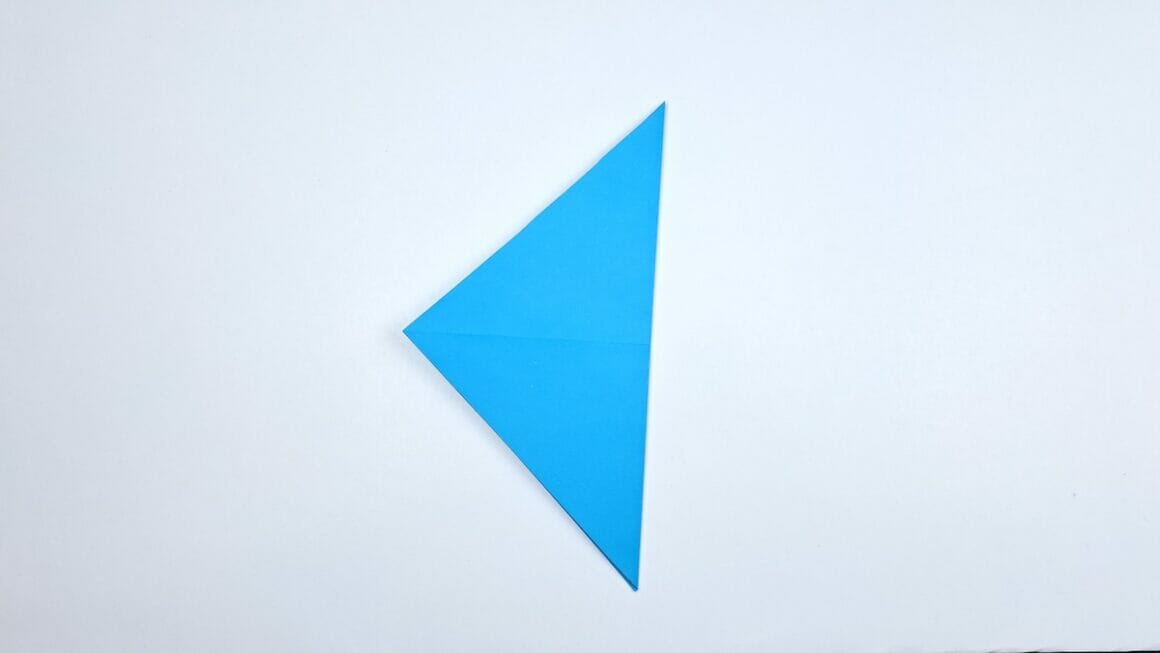
Step 2: Create a Triangle
Take the bottom corner and fold it up to meet the top corner, forming a triangle.
Step 3: Undo the Triangle
Carefully unfold your paper, reversing the triangular fold you just made.
Step 4: Fold Corner-to-Corner
Now, fold the right corner over to meet the left corner.
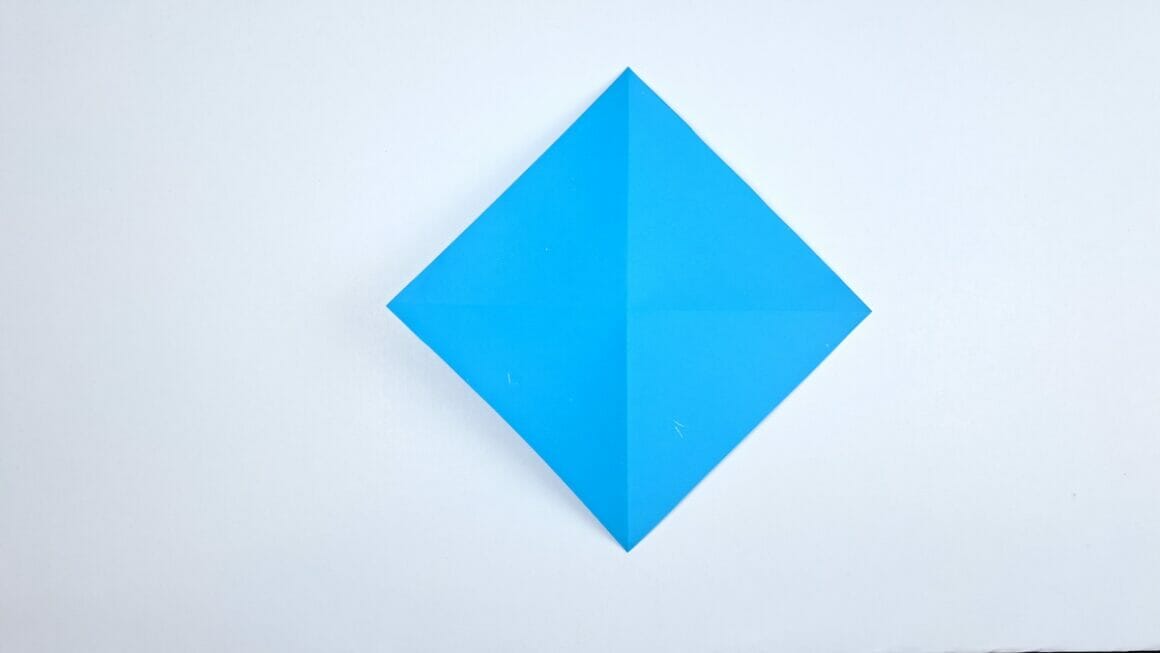
Step 5: Unfold Again
Unfold the paper to return it to its original square shape.
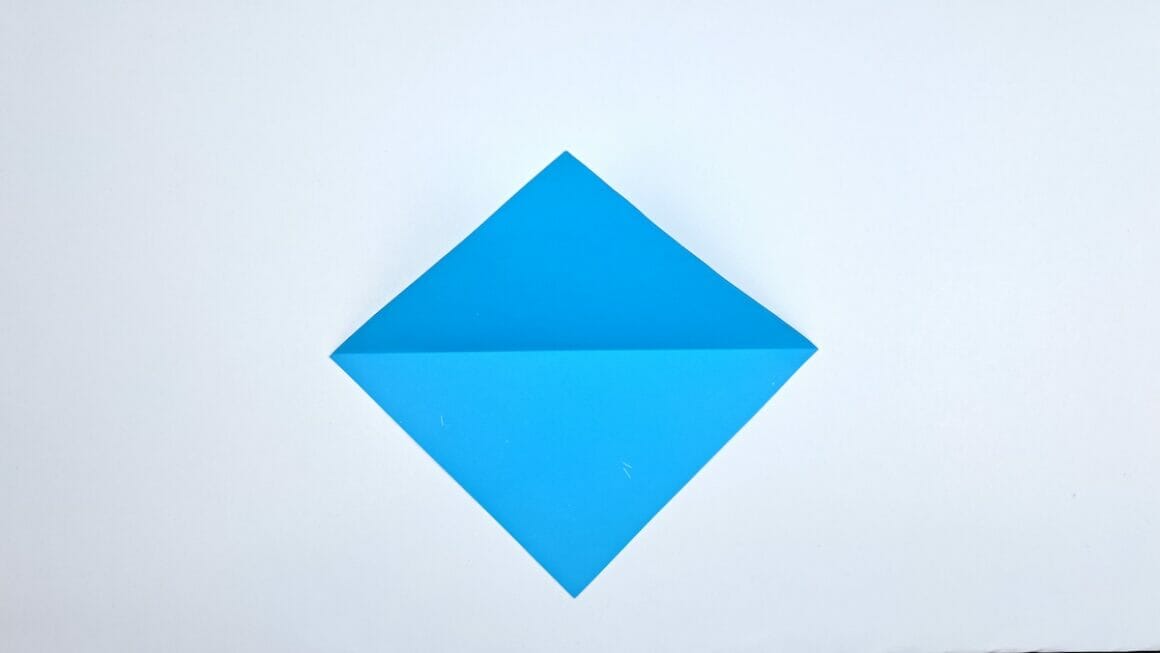
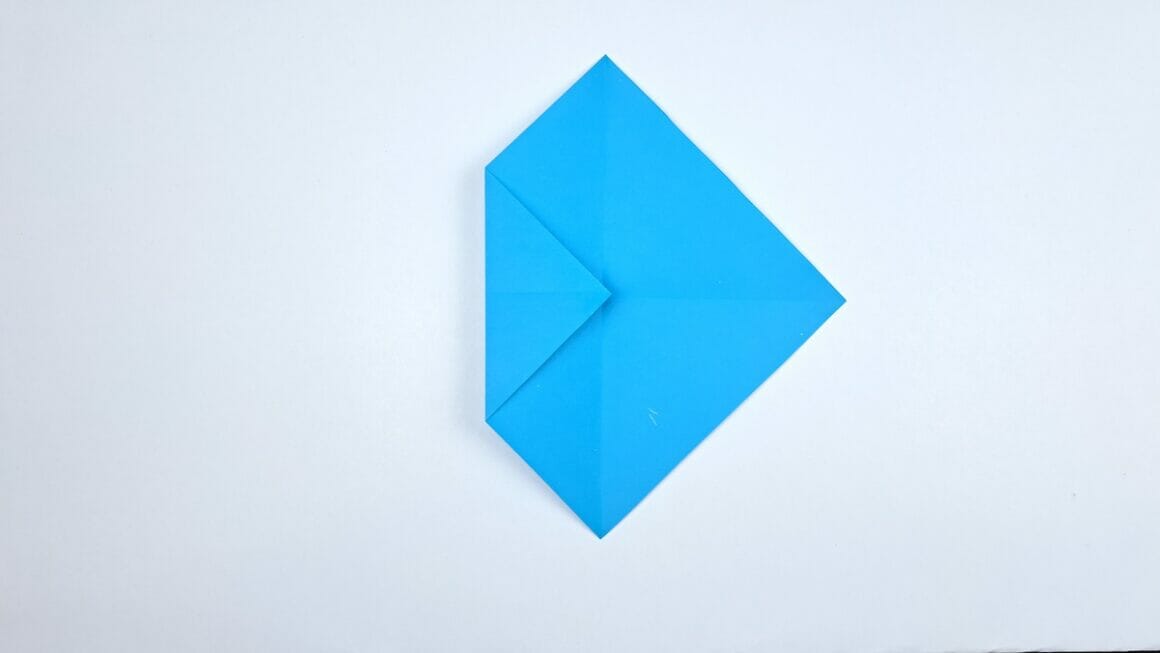
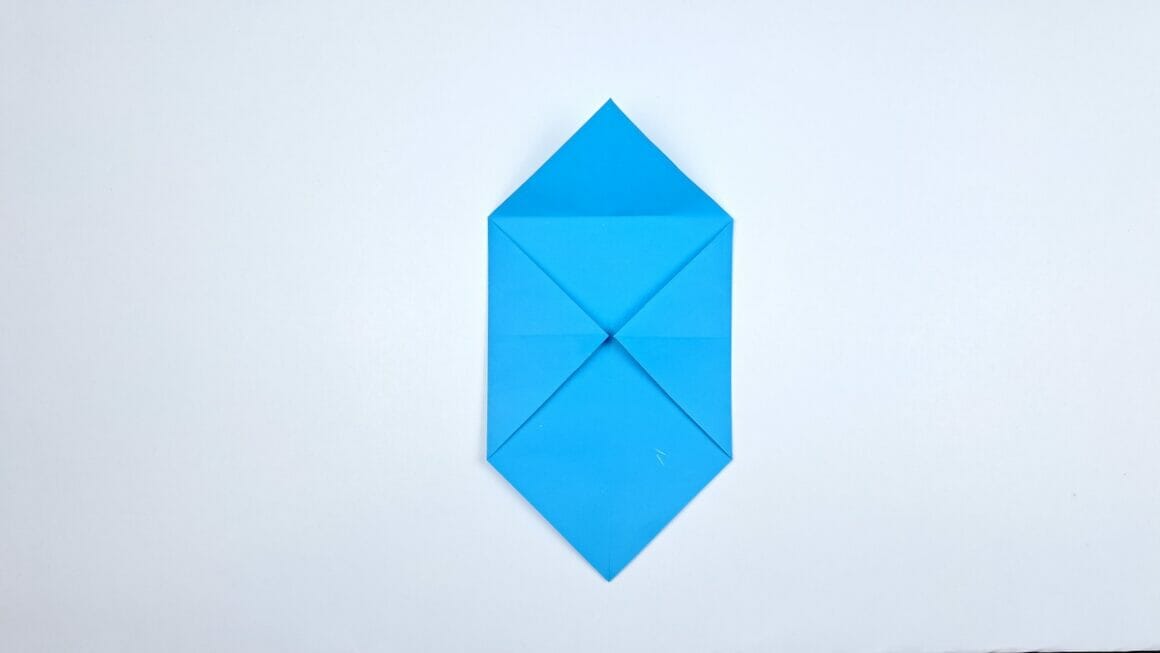
Step 6: Left Corner to Center
Fold the left corner of your square to align with the paper’s center.
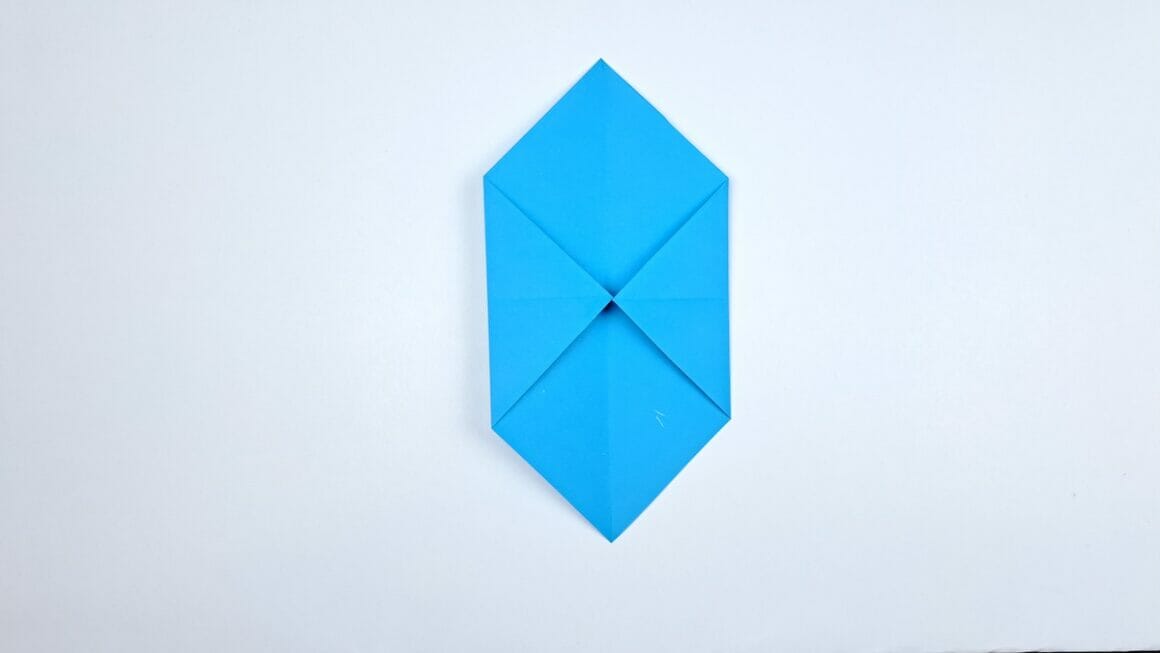
Step 7: Right Corner to Center
Similarly, fold the right corner of the square so that it aligns with the center of the paper.
Step 8: Fold the Top Corner
Take the top corner and fold it toward the center point of your square. Then, unfold it.
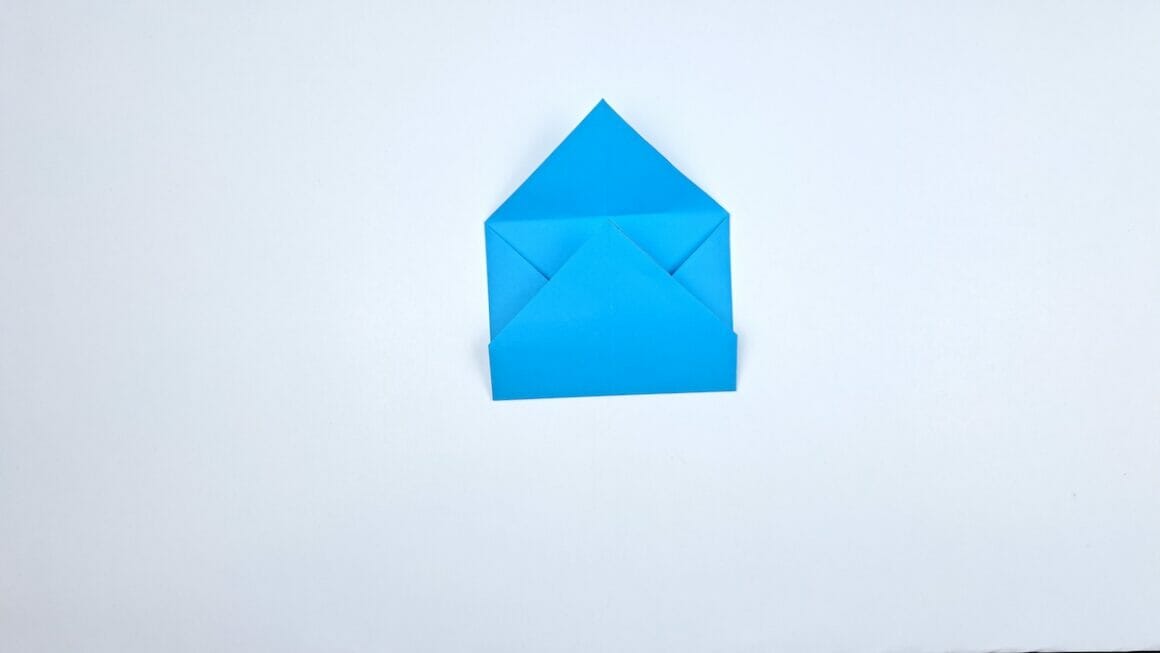
Step 9: Fold Bottom Corner Upwards
Fold the bottom corner up to align with the crease made by the upper fold.
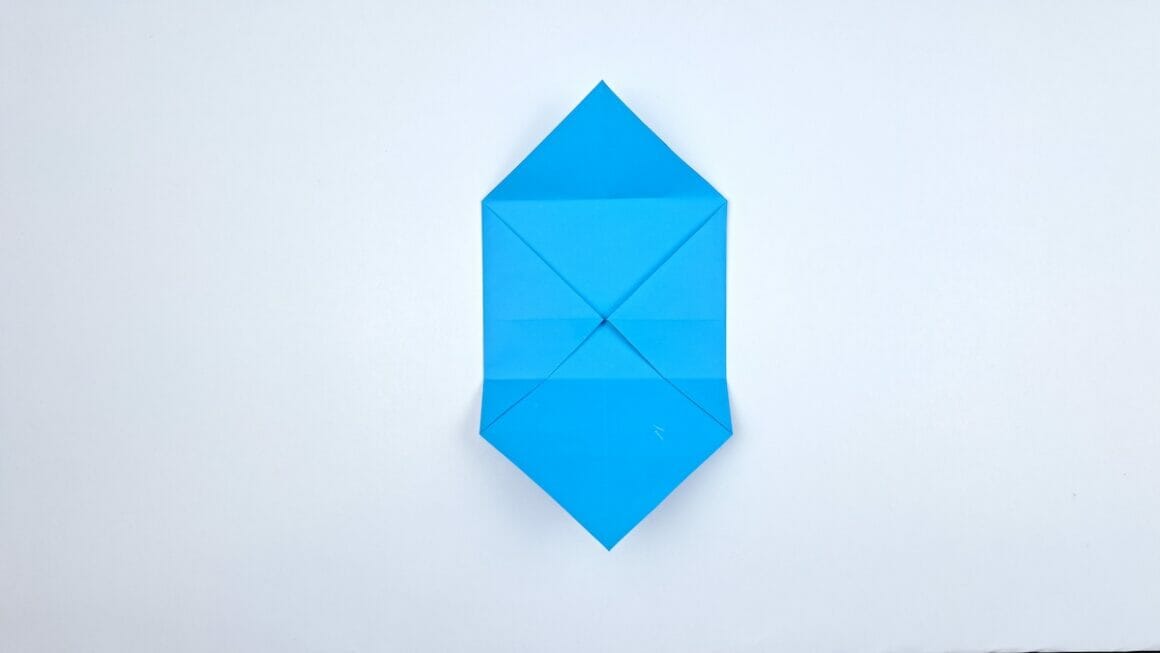
Step 10: Undo the Last Fold
Carefully unfold what you did in Step 9, returning the paper to its previous shape.
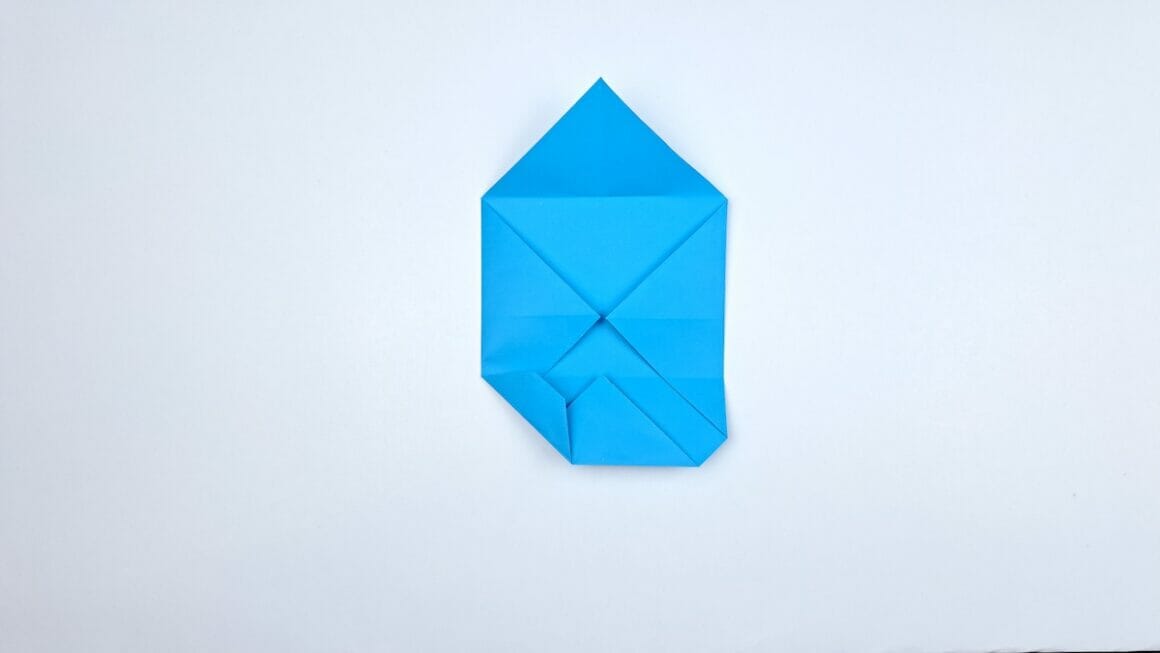
Step 11: Fold the Bottom Corner to Fold the Line
Now, fold the bottom corner up again, but align it with the existing fold line this time.
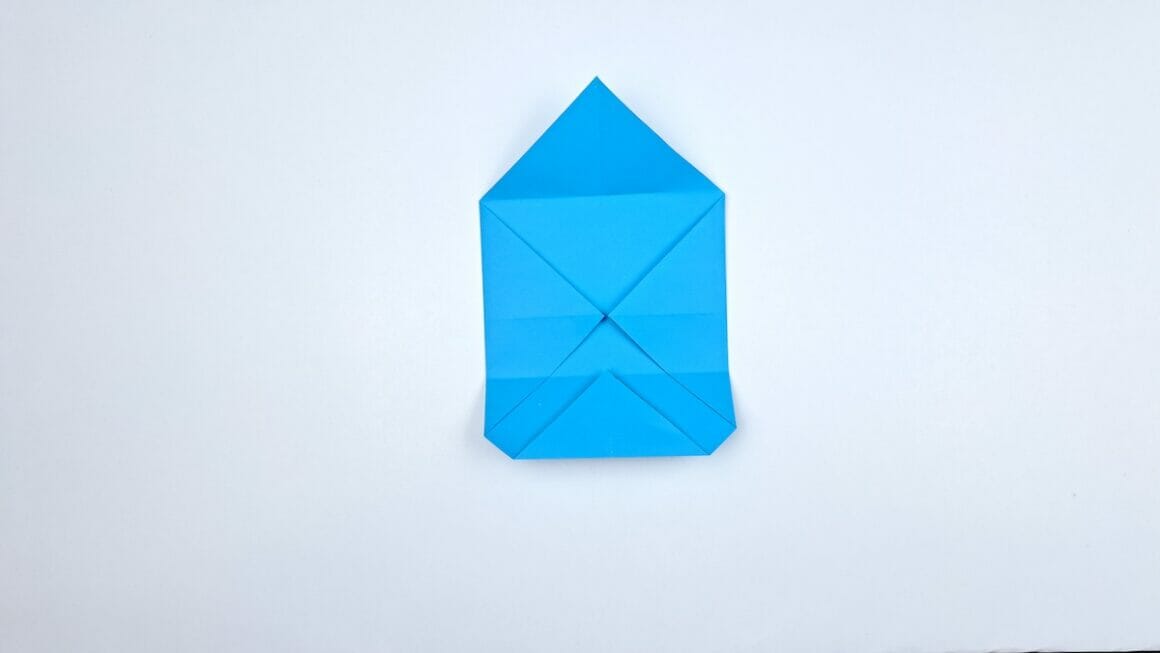
Step 12: Tuck in the Bottom Left Corner
Fold the bottom left corner inward, following the creases you’ve made.
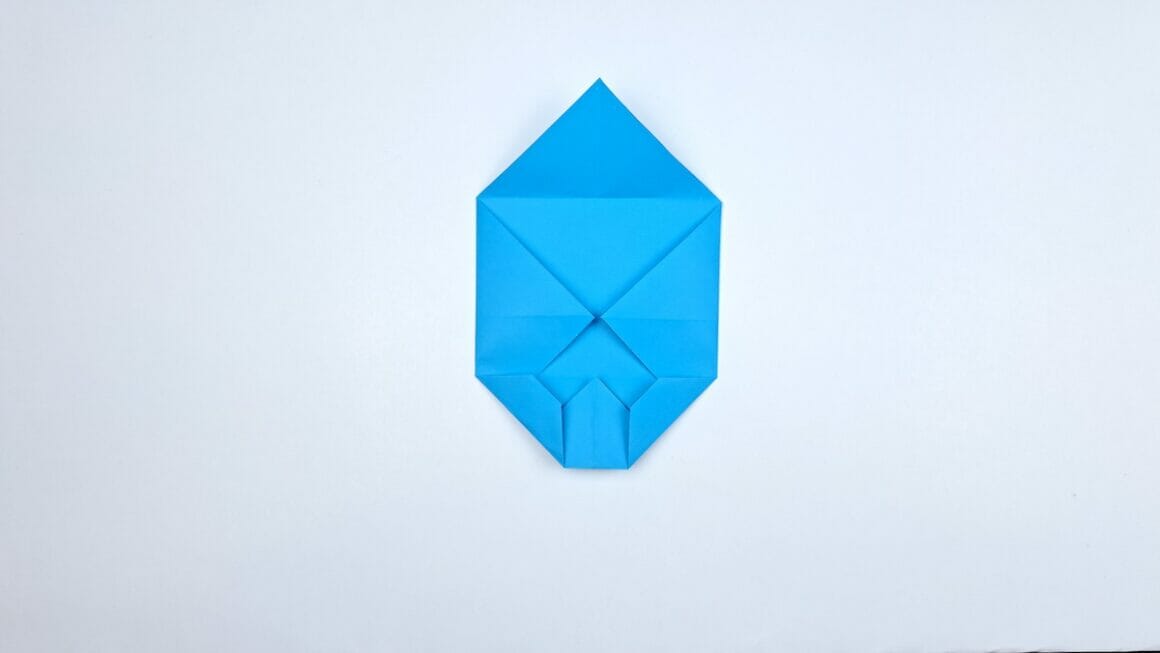
Step 13: Tuck in the Bottom Right Corner
Similarly, fold the bottom right corner inward, aligning with the existing creases.
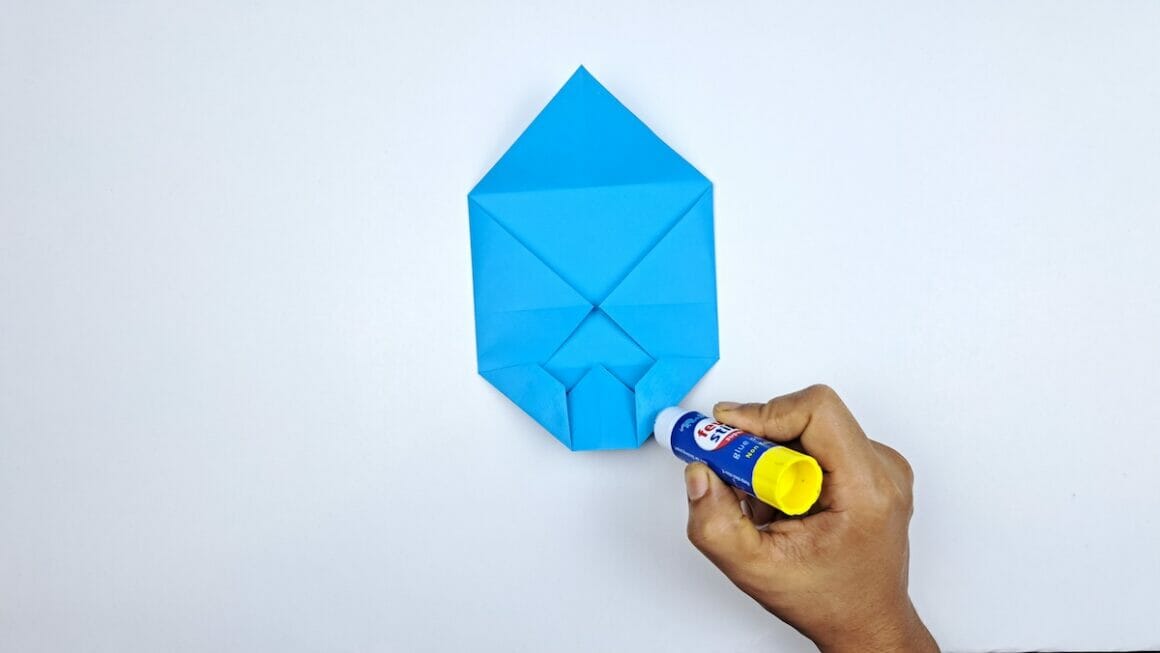
Step 14: Apply Glue and Seal
Apply a small amount of glue to the area where the folds overlap, then fold the bottom section upward to seal the envelope.
Step 15: Fold Down the Top
Now, fold the top corner downward to complete the envelope’s shape.
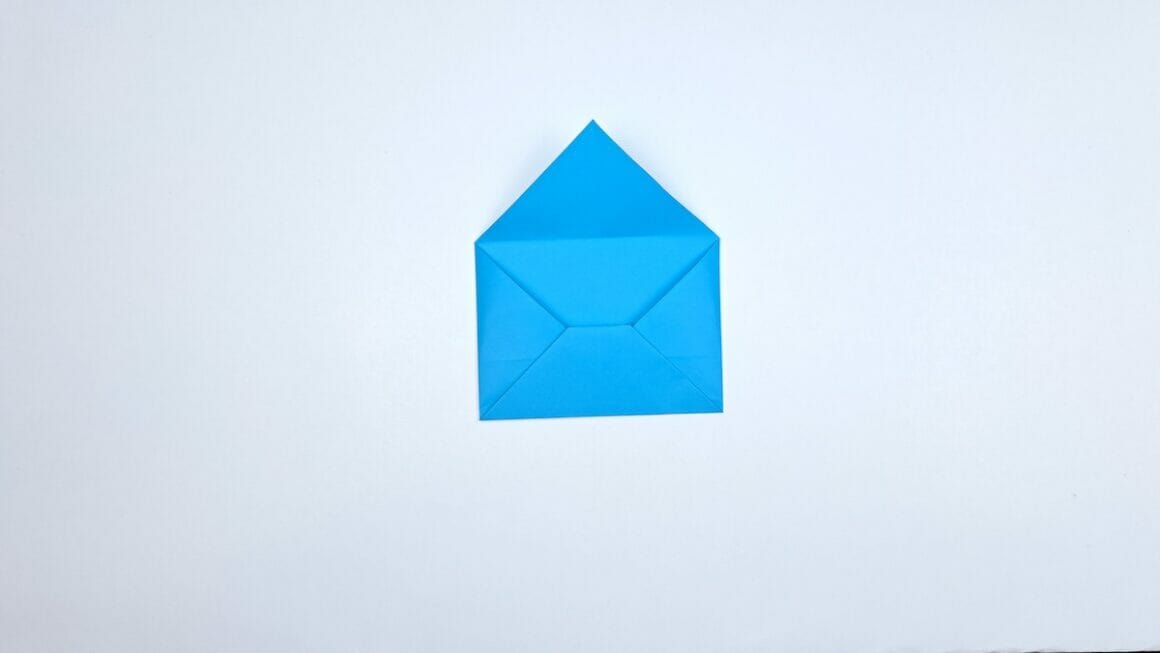
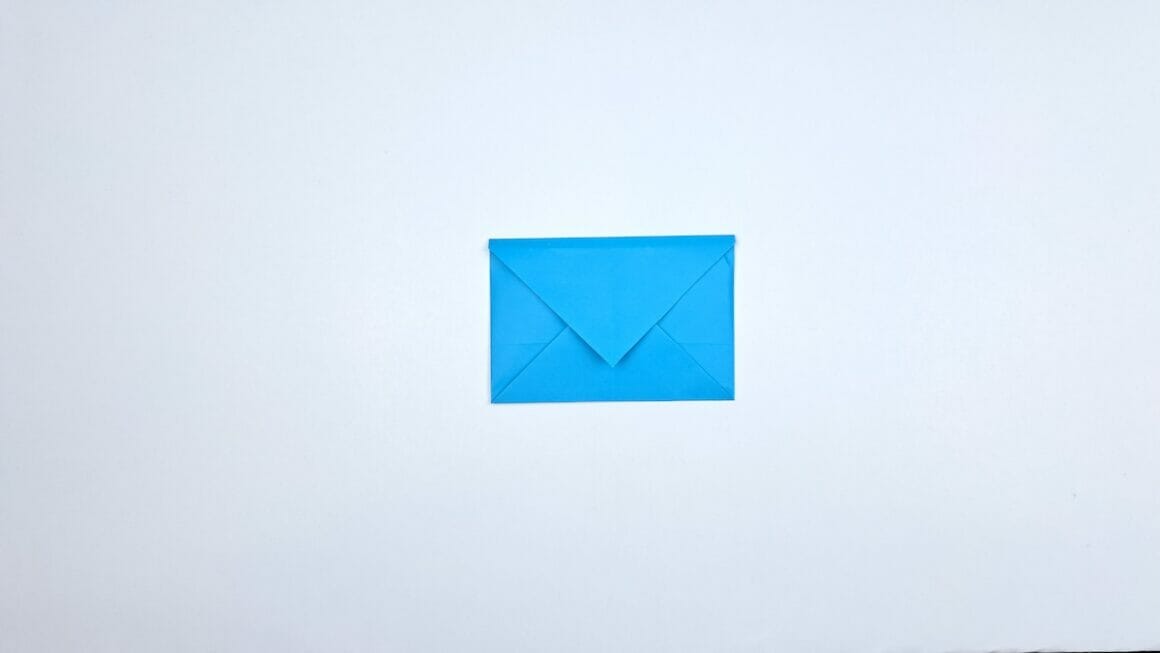
Step 16: Your Envelope is Complete
Congratulations! You’ve successfully folded an origami envelope. Feel free to add a sticker or seal for that extra touch of personality.
There you have it—a wonderful, handmade origami envelope, perfect for small notes, gifts, or keepsakes. Thank you for following this guide, and happy folding!