Welcome to this fun and educational tutorial on making your very own Origami Owl! Known for their wisdom and mystery, owls have fascinated people for generations. Now, you can create one from the comfort of your home using just a piece of paper.
Whether you’re an origami newbie or a young crafter, this 19-step guide is designed to be as user-friendly as possible. Each step is detailed and accompanied by helpful hints to make your paper-folding journey as smooth as can be. So grab your paper, get a comfy seat, and let’s fold ourselves some feathered friends!
Table of Contents
- 1 Tips for Kids and Beginners:
- 2 More Origami Tutorials:
- 3 Step 1: Select Your Paper
- 4 Step 2: Create an Initial Triangle
- 5 Step 3: Unfold and Refold
- 6 Step 4: Fold Toward the Center
- 7 Step 5: Fold to the Crease Line
- 8 Step 6: Small Folds on the Top Corners
- 9 Step 7: Fold the Bottom Corner Up
- 10 Step 8: Tuck in the Bottom Layer
- 11 Step 9: Create a Side Crease
- 12 Step 10: Unfold the Crease
- 13 Step 11: Re-Crease the Line
- 14 Step 12: Fold to the Center
- 15 Step 13: Flip Your Owl
- 16 Step 14: Fold to the Opposing Crease
- 17 Step 15: Fold to the Bottom Crease
- 18 Step 16: Open and Flatten
- 19 Step 17: Flip Your Owl Again
- 20 Step 18: Final Fold for Dimension
- 21 Final Step: Add Character
Tips for Kids and Beginners:
- Choose the Right Paper: For beginners, a larger square paper may be easier to handle than a smaller one. It also helps if the paper is a bit thicker to hold the folds well.
- Work on a Flat Surface: Always work on a flat, stable surface like a table or hardback book. This makes it easier to get precise folds.
- Follow Along with a Video: If you’re a visual learner, watching a video tutorial and reading the steps may be beneficial.
- Take Your Time: Origami is not a race. Take your time with each fold to ensure they are as precise as possible.
- Crease Well: Use the back of a spoon or a ruler to make your creases extra sharp. This will help your owl hold its shape better.
- Double-Check Your Folds: Before moving on to the next step, ensure each fold is where it should be. It’s easier to correct mistakes early on.
- Practice Makes Perfect: Don’t be discouraged if your first owl doesn’t look exactly as you hoped. Origami takes practice, so feel free to try again!
- Ask for Help: If a particular step is challenging, don’t hesitate to ask an adult or a more experienced friend for help.
- Be Creative: Once you’ve got the basics down, feel free to experiment with different types of paper or even add your touches like googly eyes or feathers!
- Have Fun: Most importantly, have fun! Crafting is all about enjoying the process as much as the beautiful end result.
More Origami Tutorials:
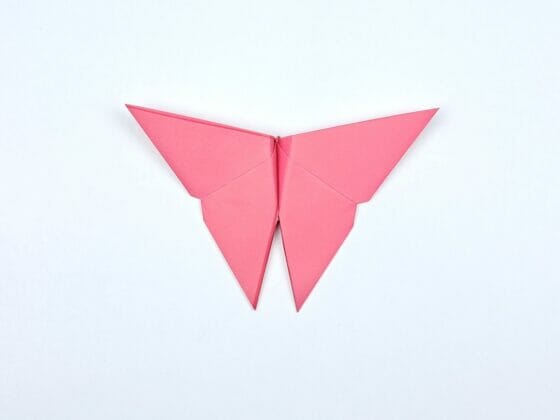
- Origami Butterfly
- How To Make An Envelop
- How To Make A Fortune Teller
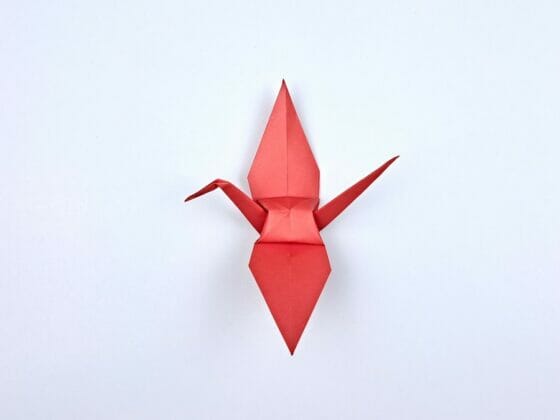
- Origami Crane
- Origami Ninja Star
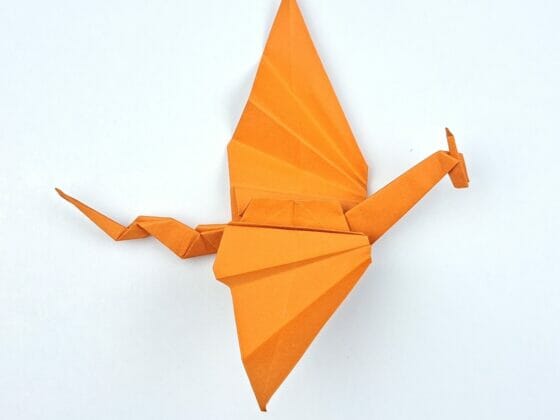
- Origami Dragon
- Paper Frog
- Origami Paper Box
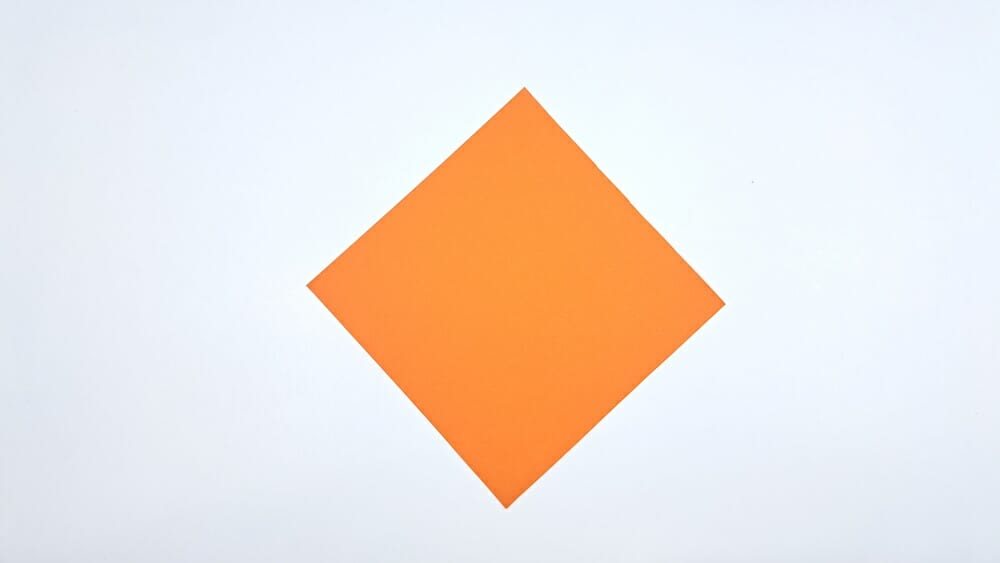
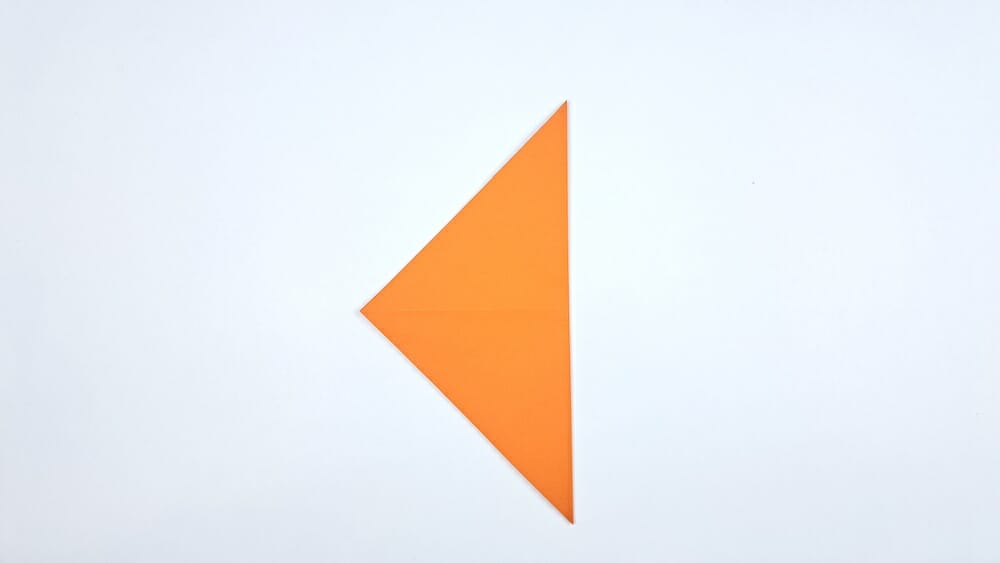
Step 1: Select Your Paper
Start with a 15x15cm square piece of paper, the ideal size for this origami owl project. Make sure the paper is cut evenly for a more precise folding experience.
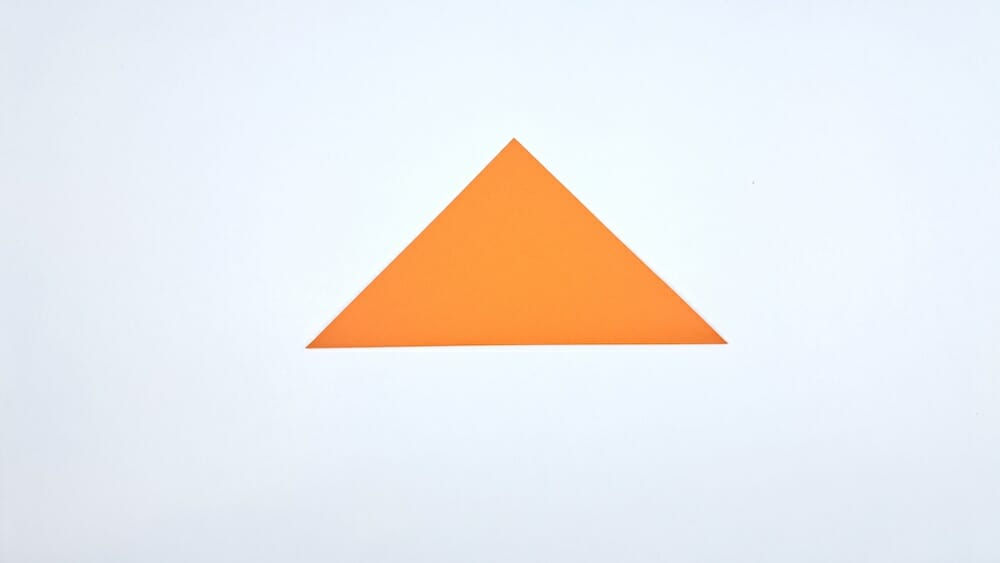
Step 2: Create an Initial Triangle
Fold the bottom corner of the paper up to meet the top corner. You should now have a perfectly symmetrical triangular shape.
Step 3: Unfold and Refold
Unfold the triangle back to a square. Now, fold the right corner over to the left corner.
Step 4: Fold Toward the Center
Unfold your paper again to a square. Take the top corner and fold it towards the exact center of the square.

Step 5: Fold to the Crease Line
Unfold your last fold and bring the top corner down to align with the crease line you just created.
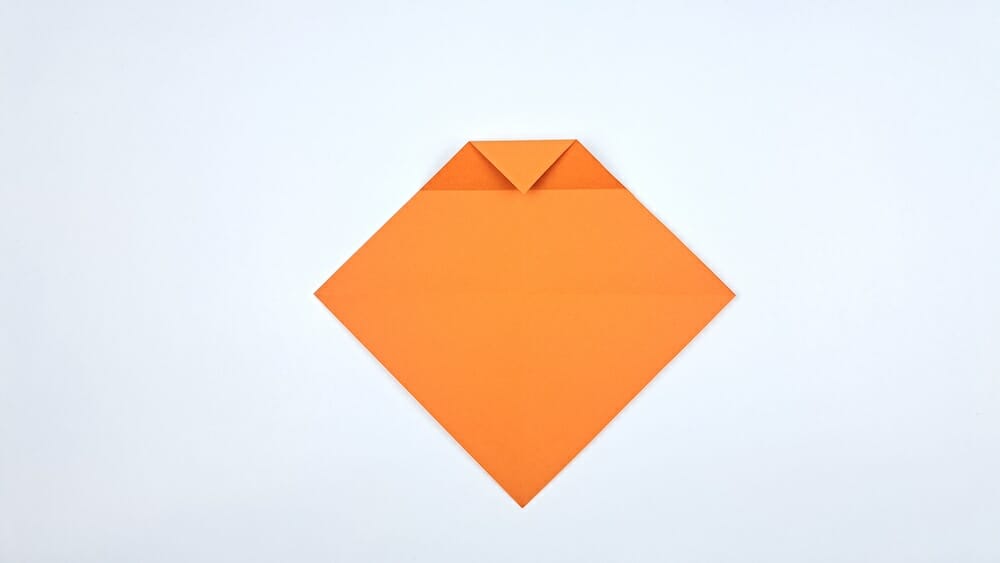
Step 6: Small Folds on the Top Corners
Take the top right and top left corners and fold them downward about 1cm each.
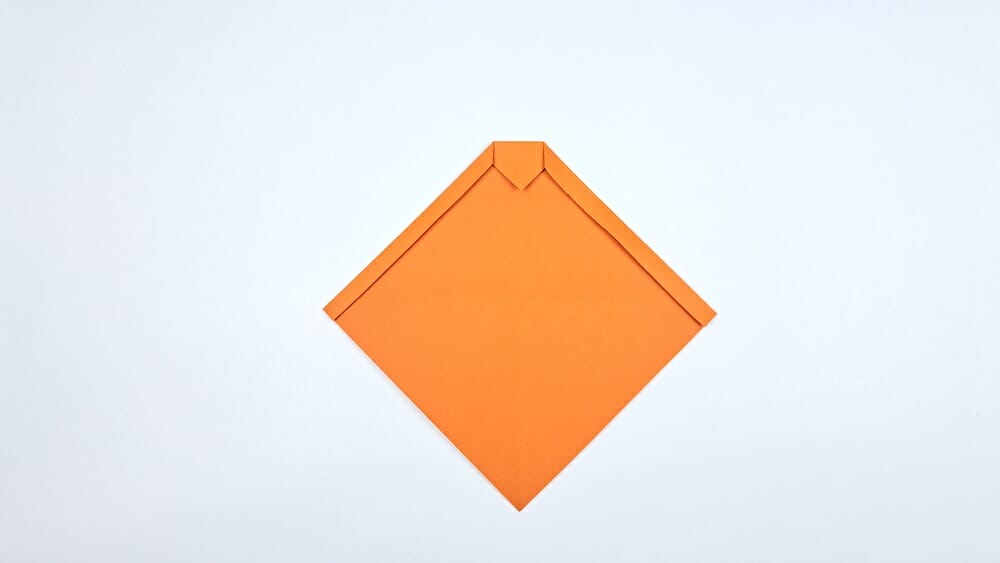
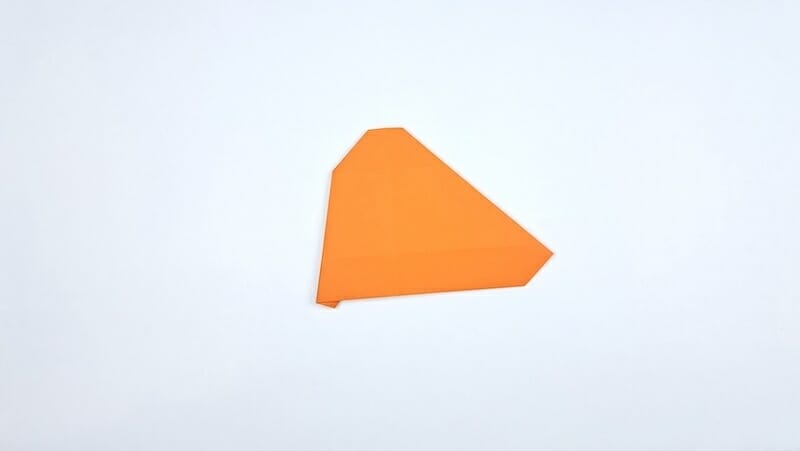
Step 7: Fold the Bottom Corner Up
Grab the bottom corner and fold it upwards to meet the top corner of the paper.
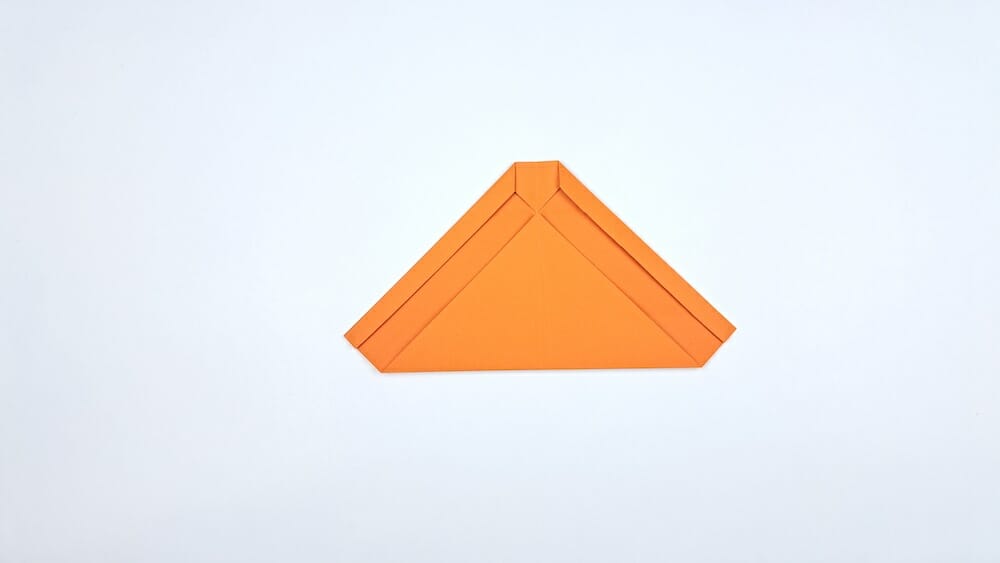
Step 8: Tuck in the Bottom Layer
Fold the top layer’s corner near the bottom part downward, approximately 1.5cm. This will give your owl some depth.

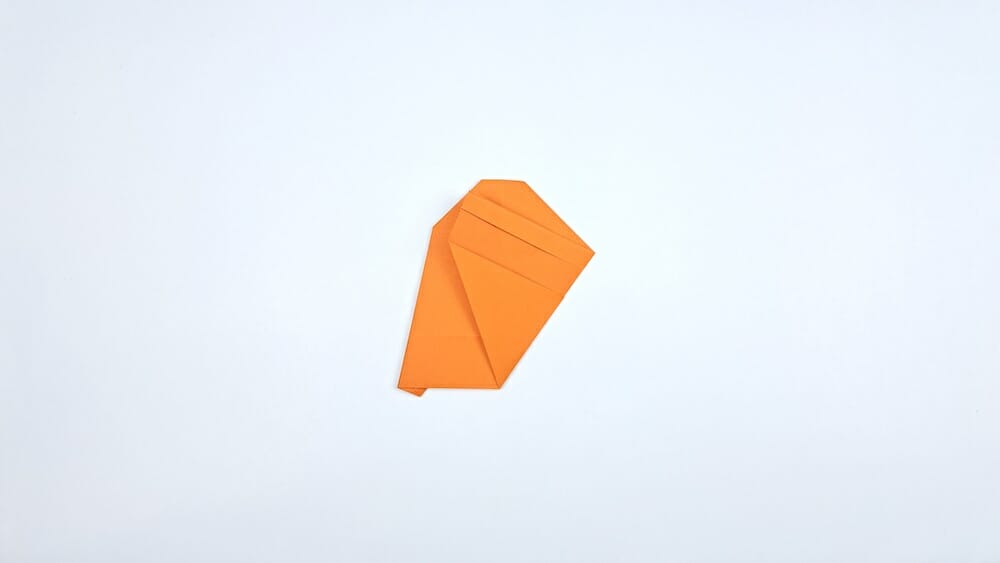
Step 9: Create a Side Crease
Fold the right corner toward the middle of the paper to form a distinct crease.
Step 10: Unfold the Crease
Unfold the crease you made in Step 9, returning the paper to its prior shape.
Step 11: Re-Crease the Line
Fold the paper back along the most recent crease line you made to reinforce the fold.
Step 12: Fold to the Center
Repeat the process of folding the right corner toward the middle, as you did in Step 9.
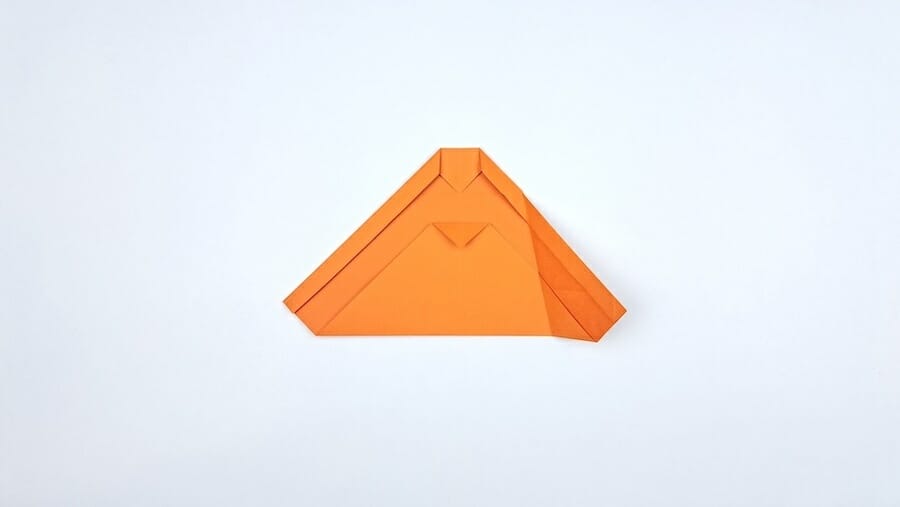
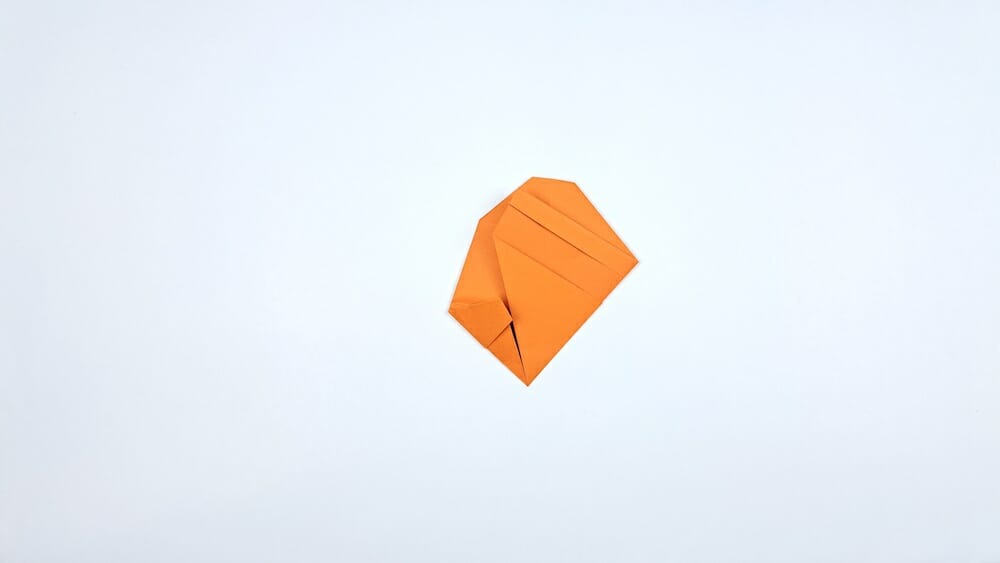
Step 13: Flip Your Owl
Carefully turn over the entire origami structure to work on the other side.
Step 14: Fold to the Opposing Crease
On the new side, fold the right edge of the paper toward the left top crease.
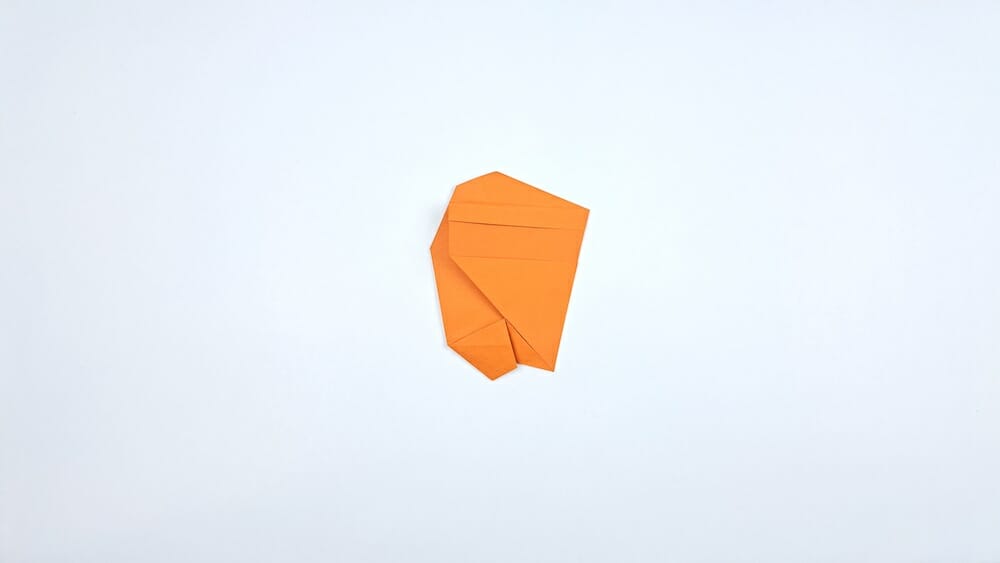
Step 15: Fold to the Bottom Crease
Take the bottom left corner and fold it toward the crease line formed in the previous step.
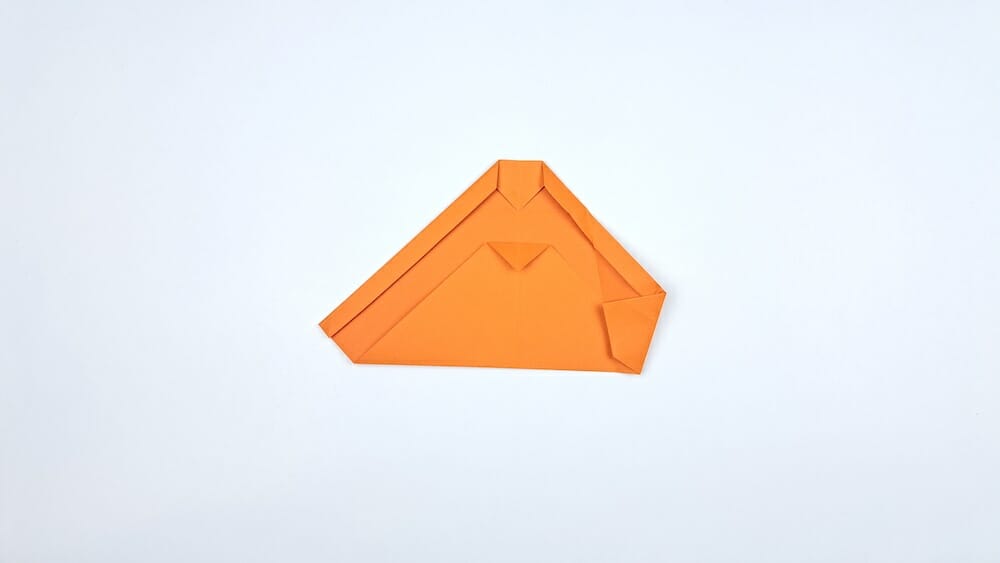
Step 16: Open and Flatten
Gently open the fold you made in Step 15 and flatten it out. This will give your owl a more three-dimensional appearance.
Step 17: Flip Your Owl Again
Turn over your origami owl once more to return to the original side.
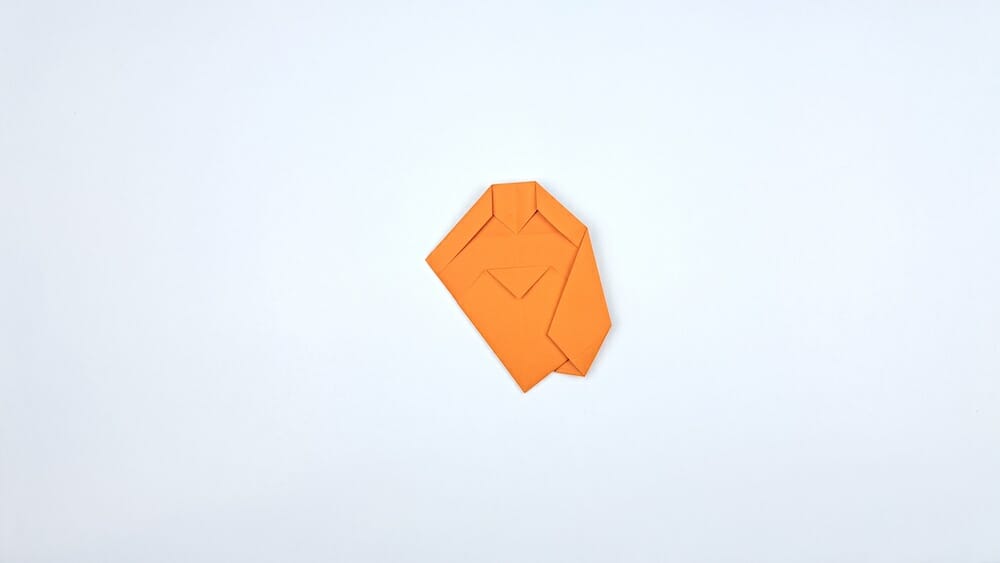
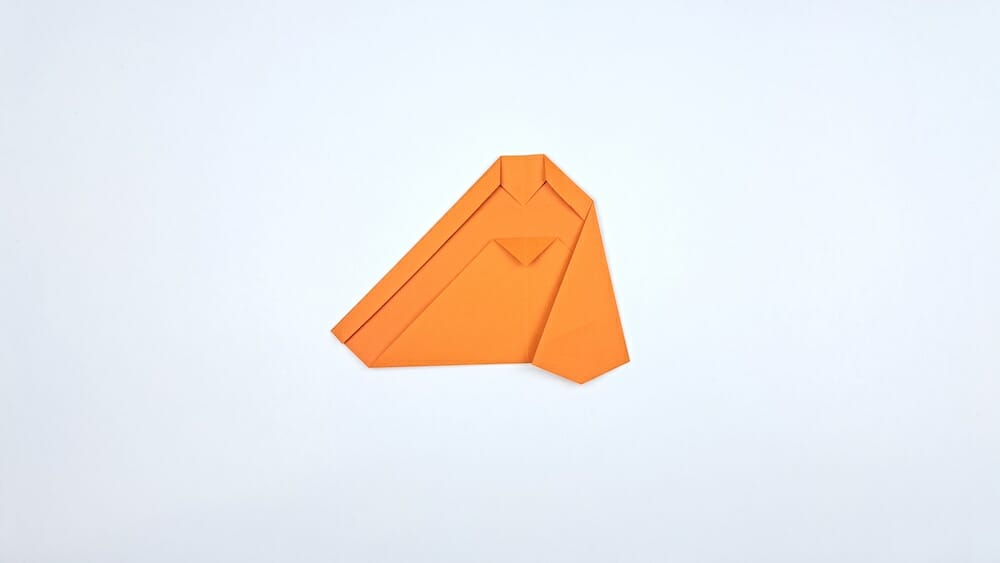
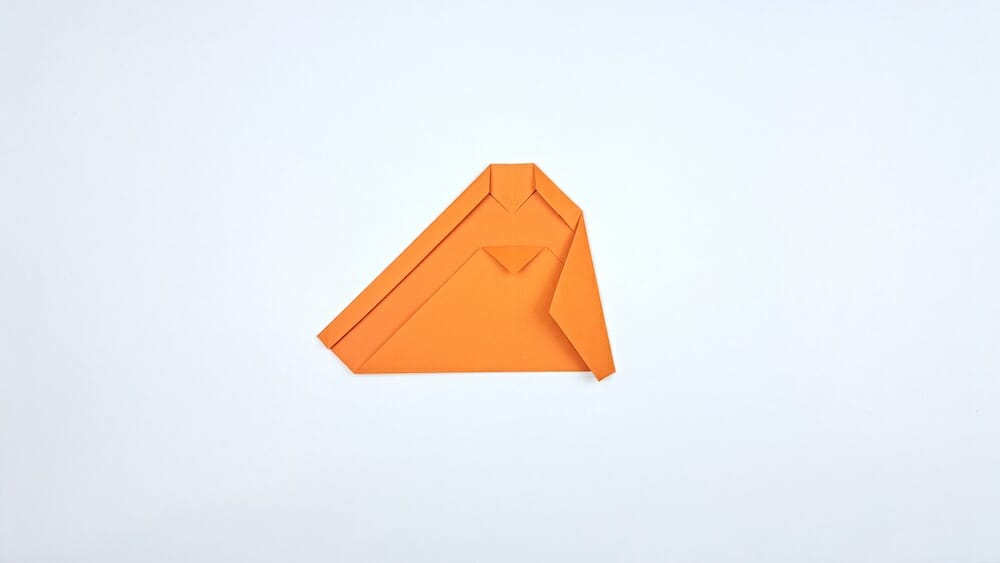
Step 18: Final Fold for Dimension
Take the left corner and fold it backward to add another layer of depth to your owl.
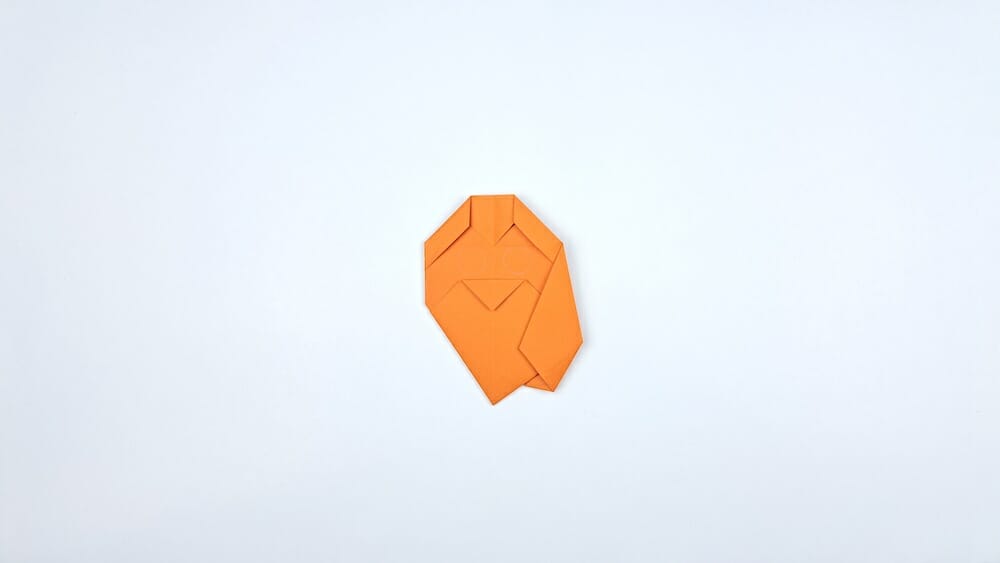
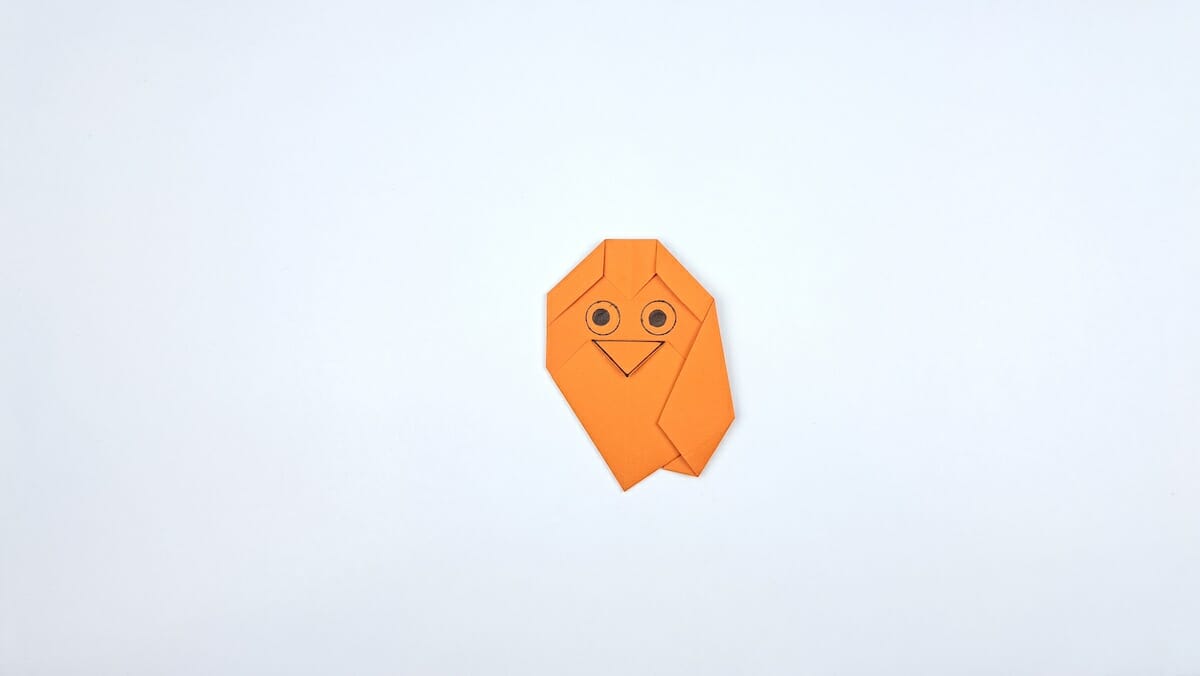
Final Step: Add Character

Use a pen or colored pencil to draw in your owl’s eyes and beak. Congratulations, your origami owl is now complete!