Disclosure: This shop has been compensated by Collective Bias, Inc. and its advertiser. All opinions are mine alone.
#CollectiveBias #UnbeatableComfort
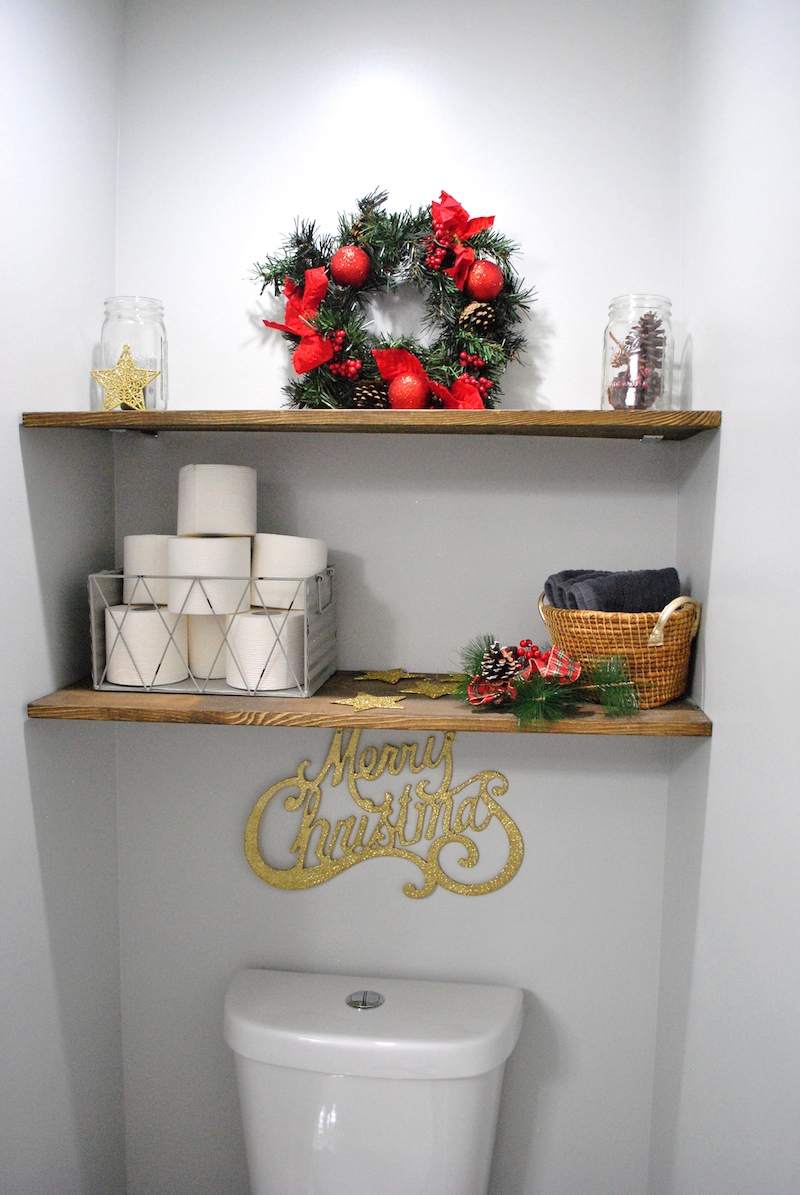
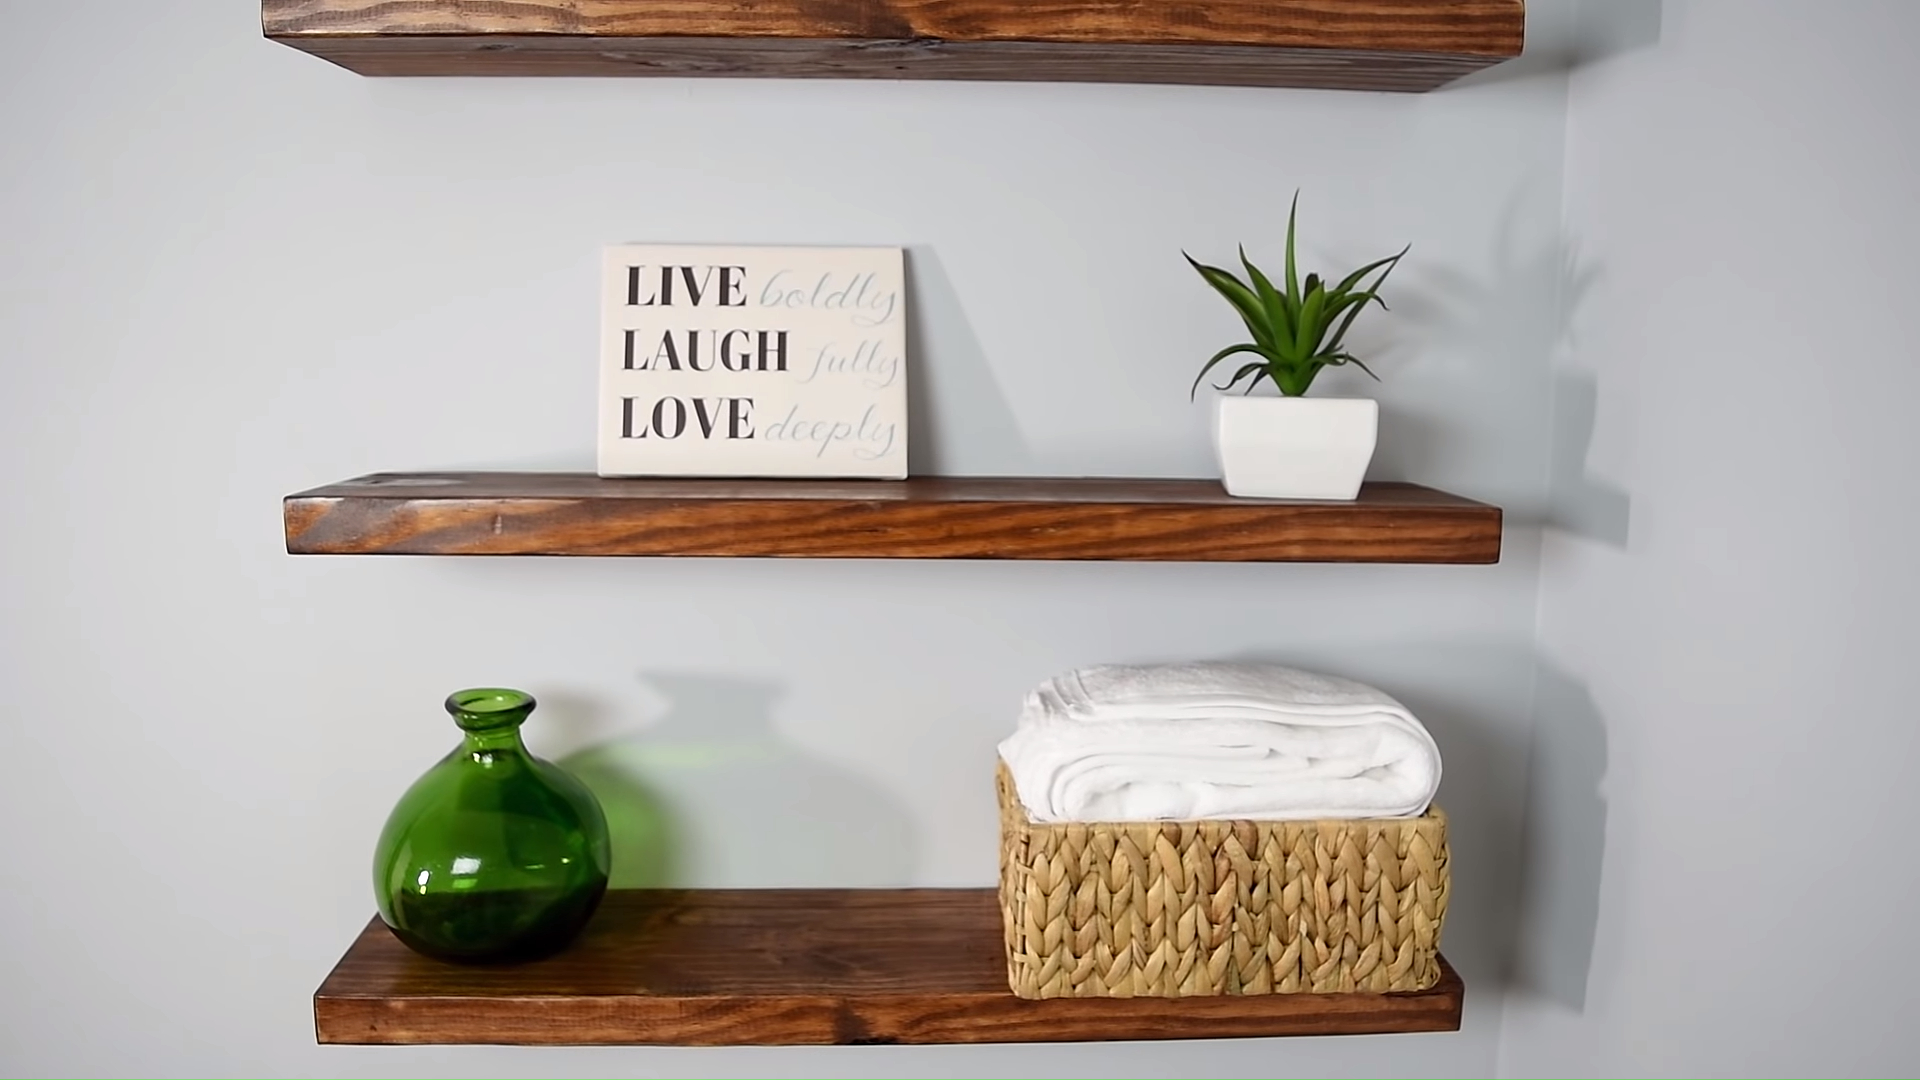
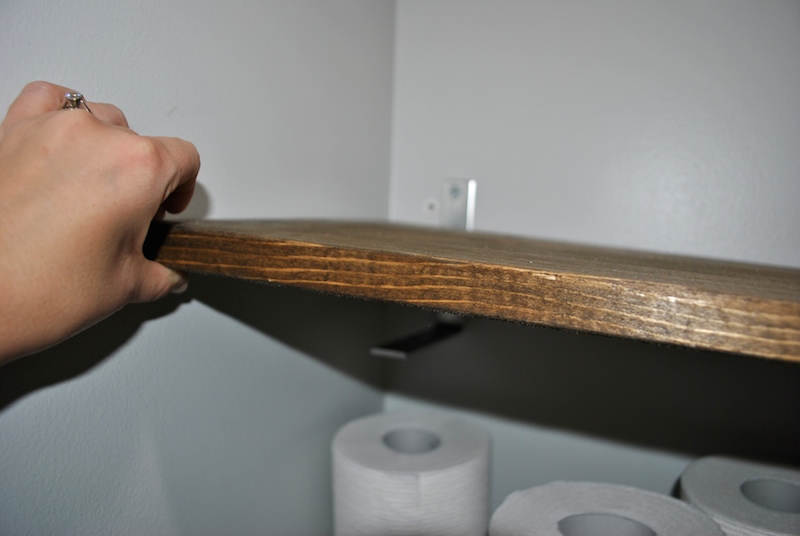
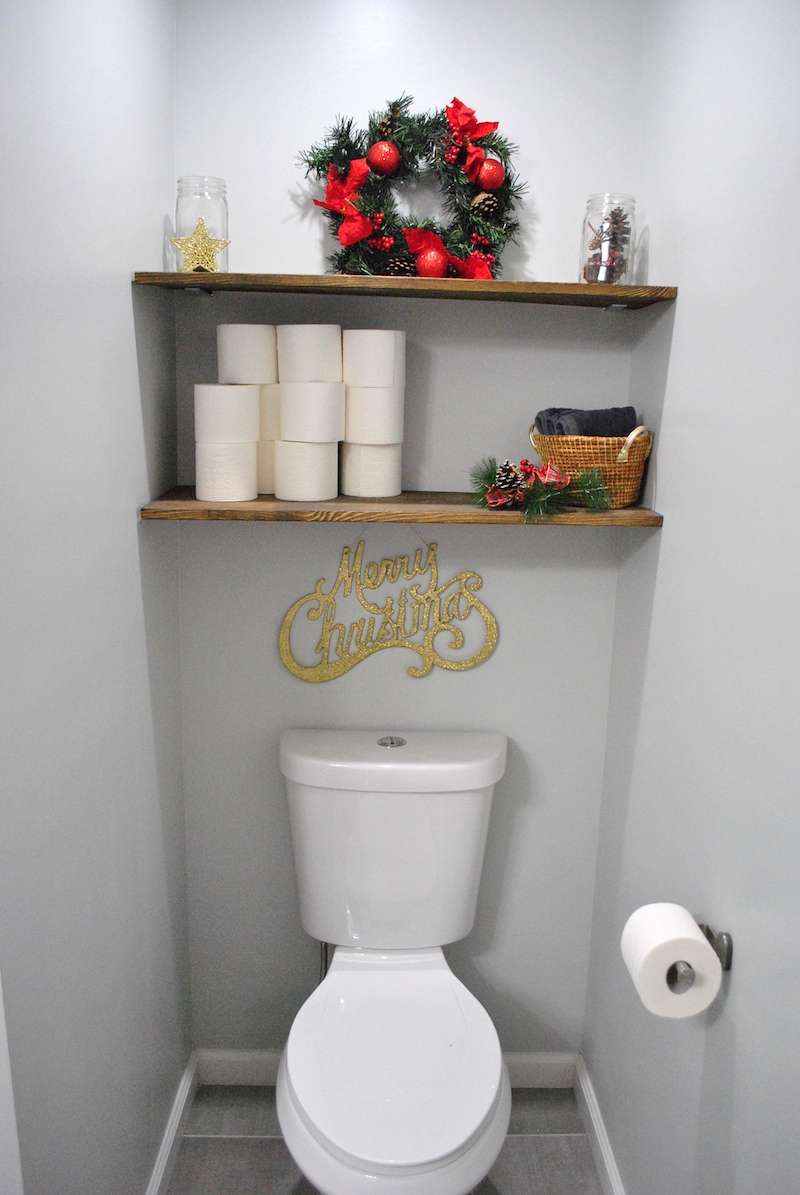
Do you have a lack of storage in your bathroom? We didn’t have anywhere to put extra wash cloths and toilet paper, so I built some shelves above our bathroom toilet. I’m so happy with the results! These are faux floating shelves. If you’ve ever installed true floating shelves (see example here), you know that they are anchored into the wall by a metal insert with rods that jut out of the wall. And then this fits snugly inside the hollow shelf, so it appears nothing is holding the shelf in place.
I knew I wanted my shelves to extend completely from one wall to the other wall. Usually floating shelves are available in only certain lengths, so I’d have to make my own. When I discovered this “cheater” method, I was sold and knew it had to be my next DIY project!

One of my rules of thumb? Don’t run out of toilet paper! I like to buy it in bulk, and I always pick up another pack even if I’m not sure I need it. Now that I have plenty of attractive storage, it’s not a problem!
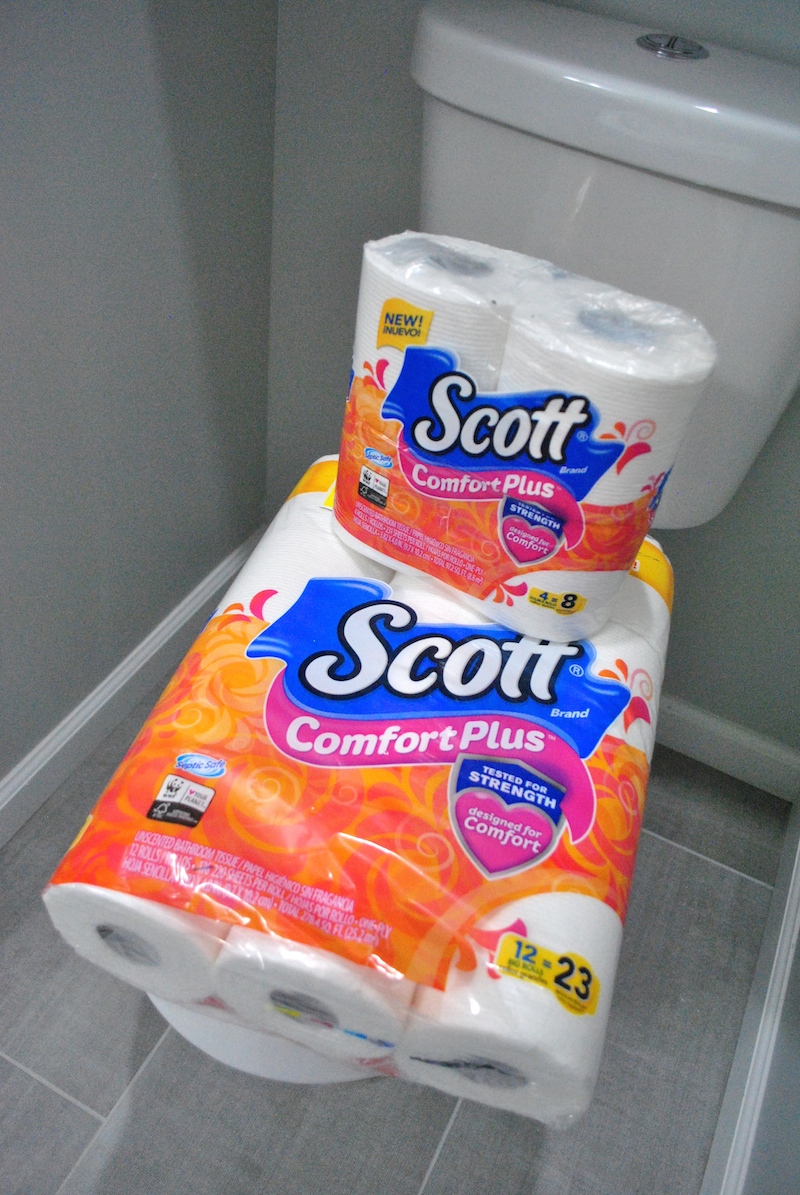
Have you tried Scott® ComfortPlus™ Toilet Paper? I picked up the 12-count Big Roll and a smaller pack for our half bathroom. It’s soft yet strong, and doesn’t clog. Which is extra important now that I have a preschooler who loves to “mummify” his hand in toilet paper each day. Seriously. Any length of toilet paper I offer him… he will grab 10 times more.
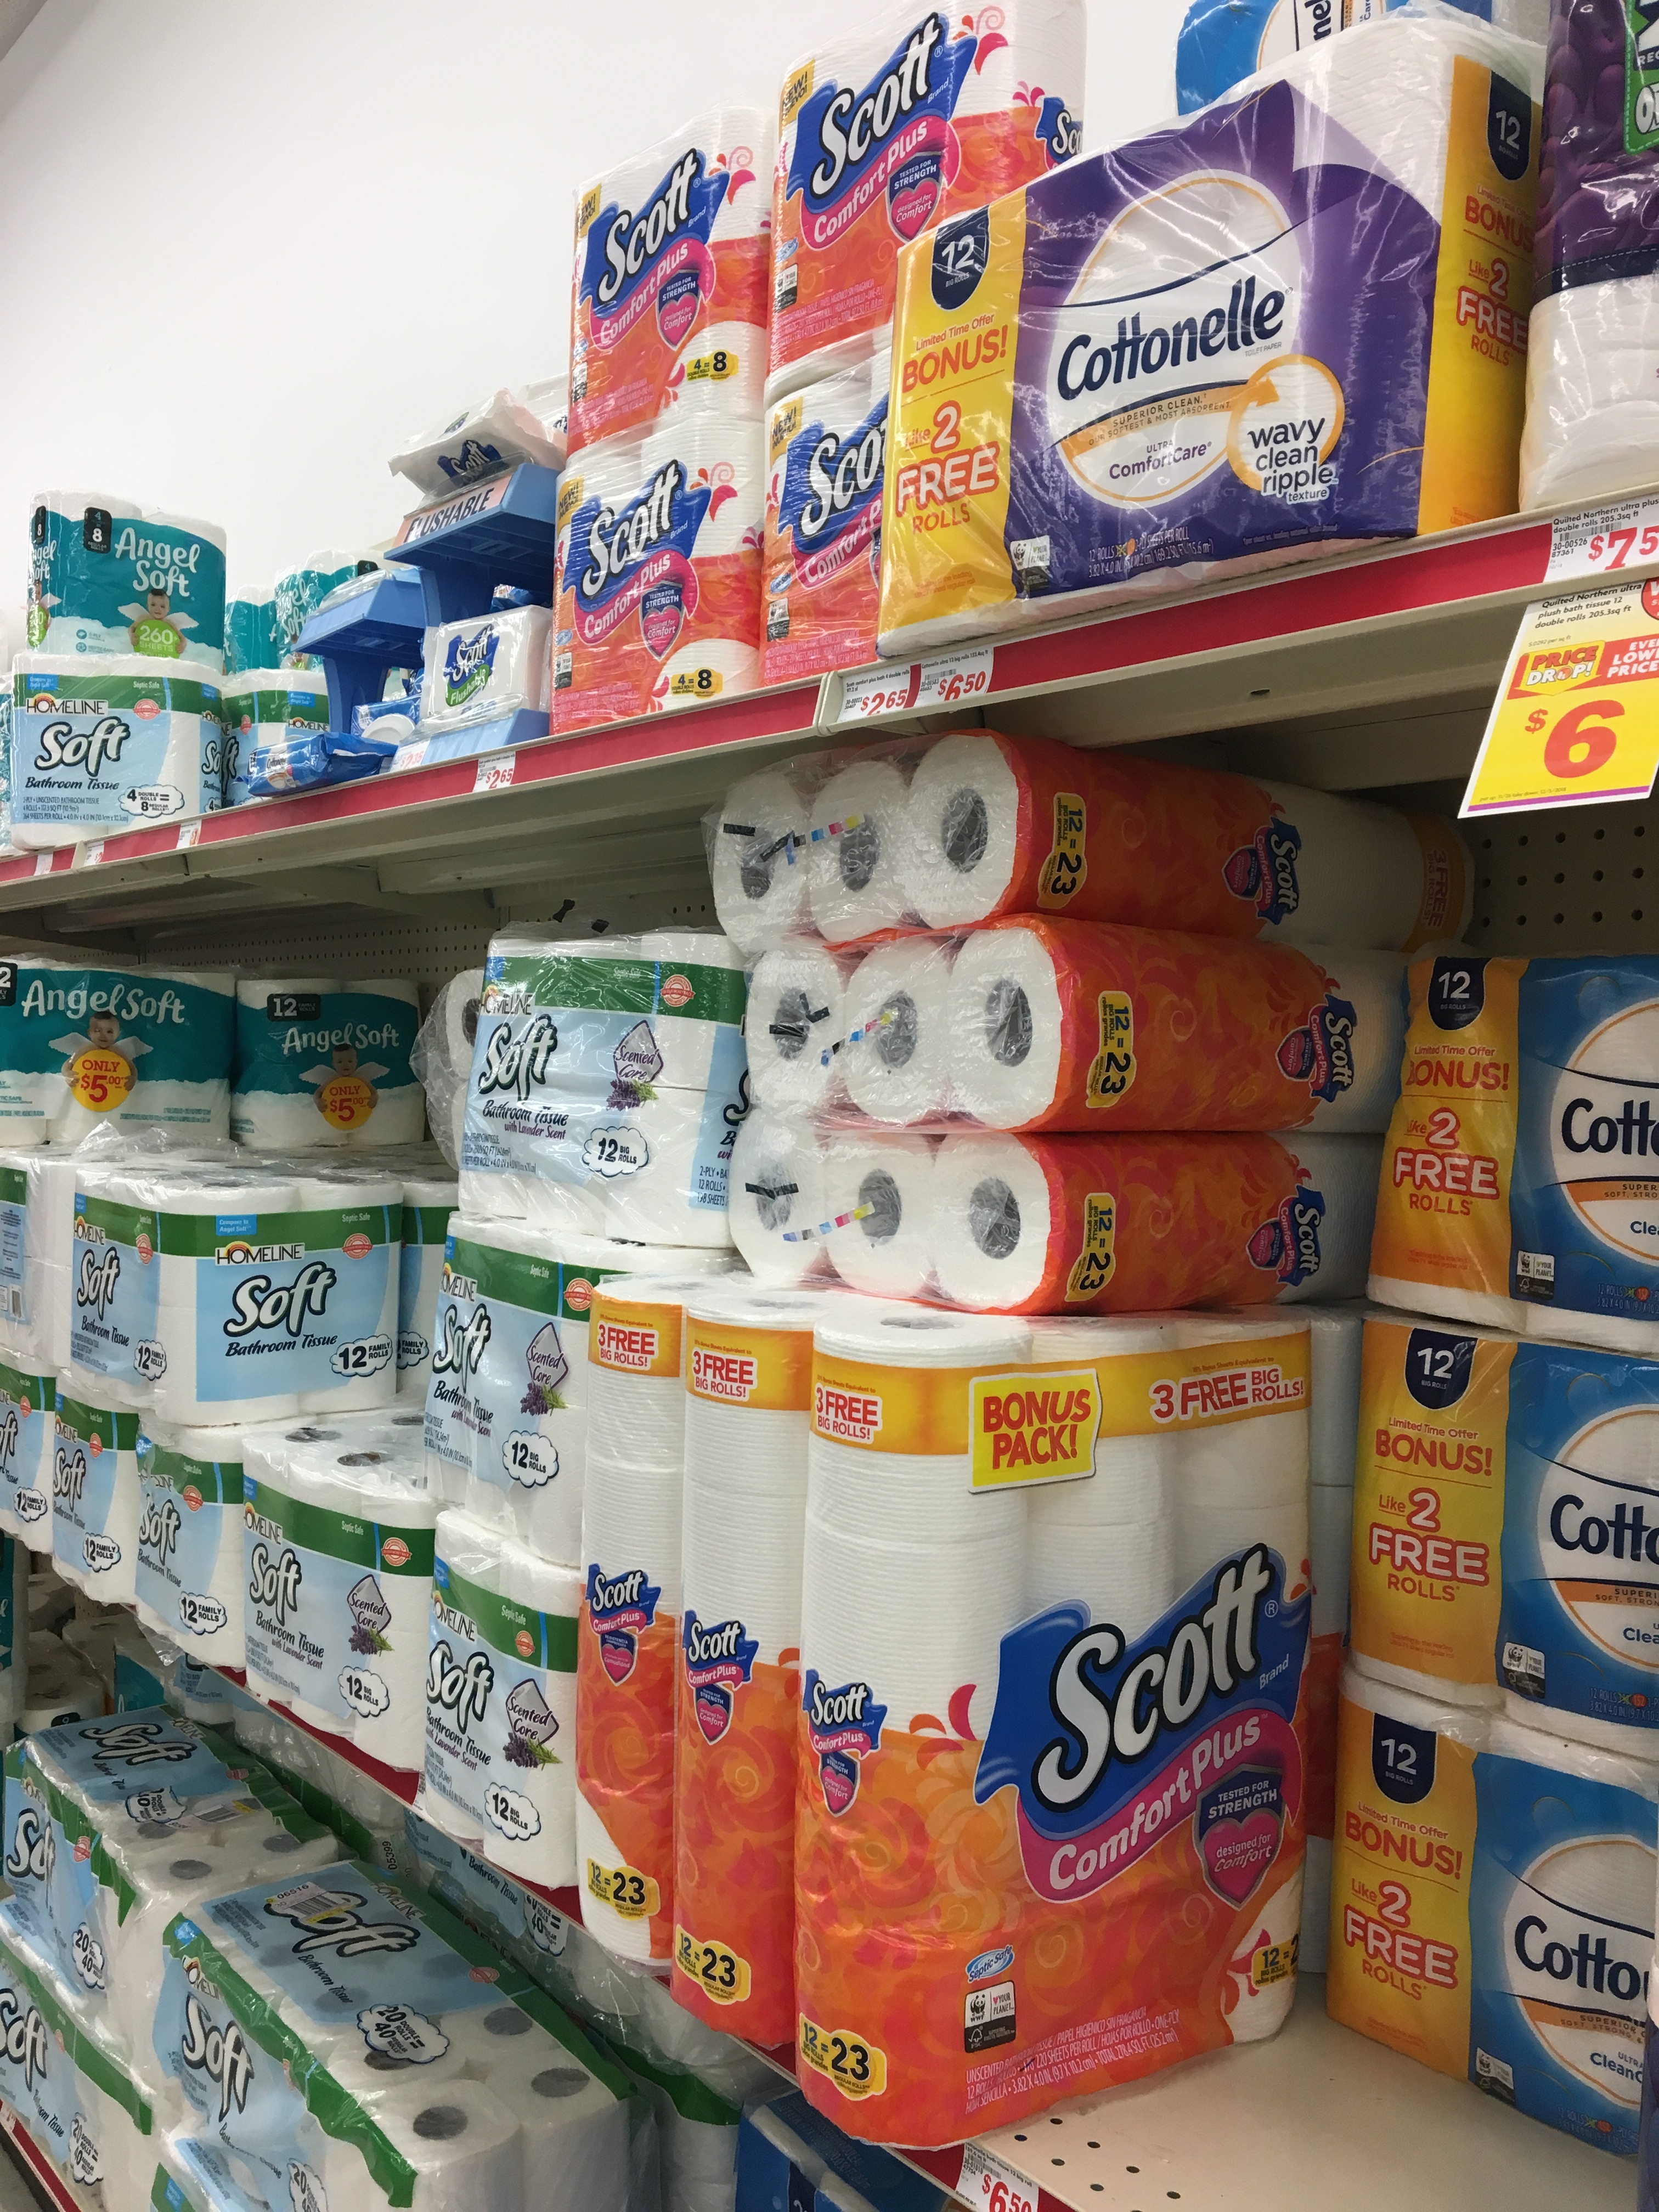
I got many of my holiday decorations (the wreath, glitter sign, and berry spring) at Family Dollar. While I was there, I picked up some more Scott Comfort Plus, which can be found with the other premium toilet papers. Traditional Scott was at the other end of the aisle, but I was glad I kept searching. The super plush version is more our family’s style.
Ready to make some shelves?! You’ll need . . .
Related: 11 Free DIY Adirondack Chair Plans & Kits With Tutorial
Table of Contents
Materials
- Two cuts of wood your desired length. I used 1″ x 12″ x 10′ (10-foot length) common whitewood board, and had them cut it to size at the hardware store.
- Sandpaper (medium- and fine-grit)
- Wood stain and brush
- 4 metal L-shaped corner braces (mine have 3 holes in each side, and measure 5″ x 5″)
- 5/8″ wood screws with a head that’s wider than the holes in your metal braces
- Pencil
- Level
- Tape measure
Related: 13 Free Bunk Bed Plans: The Ultimate Guide to Building a DIY Bunk Bed
Preparation
The day before you install your shelves, sand the shelves on all sides. Apply the wood stain according to the directions, and let dry for 24 hours.
Are you ready to learn the secret behind these floating shelves? Instead of placing the L brackets facing down, so that the wall mount is visible, I place them face up. That way, you can easily hide them by placing an object on the shelf right in front of the metal! Bet you can’t tell there’s a metal bar behind the toilet paper.
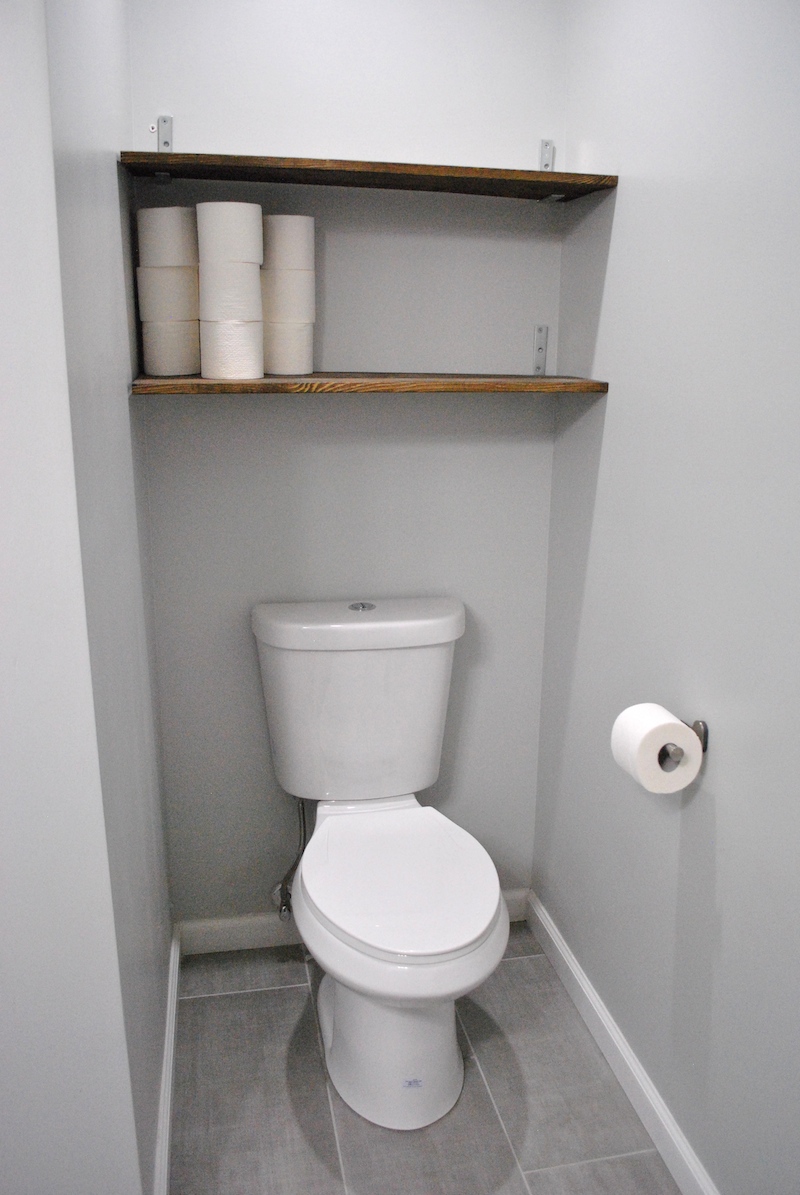
Step 1: Measure
Measure the wall and use a pencil and level to mark the approximate placement of the shelves. Insert your shelves in place to make sure they are the correct width.
Step 2: Screw braces to walls
Install the top metal brace with a single screw in the top hole (see photo above for correct placement). Use a level, tape measure, and pencil to mark the correct placement for the other metal brace. Place the shelf to check placement. Remove the shelf and mark the holes for the second brace. Insert at least two screws into the wall for each brace.
Step 3: Place the shelves
Have a friend help you hold the shelf in place while you do the next step.
Step 4: Screw braces to bottom of shelves
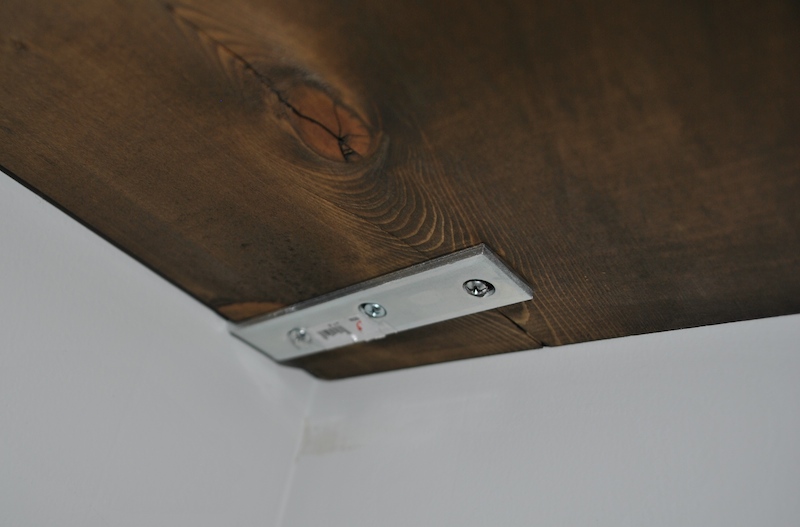
After screwing the brackets into the wall, don’t forget to screw the bracket into the bottom of the shelves on both sides. Use all three screws if you can. Reminder: You’ll need to use short screws that won’t poke through your shelf on the top side. Make sure the screw heads are wider than the bracket holes so they don’t slip through.
Step 6: Decorate!
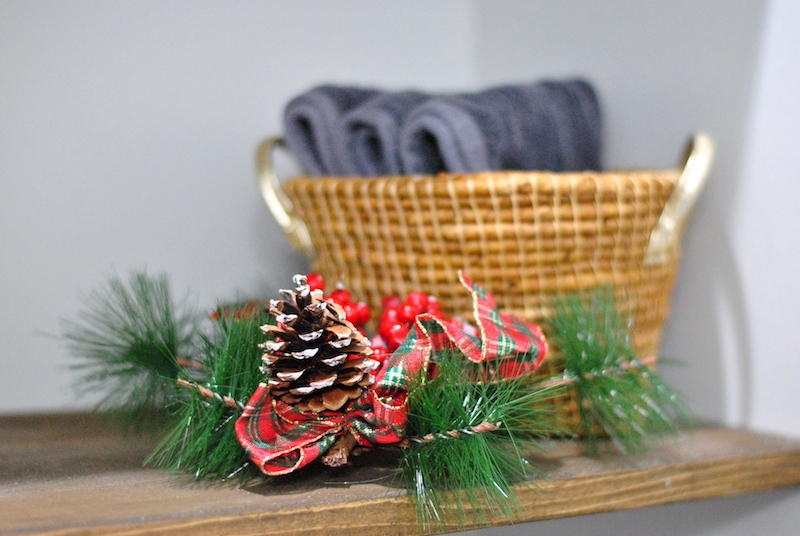
Use your creativity to cover up the exposed parts of the metal braces with any bathroom items you use often, like wash cloths, towels, or cleaners in a pretty basket!
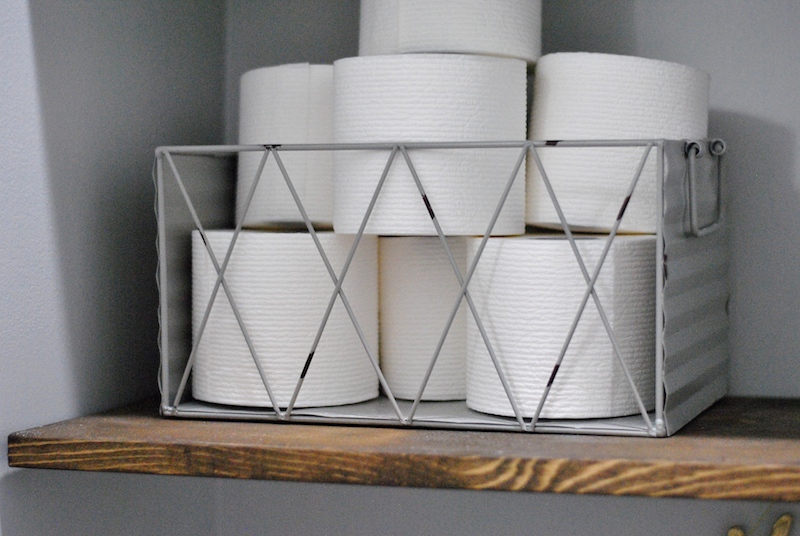
I love rustic metal baskets for a farmhouse look. If I’m storing 6 or fewer rolls, this helps it look more intentional than placing them directly on the wood shelf.
Would you ever guess that there are ugly metal braces here? Seriously…where did they go? If you try your own cheater floating shelves, I’d love to hear about it! I’m so happy with how these turned out.
Sale Alert!
Circular offer for Scott® ComfortPlus™ Toilet Paper 12 CT Big Roll at $4.00 at Family Dollar (Regular retail price is $5) from 12/4/18 to 12/10/18
Check out the Family Dollar store finder to locate a store near you!