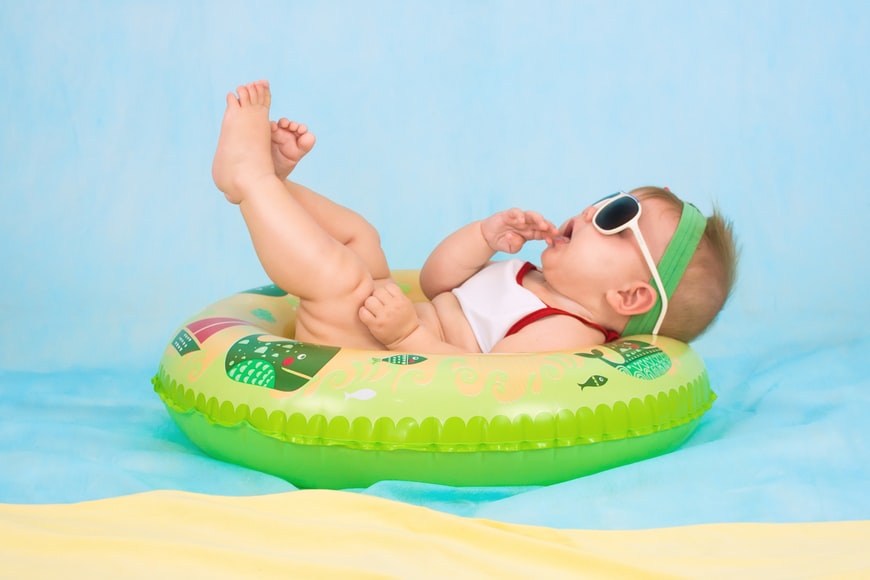
Over the weekend, I flew to Minneapolis to visit Katie, my BFF from college. Katie is a rockstar of a mom. Not only does she have two kids in diapers, but she was getting ready to take them on a 9-hour flight across the Pacific. How does she do it?
Baby Travel Tip: Katie says she packages separate Ziploc bags with everything she will need to feed her little ones, including food, a spoon, and a wet wipe. Dirty utensils and wipes go back in the baggie to be cleaned up later. Or better yet, use a plastic spoon! That way, she can reach down with one hand and just get everything she needs, instead of digging in the carry-on.

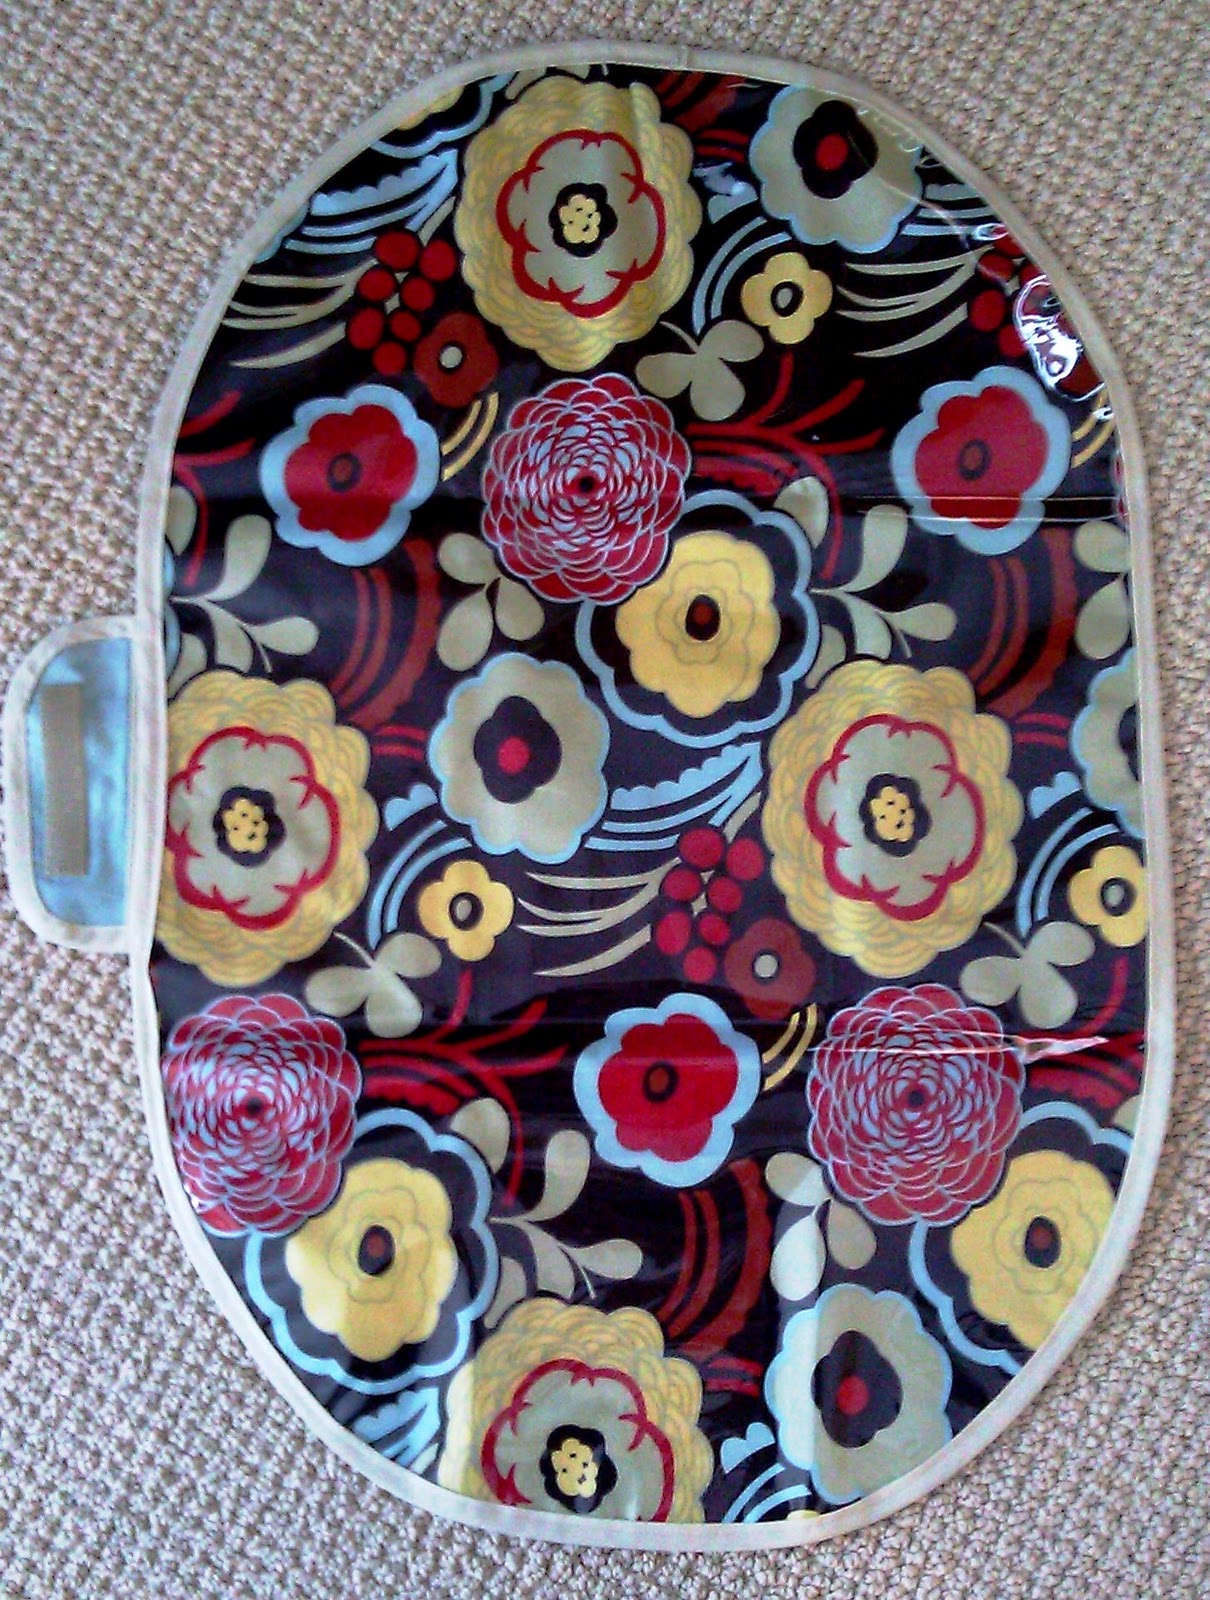
Tutorial: Double-sided Vinyl Changing Mat
Katie wanted a vinyl-changing mat that wasn’t bulky in her purse. A frequent traveler, she also wanted something to pull out in a public restroom and not worry about getting the fabric dirty on the backside, like most cute changing pads are prone to.
This is what we came up with!
Want to make your own?

What do you need to make your changing pads?
- 1/2 yard patterned quilting fabric
- 1/2 yard coordinating solid fabric
- 1 yard 12-gauge vinyl from the craft store, or 1 heavy-duty shower curtain liner (clear). (When buying vinyl, measure the length of the roll to make sure two changing mats will fit. We bought 1.6 yards for two changing pads.)
- Heavy-duty sewing needle
- Coordinating thread
- Velcro strip
- 1 pack (3 yards) double-fold quilt binding
Finished project size: Approximately 24″ x 16″ inches unfolded, 9.5″ x 7″ folded
Step 1
We traced the shape of her existing diaper mat and borrowed the fold lines, making a paper bag pattern. (If you don’t have a model to copy, draw a rectangle that’s 2 feet long and use a dinner plate to trace rounded corners.)
Step 2
Cut the oval shape once each from print and solid fabrics. Cut two ovals from vinyl to make front and back panels. Use scraps of all materials to fashion a rounded handle, about 5 inches by 3 inches.
Step 3
Play with your paper pattern, spacing the fold lines the way you want. Later, you will stitch along these lines on the solid (light blue) layer to make the mat easier to fold. With your pattern piece taller than it is long:
- Fold top edge 2/3 down
- Fold bottom to overlap top
- Fold left edge 2/3 over
- Fold right piece to overlap left

Step 4
Layer one piece of solid fabric and one piece of vinyl. This will show on the outside of your folded mat (our outside is light blue). Lay the paper pattern on the fabric/vinyl sandwich, and repeat the same fold lines. Mark fold lines with masking tape and stitch fabric and vinyl together along those lines.
Step 5
Layer your materials in this order to make a “materials sandwich”:
- Bottom: vinyl stitched to the solid fabric, with fabric facing up
- Middle: patterned fabric (design face up)
- Top: another piece of vinyl
Step 6
Practice using the fold lines you sewed earlier and determine where you want your outer velcro to go with your materials sandwich. Stitch velcro to vinyl/solid fabric layer only. The velcro will be positioned on the center square (see photo above) of the solid side of your changing mat. The other velcro piece will attach to the flap, cut out but not yet sewn.
Step 7
With one side of velcro now attached, sew binding around the quilt sandwich to create this:

Tip: I used paperclips to hold the layers together while I attached the binding. This is a great way to keep everything smooth when your fingers can’t get that close. Two large paperclips seem to be the perfect tools for dragging along an inch at a time to smooth the binding and secure the layers.

Step 8
Now, it’s time for the flap. Attach velcro a half-inch from the long, straight edge of one vinyl flap piece. Assemble flap into the same type of materials sandwich you created earlier (see step 5) and secure edges with paper clips while you attach the binding.
Step 9
Place the flap into position on the changing mat, close enough to the edge, so flap binding overlaps mat binding. Make sure velcro strips align, and sew the flap to changing mat.
You’re done! Fold up and stow away in your purse or diaper bag for a lightweight, totally portable changing mat that you won’t mind getting dirty.

Thanks, Melissa for letting me share this tutorial! Don’t forget to enter the Sherbet Pips giveaway at Craft Buds!


6 comments
>Very cute!! And I love Katie's tip about putting everything you need for each snack in a separate ziploc baggie … I have heard a similar tip with regard to clothing (put each day's clothing in a labeled bag, and that way even Daddy can manage to put together a matching outfit, ha!). Will file away for future use. 🙂
Keep up with me, Ted, and our Fab Four at four-by-two.blogspot.com.
>Haha! I like the clothing tip. If only someone would put my outfit in a bag, to tell me what to wear every morning. 🙂
>What a cute idea! I'll have to keep this in mind for the future : )
>cute! I clicked over from Paisley Passions just because that is one of my favorite fabrics!!
>Clever and cute! The laminated fabrics are so convenient.
>Hezké…