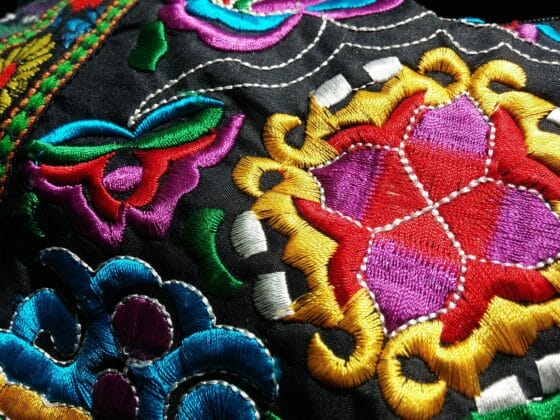
If you have recently started exploring the magical world of hand embroidery, you may have heard of split stitches. This classic stitch is useful for beginners and experts alike. It’s a simple technique that can take your needlework to new heights. So, it’s not hard at all to learn how to do an embroidery split stitch, that’s for sure.
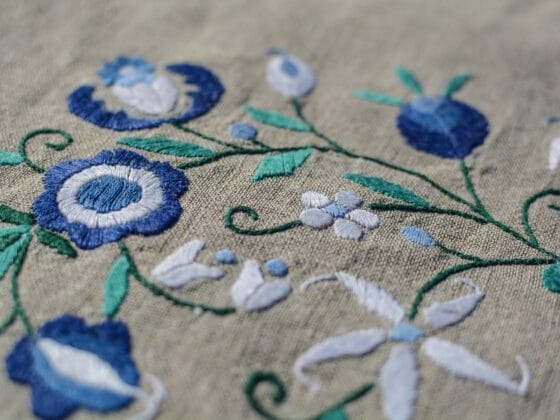
The split stitch is a technique in which the thread strands are split with the needle. It’s popular as an outlining stitch, and you can use it to sew open designs. But it’s also useful for filling designs and open spaces to develop a textured surface.
Once you master the split stitching technique, you can upgrade your designs with its variations. So grab your threaded needle and fabric, and dive in right away!
Table of Contents
What Is the History of the Split Stitch?
The history of split stitches can be traced back to the 7th and 8th centuries. Egypt’s Coptic linen textile used split stitches extensively, among other embroidery techniques.
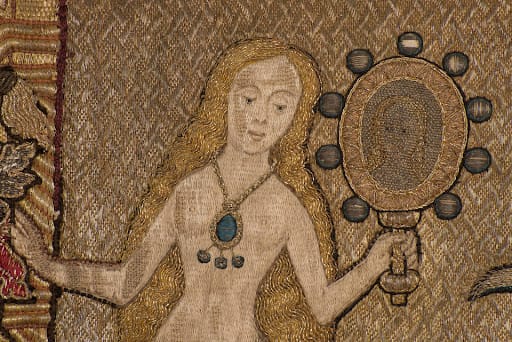
The earliest notable examples of split stitches are in the Opus Anglicanum needlework between the 12th to mid-14th centuries. It was also used in the 14th-century Byzantine embroidery and Heraldic embroidery of the pre-1600 period.
The tradition of using the split stitch continued in Europe in the 17th-century Icelandic and Jacobean crewel embroidery styles.
In these Western styles, the stitch was immensely popular as a filling technique. Meanwhile, in the East, Chinese embroidery in the Ming dynasty between the 14th and 17th centuries used this stitch to craft precise lines.
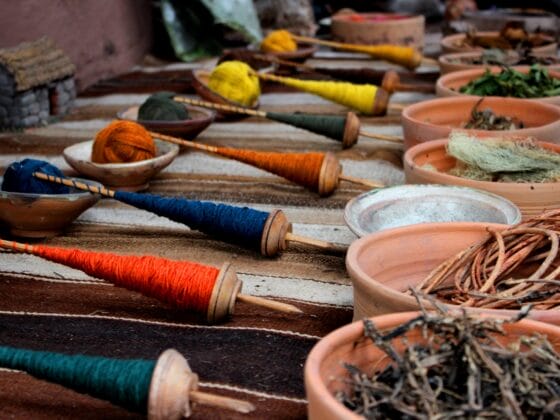
Split Stitch: Materials You Need
Making a split stitch requires you to pass the needle through the thread. So, you need to choose the right thread and needle for this purpose. Apart from that, the elementary embroidery tools are sufficient.
What Needle is the Best for Split Stitch Embroidery?
For split stitch embroidery, crewel and chenille needles are the best. You need a needle with a sharp tip to split and pass through the thread. Both these needles can do that.
Crewel needles have large eyes for multiple strands or thick thread types. On the other hand, chenille needles are better for finer threads and fewer thread strands.
What Kind of Thread Do You Use for a Split Stitch?
Use an untwisted or loosely twisted thread for your split-stitch embroidery project. You can use the six-strand cotton embroidery floss. This thread is easy to split into one, two, or three strands, depending on the thickness of the stitch you want.
Another thread you can use is the thick Perle cotton. Other options include silk floss, yarn, or flower thread. Use pairs when you’re employing a single-strand thread like the flower thread.
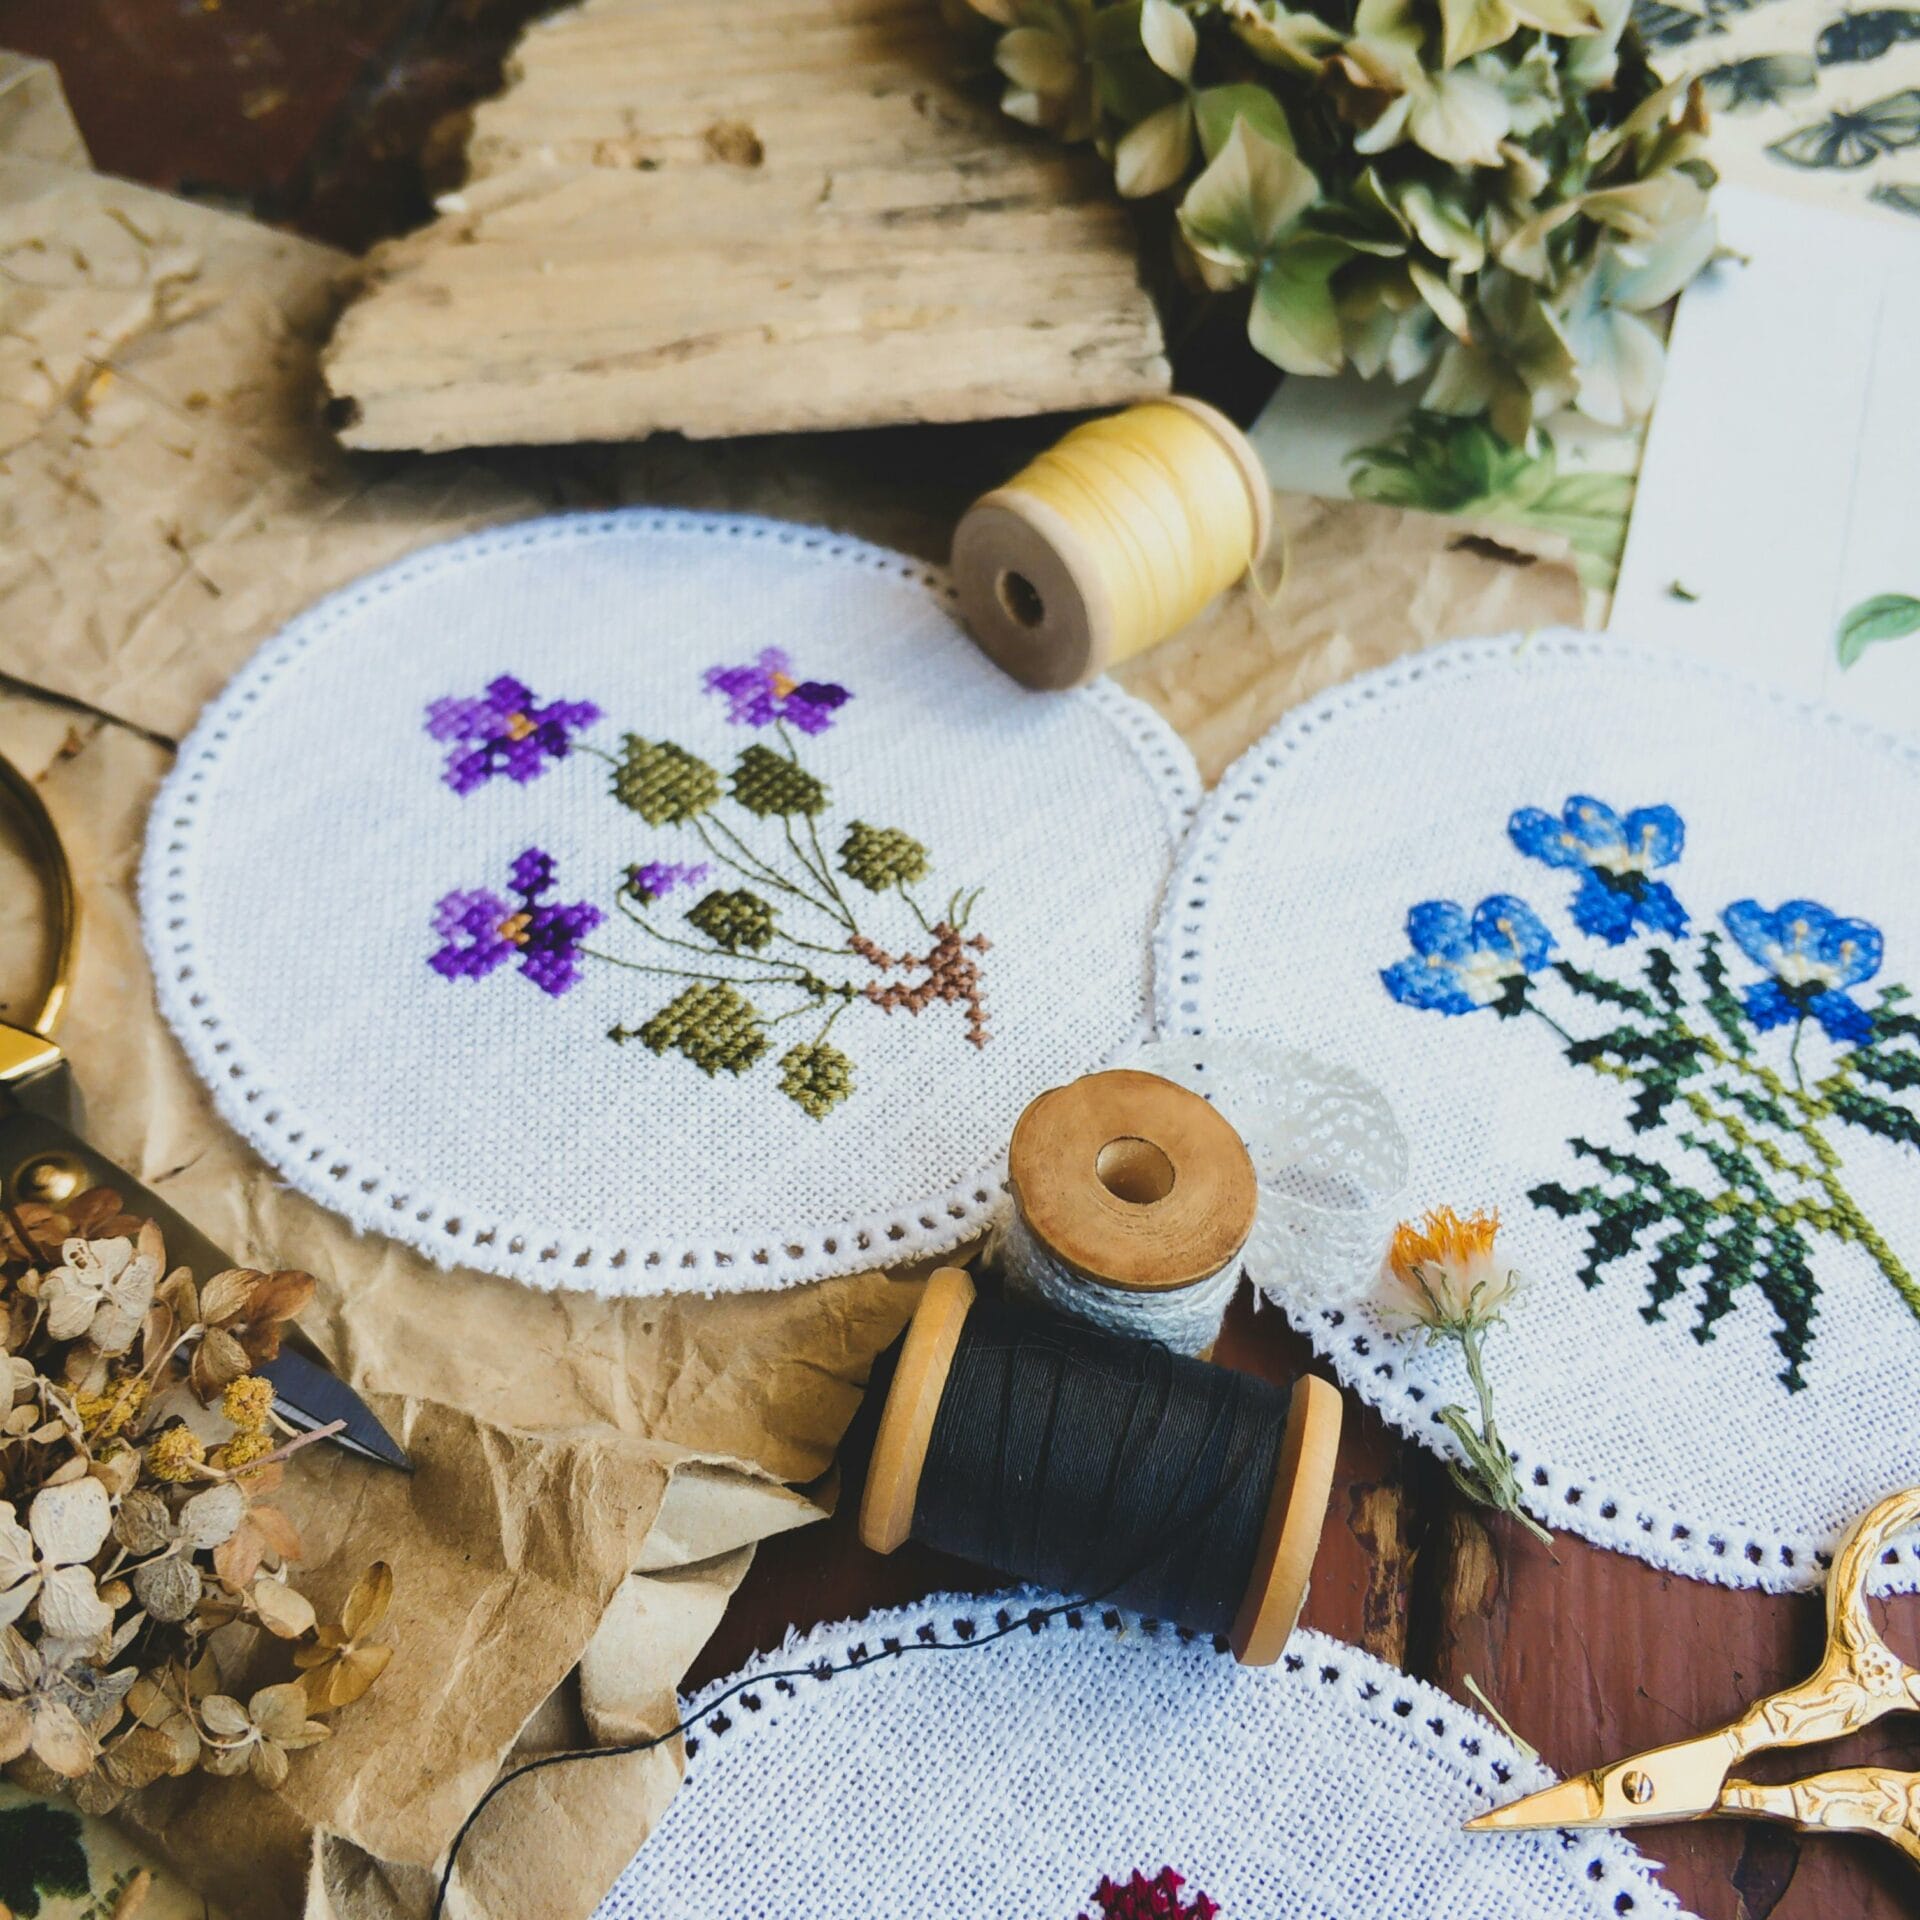
What is the Ideal Fabric for Split Stitch?
As split stitches are best done with a thick thread, it’s a good idea to pick an open, even-weave fabric option. It should be dense enough to let a thick needle through it easily. Cotton, linen, and calico are suitable for this stitch. You can also use Aida or cotton/rayon blends.
Other Tools and Materials
Besides your thread, fabric, and needle, you need the following:
- Embroidery hoop
- Embroidery scissors
- Needle threader
- Marking tools
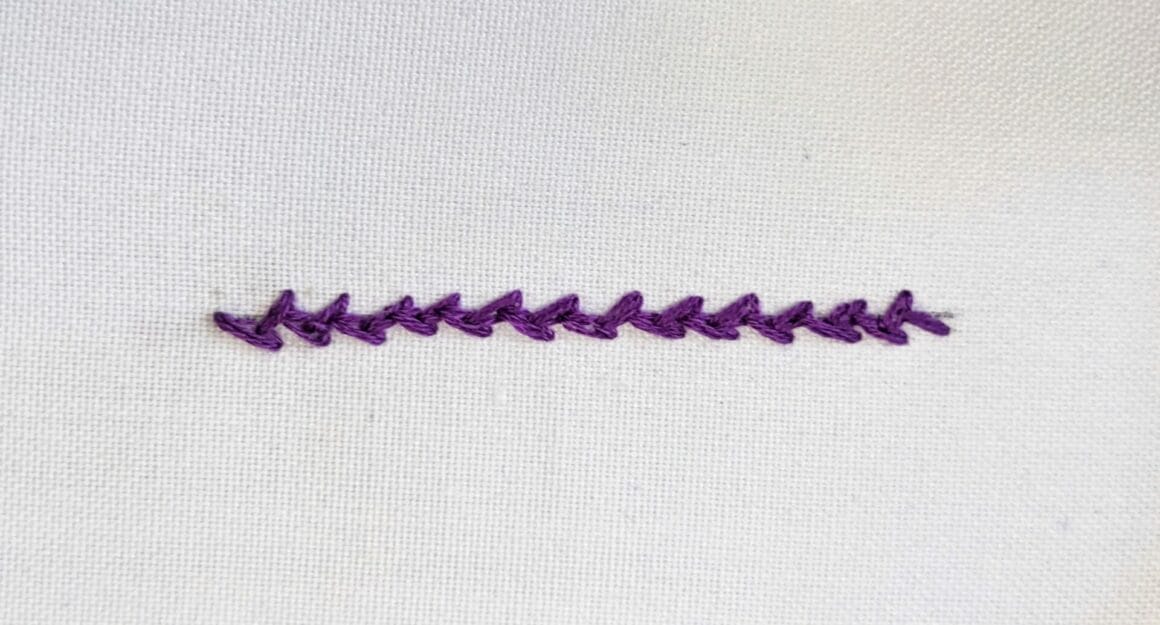
How to Do a Split Stitch: A Step-by-Step Guide
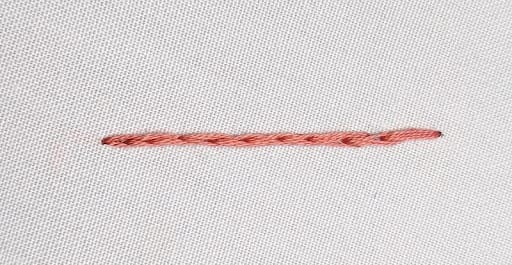
The split stitch is a fundamental technique that’s easy for you to learn. You can use it for outlining patterns and filling spaces. The idea is to divide the thread with the needle head as you keep sewing. This gives a textured appearance.
Once you have threaded the needle and secured the fabric in the hoop, follow the steps below to do the split stitch:
- Start by inserting the threaded needle into the fabric from the back and pull it up at the starting point. This is point A.
- Next, form your first stitch by pushing the needle down into the fabric at point B, a little ahead of point A.
- Now, push the needle back up between points A and B at point C. Use the tip to go through the thread of the first stitch, splitting it.
- Then, begin the second stitch by inserting the needle down at point D. The gap between points C and D should be the same as between points A and B.
- After that, bring the needle back to point B and push it up from the back. Split the thread of the stitch as you do so.
- Continue the process, with each stitch placed through the middle of the previous stitch.
As you can see, this is a beginner-friendly technique. Here’s a video to help you.
Split Stitch: Variations
The split stitch is only elementary, and over the years, embroiderers have developed some interesting variations of this technique.
Once you learn to do the split stitch, its variations will be a piece of cake.
Stacked Split Stitch
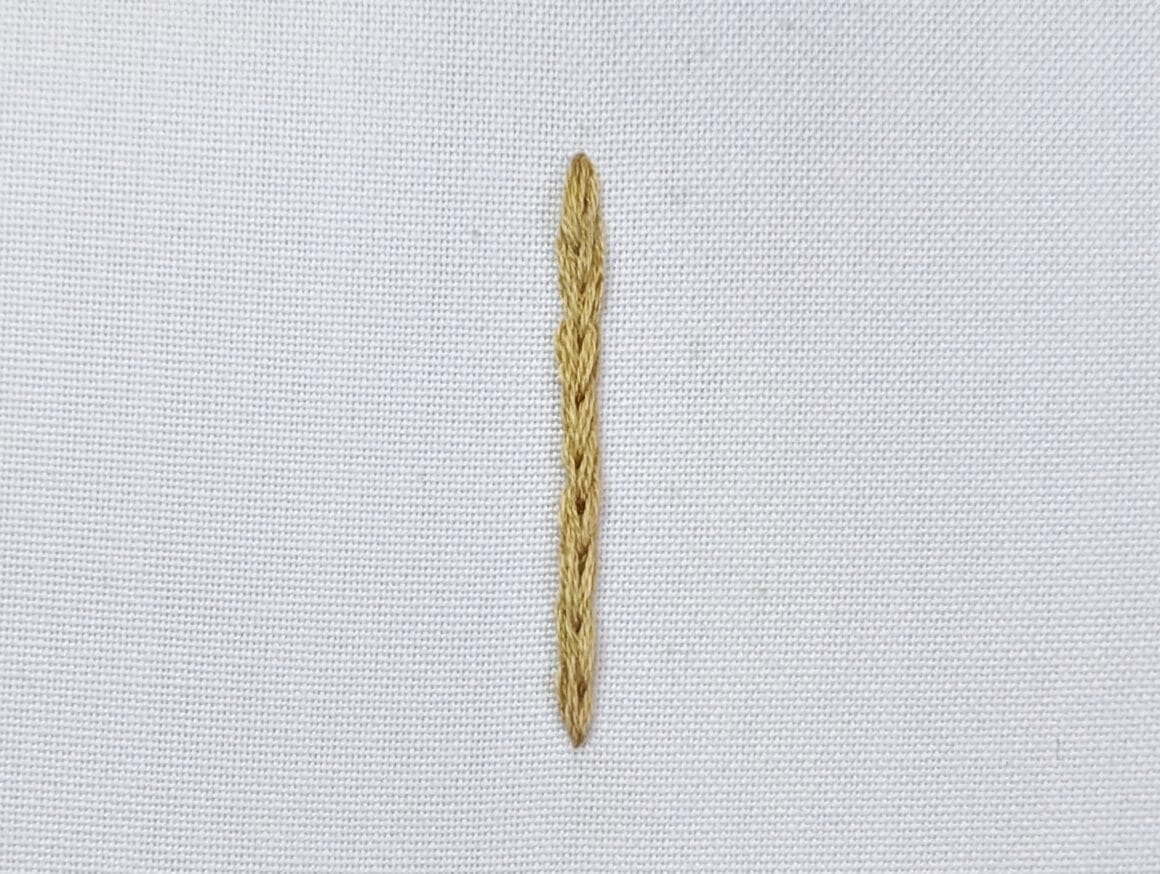
A stacked split stitch involves creating multiple layers of split stitches on top of each other. This stitch adds a grainy dimension, depth, and texture to the design. Experiment with the stitch spacing and different thread colors to achieve various effects.
Here’s how to create a stacked split stitch:
- Start by making a simple stitch. Bring your threaded needle up through the fabric from the back and push it back in, leaving a gap.
- Now, make a split stitch by inserting the needle. Divide the thread of the stitch. Then, push the needle back down into the fabric.
- Next, instead of moving on to the next stitch, bring the needle up through the fabric from the back at a point just inside the previous split stitch.
- After that, follow the same process as before. Create a new split stitch closely aligned with the previous one, covering a part of it.
- Then, continue to follow the same method and keep adding split stitches on top of each other. Each new stitch should overlap the previous one partially.
- Once you’ve created the desired thickness or pattern, secure the end of the thread by inserting the needle back down into the fabric.
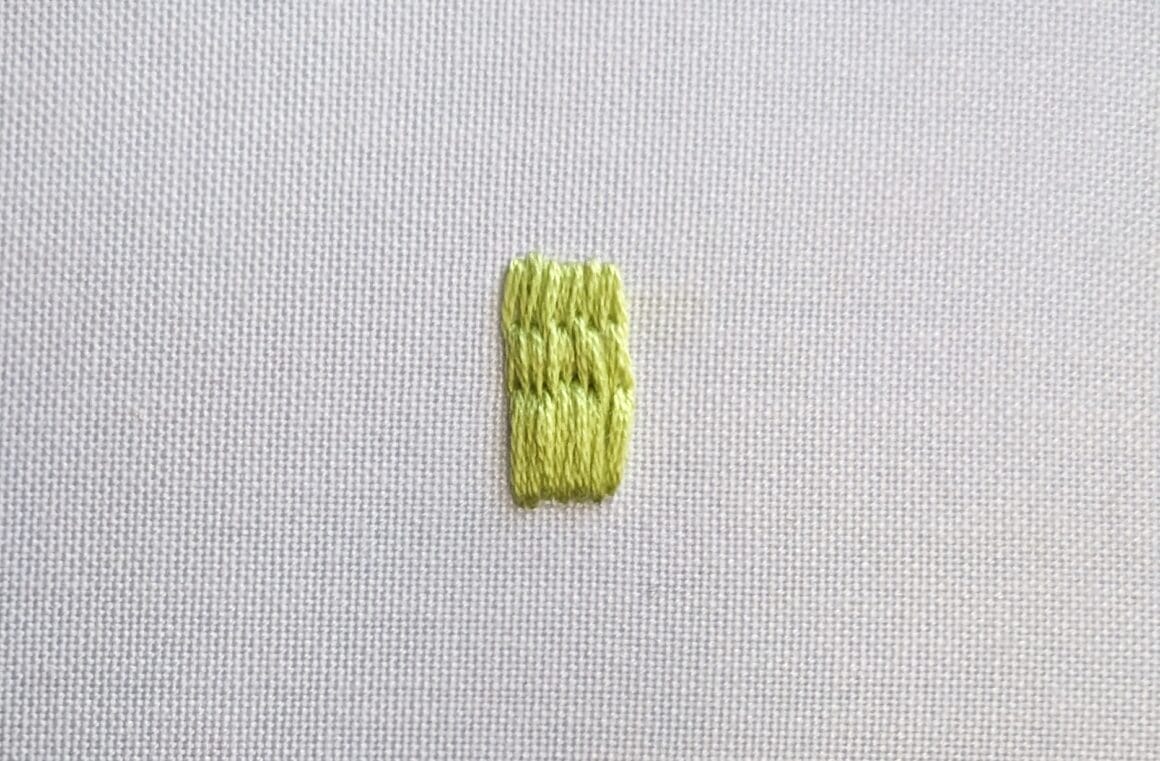
Whipped Split Stitch

A whipped split stitch involves ‘whipping,’ i.e., adding an extra thread on top of a split stitch. Doing so will give it a raised, rope-like visual effect. You can use it for outlining or adding texture to a design.
Experiment with different thread colors and thicknesses to achieve various decorative effects.
Here’s how to create a whipped split stitch:
- Start by making a simple stitch. Bring your threaded needle up from the back of the fabric and insert it down a little ahead.
- Then, split the thread with the needle tip from the back and push the needle down into the fabric.
- Now, do not make the next split stitch. Instead, bring your needle up from the back at a point just inside the previous split stitch.
- To start the whipping process, wrap the thread around the previous split stitch by passing your needle over it.
- Continue this whipping motion across the entire length of the first split stitch.
- Once you’ve whipped the entire split stitch, insert the needle back down into the fabric to secure the end of the thread.
Encroaching Split Stitch
The encroaching split stitch is an embroidery technique that combines elements of split stitch and long and short stitch. It’s used to create a smooth, shaded, and textured surface in embroidery.
Here’s how to do it:
- Start by bringing your needle up through the fabric where you want to begin your stitch.
- Insert the needle back into the fabric a short distance away, creating the first stitch of your split stitch.
- Bring the needle up again slightly ahead of the previous stitch and insert it back down at the same point where the previous stitch ended, splitting the stitch.
- Repeat the process, making split stitches that encroach upon each other, like the shingles on a roof. As you progress, make each stitch slightly longer than the previous one.
- Gradually fill in the area you want to cover with these encroaching split stitches. The stitches should overlap and create a smooth transition from one shade or color to another.
- To achieve shading, you can use different thread colors or shades and vary the length and spacing of the stitches.
The encroaching split stitch is often used in surface embroidery for creating realistic shading and texture, particularly in techniques like needle painting or thread painting. It can be a bit more advanced and time-consuming but produces beautiful results.
Laid Split Stitch
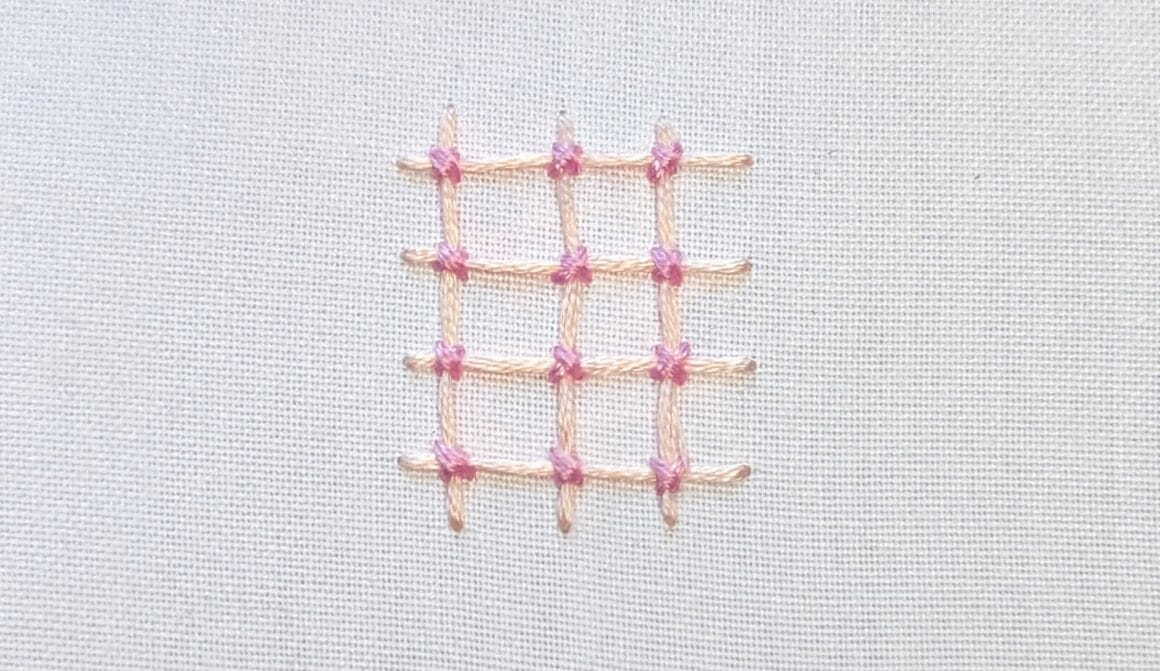
Laid split stitch, also known as “Laid work split stitch,” is an embroidery technique used for creating a textured and decorative surface. It combines the characteristics of laid work and split stitch.
Here’s how to do it:
- Start by bringing your needle up through the fabric where you want to begin your stitch.
- Insert the needle back into the fabric a short distance away, creating the first stitch of your split stitch.
- Instead of bringing the needle up directly through the center of the stitch, lay a strand of embroidery thread horizontally across the stitch, parallel to the direction of your desired line.
- Continue making split stitches over the laid thread, passing your needle through both the fabric and the laid thread with each stitch.
- As you make each split stitch, ensure that the laid thread remains flat and parallel to the line you’re stitching.
- Continue stitching, laying additional threads as needed to cover the area you want to embroider.
The laid split stitch is often used for creating textured lines, outlines, or filling areas in embroidery projects. The laid threads add dimension and interest to the design.
Side Split Stitch
The side split stitch is a type of hand embroidery stitch used to create a decorative and textured line. It’s similar to the basic split stitch but with variation in the way the thread splits.
To create a side split stitch:
- Start with a single stitch or a small backstitch.
- Bring the needle up through the fabric at the starting point.
- Insert the needle back into the fabric just to the side of the starting point, creating a small diagonal stitch.
- Bring the needle up again, splitting the previous stitch horizontally and creating a “‘split” in the thread.
- Repeat steps 3 and 4, spacing the stitches evenly along your desired line.
This stitch is often used for outlining and can create a lovely textured effect.
Other Variations
Another interesting technique similar to the split stitch is the split back stitch. It involves creating a back stitch that’s split from above the stitch.
For this, you have to make a simple stitch first by inserting a threaded needle from the back and pushing it back into the fabric at a distance.
Then, you again push the needle up ahead of the ending point of the first stitch (instead of going back to a point between the first stitch). Now, insert the needle tip into the middle of the first stitch to split it from the top.
In addition, the Swedish or detached split stitch is one extremely easy variation that uses the same sewing technique as the split stitch. The only difference is in the use of strand colors. You have to use two strands of different colors.
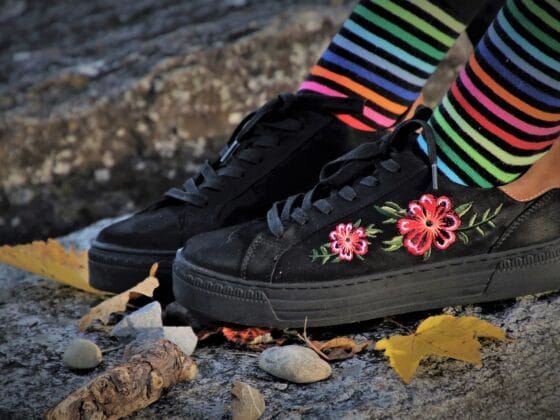
Split Stitch: Uses and Pattern Ideas
to learn any other technique beyond this one stitch! It works on lines, curves, and empty spaces. And the variations of this technique add dimensions to the designs, too!
Why Do We Use a Split Stitch?
The split stitch is a decorative sewing technique. You can use it for outlines to draw patterns – a stem, a bird, or a letter. It can come in handy as the padding of other stitches. You can even use a single split stitch or as a filler to cover empty spaces.
Letter Embroidery Pattern with a Split Stitch
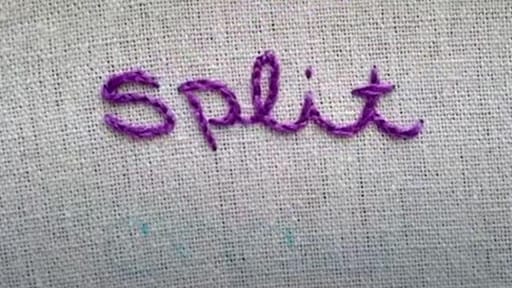
The split stitch is extremely versatile and can be used in making different types of designs. So, let’s take a look at an easy split-stitch pattern for you to try out.
Letter embroidery is a popular choice, especially for handmade gifts or personalized items. While there are many stitches to do it, the split stitch technique is one of the simplest ways. It lets you “write” anything on the fabric surface using a single line.
Check out the tutorial in this video that also shows other ways to stitch letters.
More Embroidery Tutorials
- 20 Essential Embroidery Stitches You Should Know
- The Embroidery Stem Stitch
- The Running Stitch in Embroidery
- The Embroidery Chain Stitch
- The Embroidery Running Stitch
- The Embroidery French Knot
- The Embroidery Back Stitch
- The Embroidery Couching Stitch
How to Do an Embroidery Split Stitch: FAQs
Q: Is split stitch a decorative stitch?
A: Yes, the split stitch is a decorative stitching technique in hand embroidery. It is one of the most versatile sewing methods that you can use for outlining and as a filler. From stems and branches of trees to animals and letters, it can do it all. It is also padding for other stitches.
Q: What is the difference between a split stitch and a stem stitch?
A: In split stitches, you must pass the needle through the thread and divide the strands. But, for stem stitches, the needle passes the thread from one side without splitting the thread. The uses of the two stitches are similar, but the sewing techniques are different.
Q: What is another name for split stitch?
A: Another name for the split stitch is the Kensington outline stitch, a technique of long and short stitches. It is also referred to as the Opus Anglicanum stitch due to the extensive use of the technique in the English needlework. It is called Punto partido in Spanish.
Q: How many threads do you need for a split stitch?
A: You need at least two threads or two strands of one untwisted thread to make a split stitch. You can use more as long as the number of threads or strands is even, i.e., four, six, eight, or more. That’s because this technique needs you to divide a stitch thread through the center.
Q: Are split stitch and chain stitch the same?
A: No, the split stitch and the chain stitch are not the same, though they may look similar. In split stitching, you must pass the needle through the thread of a stitch to split it. In chain stitching, you have to pass the needle through a loop of thread fabric without the splitting action.
Conclusion
The split stitch is adaptable, easy, and flexible, making it every embroiderer’s best friend. It may be a basic stitch, but it has the ability to create masterpieces.
So experiment with the split stitch and its variations, and get ready to pour your imagination onto the fabric!