Rubber band bracelets add a unique charm to your personality, irrespective of who you are. From kids to adults, everyone adores them. Although ready-made bracelets are not bad, I prefer making them at home using my creative skills. This is a great way to pass time as well!
Like me, you can also make rubber band bracelets; all you need is a Rainbow Loom tool. This method is so tidy and easy that even your kids won’t ask for help.
Continue reading as I share my top 10 bracelet ideas. No access to the loom? Don’t worry. Some rubber band bracelet ideas don’t need a loom.
But first, check the following two quick tutorials to make a rubber band bracelet using the loom and your fingers.
Related: 10 Cool Friendship Bracelet Patterns – For Beginner To Advanced Crafters
How Do I Make Rubber Band Bracelets – Use The Rainbow Loom
Video Tutorial: https://youtu.be/IXuFV0y3HzY
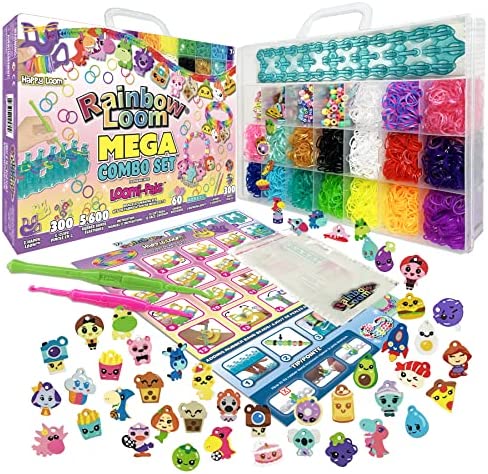
For this tutorial, you’ll need the Rainbow Loom kit. You can purchase it online or at any offline retailer. This kit includes everything you need for your bracelets, from rubber/plastic bands to c-clips.
Related: Matching Bracelets Ideas & Meanings
However, if you’ve purchased the craft kit separately, gather the following additional supplies.
- Colorful rubber bands
- Loom or crochet hook
- C-clips
Once done, follow these steps for your loom bracelet.
Related: Alpha Bracelet Patterns: How Are They Different From Typical Bracelet
- Lay Down The Rubber Bands On The Loom
Choose any of your 2 favorite colored rubber bands and start laying them on the loom.
- Place the Rainbow Loom down so that its red arrow faces away from you and the curved sides of the pegs face you.
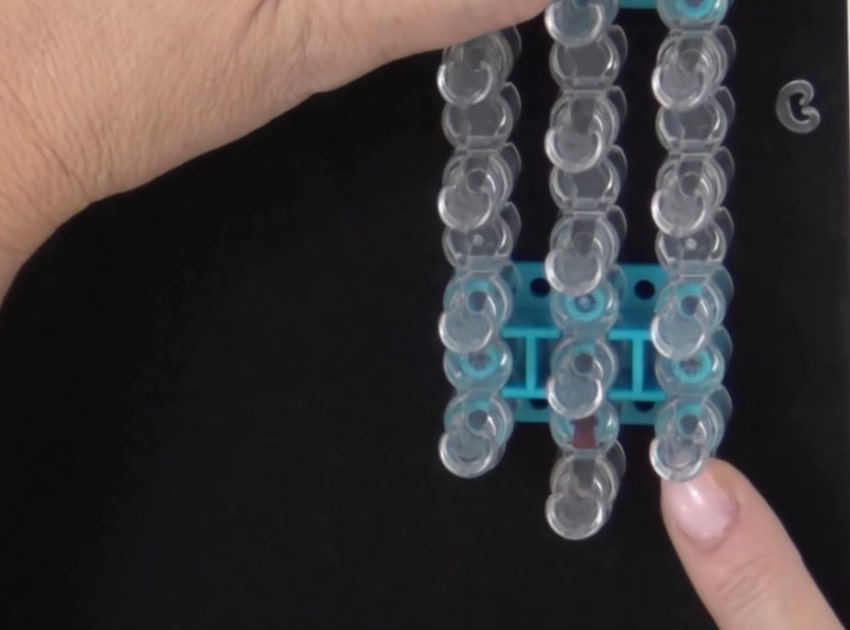
- Stretch the 1st rubber band between the first middle peg and the outside middle peg on the right. Push the band down, so it sits firmly around the pegs.
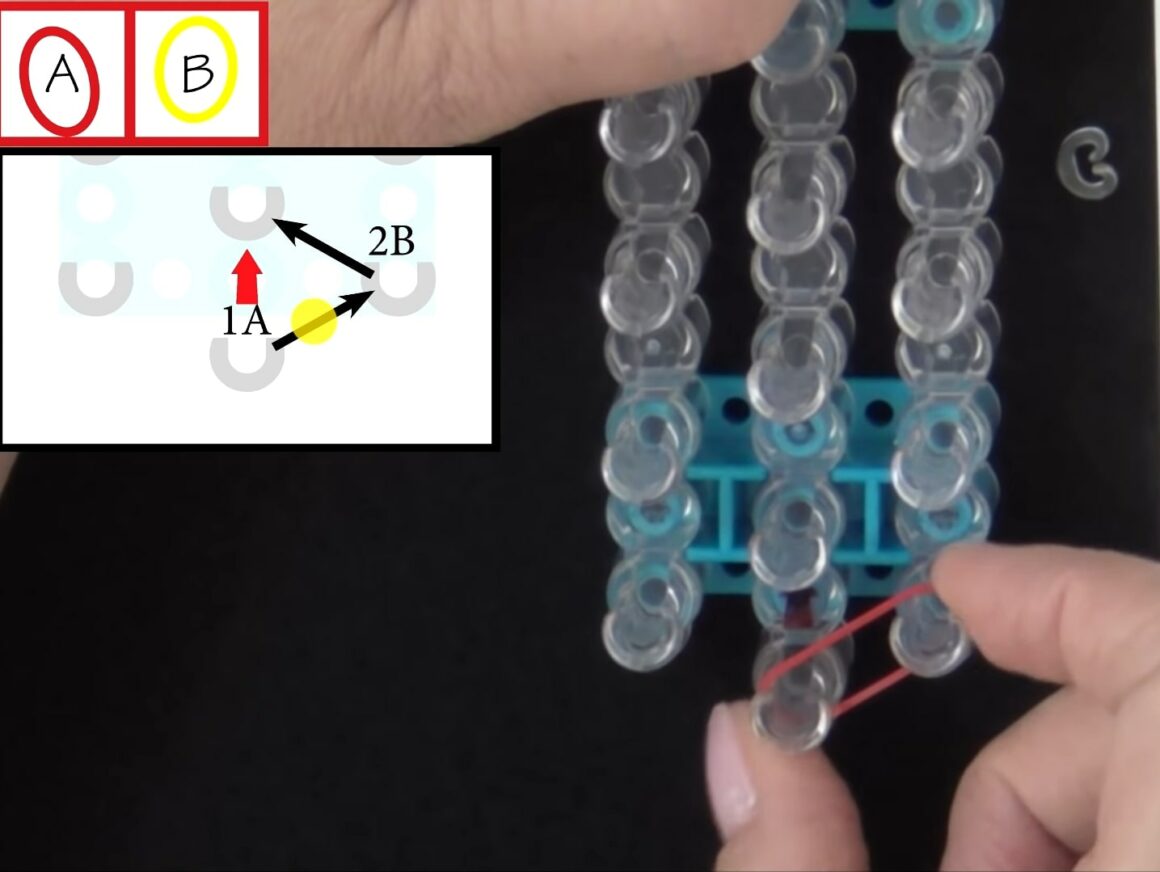
- Stretch the 2nd band between the outside middle peg (where the 1st band is also wrapped) and the next middle peg on the left (since we started from the extreme right this time).
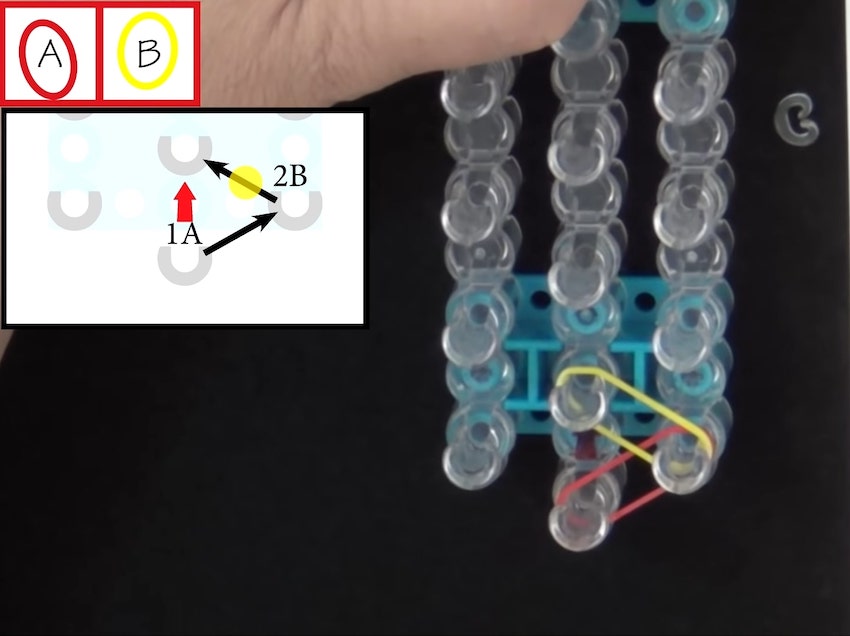
- Repeat these steps up the loom, ensuring each band sits on top of the previous one.
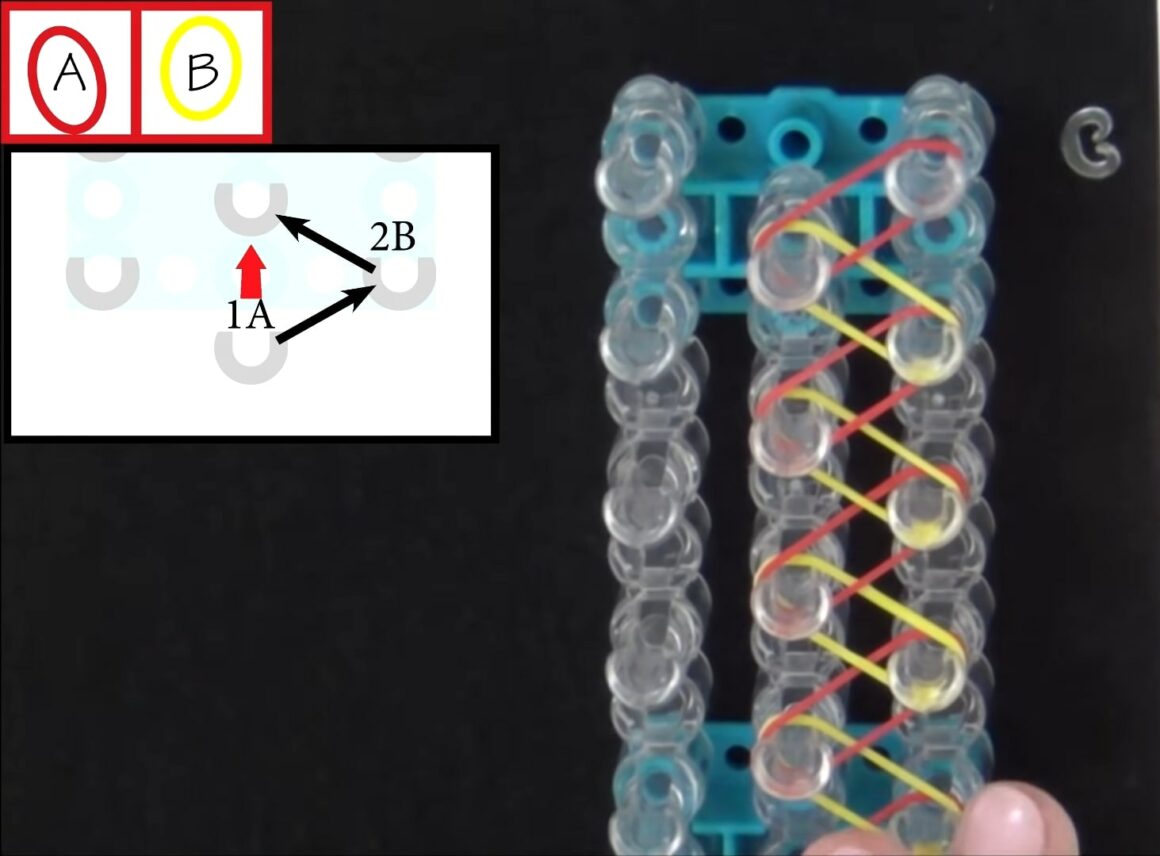
- Loop These Bands Over One Another
The first important step is done. Now onto the next important one – looping the bands over one another.
- Reverse the loom. Its red arrow should face you now.
- Insert the loom hook under the top (1st) band stretched between the first, middle, and second right pegs.
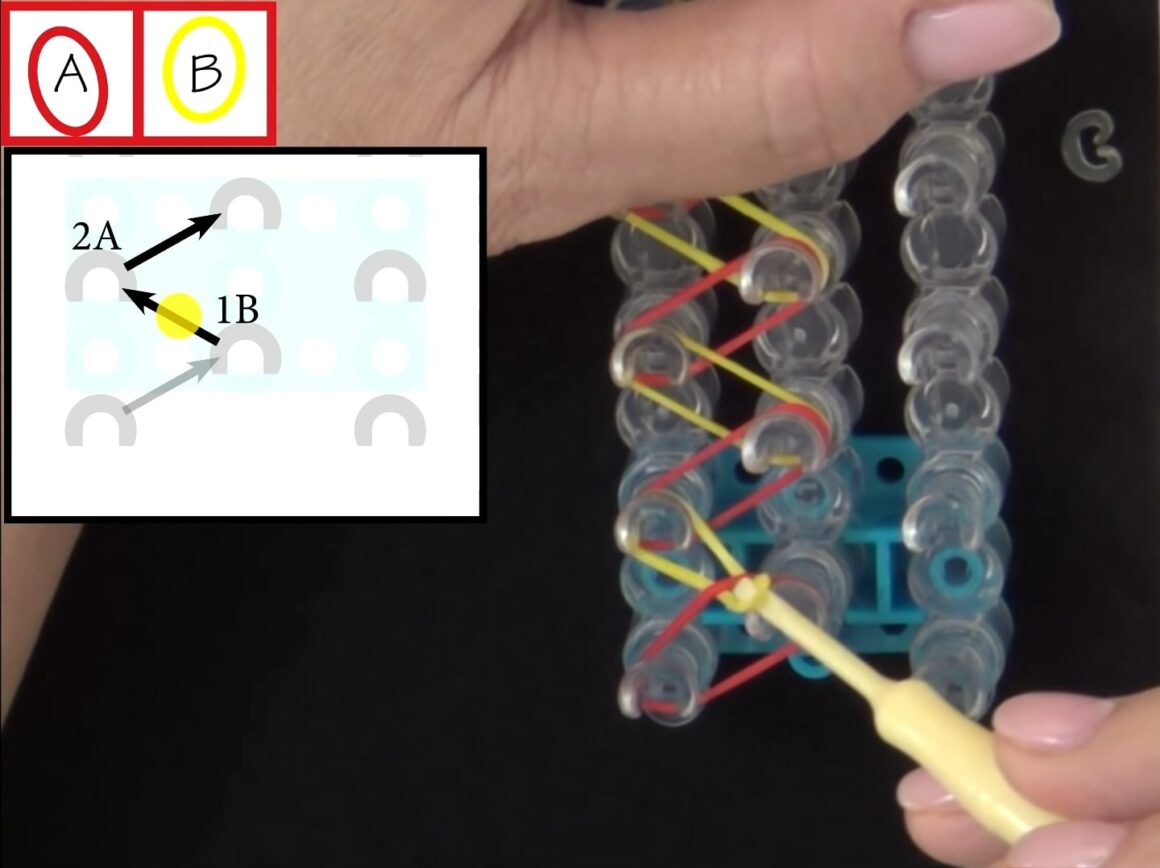
- Pull this band over so it sits only on the second right peg.
- Now, insert the hook and grab the 2nd rubber band stretched between the second right and middle pegs. Pull it over so it entirely sits on the second middle peg.
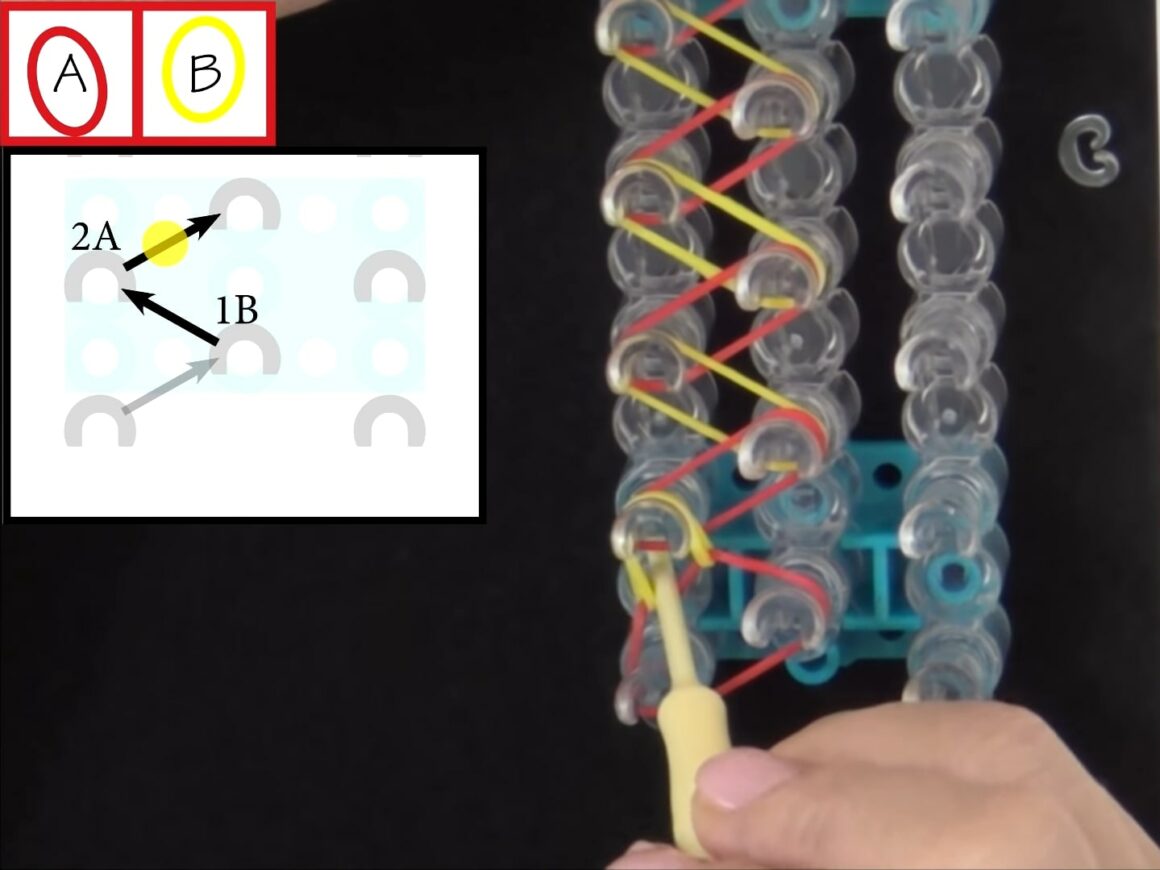
- Continue looping the bands further. Remember to grab the single band under the one just looped.
Once looping is completed, it’s time to secure these loops.
- Secure The Band Loops
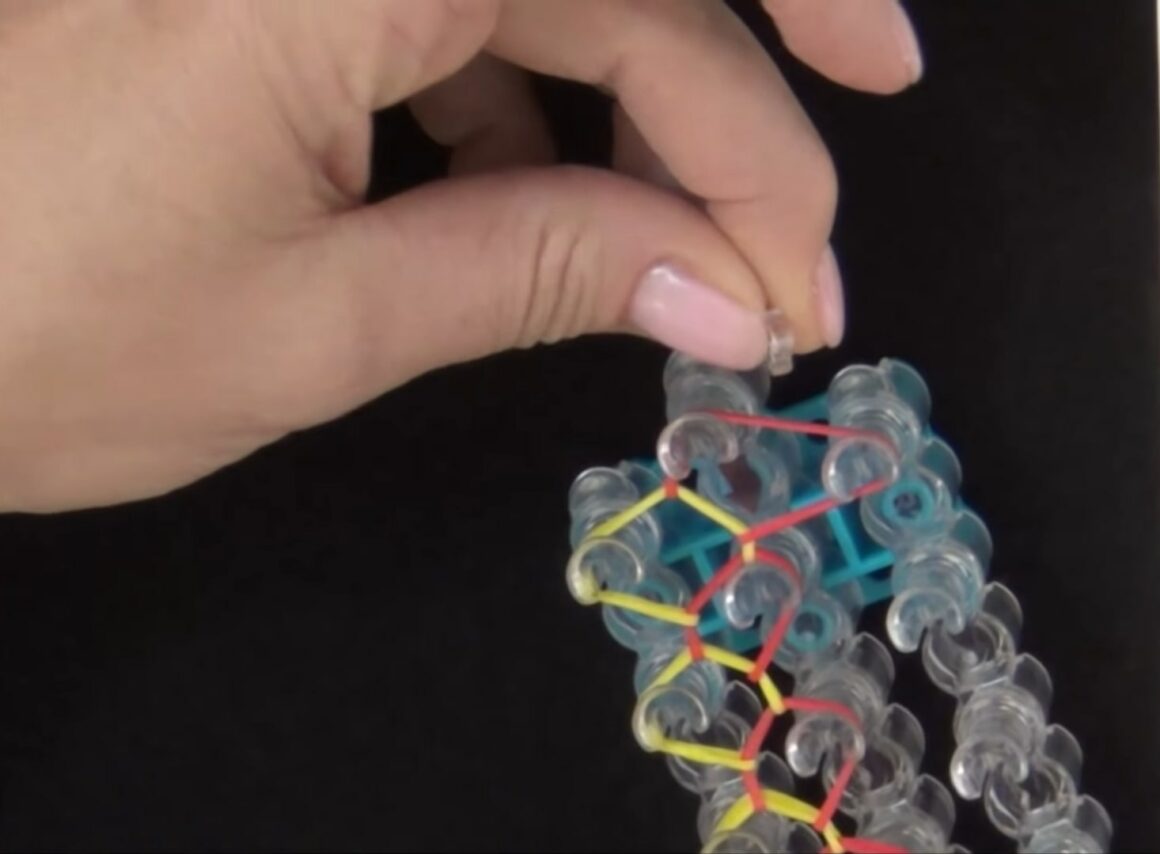
Secure these rubber band loops using the c-clip. To do so, pull off the last loop and insert it into a c-clip. Both sides of the rubber band should go into the c-clip.
- Finish Off The Rubber Band Bracelet
To finish off your bracelet, start pulling it up and towards yourself. Once you reach the other end, you’ll find another big loop. Just insert it into the c-clip that already has the first loop (i.e., the other end.)
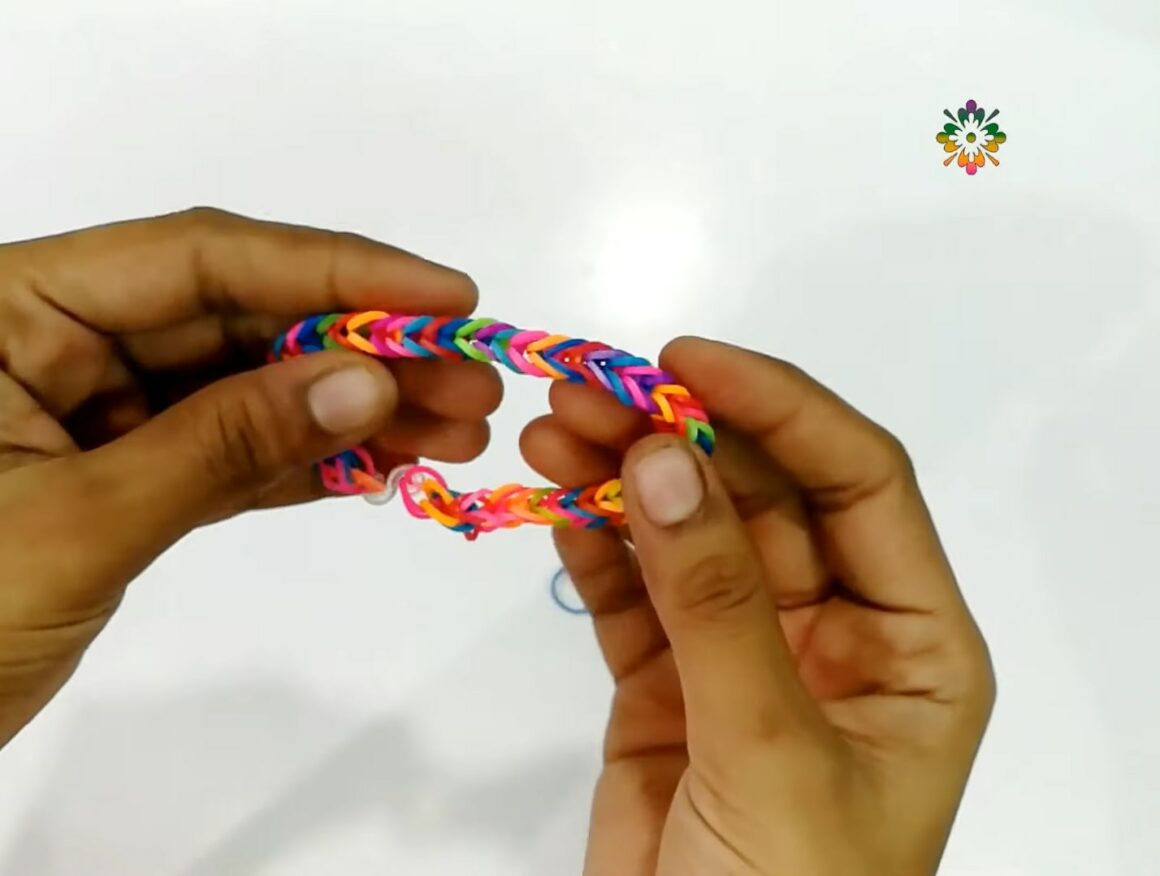
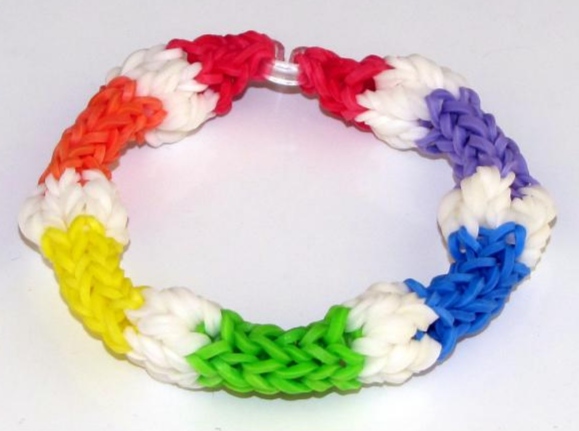
Congratulations, your easiest and most basic Rainbow Loom bracelet is ready to adorn your wrists.
Related: 8 Amazing Clay Bead Bracelet Ideas You Must Try!
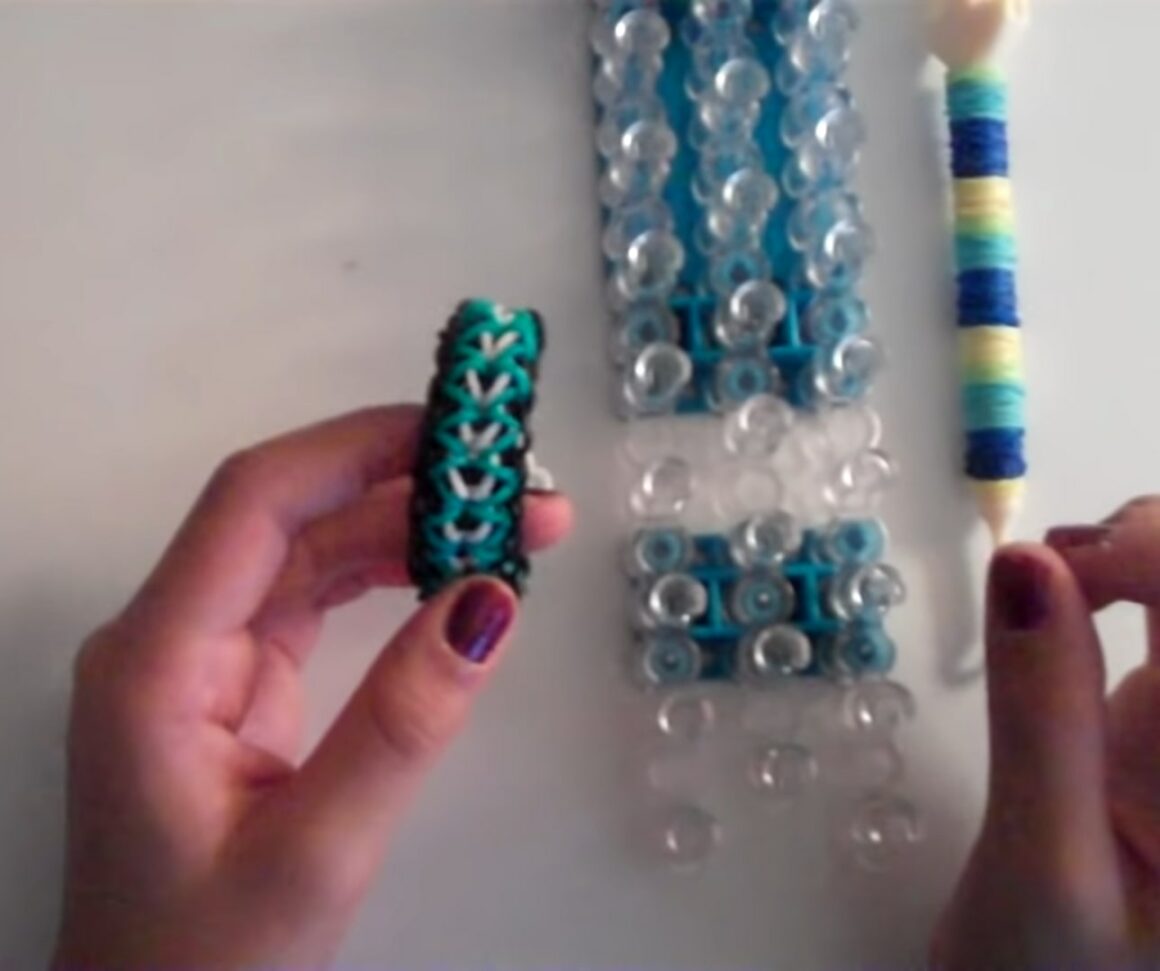
How To Make Rubber Band Bracelets By Hand?
If the above method seems complicated to you or too much from a beginner’s perspective, try making your rubber band bracelet by hand.
Video Tutorial: https://youtu.be/hTXfOnhdXUk
The following tutorial explains the complete steps to do so.
Supplies
- C-clips (or S-clips)
- Colorful rubber bands
Procedure
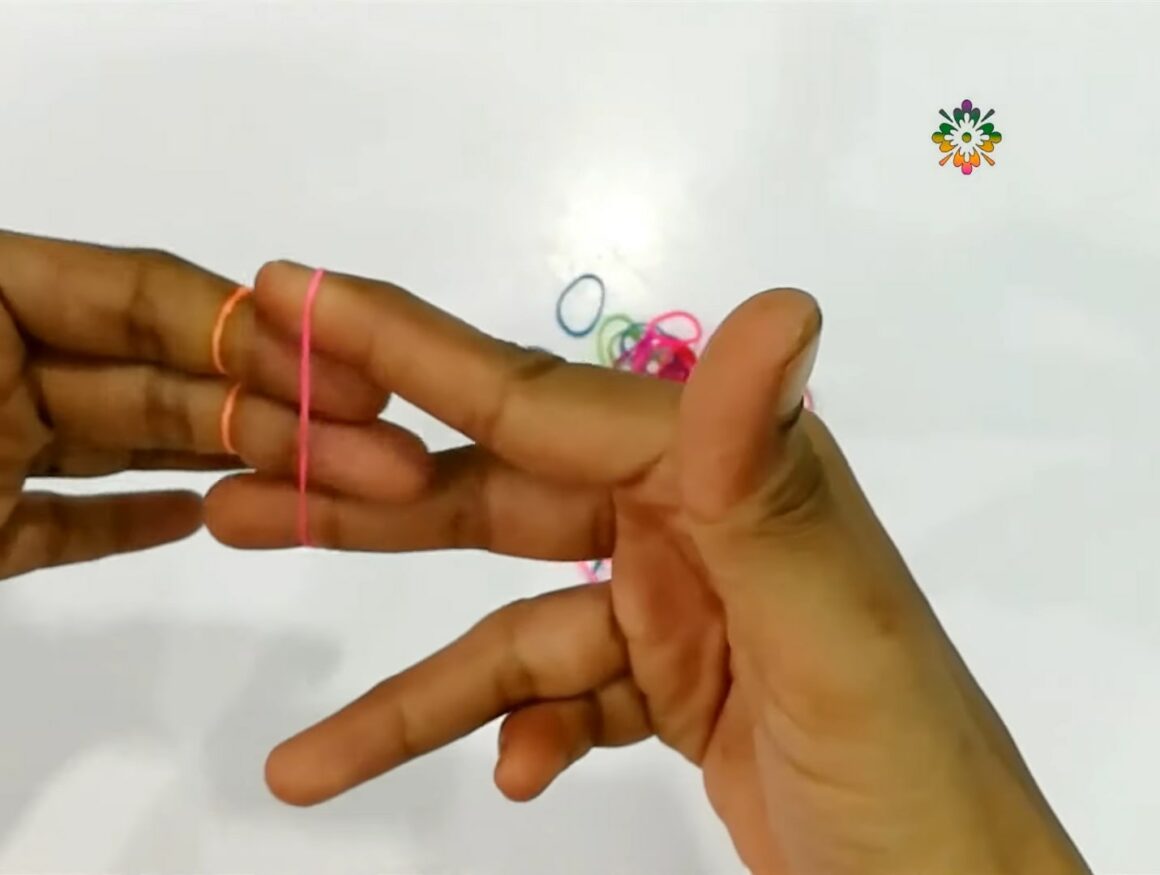
- Loop The Bands Around The Two Fingers
- Loop the first rubber band on one finger.
- Twist it and slide it through the second finger. You must get figure “8” here.
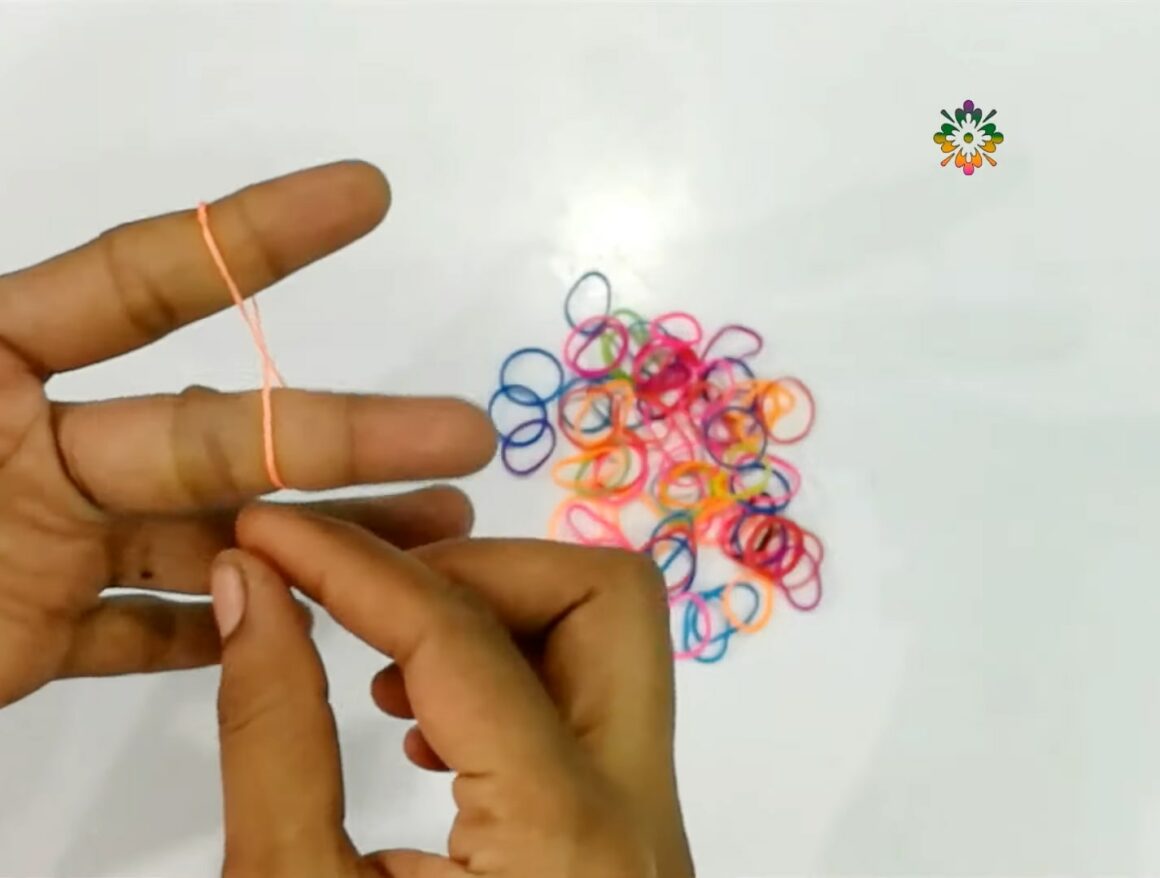
- Add another rubber band to the fingers. But don’t twist it.
- Add another rubber band to the fingers and stretch the lower band to the right.
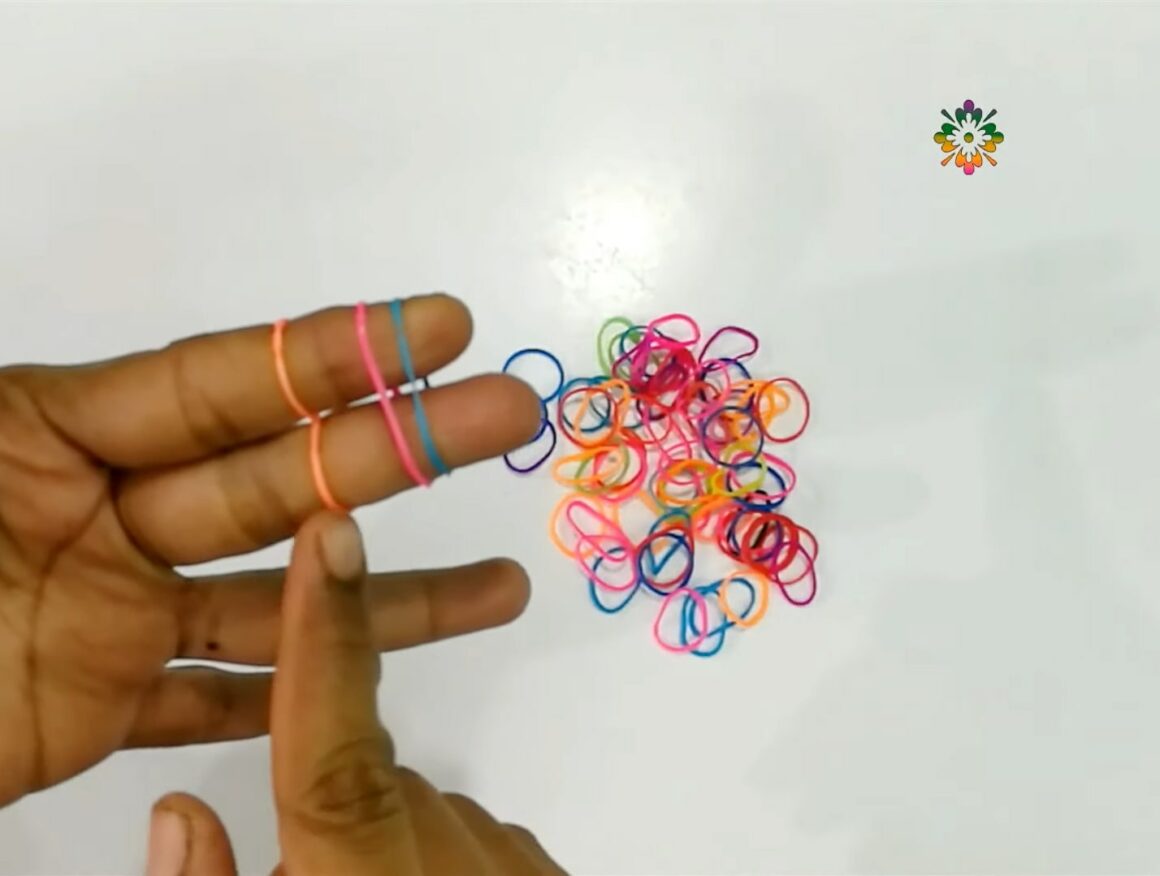
- Pull this lower band over the fingers and drop it right between them.

- Now, stretch the lower band to the left, pull it over the fingers, and drop it in the middle.
- Repeat the above steps on both sides with more rubber bands until the bracelet is of your desired length.

- Finish The Bracelet
To finish the bracelet, slip only one side off the finger and attach a c-clip or s-clip to secure it. Repeat for the other end.
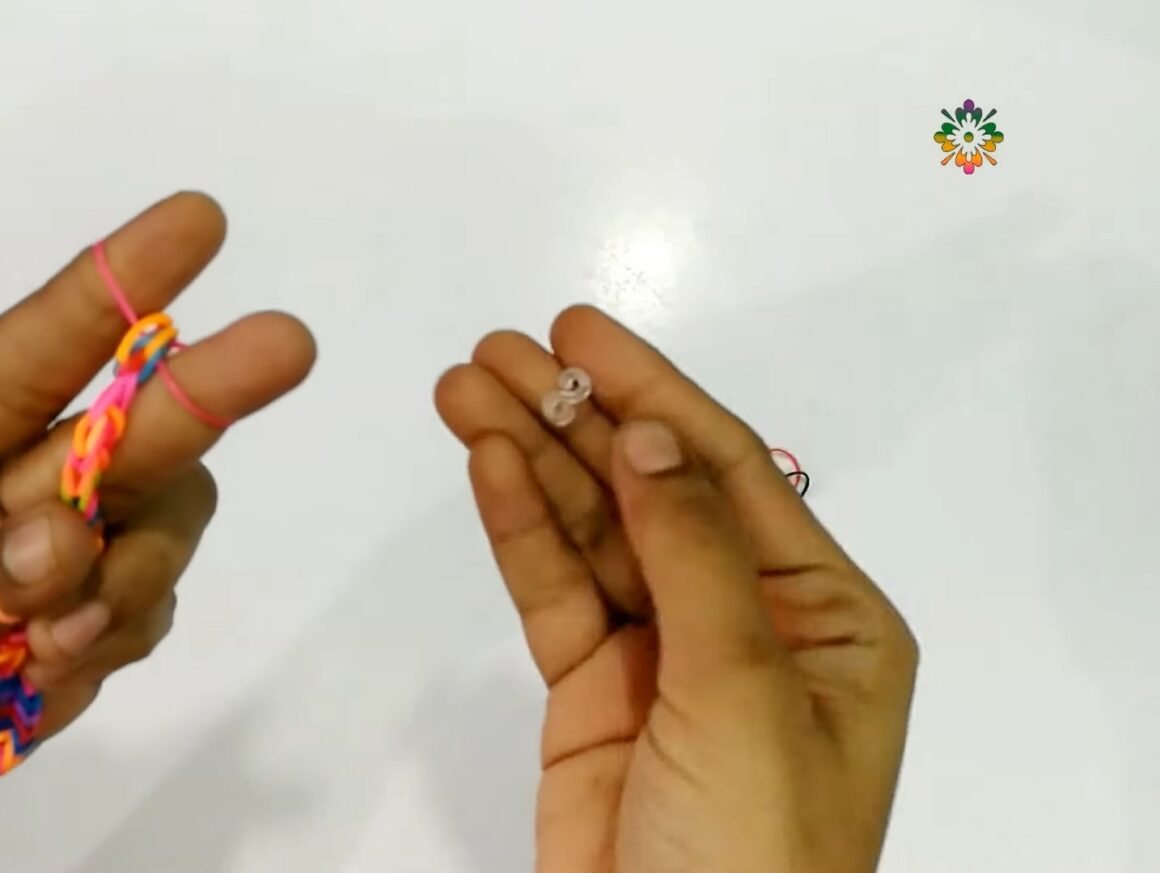
- Join The Ends
Lastly, join the two rubber band ends to get your bracelet. Kudos!

Note: Instead of your fingers, you can also use two pens or pencils.
Related: How to Make Pura Vida Bracelets? Video Tutorial
10 Easy Rubber Band Bracelet Ideas – Let Your Creative Juices Flow
Now that you know the rubber band bracelet-making process with and without the loom, try these ideas for easy rubber band bracelets.
- Bobble Bracelet
Tutorial: https://youtu.be/-wnc_A9JMDY
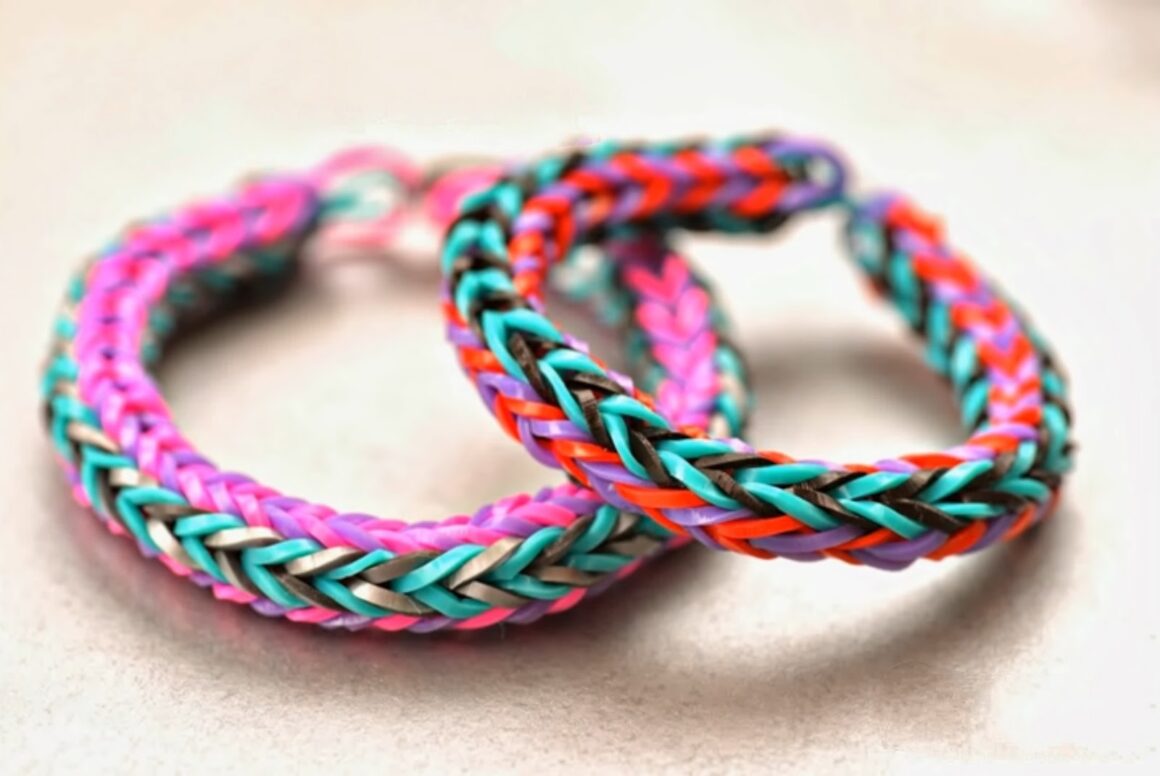
This bobble bracelet is ideally an adaptation of everyone’s favorite fishtail bracelet. Both easy to make and stylish, the bobble bracelet can be of any length. One key highlight of the design is that no rubber band gets buried under the rest of the bracelet, with each band completely visible to the eyes.
Tip: Try using glowing rubber bands for a special effect at night.
- Arrow Stitch
Tutorial: https://youtu.be/CXnASxn9hOA
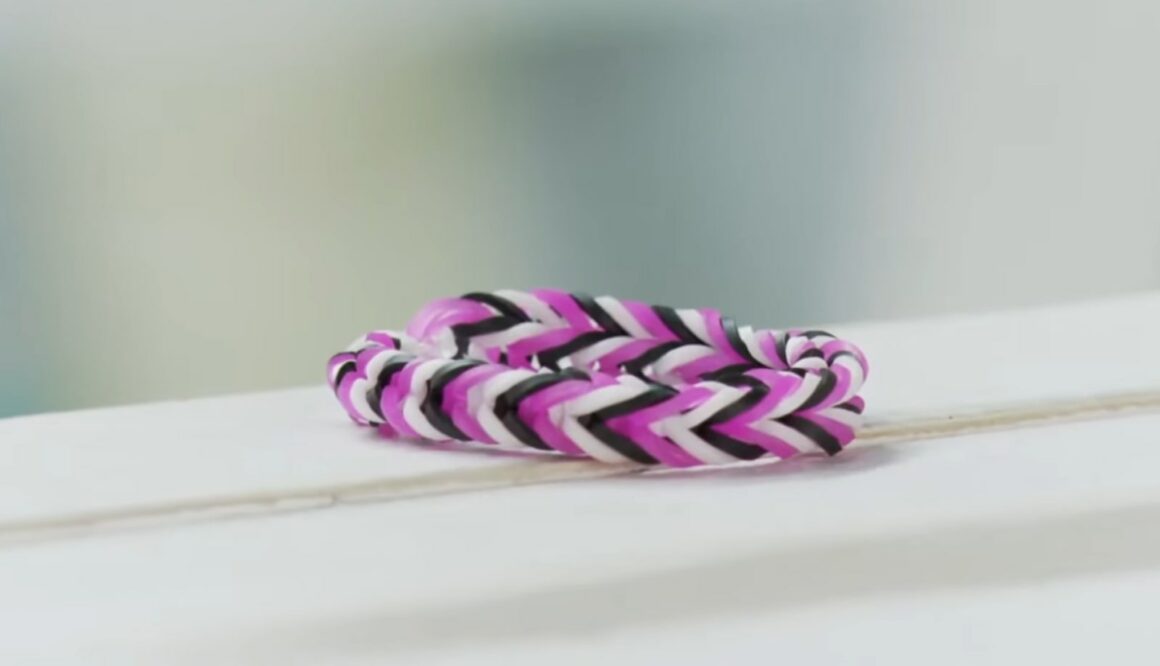
This arrow stitch rubber band bracelet is my top recommendation for boys. It’s striking and a good wearable. Talking about the making, it’s quite challenging but equally fun. Both kids and parents will enjoy making it.
Just remember to give the middle row of the bracelet an “arrow” design using bands of striking color, say, metallic.
- Double Cross
Tutorial: https://youtu.be/Z3DjLet4tuM
Another cool rubber loom bracelet is this double cross. It looks very much similar to the fishtail bracelet (discussed next) and can be made using any color combination. If you know how to do a fishtail, the double cross will be very straightforward.
If not, you might have to spend more time making this, say, half an hour! Nevertheless, all the efforts are worth it.
- Fishtail
Tutorial: https://youtu.be/venNEK1NgMg
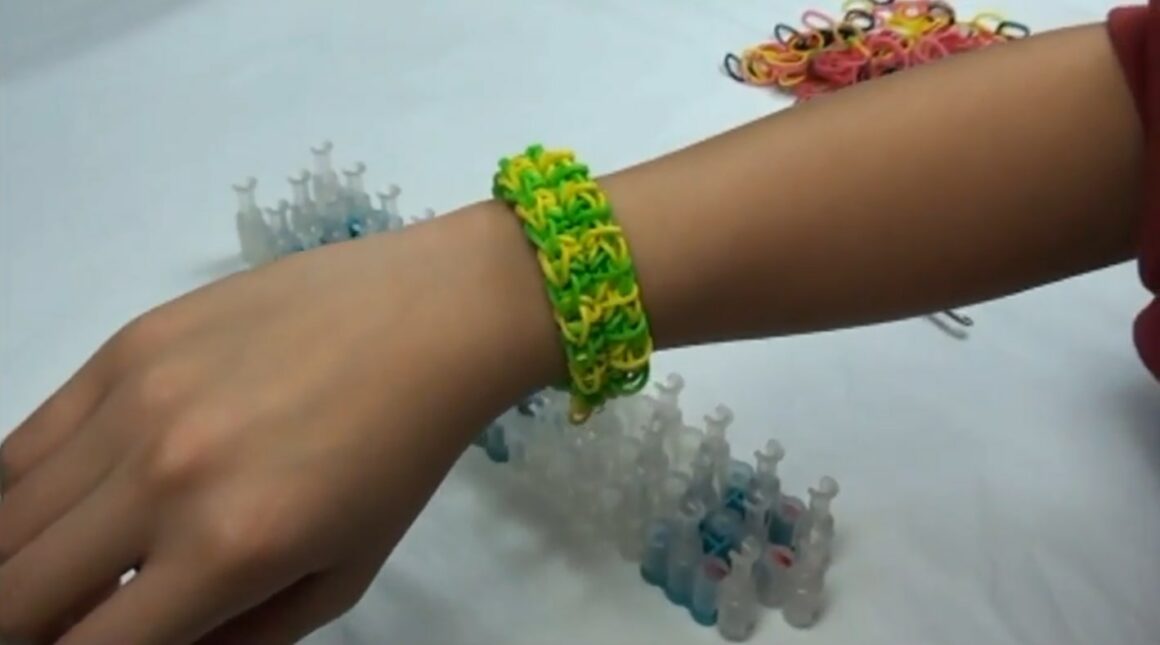
If you ask 10 people about their favorite rubber loom bracelet, at least 7 to 8 will reply with the fishtail. And why wouldn’t they? It’s one of the easiest Rainbow Loom ideas that’s done within 8-10 minutes. With some practice, even your kids can make this colorful design.
Just make sure to use the best color combination for vibrant results. You can also use the mini Rubber Loom for this particular design.
Note: You can also make this fishtail pattern with your fingers.
- Double Forward Rhombus
Tutorial: https://youtu.be/zC-W27h3p5M
If you want a thicker rubber band bracelet, go for the “double Rainbow Loom” pattern. Another benefit of these bracelet patterns is that you learn how to loop more elastic bands together.
If you’re an intermediate Rainbow Loom user, I recommend the double-forward rhombus pattern, as shown above. Follow the tutorial step-by-step and show off!
- Double Braid
Tutorial: https://youtu.be/D6xLDND9v8M
As you get more efficient at making rubber band bracelets, try out this double-braid pattern. As the name suggests, the entire bracelet features amazing eye-catching double braids. Though a little more challenging, you’ll enjoy it.
One important thing to remember here is to loop the bands as tight as possible for the braid effect. Moreover, you’ll need more bands for this pattern.
- Ziagonal
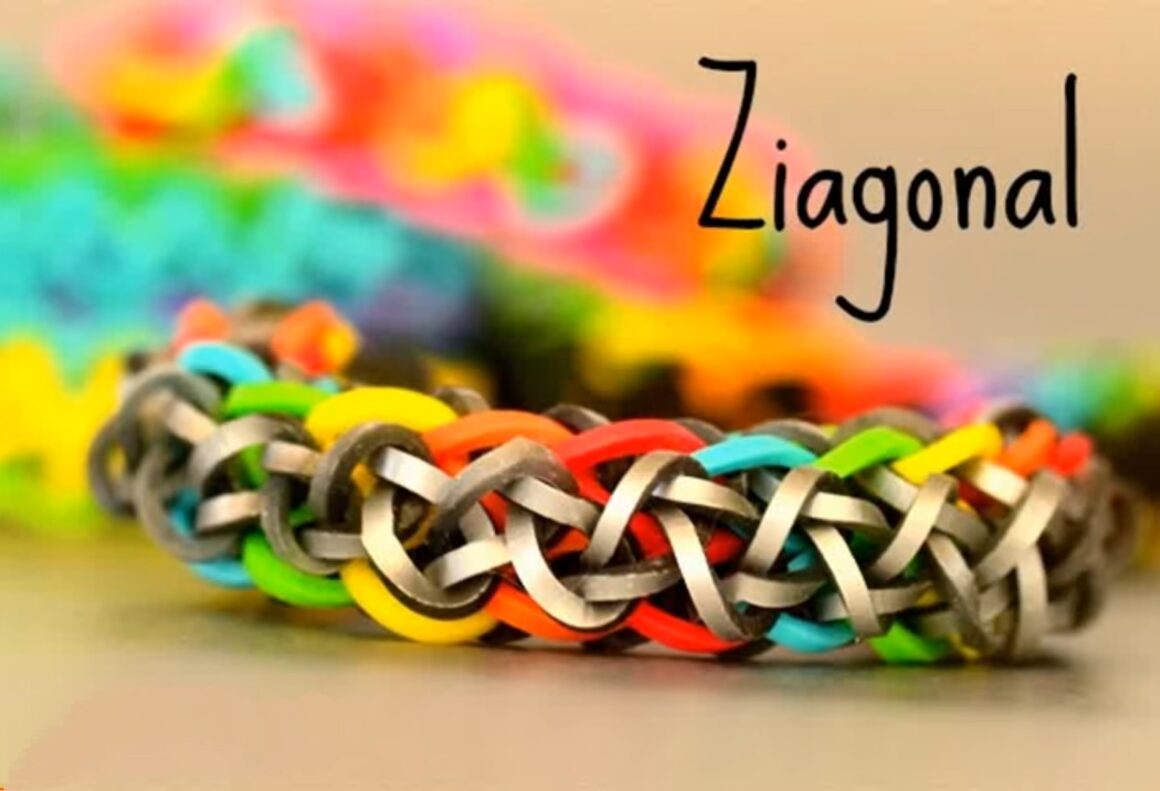
Tutorial: https://youtu.be/eo58RMFvi6o
Do you love the zig-zag design? If so, you would want to cover your arm with this ziagonal Rainbow Loom bracelet. As shown above, this pattern incorporates the cool zig-zag design in the center. On the side, I suggest multi-colored bands for an overall aesthetic appeal.
If you’re a beginner, start with a basic ziagonal pattern. And as you become a pro, try the above design with the help of the video.
- Criss-Cross
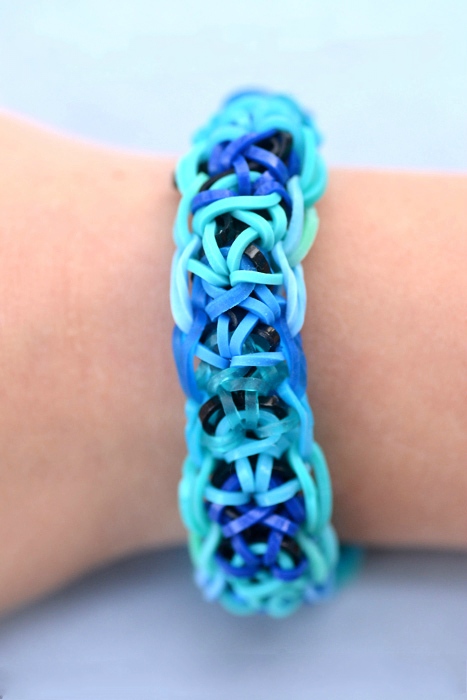
Tutorial: https://youtu.be/Bh8mXI-mMtg
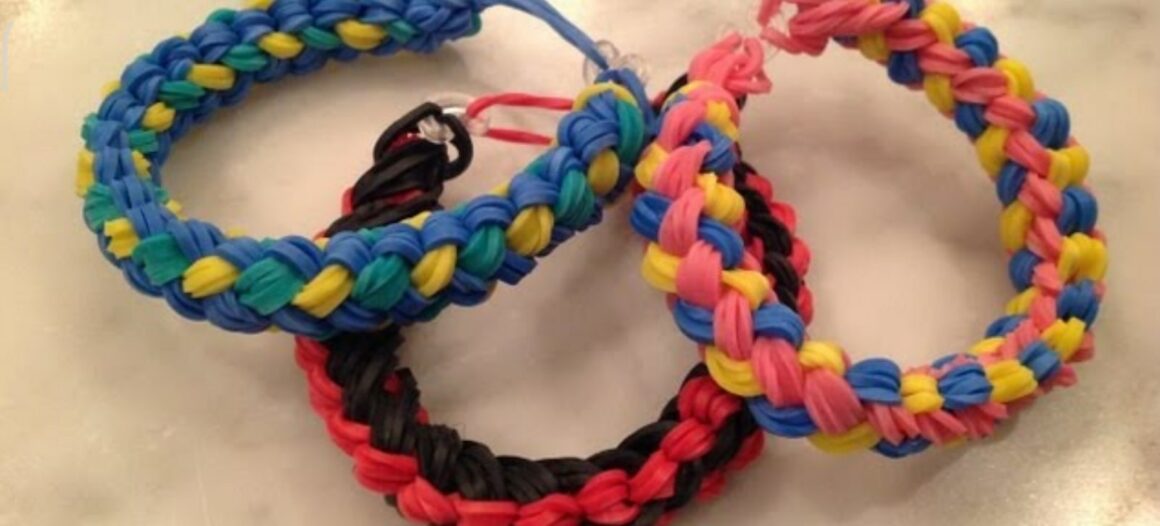
This criss-cross Rainbow Loom pattern is another good option for all beginners. It’s super fun to make, and the color combinations you can use are endless. If you ask me, I love the above blue ombre. However, dark-colored patterns can also be considered for boys.
Tip: While making the criss-cross pattern, be mindful of how you cross the rubber bands in the center.
- Firecracker
Tutorial: https://youtu.be/OZQqoXOiaa8
This firecracker Rainbow Loom pattern might resemble one or two other patterns discussed above, but still, when you make it, its uniqueness will surprise you. Here again, I suggest light and dark rubber bands with “jelly” bands for the sides. What do you think?
The average time for this design is 8-12 minutes, depending on how complex the pattern you choose is.
- Kaleidoscope
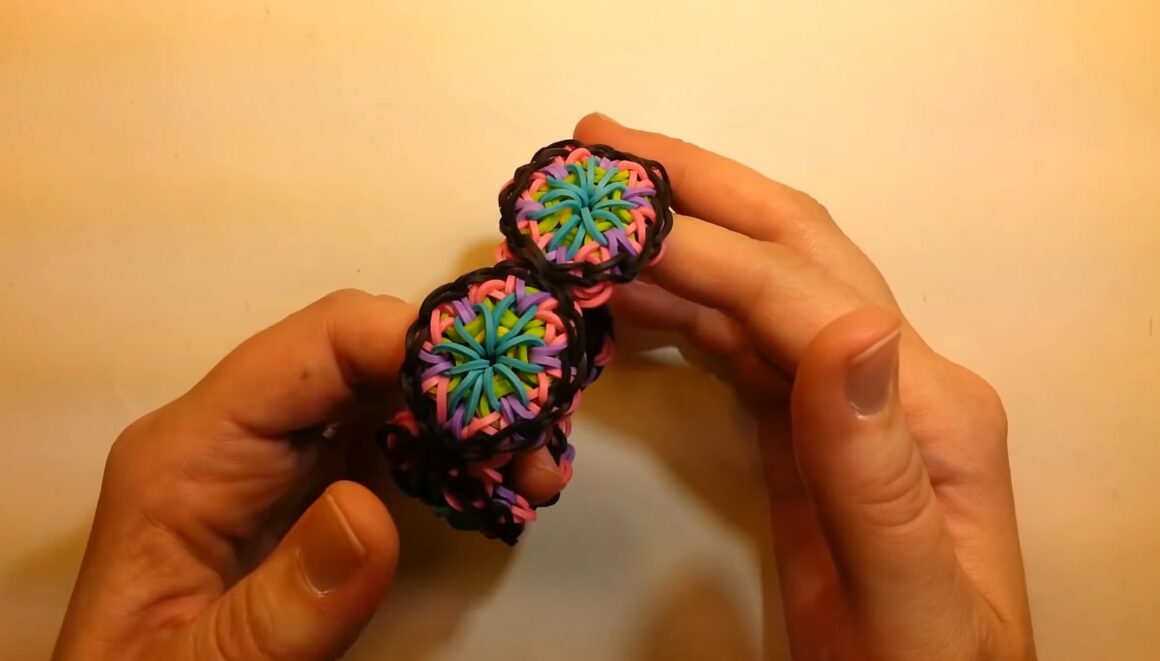
Tutorial: https://youtu.be/4_0KDRCir54
When I showed this Kaleidoscope bracelet to my friends, they were awestruck. After all, it’s one of the most exquisite bracelet patterns. To make this, you’ll need the standard Rainbow Loom kit and some bigger rubber bands, besides some small ones.
Tip: You can use flashy bands in the center for best results.
Related: Chinese Staircase Bracelet: Patterns & Meaning
Best Rubber Band Bracelet Ideas FAQs
- How Do You Make Cool Rubber Band Bracelets?
Ans: Rainbow Loom is an amazing tool for making cool rubber band bracelets. Check out the above guide to use it.
- What Is A Rubber Band Bracelet Called?
Ans: The most common secondary name for a rubber band bracelet is a “silicone wristband.”
- How Do You Do A Fishtail Rubber Band Bracelet?
Ans: Refer to this video tutorial for a fishtail rubber band bracelet.
- What Does A Rubber Band Symbolize?
Ans: Although there’s nothing official about what a rubber band symbolizes, it’s a slang expression translating to “lots of money.”
Related: How To Read Friendship Bracelet Patterns?
Your Rubber Band Bracelet Is Ready!
Here you go. Rubber band bracelets are stylish, long-lasting, and trendsetters. Be it kids, men, or women, anyone can wear them. But instead of buying these bands online, why not don your creative hat and make some easy rubber band bracelets at home?
Just try the above ideas to get started. Moreover, various rubber band bracelet ideas without a loom also come in handy if using your hand.
Which bracelet idea from the above collection seems good to you? Comment down below.