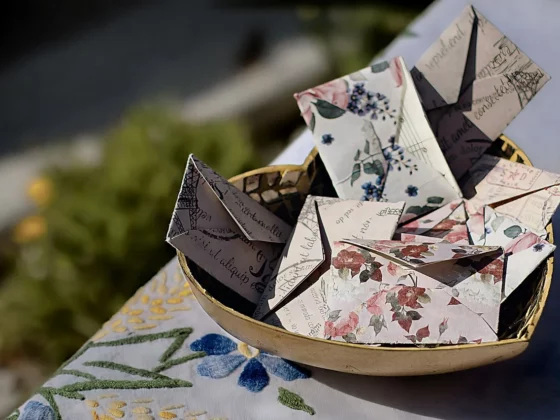
Welcome to this exciting tutorial on creating an origami paper box! Whether you’re looking to organize small trinkets, give a gift, or enjoy the art of paper folding, this box is a simple yet ingenious creation. All you need is a square piece of paper and your hands! Ready to create a storage masterpiece? Let’s get folding!
Table of Contents
- 1 Recommended Materials to Make A Sturdy Box
- 2 Step-by-Step Paper Box Instructions
- 2.1 1. Select Your Paper
- 2.2 2. Initial Horizontal Fold
- 2.3 3. Undo Fold
- 2.4 4. Initial Vertical Fold
- 2.5 5. Undo Fold
- 2.6 6. First Corner Fold
- 2.7 7. Remaining Corner Folds
- 2.8 8. Rotate
- 2.9 9. Bottom to Middle
- 2.10 10. Top to Middle
- 2.11 11. Undo Folds
- 2.12 12. Right Edge to Center
- 2.13 13. Left Edge to Center
- 2.14 14. Unfold Sides
- 2.15 15. Top and Bottom to Middle
- 2.16 16. Angular Folds
- 2.17 17. Upward Corners
- 2.18 18. Open Middle
- 2.19 19. Left to Middle
- 2.20 20. Bottom to Middle
- 2.21 More Origami Tutorials
- 3 Create the Paper Box Lid
- 4 Conclusion
Recommended Materials to Make A Sturdy Box
If you want to create a sturdy origami paper box, the material you choose will significantly affect its durability. Here are some types of paper and other materials that could offer better sturdiness:
- Cardstock: Thicker than regular paper, cardstock can hold its shape better and resist tears. It’s available in various colors and textures.
- Craft Paper: Heavier than regular paper but lighter than cardstock, craft paper can be a good middle-ground option.
- Origami Paper: Traditional origami paper, or “kami,” can be sturdy if it’s high-quality, though it might not be as durable as some other options.
- Watercolor Paper: Thick and textured watercolor paper is hardy but might be challenging to fold. It’s an excellent choice if you plan to paint your box.
- Parchment Paper: While not as sturdy as cardstock or watercolor paper, parchment paper can offer a more rigid structure than regular paper and has a unique texture.
- Textured Fine Art Paper: These can add a decorative touch and extra sturdiness, although they may require more effort to fold.
- Recycled Paper: Opt for thick, recycled paper for an eco-friendly option. The sturdiness will depend on the quality and type of recycled paper chosen.
- Fabric-backed paper: This type of paper has a layer of fabric on one side, making it both aesthetically pleasing and extra sturdy.
- Corrugated Paper: You could use thin corrugated paper for an extra-sturdy, though less elegant, look.
- Laminated Paper: Regular paper that has been laminated will offer more rigidity and moisture resistance, but it might be more challenging to fold.
- Double-layered Paper: You can also consider gluing two sheets of regular paper back-to-back for extra sturdiness, though this will make folding more difficult.
Remember, the thicker and heavier the material, the more challenging it may be to fold. It might also require adjustments to the folding steps in your tutorial to accommodate the increased thickness.
Step-by-Step Paper Box Instructions
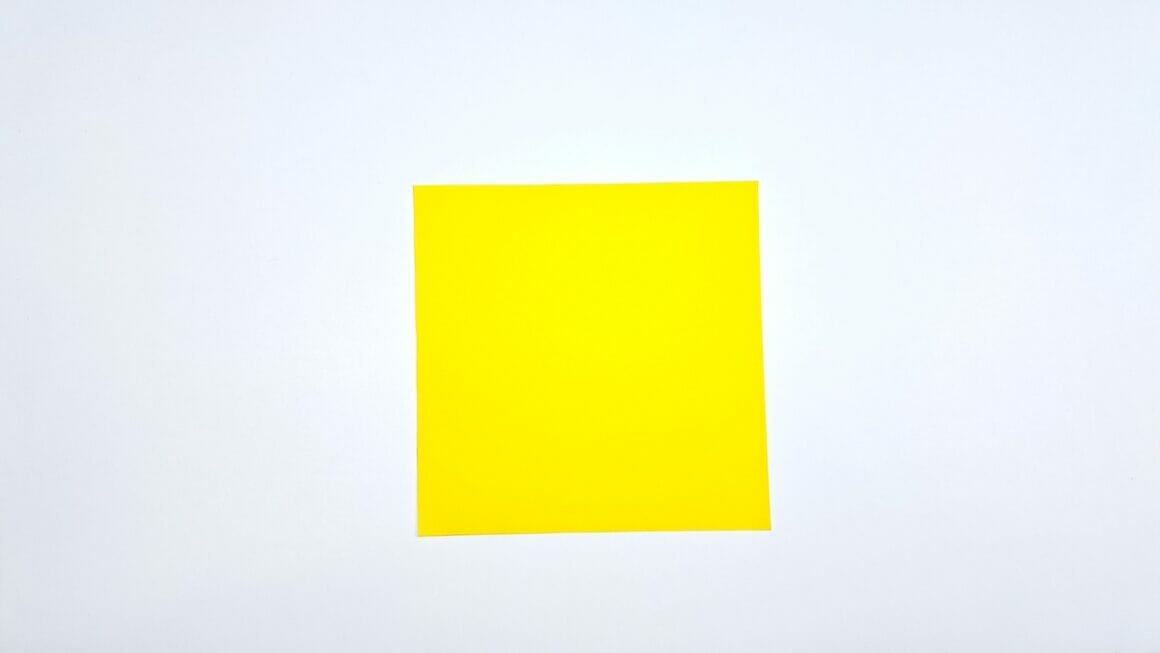
1. Select Your Paper
Begin with a 15×15 cm square piece of paper. Choose a color or pattern that appeals to you for the box.
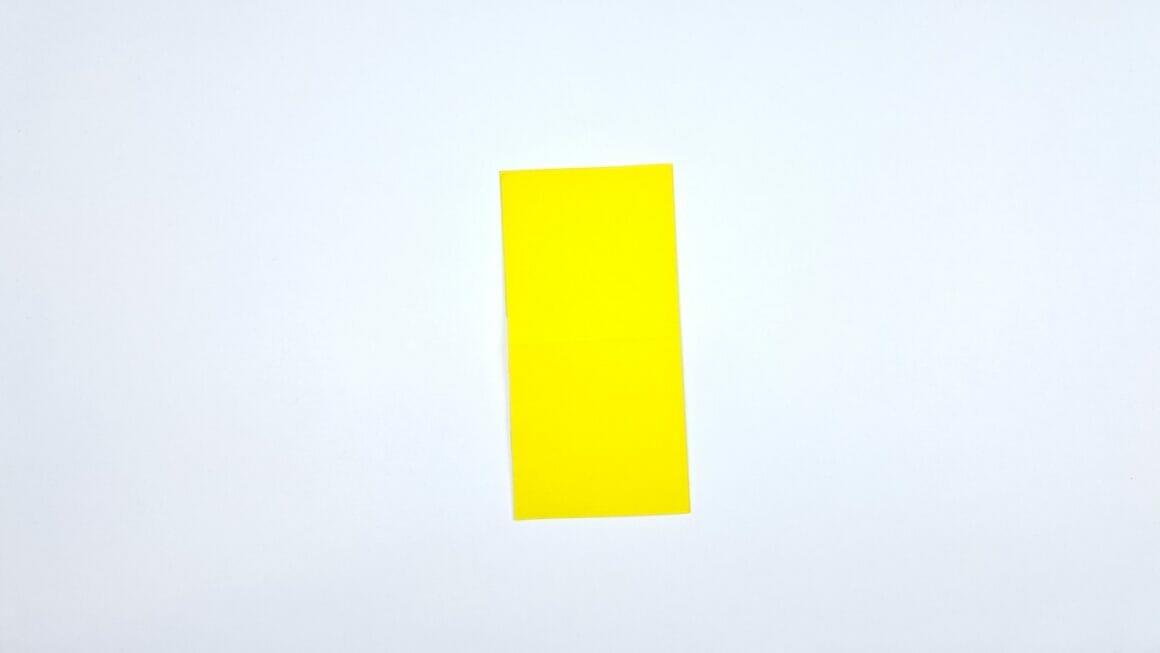
2. Initial Horizontal Fold
Fold the bottom edge of the paper up to meet the top edge. This will divide your square paper into two equal rectangles.

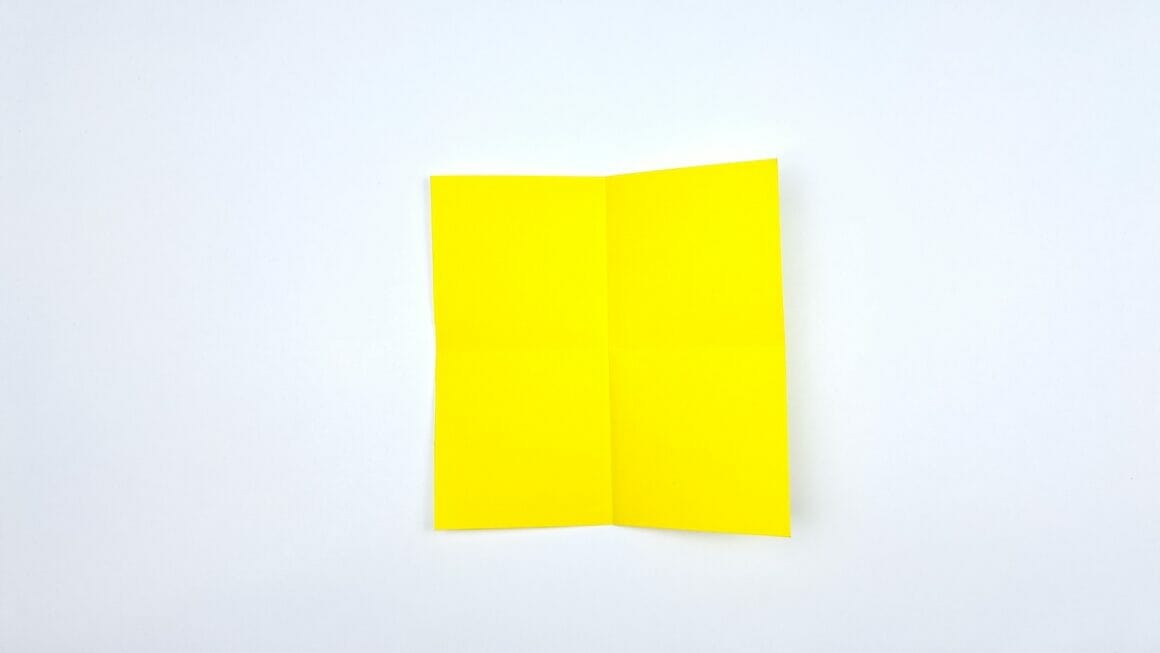
3. Undo Fold
Unfold the paper to revert to the original square shape. The crease you’ve made will serve as a guideline.

4. Initial Vertical Fold
Fold the right edge of the paper over to meet the left edge. Your square paper is now divided into two equal rectangles, but vertically this time.
5. Undo Fold
Again, unfold the paper back to its square shape. You should now have two intersecting creases that divide the paper into four equal squares.
6. First Corner Fold
Fold the bottom right corner of the paper so it meets the center where the two creases intersect.
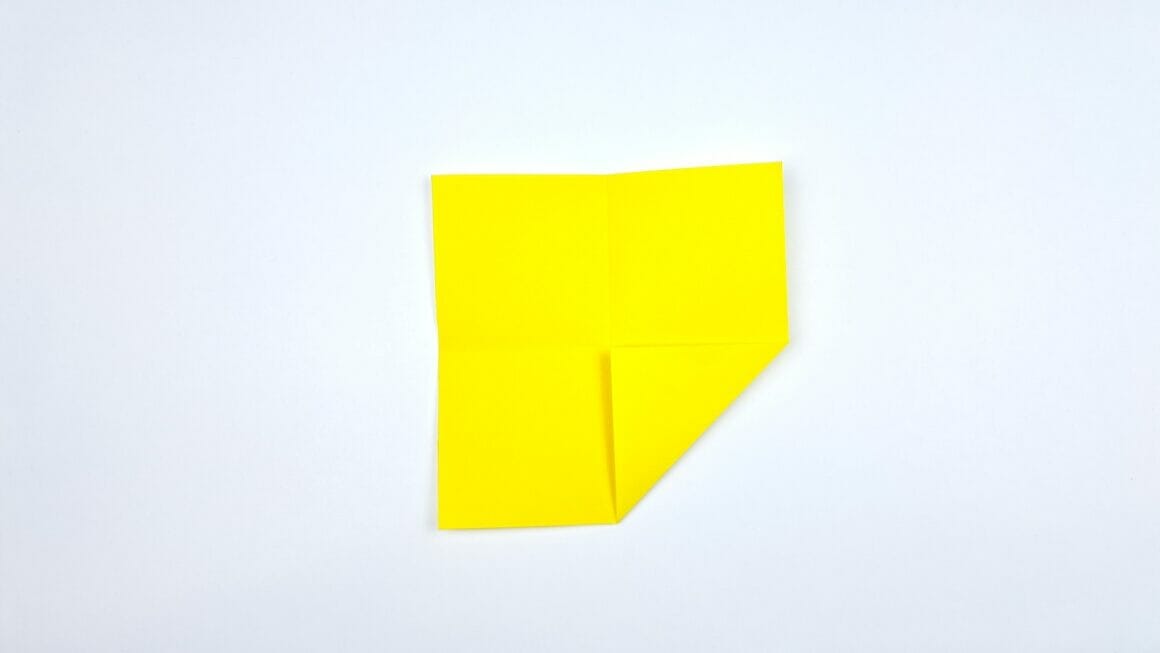
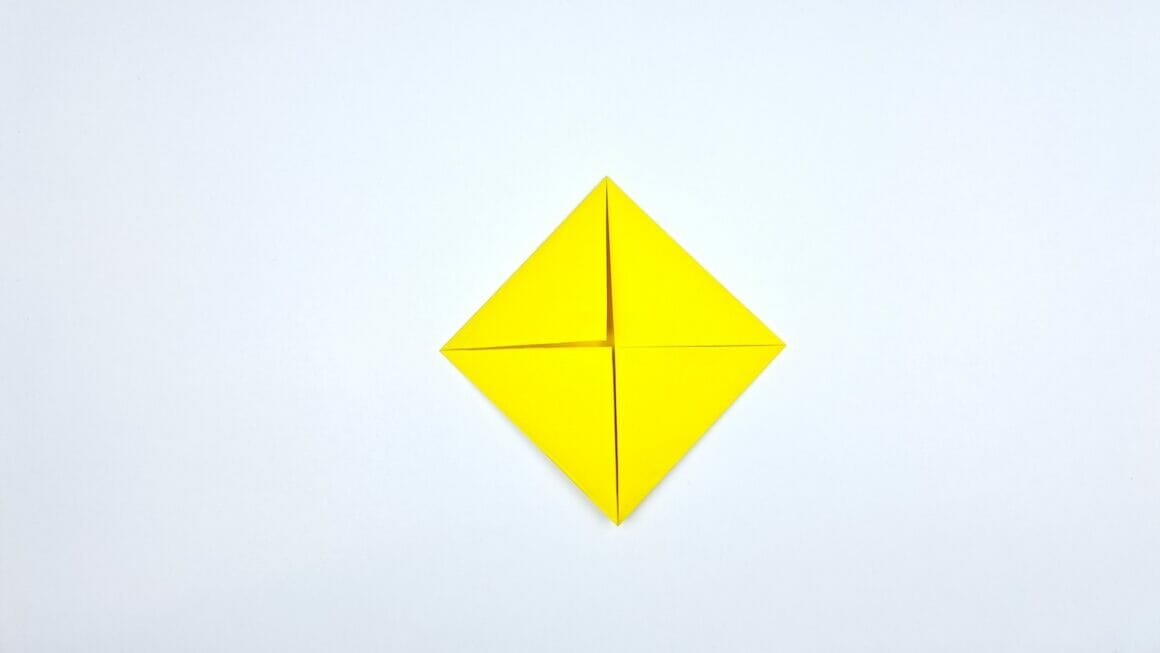
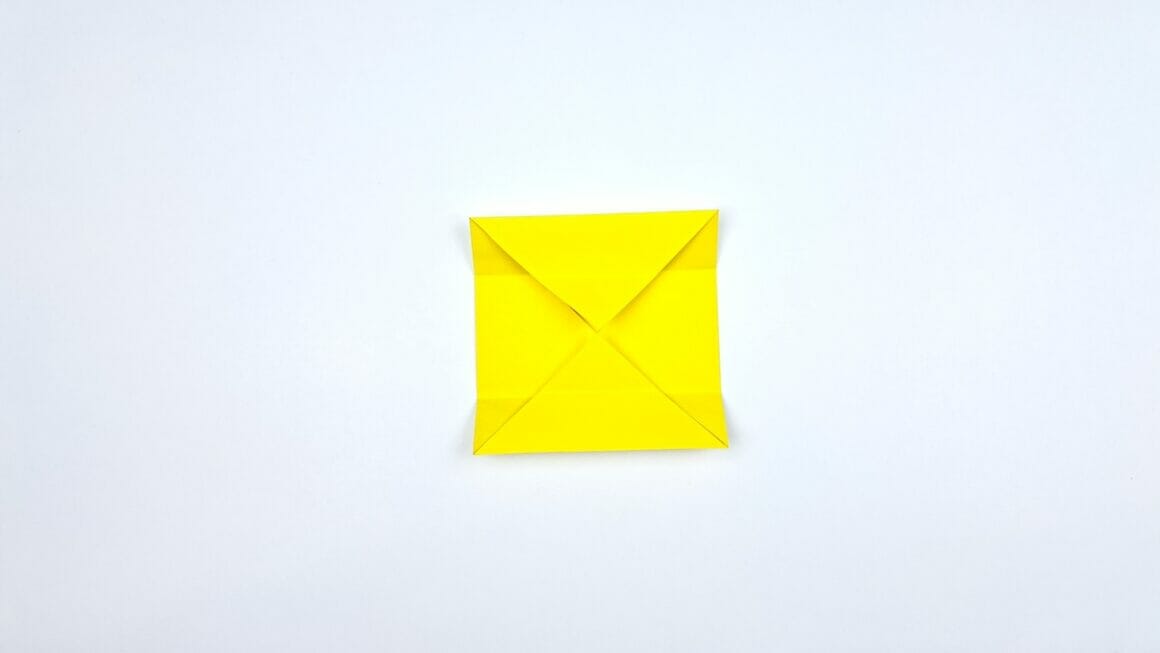
7. Remaining Corner Folds
Repeat the last step for the remaining three corners. Your paper should now look like a smaller square within a square.
8. Rotate
Turn the paper 90 degrees, moving from right to left.

9. Bottom to Middle
Fold the bottom edge upwards to align with the horizontal crease in the middle of the paper.
10. Top to Middle
Now, fold the top edge downwards to meet the bottom section you’ve just folded.
11. Undo Folds
Carefully unfold the previous two steps to restore the folded corners.
12. Right Edge to Center
Fold the right edge of the paper to align with the vertical crease in the middle.
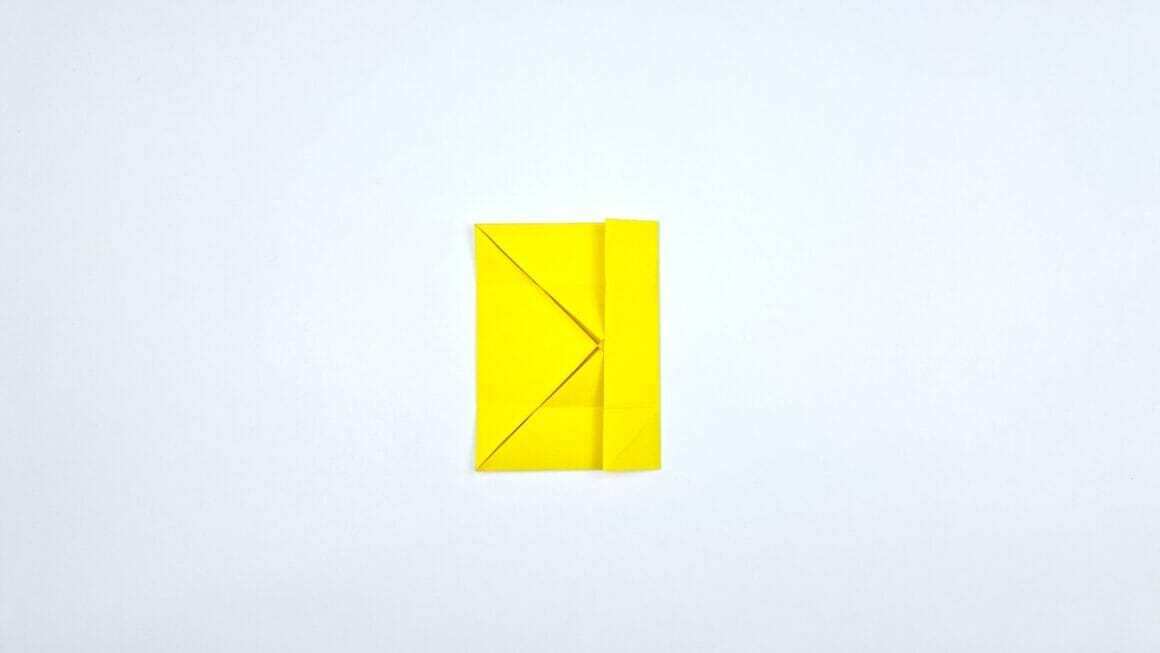
13. Left Edge to Center
Do the same for the left edge.

14. Unfold Sides
Unfold the two side edges you just folded, and then pull up the left and right sections completely, reverting to the shape created after step 7.

15. Top and Bottom to Middle
Fold the top and bottom edges into the middle using the pre-existing creases as your guide.

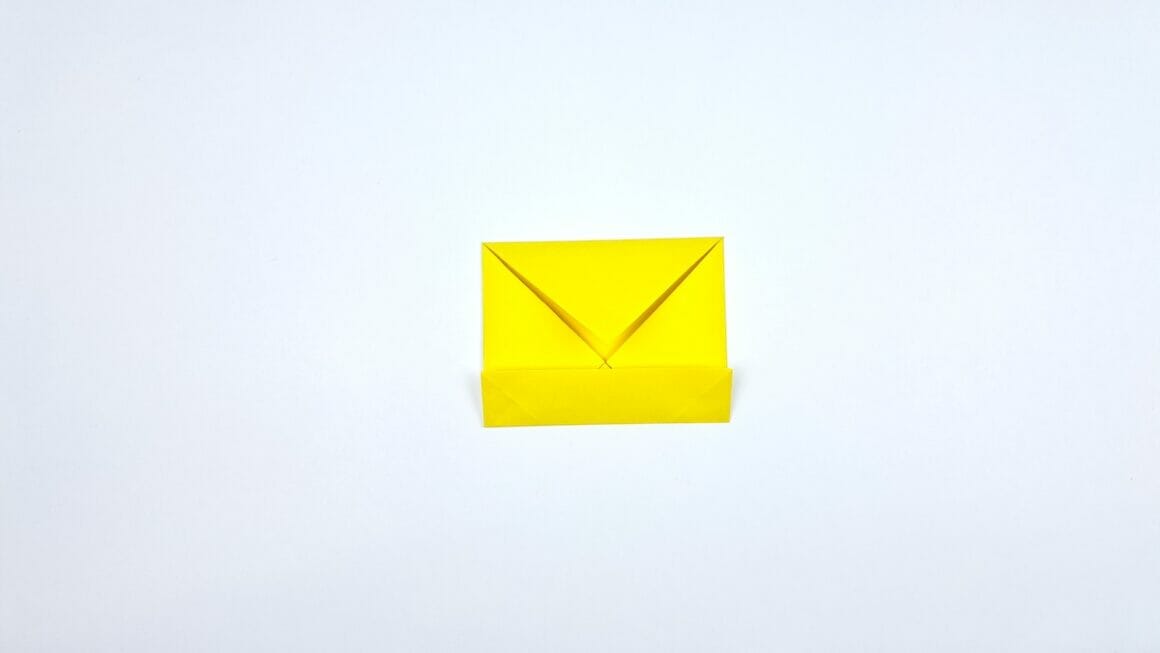
16. Angular Folds
Fold the top right corner diagonally down to the lower left and the top left corner down to the lower right. This creates an angled flap on both sides.
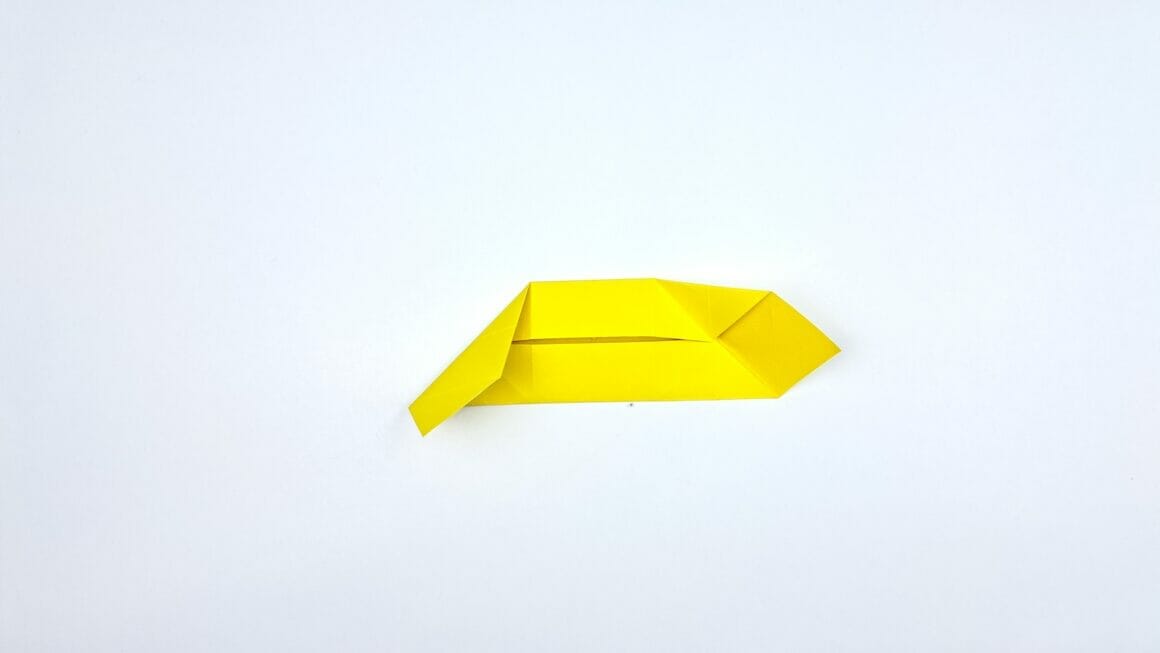
17. Upward Corners
Lift and fold both corners formed by the angled flaps upwards.
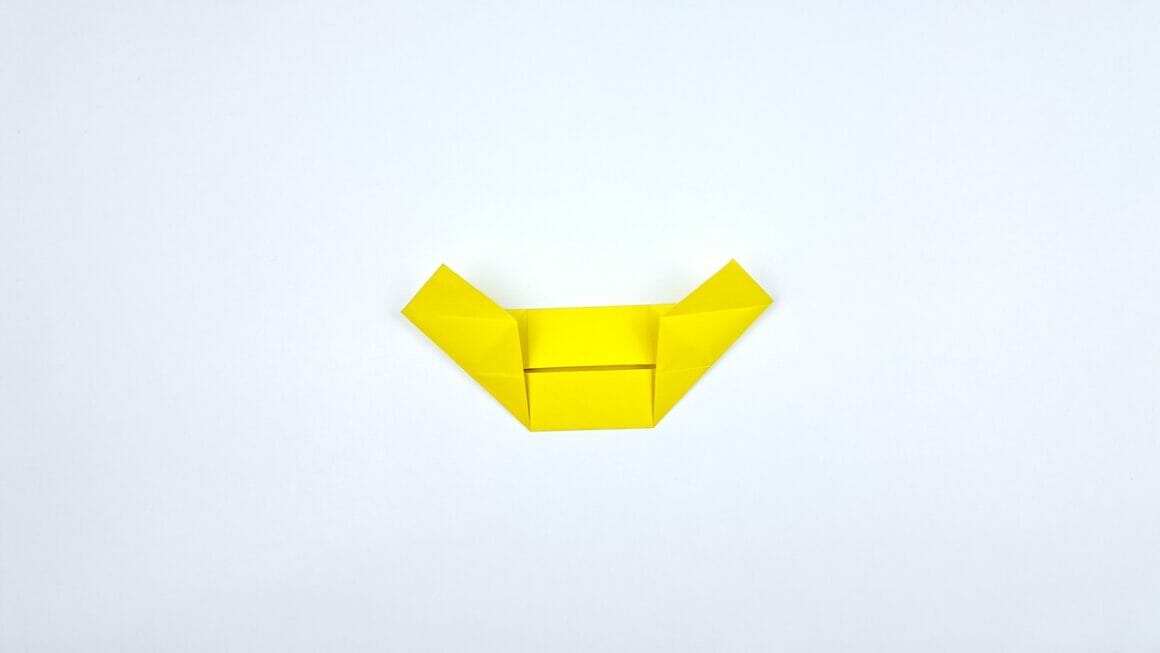
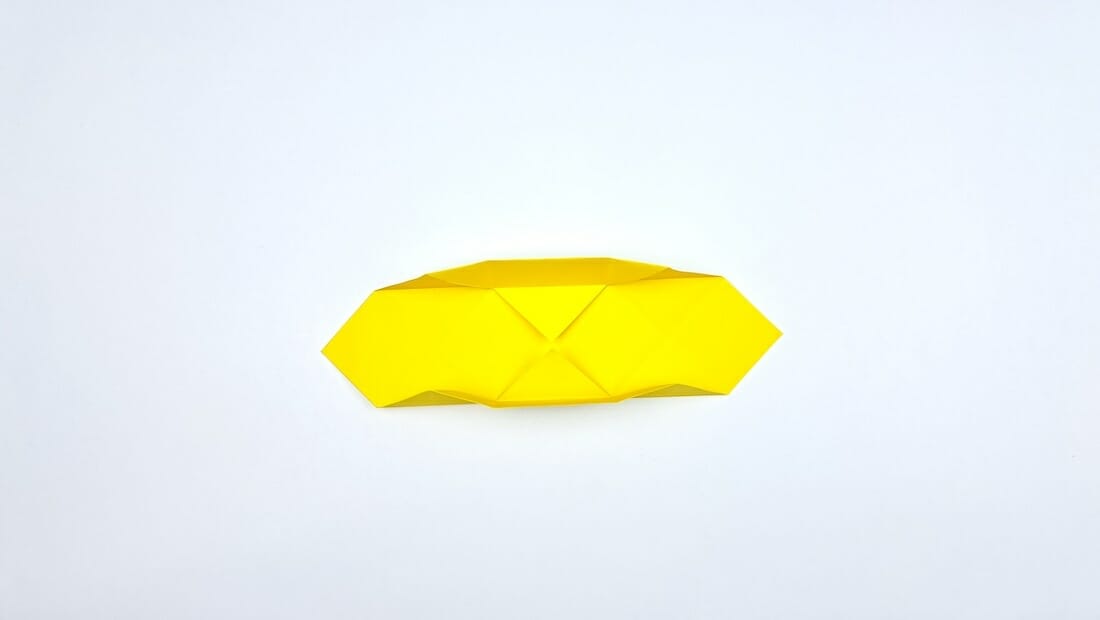
18. Open Middle
Open up the section in the middle that has been closed until now.
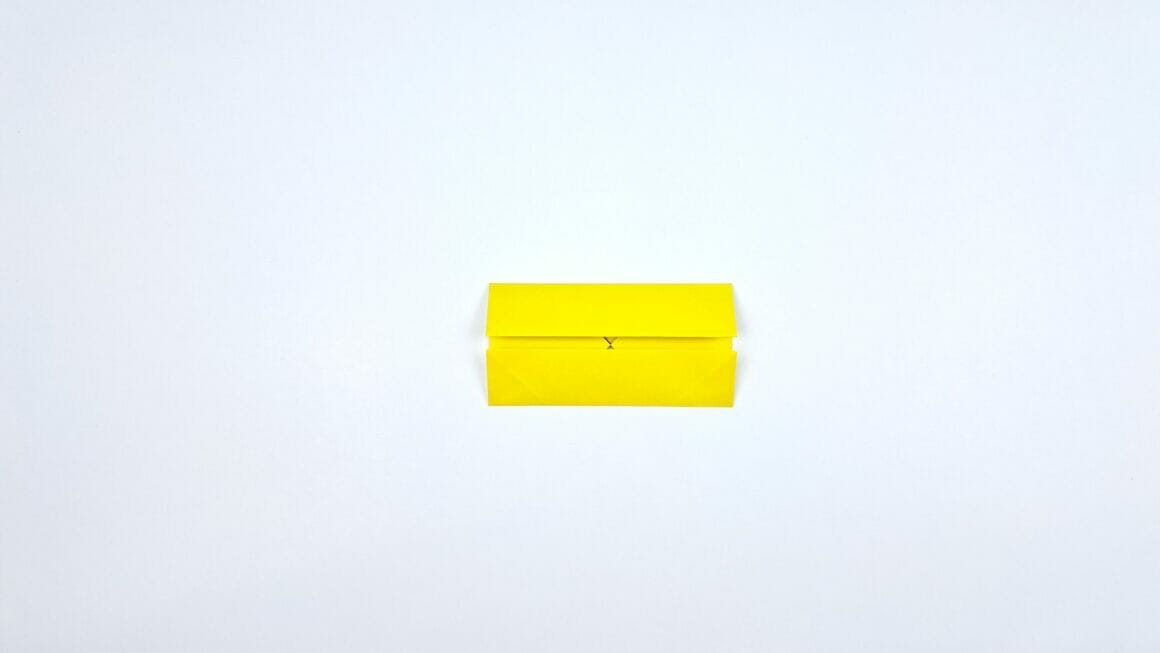
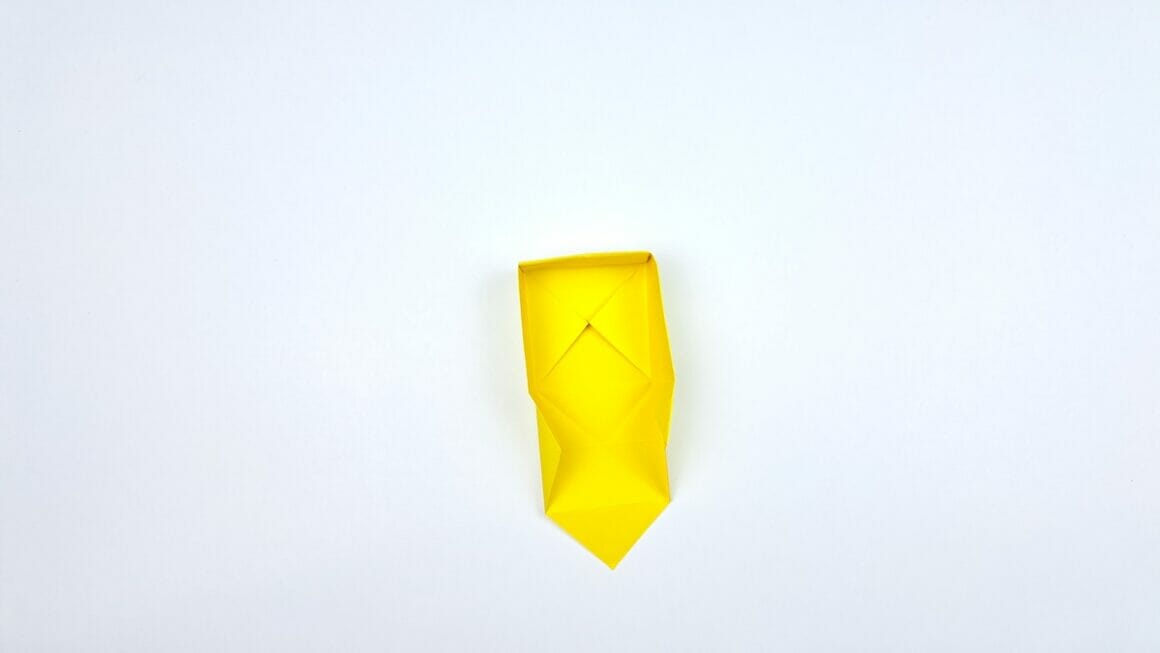
19. Left to Middle
Gently lift the left section and fold it inwards, tucking it into the center of the box.
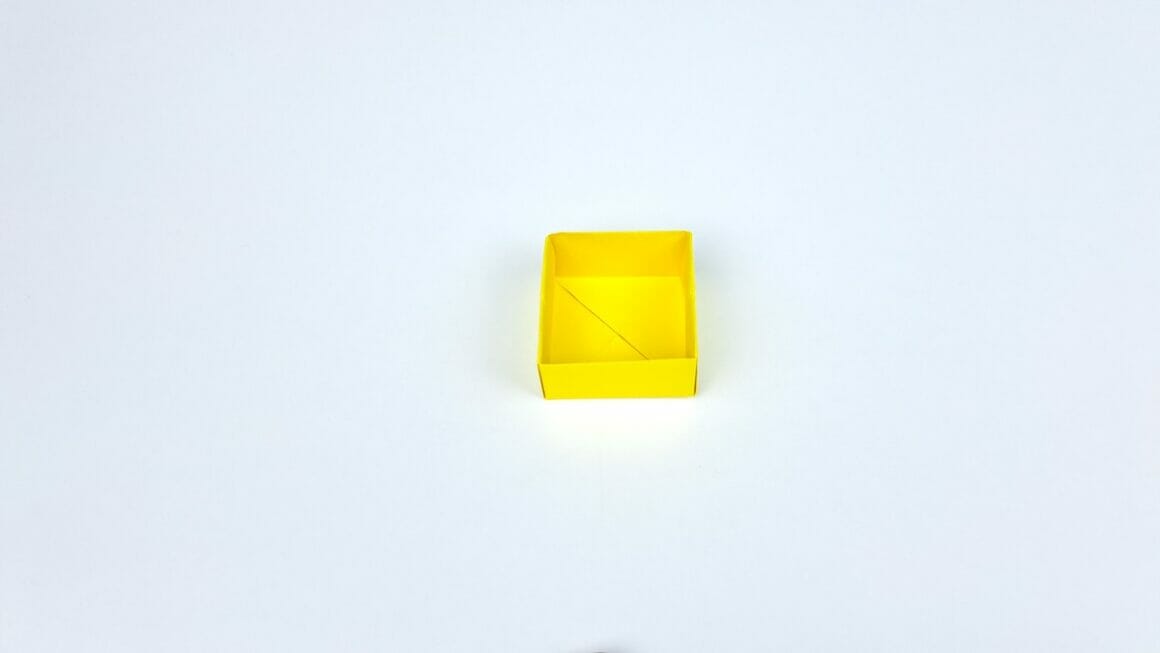
20. Bottom to Middle
Finally, bring the bottom section up and over, tucking it into the center just like you did with the left section.
More Origami Tutorials
- How To Make An Envelop
- Origami Owl
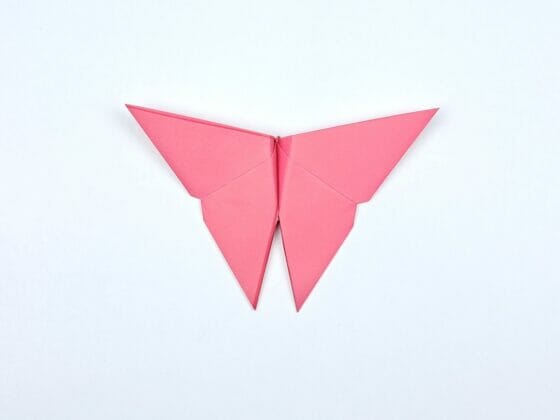
- Origami Butterfly
- Origami Crane
- How To Make A Fortune Teller
- Origami Ninja Star
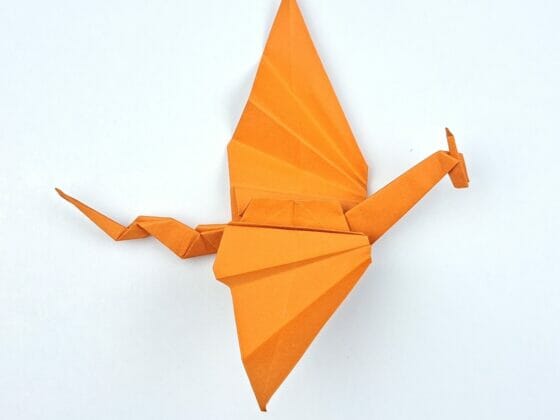
- How To Make An Origami Dragon
- Origami Frog
Create the Paper Box Lid
If you want to create a lid for your origami paper box, you can repeat the same folding process you used to make the box. This will produce a second box, which can serve as the lid for the first one.
If you want the lid to fit snugly over the box, you might consider using a paper square that is just a tiny bit larger than the one you used for the box. For example, if you used a 15x15cm square for the box, you could use a 15.5×15.5cm square for the lid. This will allow the lid to fit more comfortably over the box.
Remember to fold carefully and precisely as you did with the box to ensure the lid fits well and looks great. Once you’ve completed the lid, you can decorate both the box and the lid as you see fit. Enjoy your crafting!
Conclusion
Congratulations! Your origami paper box is now complete. This functional piece of art can hold trinkets, serve as a gift box, or decorate your space. Happy folding!