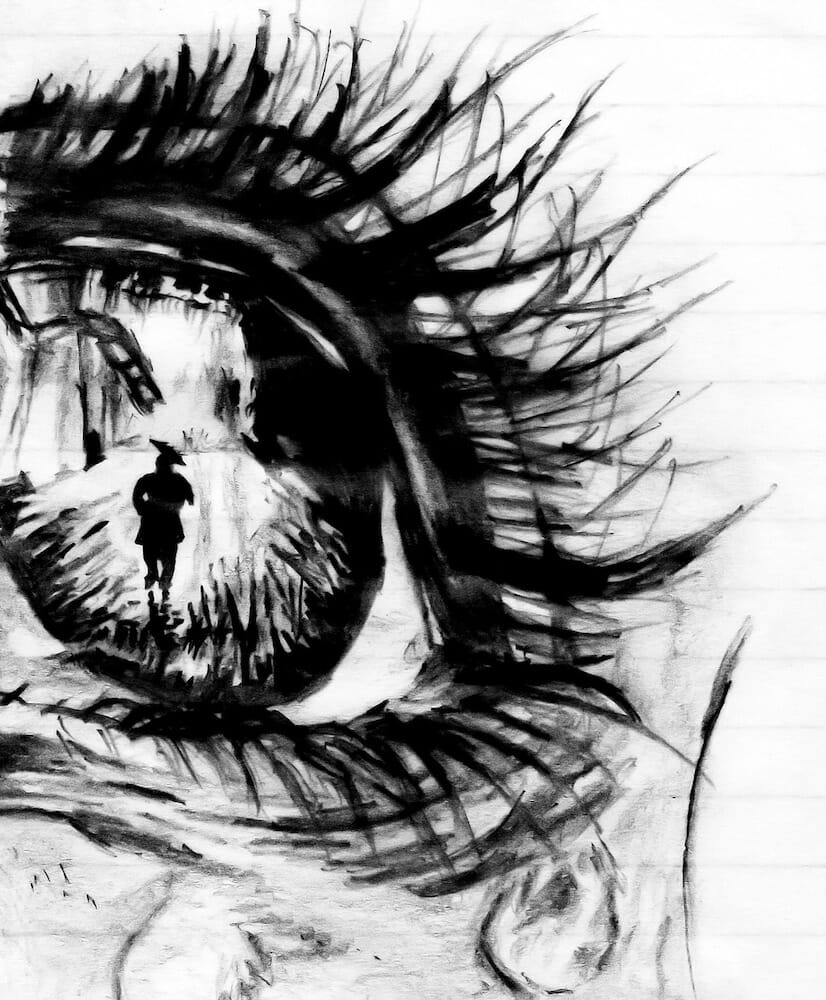
Welcome to “How To Draw Eyes With My Step-by-Step Video Tutorial!” Whether you’re an aspiring artist or someone looking to refine your existing skills, you’ve come to the right place. Eyes are often described as the “windows to the soul,” captivating us with their beauty and their ability to express a wide range of emotions. However, capturing that essence on paper can be a challenging feat. That’s why I’ve created this comprehensive, easy-to-follow tutorial that will guide you through each step of the eye-drawing process.
This tutorial is designed to offer clear instructions and detailed video demonstrations, making drawing realistic and expressive eyes easier than ever. This tutorial covers everything from the basic geometric shapes that lay the groundwork for the eye to the nuanced details like the texture of the iris and the interplay of light and shadow. Along the way, I’ll share expert tips and common pitfalls to avoid, helping you become more adept at this intricate yet rewarding art form.
So grab your sketchbook your favorite drawing tools, and let’s embark on this artistic journey together!
Table of Contents
- 1 List of Recommended Materials
- 2 List of Tips and Common Pitfalls When Drawing an Eye
- 3 How to Draw an Eye Step-by-Step
- 3.1 1. Establish the Eye Core Shape
- 3.2 2. Illustrate the Eyelids
- 3.3 3. Detail the Iris
- 3.4 4. Add the Pupil
- 3.5 5. Incorporate Highlights
- 3.6 6. Design the Eyebrows
- 3.7 8. Finalize the Outline
- 3.8 9. Craft the Eyelashes
- 3.9 10. Shade the Pupil and Iris
- 3.10 11. Shade the Sclera
- 3.11 12. Add Shading Around the Eye
- 3.12 13. Define the Eyebrows
- 3.13 14. Volumize the Eyelashes
- 3.14 15. Final Touches
- 3.15 16. Watch the Full Real-Time Process
- 3.16 More Drawing Tutorials
List of Recommended Materials
- SKETCH PAD.
- PENCILS (Different Grades of Pencils).
- MECHANICAL PENCIL for sketching (you can still use regular pencil). Keep it sharp!
- Eraser- I used a Kneaded Eraser.
- Make up Brush for blending.
List of Tips and Common Pitfalls When Drawing an Eye
Drawing an eye can be both a rewarding and challenging endeavor. Often described as the “windows to the soul,” eyes can express a myriad of emotions, making them a compelling subject in art. Here are some improved tips and potential issues you might encounter:
- Keen Observation: Begin by meticulously observing either real eyes or high-resolution reference photos. Take note of intricate details like the texture of the iris, unique reflections, and eyelid shapes.
- Utilize Basic Forms: Kickstart your drawing with elementary geometric shapes. Think of the eye as a composite of circles and ovals—use a larger circle for the eye and a smaller one for the iris.
- Proportional Accuracy: Ensure that all elements of the eye—the width, height, iris size, and pupil placement—are in correct proportion to one another.
- Mastery of Light and Shadow: Gain a solid understanding of how light interacts with the eye. Note how the cornea and moisture on the eye create highlights and how the eyelids contribute to shadow formation.
- Pupil and Iris Dynamics: Center the pupil within the iris and adjust its size according to lighting conditions and the emotional tone you wish to portray. For instance, dilated pupils might signify low light or excitement, while constricted pupils can imply bright light or tension.
- Framing with Eyelashes and Eyebrows: Employ eyelashes and eyebrows as aesthetic frames for the eye. Vary the length of the eyelashes, and remember that eyebrows have their own natural arch and texture.
- Capturing Emotion: Understand that the eye is a powerhouse of expression. Experiment with different shapes, sizes, and angles to accurately capture a variety of emotions.
- Detail-Oriented Approach: Add nuanced details like the tear duct, subtle veins in the sclera, and any distinctive imperfections to elevate the realism of your drawing.
Common Pitfalls and Solutions
- Asymmetry: Creating perfectly symmetrical eyes can be difficult. Utilize guiding lines or a grid to maintain balance and symmetry.
- Overworking the Art: Steer clear of over-manipulating your drawing as it can lead to smudging or a cluttered look. Use high-quality paper and materials to reduce the risk of smudging.
- Flatness or Lack of Depth: To avoid a flat, lifeless eye, focus on the interplay of light and shadow to add dimension and realism.
- Proportional Inaccuracies: A disproportionate eye can appear unnatural. Always double-check the dimensions and positions of each eye element.
- Rigidity: Dodge the pitfall of drawing stiff or lifeless eyes by practicing various expressions and morphologies.
- Texture Deficiency: Ensure the iris is flat by incorporating textural details and color variations.
- Inconsistent Lighting: Keep the lighting cohesive across the entire drawing. Multiple or conflicting light sources can confuse the viewer.
- Visible Pencil Strokes: Excessive pencil marks can compromise the drawing’s realism. Use blending techniques to smooth out lines and create a more natural look.
Remember, practice is instrumental in perfecting your skill in drawing eyes. Continual experimentation, learning from your mistakes, and honing your technique will contribute to your growth as an artist. Over time, you’ll excel at capturing the essence and emotion of this fascinating facial feature.
How to Draw an Eye Step-by-Step
1. Establish the Eye Core Shape
Begin by sketching a slightly elongated almond-like shape to serve as the eye’s foundational outline. Adjust the shape according to the style or expression you’re aiming for.
2. Illustrate the Eyelids
Trace the upper and lower eyelids along the contour of the almond shape. Remember, the upper eyelid is generally thicker than the lower one.
3. Detail the Iris
Create a smaller circle or oval within the almond outline to represent the iris. Although its size and placement can vary, it’s usually centered within the eye.
4. Add the Pupil
Inside the iris, sketch an even smaller circle or oval for the pupil. This dark portion of the eye adjusts in size depending on light exposure.
5. Incorporate Highlights
Place a small white dot or speck within the pupil to emulate light reflection, adding depth to your eye drawing.
6. Design the Eyebrows
Sketch the eyebrows just above the eye. The shape of the eyebrows can vary significantly, so choose one that complements the character or style you’re working on.
7. Clean-Up Phase
Use a kneaded eraser to gently remove any extraneous initial lines, leaving a clearer outline behind. Be cautious not to erase too much!
8. Finalize the Outline
Redraw the erased portions, ensuring cleaner, crisper lines for a polished look.
9. Craft the Eyelashes
Sketch the eyelashes using ‘J’-shaped strokes. While the upper eyelashes are more prominent, you can add subtler ones to the lower lid if desired.
10. Shade the Pupil and Iris
Add tonal variations to the pupil and iris, deliberately leaving the lower part of the iris lighter to make room for additional details later.
11. Shade the Sclera
Lightly shade the eye’s white area, known as the sclera. The corners are generally darker, and you can blend the shading with a brush for a smoother appearance.
12. Add Shading Around the Eye
Create shadowing for the surrounding skin, considering the light source’s position. Smooth out the shading using a blending brush.
13. Define the Eyebrows
Shade within the initial eyebrow outline, following the natural direction of hair growth.
14. Volumize the Eyelashes
Add depth to the eyelashes by darkening them and following the natural curve of each hair.
15. Final Touches
Add intricate details using an eraser to lighten specific areas and hatch lines for added texture. You’re almost done—just some fine-tuning left!
16. Watch the Full Real-Time Process
This step presents the entire drawing process in real time, offering a comprehensive view of how each detail comes together.
This revised step-by-step guide should help your audience understand how to draw a realistic eye while following your video tutorial.