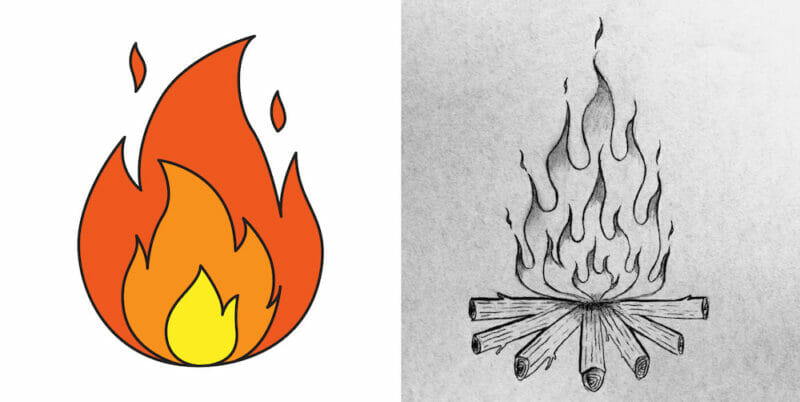
Welcome back to our in-depth online series, “How to Draw Fire.” Mesmerized by the dance of flames in a bonfire or the cozy warmth of a hearth? Fire is more than a force of nature; it’s an artist’s dream—and a challenge!
Whether you’re an experienced artist looking to expand your creative horizons or a budding young artist—or parent of one—eager to ignite some artistic passion, we’ve got something special in store. We’re excited to introduce a new, beginner-friendly tutorial for kids and newcomers.
Join us as we offer two separate paths: one for our more advanced artists and a simplified guide perfect for those just starting out. Each tutorial comes complete with detailed instructions, mini videos, and step-by-step images to guide you through the fascinating process of drawing a realistic or stylized fire.
So, are you ready to fuel your creativity? Let’s add some sizzle to your artistic journey and get started!
Feel free to use this introduction to smoothly integrate the two different tutorials within your single article and cater to artists of all skill levels!
Table of Contents
- 1 Recommended Materials to Draw a Fire
- 2 Tips, Potential Issues, and Fixes for Drawing a Realistic Firewood and Flames
- 3 Tutorial 1: How to Draw a Realistic Fire Step-by-Step
- 3.1 Step 1: Lay the Groundwork with Guidelines
- 3.2 Step 2: Carve the Initial Flame Outline
- 3.3 Step 3: Tidy Up with a Kneaded Eraser
- 3.4 Step 4: Refine Your Fire Outline
- 3.5 Step 5: Draft Your Firewood Guidelines
- 3.6 Step 6: Create the Initial Firewood Outline
- 3.7 Step 7: Erase to Perfection
- 3.8 Step 8: Finalize the Firewood Outline
- 3.9 Step 9: Add Textural Details to the Firewood
- 3.10 Step 10: Finishing Touches for Realism
- 4 Fire Drawing Process Full Video
- 5 Tutorial 2: How to Draw a Fire Easy-Step-by-Step for Beginners
- 5.1 Step 1: Draw a Water Droplet Shape and Add Spikes on Both Sides
- 5.2 Step 2: Draw a Smaller Droplet Shape Inside the First One
- 5.3 Step 3: Add Even Smaller Droplets Within the Second Fire
- 5.4 Step 4: Add Leaf-Like Shapes on Both Sides of the Base Area
- 5.5 Step 5: Congratulations, You’ve Finished Drawing a Fire!
- 5.6 Step 6: Enhance Your Fire by Adding Color
- 6 Easy Fire Drawing Process Full Video
Recommended Materials to Draw a Fire
- Pencils
- Blending Tools
- Kneaded Eraser
- Sketchpad
Tips, Potential Issues, and Fixes for Drawing a Realistic Firewood and Flames
Tips to Create a Convincing Firewood Drawing
Drawing fire with its accompanying firewood is an exciting artistic project that requires attention to detail, a grasp of color theory, and a flair for capturing movement. Here’s a detailed breakdown of tips, potential issues you might encounter, and fixes to help you master this intriguing subject matter.
Collect a Visual Library
Before you even touch pencil to paper, gather an array of reference images featuring both firewood and flames. This serves as a foundational resource, helping you understand the intricate details, varying colors, and shapes crucial for a realistic portrayal.
Choose Your Arsenal Wisely
The right materials can make a significant difference. Consider using soft pastels for vibrant hues, colored pencils for precision, or watercolor paints for a flowing, organic feel. Each medium brings out unique aspects of fire’s texture and color.
Dive into the Details
When sketching your firewood, pay meticulous attention to the grain of the wood, its cracks, and the texture of its bark. These details will provide depth and realism to your artwork.
Animate Your Flames
Begin at the apex of your firewood and start drawing the flames. Remember, fire is a living entity; its colors range from deep red to bright yellow and even white. Vary the shapes and sizes of your flames, and use a lighter touch to capture their ephemeral and transparent nature.
Consider Adding Smoke
To heighten the realism, you might want to include wisp-like structures of smoke in shades of gray or white. Position these near the top of your flames for a convincing effect.
Composition is Key
Think about the overall layout of your drawing. How is the firewood situated within the frame? Are there additional elements or a background that can contextualize the scene? A strong composition can dramatically enhance your artwork’s emotional impact and aesthetic appeal.
Potential Issues and Fixes
Frustration and Discouragement
Drawing fire is not the easiest task and can be frustrating if your initial attempts don’t meet your expectations.
Fix: Don’t get disheartened. As with any art form, the key to mastering this subject lies in persistent practice and ongoing refinement of your technique.
Safety Concerns
If you’re drawing from real-life fire as a reference, there are safety considerations to take into account.
Fix: Prioritize your safety and the safety of those around you. Ensure you’re not using materials that emit harmful fumes, and maintain a safe distance from any real flames.
Mastering the art of drawing firewood and flames is a journey that demands time, patience, and safe practices. As you continue to draw, you’ll discover your own unique style and techniques that bring your fiery visions to life. Keep fanning those creative flames!
Tutorial 1: How to Draw a Realistic Fire Step-by-Step
Step 1: Lay the Groundwork with Guidelines
First things first, draw a circle as the base where your fire will originate. This will serve as your point of reference. Next, sketch several lines extending outward from the circle to indicate where your flames will go. Remember, fire is wild and unpredictable; ensure these lines vary in length to capture its dynamic nature.
Step 2: Carve the Initial Flame Outline
Using the lines you’ve just sketched as a guide, begin outlining the initial shapes of your flames. This doesn’t have to be perfect; think of it as laying the framework for the fiery masterpiece to come.
Step 3: Tidy Up with a Kneaded Eraser
Grab your kneaded eraser to remove extraneous lines and the initial guidelines. The key here is to erase enough so that the drawing looks cleaner but not so much that you can’t see your original outline. A delicate touch ensures that you’re left with a more precise flame structure.
Step 4: Refine Your Fire Outline
It’s time to revisit the outline of your flames. This round focuses on clean, smooth lines. Also, draw smaller flame shapes within the larger ones to add depth and make the fire look more lifelike.
Step 5: Draft Your Firewood Guidelines
Sketch lines emanating from different directions at the base circle. These will act as your guidelines for the firewood. Add circles where you envision the logs to be, keeping in mind the perspective by making circles narrower as they move farther from the viewer’s standpoint.
Step 6: Create the Initial Firewood Outline
Using the guidelines and circles as a reference, draw the initial outline for your logs or firewood.
Step 7: Erase to Perfection
Use your kneaded eraser to remove unwanted lines from the firewood sketch as you did with the flames. Your goal is to keep the outlines while eliminating unnecessary distractions.
Step 8: Finalize the Firewood Outline
Time for precision! Return to your firewood and redraw your outline, this time focusing on cleaner and more refined lines.
Step 9: Add Textural Details to the Firewood
In this step, your firewood comes to life. Sketch broken lines within the logs to mimic the natural texture of bark. Incorporate swirling lines within the circles to give the appearance of wood grain and depth.
Step 10: Finishing Touches for Realism
You’re nearly there! For the ultimate touch of realism, add some shading. Darken the ends of the firewood closest to the flames to give the impression of burning wood. Also, add shading to the tips of the flames to make them look more three-dimensional and real.
Fire Drawing Process Full Video
Congratulations! You’ve successfully traversed the journey from a simple circle and guidelines to a complete, realistic depiction of fire. Now, you’re not just an artist but a fire whisperer on paper.
We hope you found this tutorial illuminating. Feel free to share your fiery masterpieces, and don’t forget to keep practicing. The more you draw, the hotter your skills will get!
Happy drawing!
More Drawing Tutorials
- How to Draw Pokemon
- How to Draw Sonic
- How to Draw Eyes Step-by-Step
- How to Draw a Unicorn
- How to Draw a Cartoon-Style Dragon
- How to Draw a Rose
- How to Draw Naruto
- How to Draw a Bat
- How to Draw a Skull
- How to Draw a Book
- How to Draw a Bunny
- How to Draw a Cow Easy
Tutorial 2: How to Draw a Fire Easy-Step-by-Step for Beginners
Hey there, young artists and future Picassos! 🔥 Ready to turn up the heat on your drawing skills? We’ve got a blazing new tutorial that’s perfect for you. Introducing “How to Draw Fire Easy”—a fun and simple guide designed for kids and beginners. With step-by-step videos and images, we make it a snap to draw your very own fire! So grab your pencils, and let’s spark up some creativity!
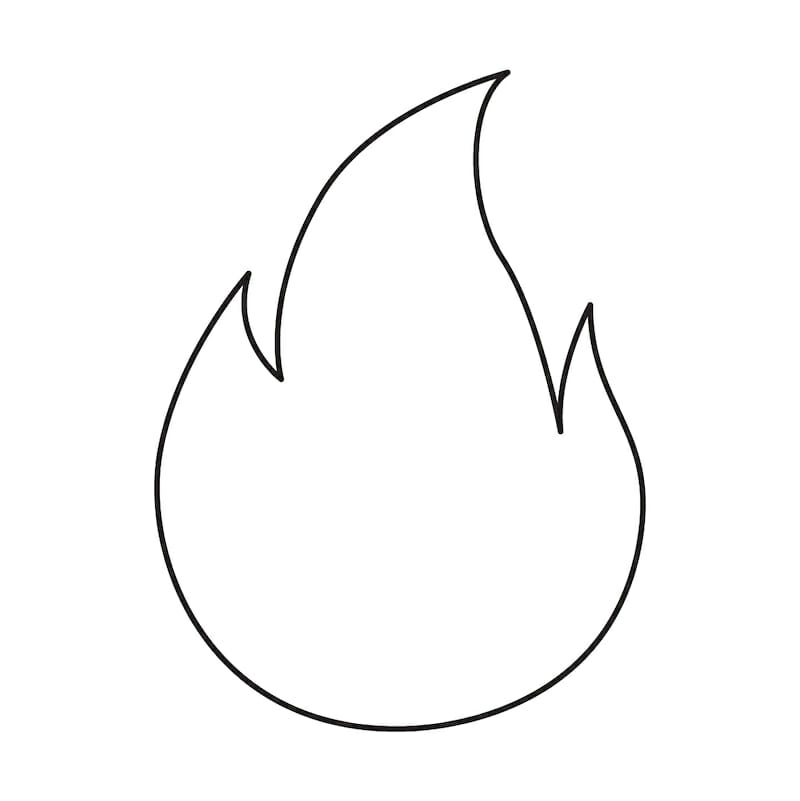
Step 1: Draw a Water Droplet Shape and Add Spikes on Both Sides
🎥 Watch Video for Step 1
Let’s set the stage with our base shape. Grab your drawing tool and sketch out a shape that looks like a water droplet—pointy at the top and round at the bottom. Once you have that, add some flair by sketching little spikes on both sides. Imagine these as the flickering flames of your fire.
🖼️ See the Image for Step 1
Step 2: Draw a Smaller Droplet Shape Inside the First One
🎥 Watch Video for Step 2
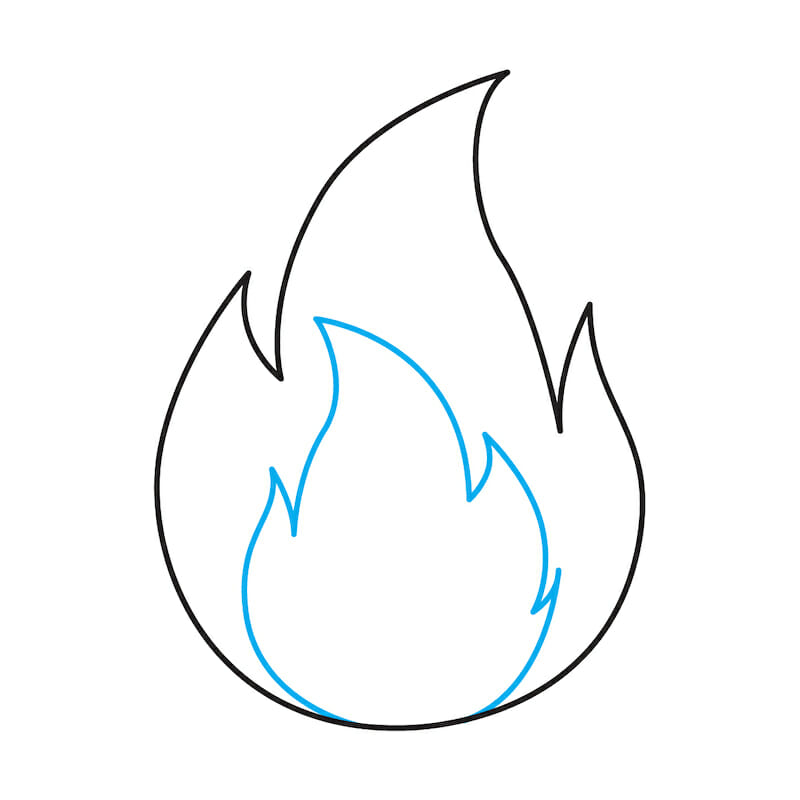
Great job! Now, let’s give our fire some depth. Draw a smaller water droplet shape inside the first one you made. It’s like creating a mini-me for your fire, making it look more dynamic and layered.
🖼️ See the Image for Step 2
Step 3: Add Even Smaller Droplets Within the Second Fire
🎥 Watch the Video for Step 3
Our fire needs more sizzle! Sketch even smaller droplet shapes within the second outline you drew. These little flames will add complexity and make your fire look super lively.
🖼️ See the Image for Step 3
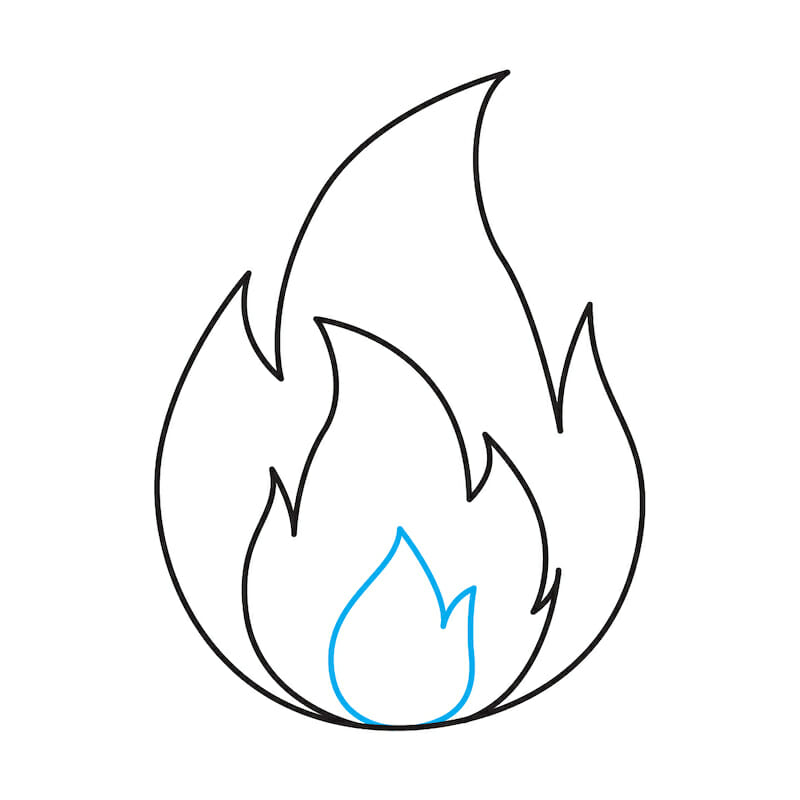
Step 4: Add Leaf-Like Shapes on Both Sides of the Base Area
🎥 Watch Video for Step 4
Now, let’s add some finishing details. Sketch leaf-like shapes at the base of your fire on both sides. These add a whimsical touch and make your fire look like it’s dancing!
🖼️ See the Image for Step 4
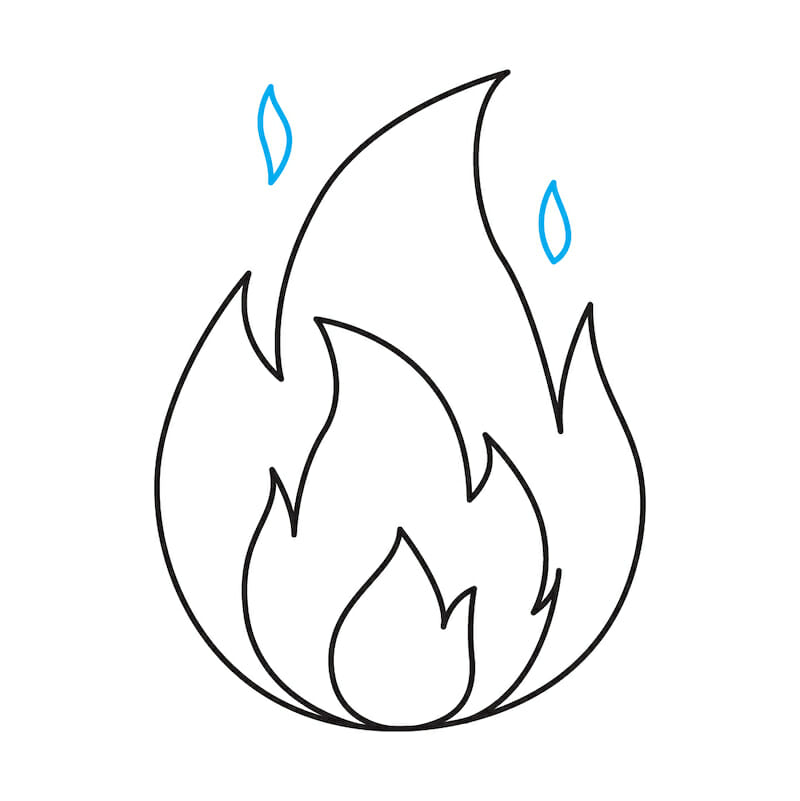
Step 5: Congratulations, You’ve Finished Drawing a Fire!
🎥 Watch the Video for Step 5
High five! You’ve just drawn an amazing fire! Take a moment to admire your masterpiece and bask in the warmth of your creativity.
🖼️ See the Image for Step 5
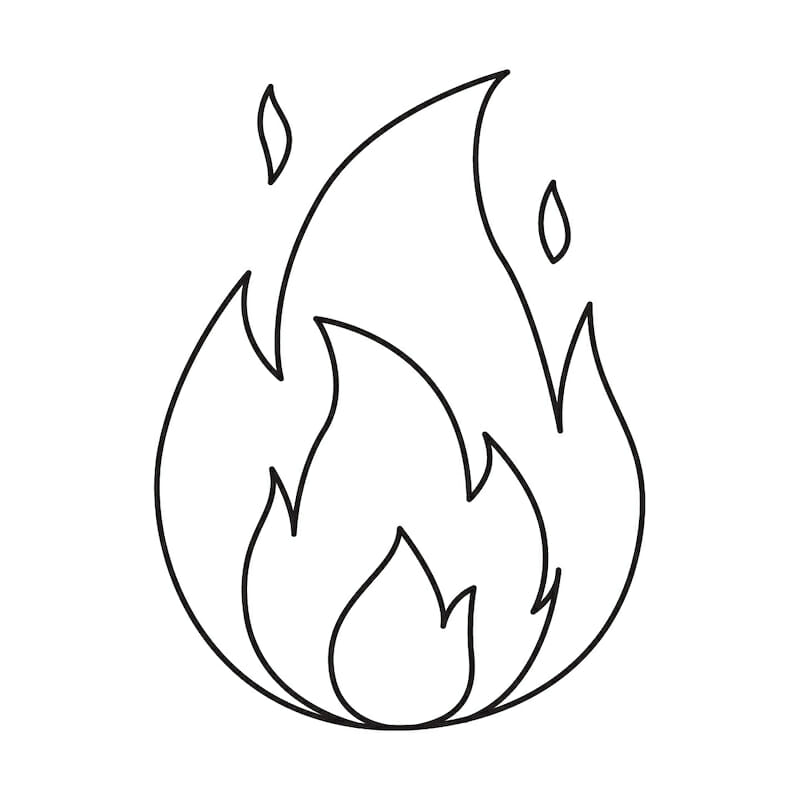
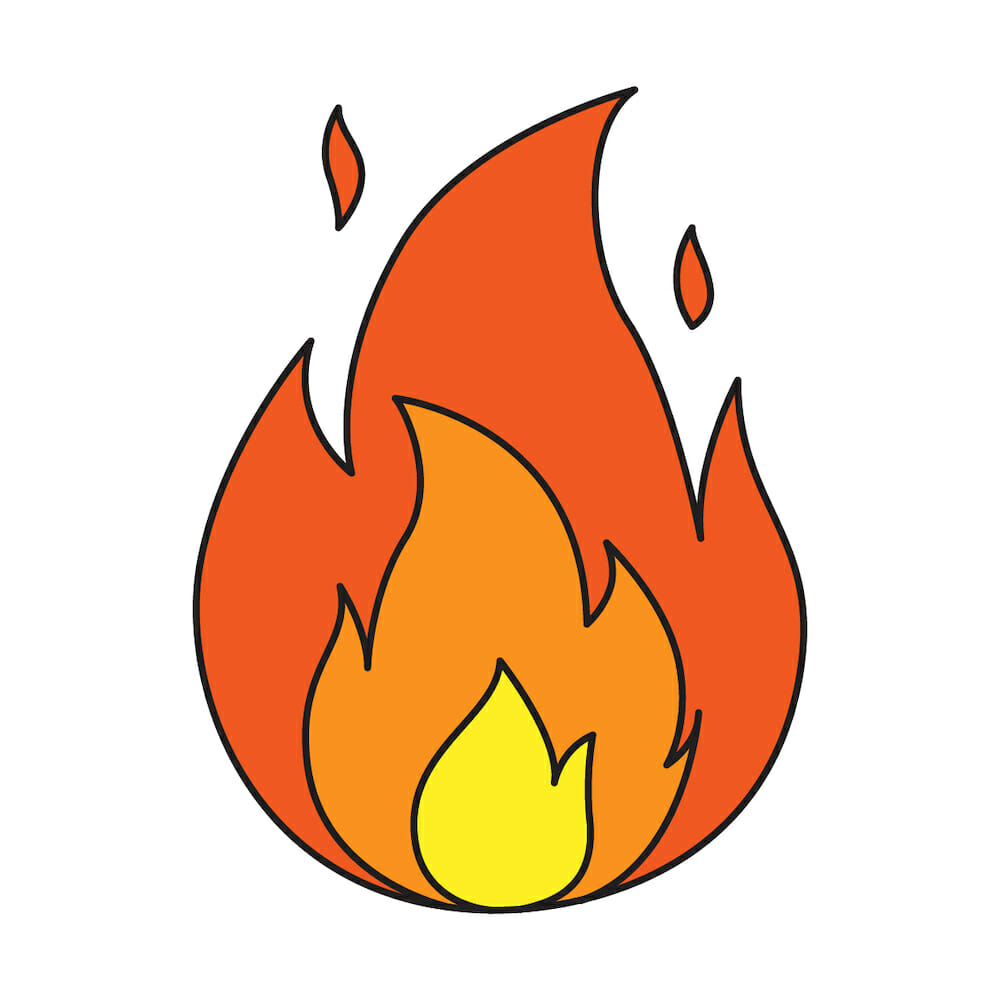
Step 6: Enhance Your Fire by Adding Color
Ready to make your fire truly sizzle? Grab your colored pencils, markers, or digital tools, and add shades of red, orange, and yellow to bring your fire to life.
Easy Fire Drawing Process Full Video
So there you go! You’ve just crafted your very own fire drawing! Show it off to friends and family, and keep practicing to become the hotshot artist you’re meant to be. Keep fanning those creative flames! 🔥🎨

