Welcome to our fun and easy tutorial on “How to Draw a Butterfly Step by Step!” Whether you’re a Growing artist or just looking for a cute and simple project, this guide will have you creating a lovely butterfly in no time. With clear steps accompanied by mini videos, images, and a full-length tutorial at the end, you’ll be amazed at how quickly you can bring this beautiful creature to life on paper!
Table of Contents
- 1 How to Let Your Butterfly Drawing Soar: Tips for Success
- 2 12 Easy Steps to Draw a Cute Butterfly
- 2.1 Step 1. Starting with the Head
- 2.2 Step 2. Crafting the Body
- 2.3 Step 3. Adding Body Details
- 2.4 Step 4. Designing the Antennae
- 2.5 Step 5. Wings Take Flight
- 2.6 Step 6. Mirror the Wings
- 2.7 Step 7. Wing Detailing
- 2.8 Step 8. Top Left Wing Mastery
- 2.9 Step 9. Lower Wing Delicacy
- 2.10 Step 10. Symmetry in Detail
- 2.11 Step 11. Butterfly Complete!
- 2.12 Step 12. Add a Splash of Color
- 3 Butterfly Drawing – Full-Length Tutorial
How to Let Your Butterfly Drawing Soar: Tips for Success
- Take Your Time: Art is not a race. Go at your own pace and enjoy the process.
- Light Hand, Easy Strokes: Keep your hand light when drawing your initial lines. This makes it easier to erase and adjust as needed.
- Practice Makes Perfect: If your first butterfly doesn’t turn out perfect, that’s okay! The more you practice, the better you’ll get.
- Creativity is Key: Your butterfly doesn’t have to look exactly like the example. Embrace your style and make it uniquely yours.
- Stay Positive: Remember, every artist was once a beginner. With patience and practice, you’ll see progress in no time!
With these steps and tips in hand, we’re confident you’ll create a cute and easy-to-draw butterfly.
12 Easy Steps to Draw a Cute Butterfly
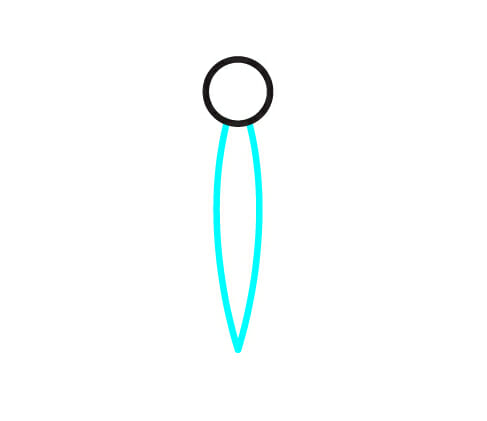
Step 1. Starting with the Head
Begin your butterfly drawing journey by sketching a small circle for its head.

Step 2. Crafting the Body
Beneath the head, sketch a leaf-like shape. This will form the main part of the butterfly’s body.
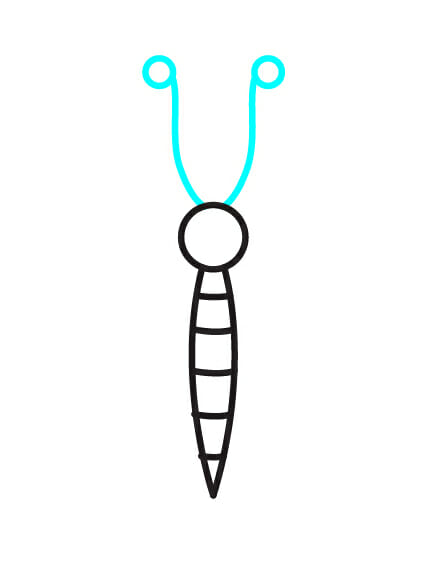
Step 3. Adding Body Details
Within your leaf-like shape, add five curved lines to give dimension and detail to the butterfly’s body.

Step 4. Designing the Antennae
Above the head, draw two small circles. Extend a curved line from each of them to craft the butterfly’s delicate antennae.
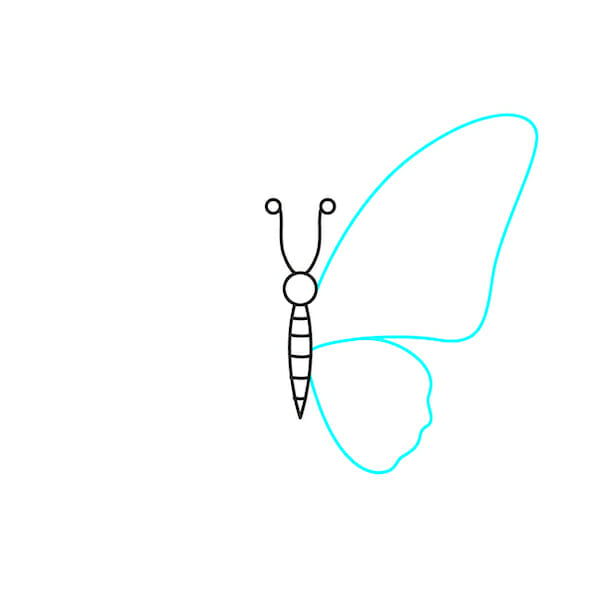
Step 5. Wings Take Flight
Begin drawing the butterfly’s wing, using the shape provided as a guide.
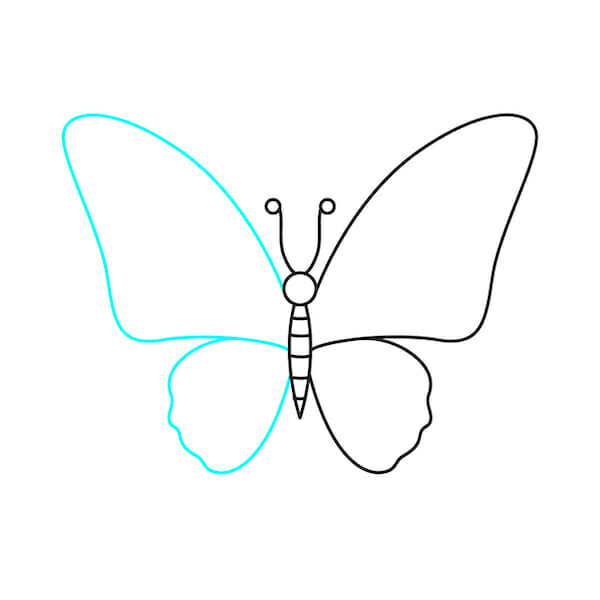
Step 6. Mirror the Wings
Replicate the wing shape on the opposite side, ensuring both wings are symmetrical.
Step 7. Wing Detailing
Let’s get creative! Add details to the wings. The patterns can vary, so feel free to let your imagination soar.
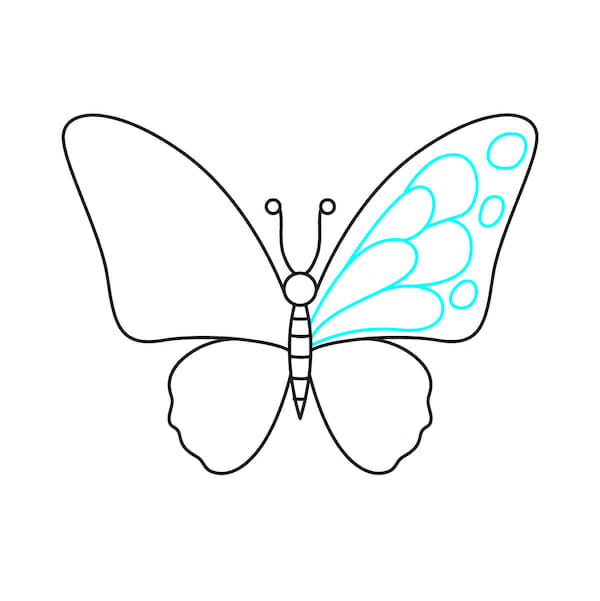
Step 8. Top Left Wing Mastery
Add intricate details to the top left wing, ensuring they match the top right wing’s design.

Step 9. Lower Wing Delicacy
Embellish the lower portion of the wings with intricate details.

Step 10. Symmetry in Detail
As with step 9, decorate the lower wing on the other side, ensuring both sides mirror each other.

Step 11. Butterfly Complete!
Congratulations! You’ve successfully drawn a cute and easy butterfly.

Step 12. Add a Splash of Color

Bring your butterfly to life with vibrant colors. We provide a few examples, but remember: the sky’s the limit with your creativity!
Butterfly Drawing – Full-Length Tutorial
As you wrap up your butterfly drawing journey, remember that every artist, from beginners to professionals, starts with simple sketches. Your dedication and passion shine through each stroke and detail. With practice and patience, your skills will continue to flourish. Keep drawing, experimenting, and, most importantly, believing in yourself. Every butterfly you draw is a testament to your growing talent. Keep soaring!