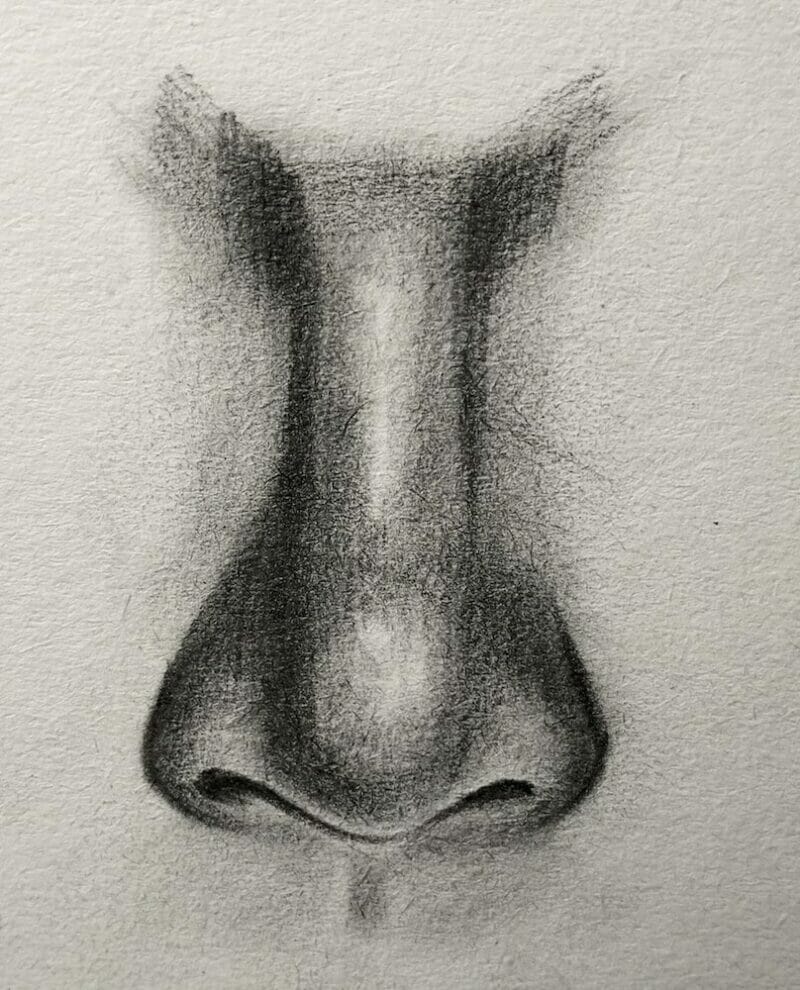
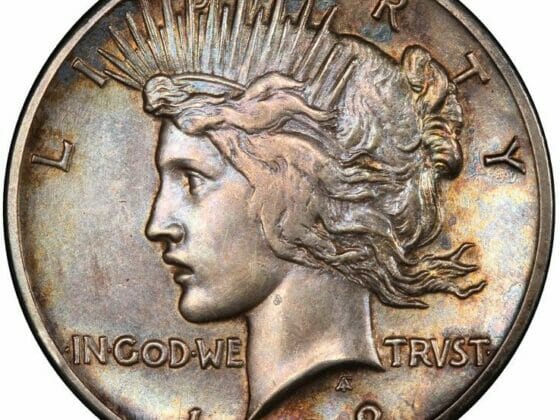
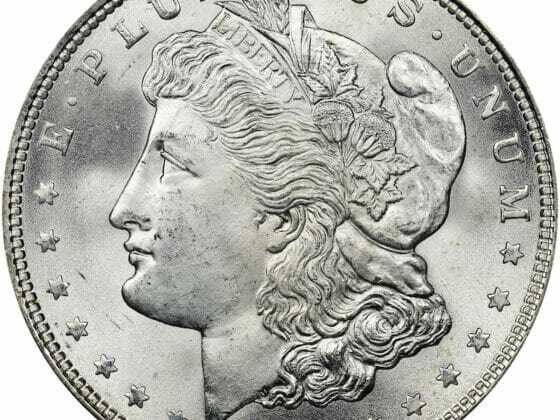
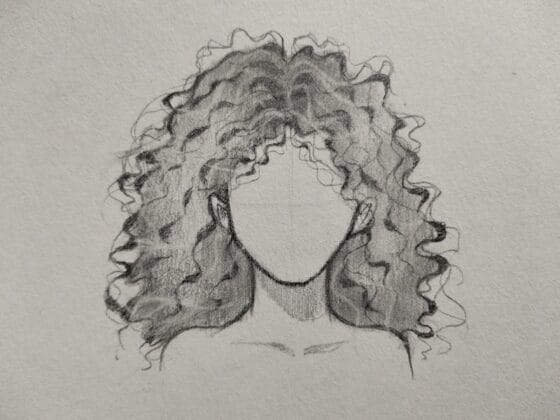
Drawing a realistic nose can be challenging, but with the right techniques and a touch of patience, anyone can master it. With its subtle curves and intricate shading, the nose is an essential feature that can bring life to a portrait. In this tutorial, we’ll guide you through a detailed process of sketching, shading, and highlighting to achieve a realistic nose drawing.
Each step is accompanied by a mini-video, ensuring clarity and ease of understanding. At the end, there’s a comprehensive video showing the entire process from start to finish. Let’s dive in!
Table of Contents
Recommended Materials
- Pencil
- Blending tools
- Kneaded eraser
- Sketchpad
Expert Tips and Troubleshooting
Expert Tips for Drawing Realistic Noses:
- Observe and Learn: Study real noses, photographs, or art references to grasp the diverse shapes, sizes, and angles noses can have.
- Simplify with Shapes: Use foundational shapes like triangles, circles, and lines as a starting point to draft the structure of the nose.
- Maintain Proportions: Ensure the nose aligns proportionately with other facial features. Pay close attention to the distance between the eyes and the width and position of the nose.
- Mastering Light and Shadow: Recognize how light interacts with the nose. Emphasize shaded regions and let areas catching light remain lighter.
- Subtle Textures Matter: Infuse subtle textures such as pores and fine lines to enhance realism. However, always strive for subtlety.
- Diverse Practice: Explore drawing noses of varied shapes, sizes, and orientations to hone your versatility.
Common Challenges and How to Address Them:
- Size and Proportion: If the nose seems disproportionate to the face, modify its size and position. Use facial landmarks, like the eyes and ears, for guidance.
- Achieving Symmetry: Perfect symmetry can be elusive. Utilize tools like rulers or grid techniques to help, but remember, natural faces can have slight variations.
- Flat Appearance: A flat-looking nose lacks dimension. Reinforce the shading, emphasizing shadows and highlights to instill depth.
- Avoid Over-Details: Over-embellishing can detract from realism. Keep the focus on primary features and maintain a delicate touch with details.
- Perfecting Nostrils: Misaligned or misshaped nostrils can be distracting. Always verify their position and form, using real references if needed.
- Mind the Angle: Be attentive to the nose’s inclination. If it’s too angled or not enough, tweak the bridge and nostrils accordingly.
- Softness is Key: Dodge using stark, bold lines for the nose’s outline. Opt for gentler lines and transition shades for a lifelike finish.
7 Easy Steps to Draw a Perfect Nose
Step 1. Initial Sketching
- Draw the Base and Bridge: Begin with a circle for the base of the nose. Flank the circle with two lines, gently curving downwards; these will serve as the nose bridge.
- Sketch the Nostrils: Just below and to the sides of your circle, add the nostrils, ensuring they are proportional to the nose’s overall size.
Step 2. First Shading
- Light Pencil Shading: Use a light pencil to shade the darker parts of the nose gently. Make sure to leave the naturally light areas untouched at this stage.
Step 3. Second Shading
- Deepening Shadows: With a slightly darker pencil, enhance the shading, strictly following your initial shading. Again, preserve the light areas, ensuring they remain free from any shading.
Step 4. Erasure Technique
- Creating Depth with Highlights: With a kneaded eraser, gently erase the light areas you’ve been avoiding. This technique brings out the depth of the nose, emphasizing highlights and making the nose appear more three-dimensional.
Step 5. Third Shading
- Intensifying the Darkness: Delve deeper into the shadows! Using an even darker pencil than before, accentuate the shaded areas. Remember, as always, to keep the light areas untouched.
Step 6. Highlighting
- Adding Realism: Illuminate the drawing with well-placed highlights. This step breathes life into the nose, making it pop and giving it a truly realistic appearance.
Step 7. Fourth Shading
- Final Darkening and Details: Much like the previous shading steps, deepen the shadows using your darkest pencil. Once you feel satisfied with the depth and balance, focus on fine-tuning. Add texture details, refine the highlights, and tweak any areas you feel need a bit more attention. Your end goal is a nose that looks as real on paper as it would on a face. Once you’ve achieved this, give yourself a pat on the back – you’ve done a great job!
Learn How to Draw a Realistic Nose – Full-Length Video
Remember, art is a journey, not a destination. Each nose you draw will be better than the last as you continue to practice and refine your technique. Enjoy the process and the incredible skill you’re developing!

