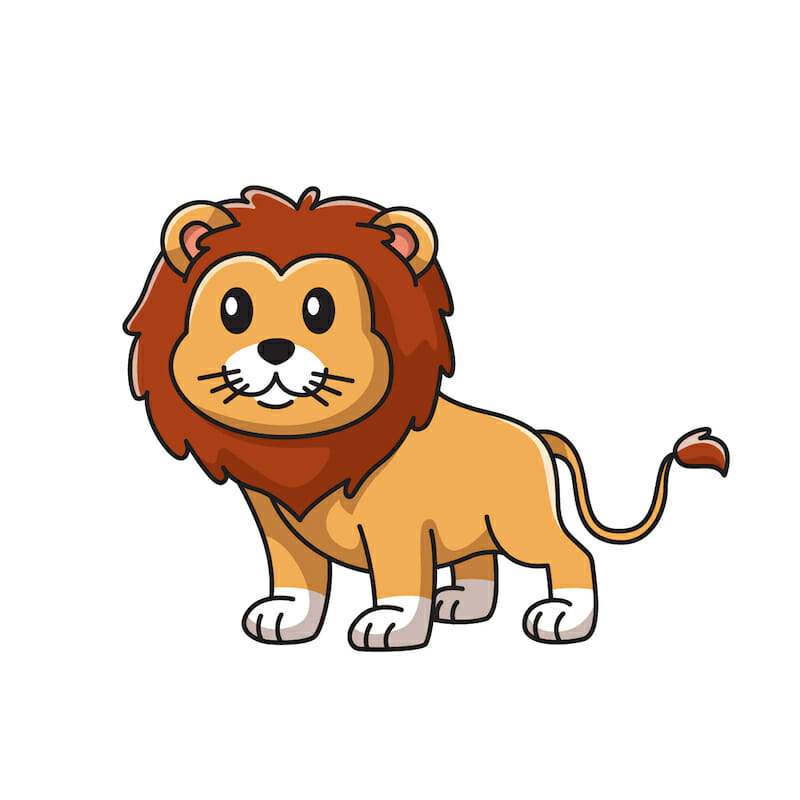
Unleash your inner artist as we journey through the wild plains of creativity to draw one of nature’s most majestic creatures – the lion! Whether you’re a young cub just starting out or a seasoned explorer in the world of art, this tutorial is designed for all skill levels. With easy-to-follow steps and room for your own imaginative twists, you’re about to embark on an exciting artistic adventure. Let’s roar into action and bring a lion to life on your canvas!
Table of Contents
- 1 Step-by-Step Guide to Drawing a Lion
- 1.1 Step1. Setting the Face Foundation
- 1.2 Step 2. Captivating Eyes
- 1.3 Step 3. Pupils and Depth
- 1.4 Step 4. Nose and Mouth Detailing
- 1.5 Step 5. Whiskers of Grace
- 1.6 Step 6. Perky Ears
- 1.7 Step 7. Beginning the Body
- 1.8 Step 8. Defining the Torso
- 1.9 Step 9. Front Legs and Paws
- 1.10 Step 10. Sturdy Back Legs
- 1.11 Step 11. Elegant Tail
- 1.12 Step 12. Tail Tip Detailing
- 1.13 Step 13. Lion’s Majesty Complete
- 1.14 Step 14. Adding Life with Colors
- 2 Lion Drawing Full Video Tutorial
Step-by-Step Guide to Drawing a Lion
Step1. Setting the Face Foundation
Begin with an oval for the face. Above it, sketch an upside-down ‘W’ to define the lion’s forehead.

Step 2. Captivating Eyes
Draw two larger ovals for the lion’s eyes. Inside each of these, place a smaller oval.

Step 3. Pupils and Depth
Fill in the area between the smaller and larger ovals with black, giving depth and life to the eyes.
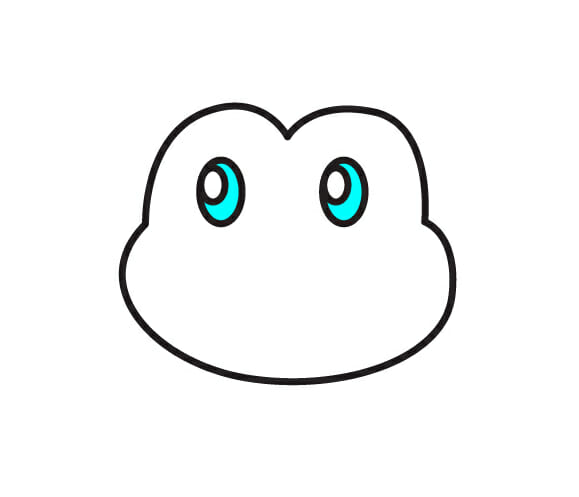
Step 4. Nose and Mouth Detailing
Beneath the eyes, sketch an upside-down triangular shape for the nose. For the mouth, create a ‘W’-like shape with a gentle curve below it, forming a serene expression.
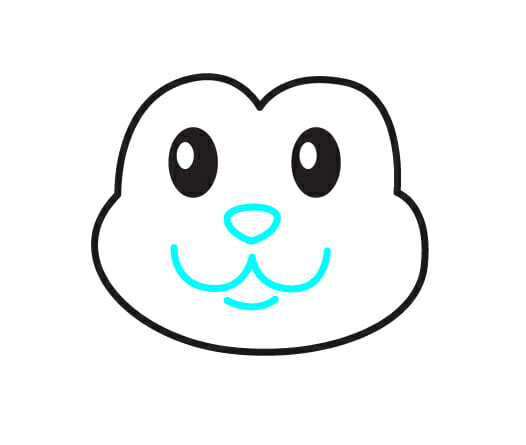
Step 5. Whiskers of Grace
From the sides of the mouth, extend three whisker lines on each side, radiating outwards.

Step 6. Perky Ears
On top of the head, draw two ear shapes resembling curved triangles.

Step 7. Beginning the Body
Starting from the face, outline the upper part of the lion’s muscular body.

Step 8. Defining the Torso
Draw two lines extending from the face, shaping the lion’s back and belly.
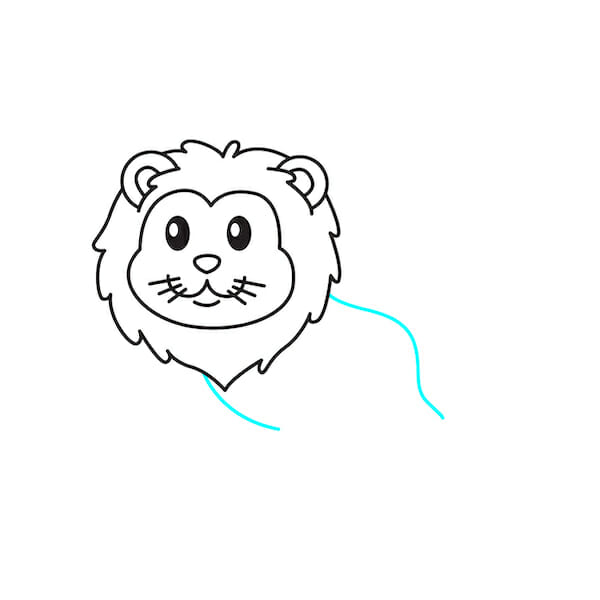
Step 9. Front Legs and Paws
Sketch the front legs with care, paying attention to the muscular structure. Remember, you can play with different styles for the legs!
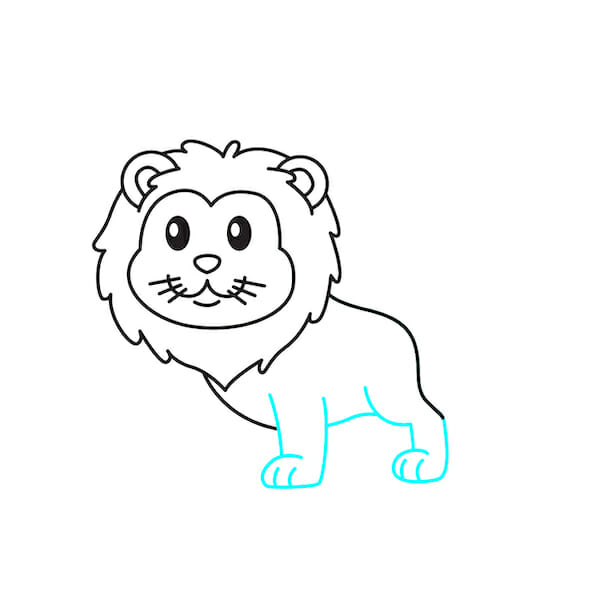
Step 10. Sturdy Back Legs
Behind the front legs, add the back legs, ensuring they are proportionate to the front.
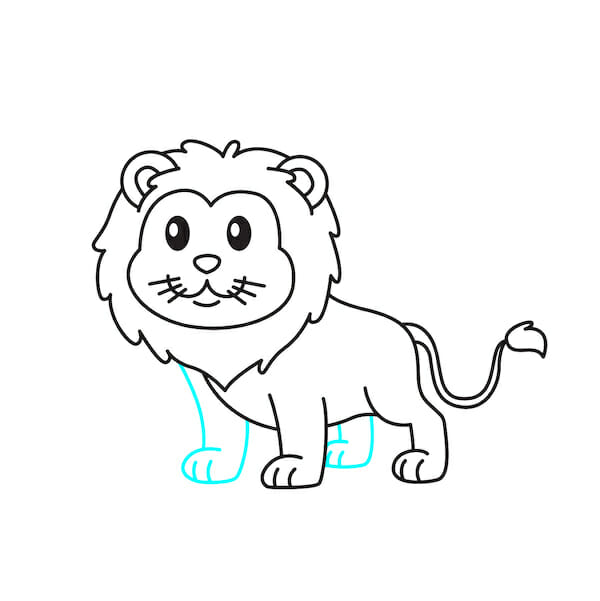
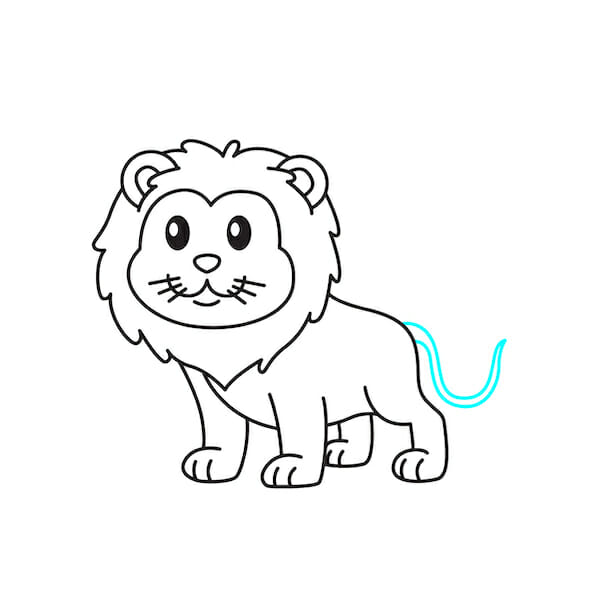
Step 11. Elegant Tail
From the back, extend a sleek, snake-like tail.
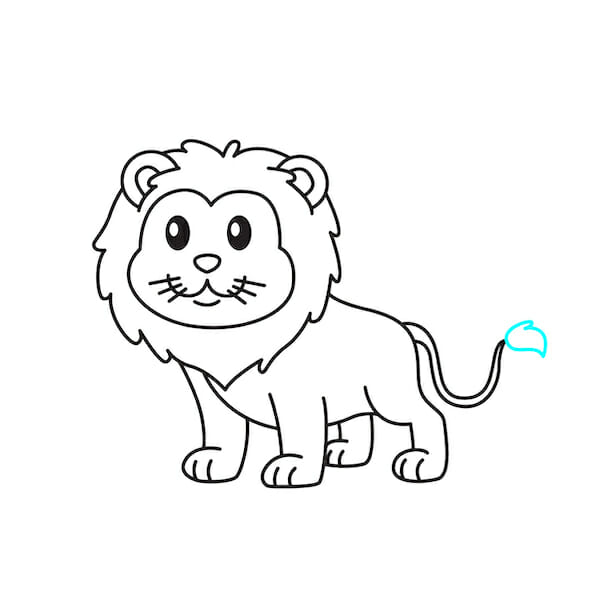
Step 12. Tail Tip Detailing
Add a tuft or a bushy detail at the tail’s end for that signature lion look.
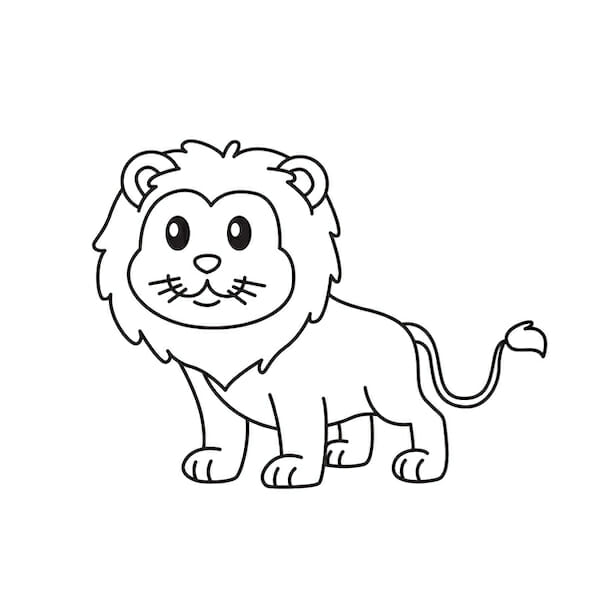
Step 13. Lion’s Majesty Complete
Take a moment to admire your work! You’ve successfully drawn a lion.
Step 14. Adding Life with Colors
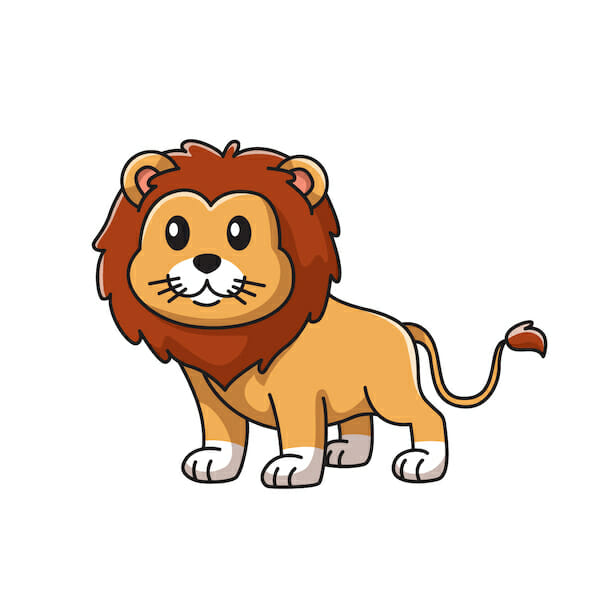
Now, paint your masterpiece! Use warm golds, rich browns, or any other hues your heart desires. Remember, the sky’s the limit to your creativity.

