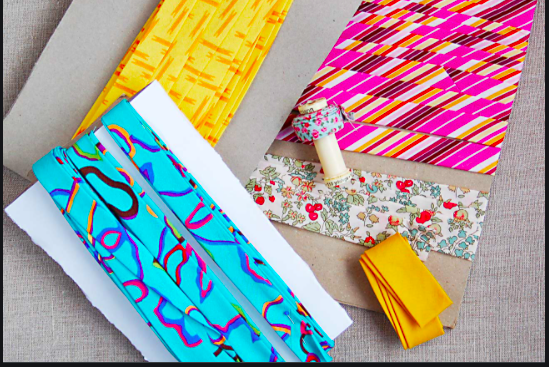
During our bias tape giveaway, we had many requests from people asking about how to make bias tape. Bias tape is wonderful for adding to the edges of clothing, blankets, potholders, whatever you can think of! It gives your piece a nice finished look. The process is not complicated (a little tricky at the seams), but it does tend to be time-consuming, so be ready to spend some quality time with your iron. It was great to hear what people would like to see on Craft Buds, so as requested, here’s a tutorial!
If you wonder what to do with Bias Tape, I encourage you to check my tutorial: How to Make a Headband? 2 in 1 Tutorial where I use my homemade bias tape.
Table of Contents
What you need to make bias tape at home
Here are a few tools that make the job much more manageable: cutting mat, ruler, rotary cutter, bias tape tool. You can still make the tape without any of these (except the ruler), but they will all make the job easier. You will also need an iron.

Step 1
Trim the edges of your fabric, so it is square.

Step 2
Use the lines on your cutting mat to set your ruler at a 45-degree angle. If you don’t have a cutting mat, measure an equal distance in both directions from the corner and make your first cut.

Step 3
After making that first cut, measure out your desired width. You can either mark the measurements (left image below) or use a second ruler to help you figure out where to place the first ruler (right image below).
To figure out your width to cut, first, decide the width you want your final bias tape to be. For single fold bias tape, cut the fabric strips to twice the final width minus 1/8″. For double fold bias tape, cut the fabric strips to four times the final width desired minus 1/8″. The 1/8″ allows for a bit of a gap between the folds toward the center in step 6*. Here’s a list of double fold bias tape measurements:
- 1/2″ bias tape cut 1 7/8″ strips
- 3/8″ bias tape cut 1 3/8″ strips
- 1/4″ bias tape cut 7/8″ strip
* Edited to add: The 1/8″ gap is optional, you can leave that out, and it’ll still turn out fine! If using a full measurement for double-fold tape (2″ for 1/2″ tape, 1 1/2″ for 3/8″ tape, 1″ for 1/4″ tape) in step 6 you’ll fold the fabric all the way to the center crease so the edges will be lined up rather than with a gap between.

Step 4
Sew all your strips together. To do this, overlap with right sides together with 1/4″ sticking out to either side. Stitch across where the arrows show below.

Step 5
Trim the corners off, and when you open the strip up, it will look like the right photo below.

Step 6
Heat up your iron. If you don’t have a bias tape tool, you’ll first fold your strip of fabric in half and use the iron to crease. Open it back up and fold one side toward the center. Crease with the iron and then do the other side. There should be about a 1/8″ gap between the two sides.

If you have the bias tape tool, just feed your fabric through the tip and then drag it along the strip of fabric with the iron right behind.

Step 7
With either method in step 6, you now have single-fold bias tape. If you want it to be double-fold (and you probably do), fold it in half and iron.

Additional notes
- If you are using your bias tape on a project that is just straight lines, you don’t need to worry about cutting the fabric at a 45-degree angle. Just cut the fabric in straight strips rather than at an angle for straight lines. The angle gives the fabric a stretchiness to go around curves easier.
- The creases on your homemade bias tape won’t be as good as those in storebought.
- I purchased my bias tape tool on Amazon.com, but I’ve also seen them at Hobby Lobby. The one in the photos is the Clover Bias Tape Maker, 3/4″. When purchasing a bias tape tool, remember that you’ll have to fold the bias tape in half for double-fold tape so a 3/4″ tool actually makes 3/8″ double-fold bias tape.


17 comments
What neat trick, it definitely adds a little extra to projects. Thanks for the tutorial.
Thank you so much for this! I got one of these tools the other day and haven’t worked it out!
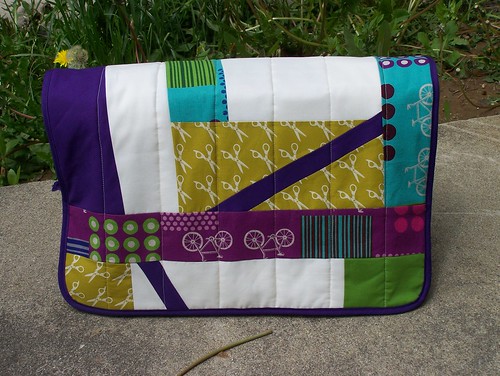
What an excellent tutorial! I use the bias tape maker to make a binding for my quilts that I can quickly apply using my machine. I don’t even have to cut it on the bias, I just cut strait strips and I use the 25mm tape maker which uses 2″ strips (I guess your suggestion of 1 7/8″ would work too). But really, there are some purists out there about hand sewing binding but I like my quilts to be used and washed and I think machine sewn is going to last longer. I’m totally linking this on my blog today, I was really thinking about doing a tute and now I don’t have to! Thanks for sharing!
Anna
Thanks Anna! Glad you liked the tutorial and great suggestions. I haven’t made any quilts (yet) so cutting straight strips sounds both easier and better for quilt binding. Also, your note about using the full 2″ strip reminded me that subtracting that extra 1/8″ is optional so I went back and added that note in the instructions. Thanks again! 🙂
That bias tape maker is super cool! Thanks for linking up with DIY under $5!
This article was featured on Craft Gossip and Becky commented there that bias tape is great to use on cards in cardmaking, fabulous idea!
Great tutorial! Thanks for linking to Quiltstory!
How timely! I’m getting ready to make a skirt that requires bias tape, so I wanted to make my own. Thanks for a very useful tute!
Great tutorial!
Great tute! Thanks for linking up to {Sew} Modern Monday!
woah, i never even thought of making bias tape!! great tutorial! Thanks for linking up to Your Whims Wednesday!! Hope to see ya again this week 🙂
Great tutorial…I would have just bought the tape…lol…
Thanks for linking to Creative Juice Thursday…Hope to see more of your ideas this week!
This is such a great tutorial! Thank you so much for posting it! I used this DIY bias tape to create a pillowcase dress for “Dress a Girl Around the World” and it turned out great! Thank you so much!
Thanks so much.
Have you seen the one where you have it sq & then fold in the corners , cut into strips ?
I did once & of course ‘saved’ it on online somewhere ! LOL
I don’t have a bias tape maker.. I pin a large safety pin on the iron brd ,leaving a space just as large as the bias tape I want to end up with .
again. thanks for posting .
Thank you for this. You make things easier for the new ones on this. Love it!!!!!
What width is the seam sewn when sewing the strips togther?
A 1/4″ seam works great!