Are you looking to master the art of soap making? If so, you’ve come to the right place! In this DIY tutorial, we’ll show you how to make homemade soap using both a lye-based recipe and a recipe without lye.
We’ll also explain the different ingredients, types of molds, and necessary safety precautions needed for successful soap making. So, get your supplies ready, and let’s begin learning how to make your own homemade soap!
Table of Contents
- 1 Benefits of Making Soap at Home
- 2 Homemade Soap With & Without Lye: What Is Lye and Why Is It Important?
- 3 How Do You Make Soap Without Lye for Beginners (Melt & Pour Method)
- 4 How to Make Cold Press Soap (With Lye)
- 5 Tips for Successful Soap Making
- 6 Soap Making Safety Precautions
- 7 Caring for Homemade Soap
- 8 Conclusion
Benefits of Making Soap at Home
Homemade soap making is not only a fun and fulfilling hobby, but it also offers several personal benefits, like creating a personalized product that is unique to your preferences. You can experiment with different scents, textures, and ingredients to achieve your desired effect.
Making soap at home is also often cheaper than buying commercial soap as it requires fewer preservatives and additives, which offers the additional benefit of being healthier for your skin. Most commercial soaps are packed with harsh chemicals that can strip the skin of its natural oils, leaving it dry and irritated.
In contrast, homemade soap is typically made with natural ingredients that are much more gentle on the skin. It also allows you to avoid the use of artificial ingredients that may cause allergies or other skin reactions.
And, of course, making your own soap can be a sustainable and eco-friendly choice. By using natural and organic ingredients, you support local suppliers and reduce your plastic usage since you control your packaging type. Overall, homemade soap making is a satisfying and rewarding experience that offers numerous benefits for you and the environment!
Homemade Soap With & Without Lye: What Is Lye and Why Is It Important?
You can make homemade soap with lye (the cold press method) and without lye (the melt and pour method). Some people may be sensitive to lye, which can be an irritant and cause dermatological issues. Thus, in this article, we’ll look at both methods of home soap-making in more detail, so you can have a choice and try the one that suits you best.
Do You Need Lye to Make Soap?
The short answer is yes. Lye is an essential ingredient in soap making. Soap literally isn’t soap without it! Lye is a caustic substance that reacts with oils to create a chemical reaction that turns them into soap. However, it is important to note that lye can be dangerous if not handled correctly, and caution must be taken when working with it. There are alternatives to avoiding direct contact with lye.
For instance, you can use melt-and-pour soap bases, which have already processed the lye chemicals, but they may not provide the same level of customization as making soap from scratch with lye.
What Happens If You Don’t Use Lye in Soap?
Lye is an essential ingredient in soap making as it creates a chemical reaction called saponification, which turns oils and fats into soap. Without lye, the soap won’t be able to cleanse effectively. Lye is what gives soap its ability to remove dirt and oil from your skin, so skipping it would result in a bit of a failure when it comes to using soap for its intended purpose.
What Is a Substitute for Lye?
While there is no substitute for lye, alternatives have already handled the lye directly, so you don’t have to! Using pre-made soap bases has already been saponified, meaning the lye has already reacted with fats. These bases are readily available in craft stores and can be easily melted down and customized with your preferred ingredients and scents.
It’s important to note that while these substitutes may eliminate the need to handle lye directly, they still go through a chemical reaction similar to the saponification process.
Can You Use Baking Soda Instead of Lye to Make Soap?
As mentioned above, there is no suitable substitute for lye when it comes to homemade soap-making. While baking soda can be used in some homemade cleaning and beauty recipes, it is not a suitable substitute for lye when making soap. Baking soda is an alkaline compound that is rather weak, while lye (sodium hydroxide) is a strong alkali that is necessary for saponification, the chemical reaction that creates soap.
Without lye, soap cannot be made properly. Using the correct ingredients and following a reliable recipe is important to ensure a safe and successful soap-making process.
How Do You Make Soap Without Lye for Beginners (Melt & Pour Method)
Before diving in, gather all the necessary materials for each step. This will allow for a seamless and speedy process once the soap base begins to melt.
Decide which method of melting your soap base works best for you. If you desire more control and a gentler melt, consider using a double boiler setup known as a bain-marie or heated bath.
List of Ingredients for Melt and Pour Soap Making
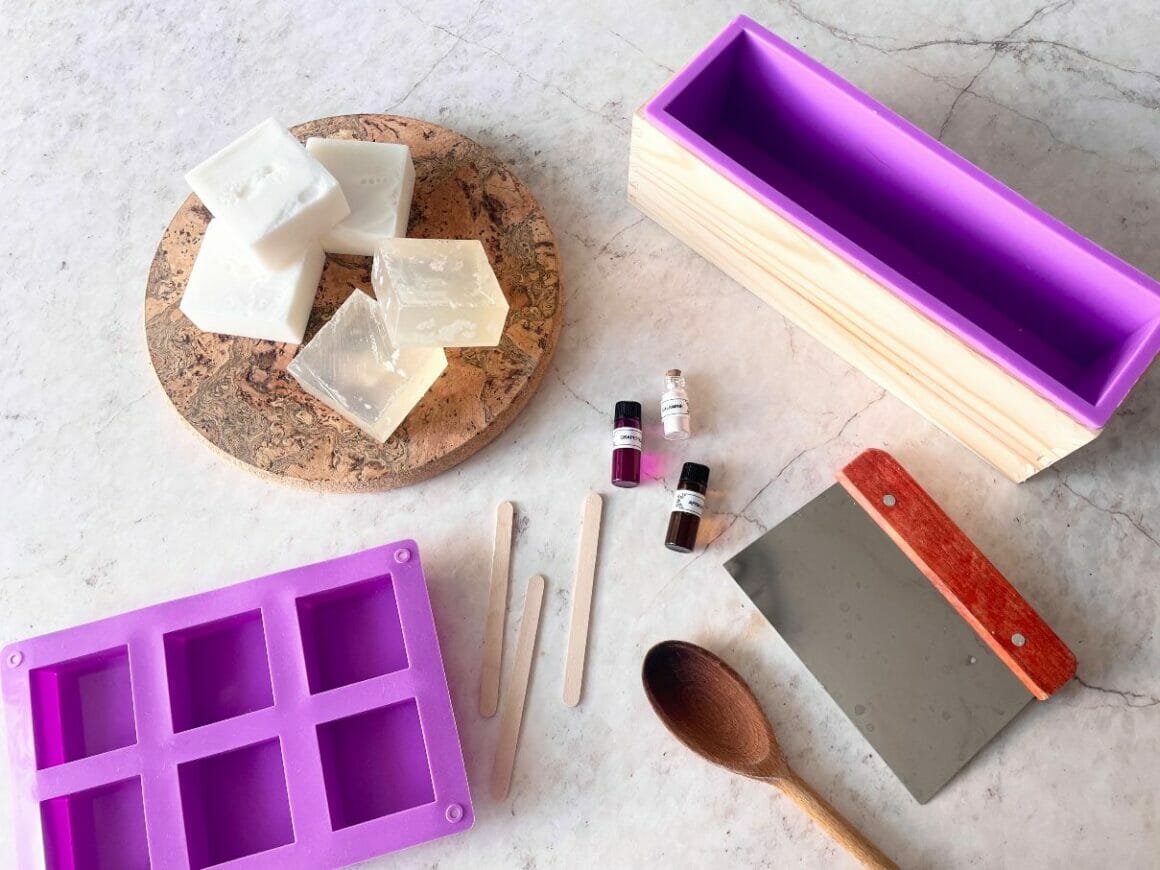
• 1 pound “melt and pour” white shea butter soap base
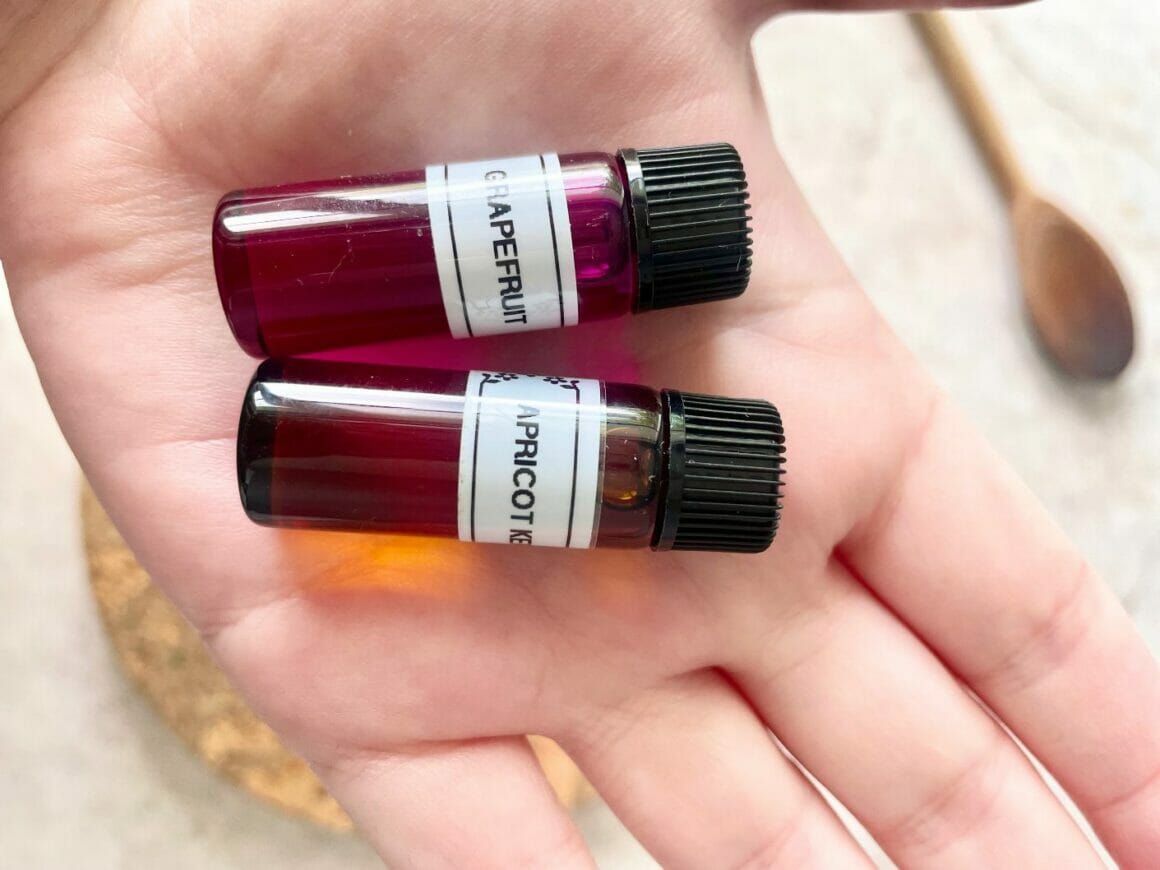
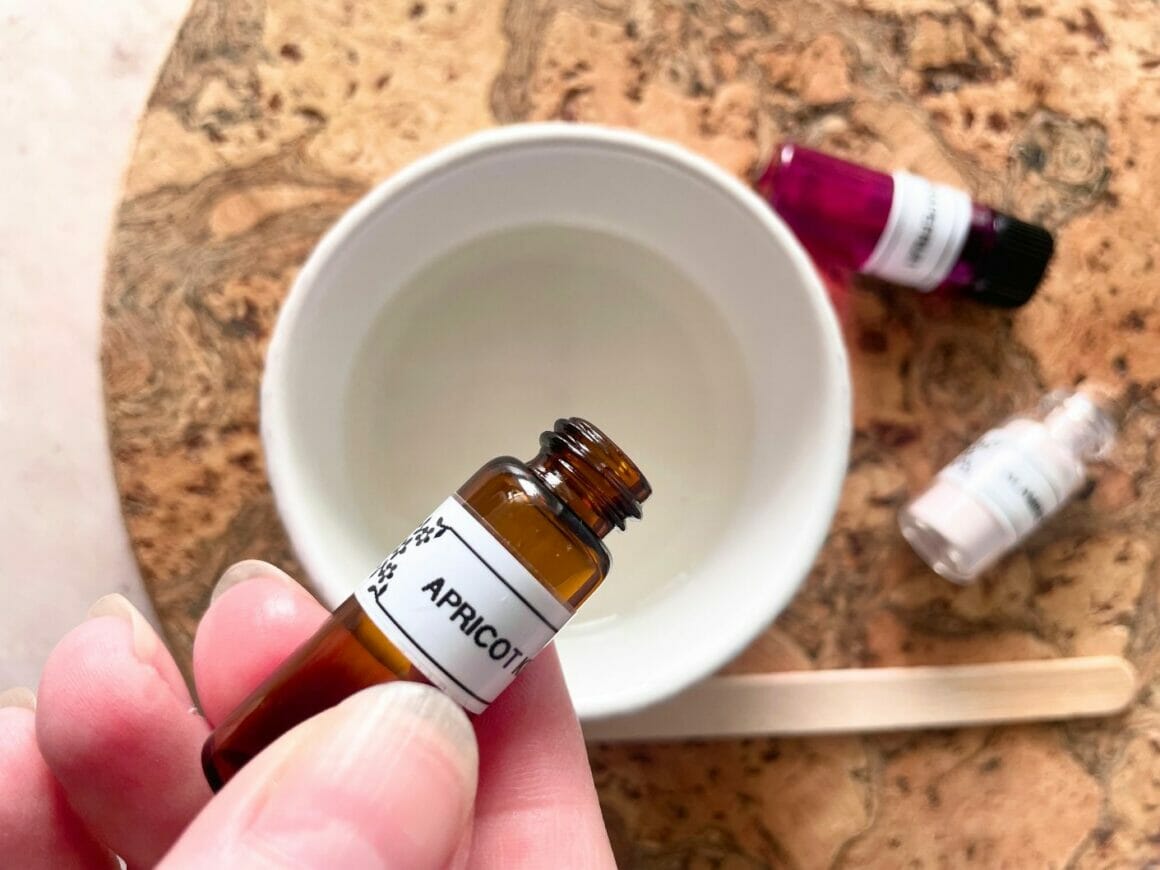
• 2 teaspoons of total cosmetic grade essential oil (I’ve used grapefruit and apricot kernel!)
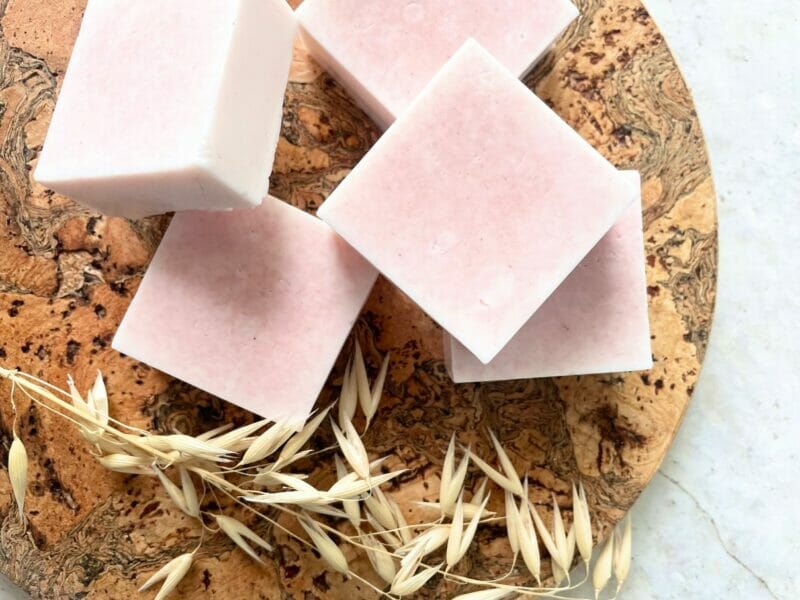
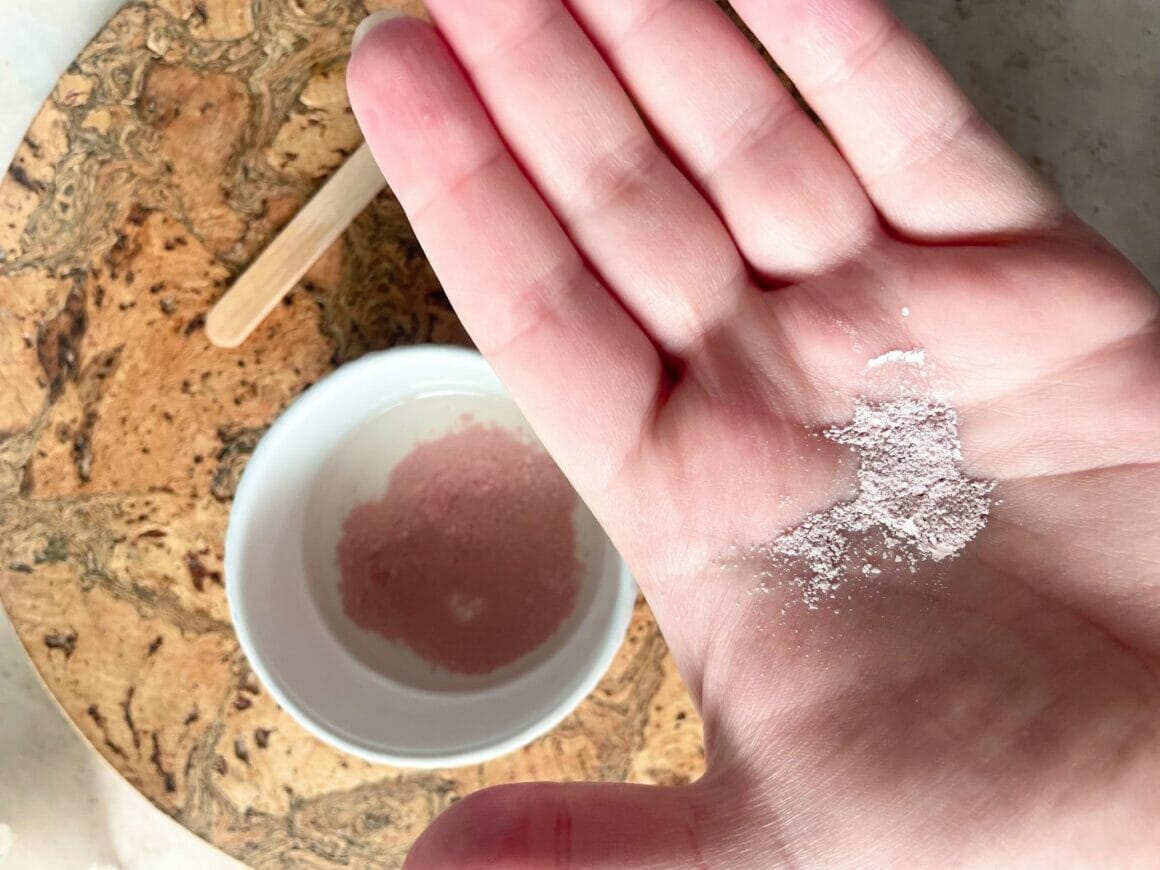
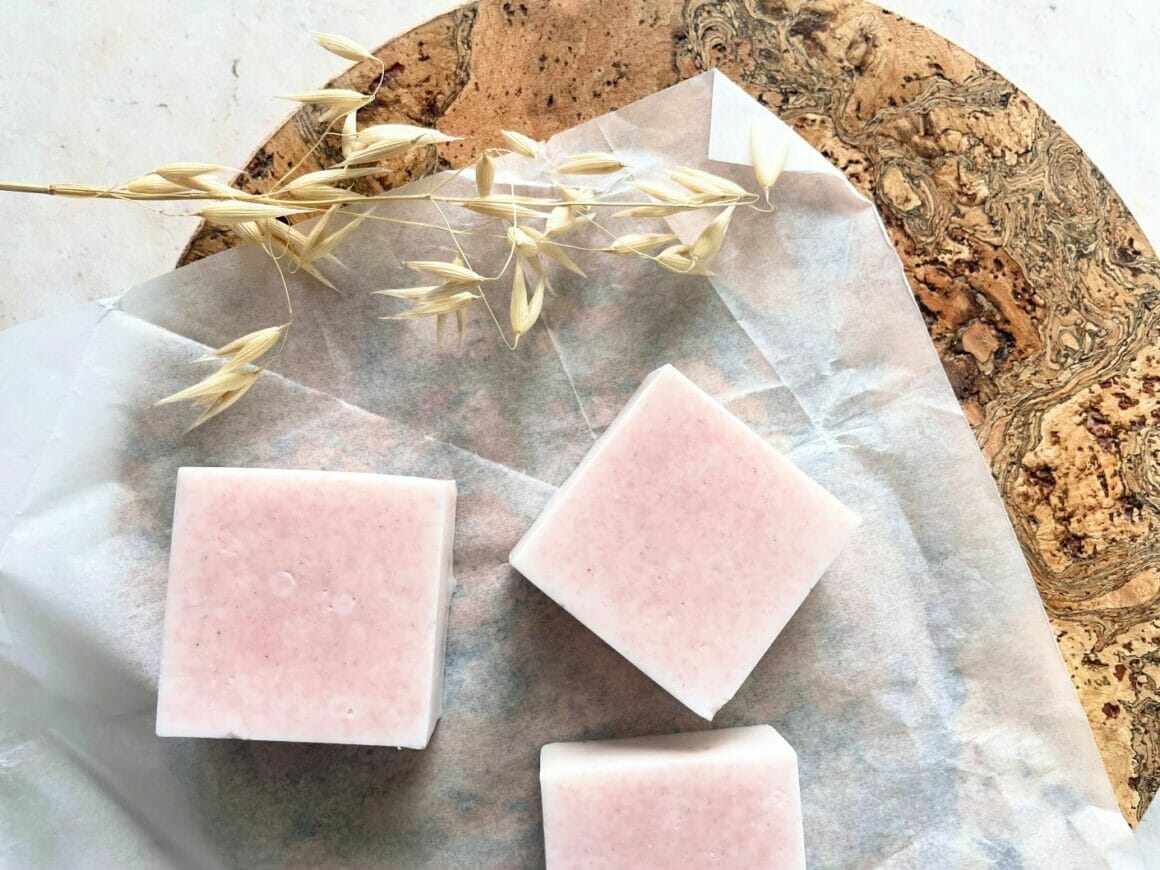
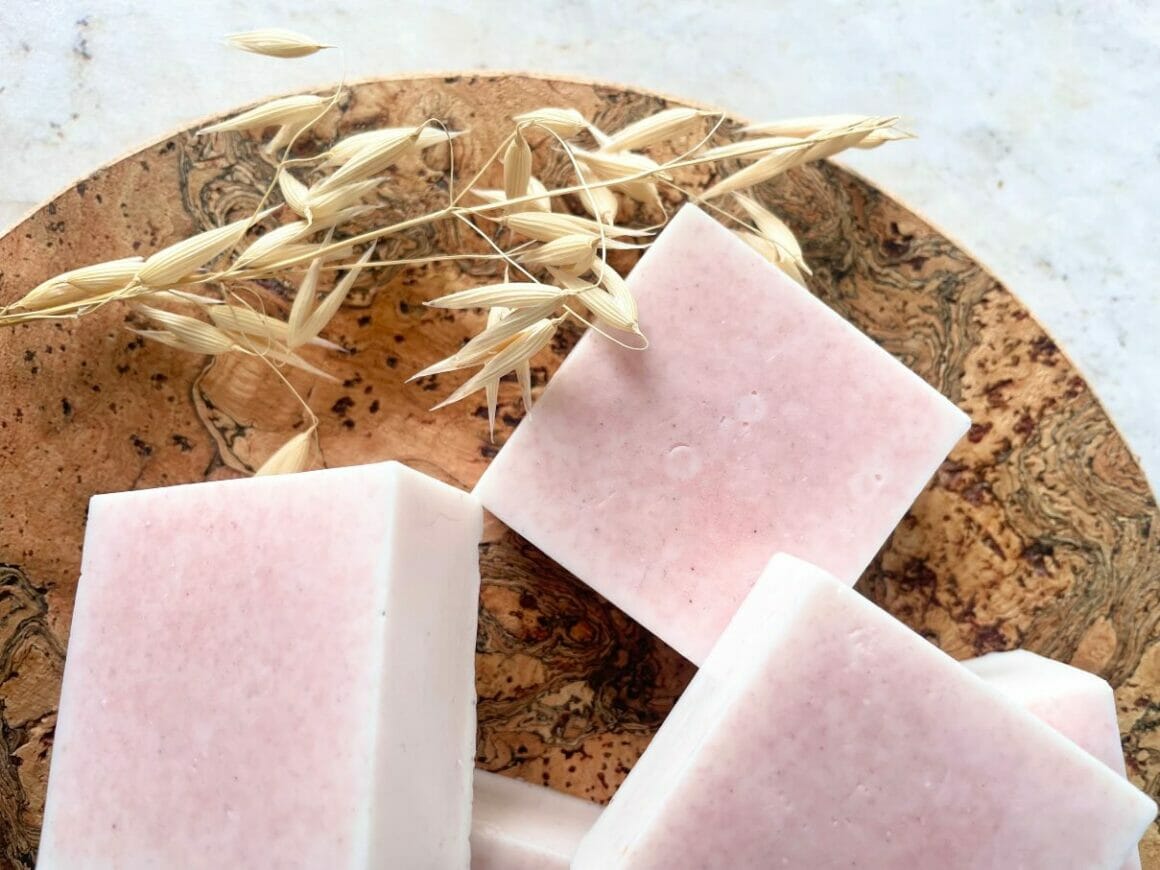
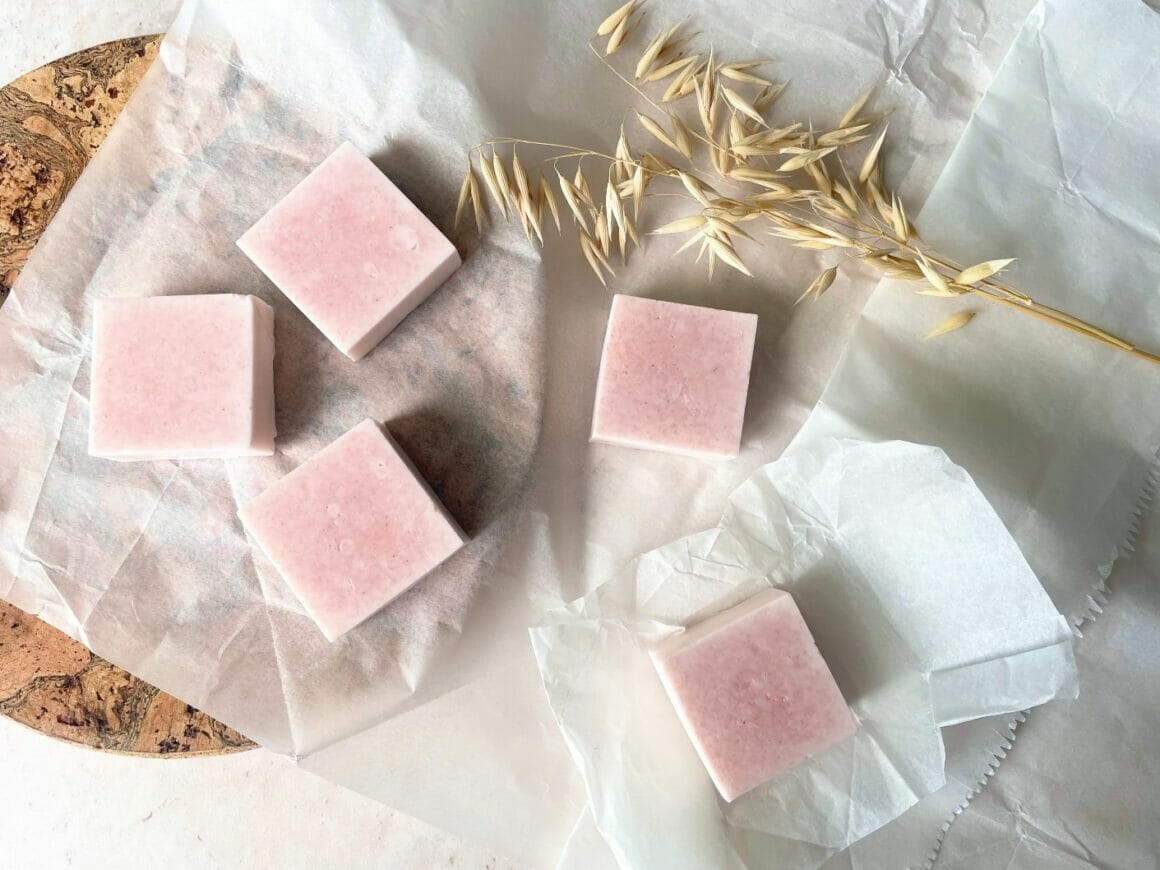
• 2-3 teaspoons of color additive (I’ve used calamine powder to make my bars pink!)
• Silicone mold of choice
• Large cooking pot
• Heat-safe glass bowl
• Chef knife or metal scraper
• Wooden mixing spoon
• Cutting board
• Pinch bowl
How to Make Melt and Pour Soap Step by Step
Now let’s see how to make a homemade soap without lye. Just follow the detailed steps below:
1. Simply place a large glass bowl in a large pot of water and bring it to a low boil. However, if you prefer a quicker option, a microwave may be your go-to method. Be sure to use a heat-safe bowl for whichever method you choose.
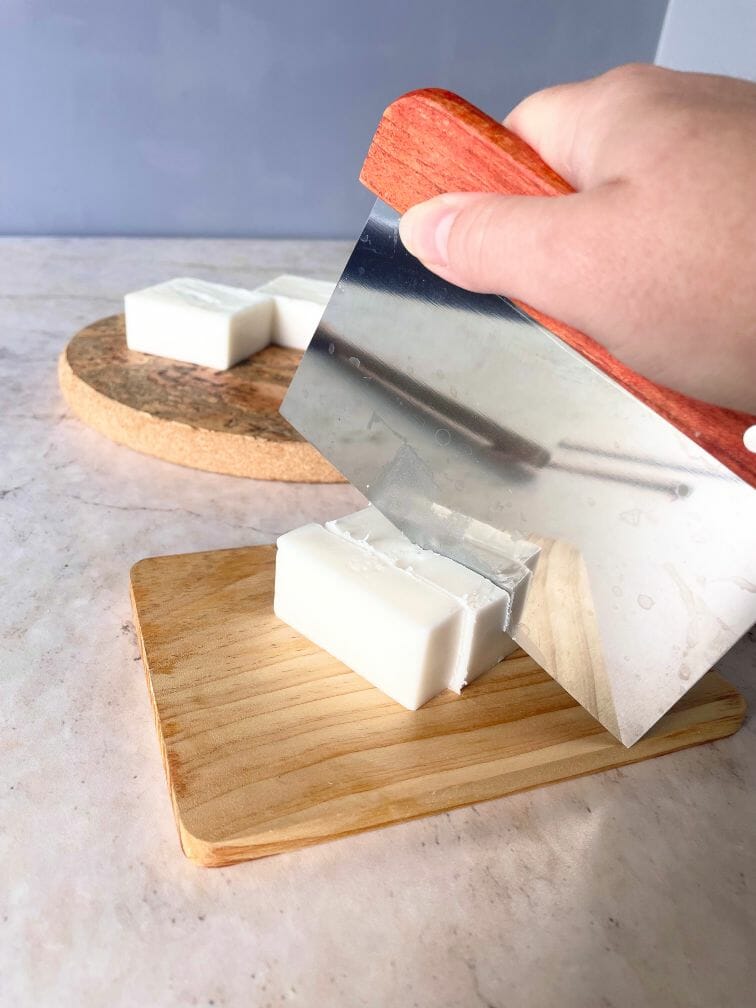
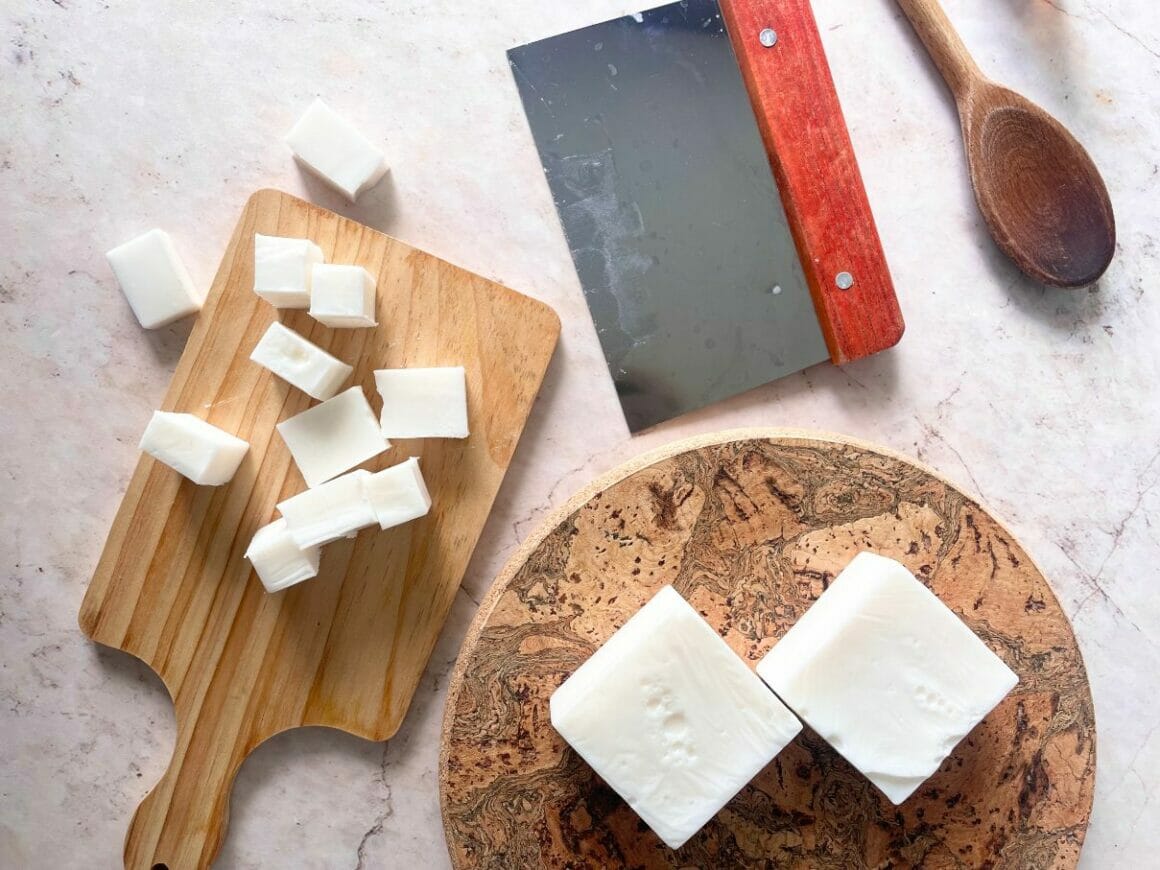
2. When you are ready to melt your soap base, take your 1-pound block and use a knife or soap cutter to cut your soap into 1″-2″ cubes. This will make for an easier and more efficient melting process.
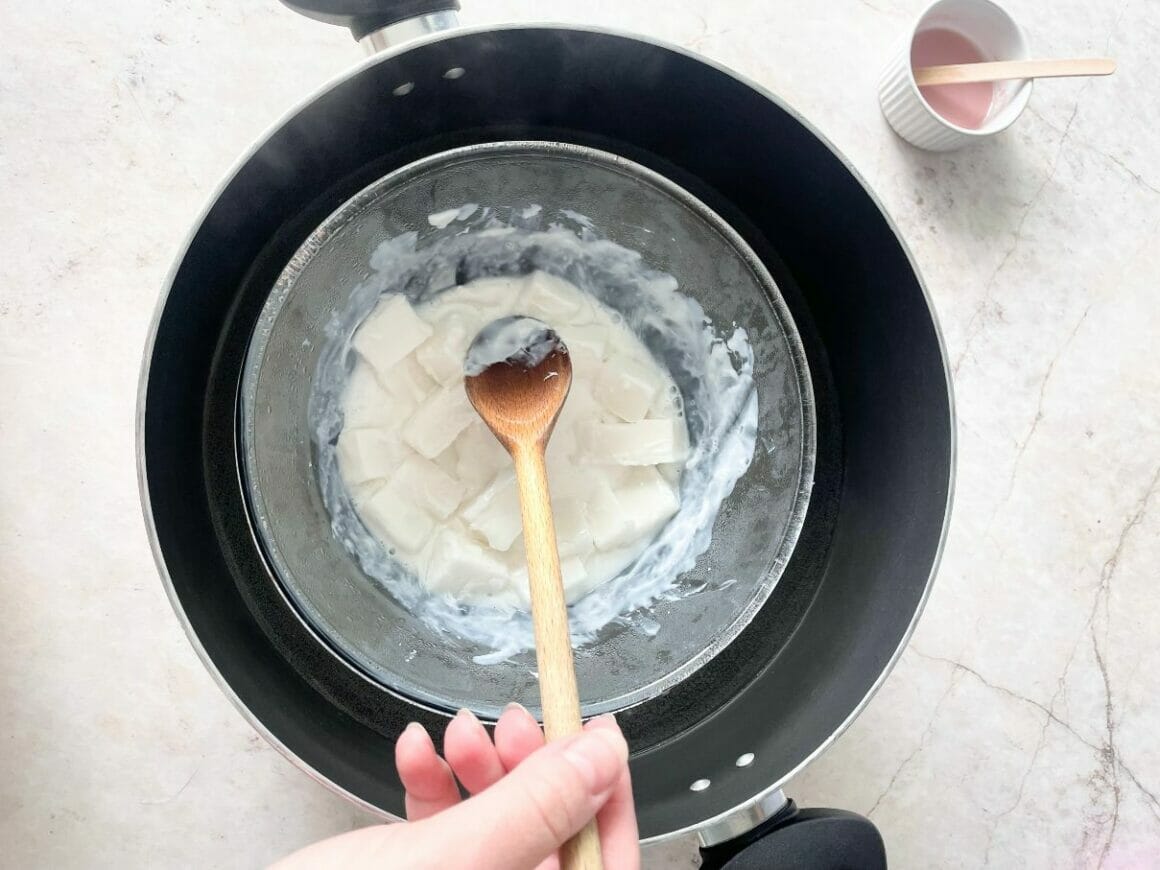
3. Melt your soap base on the stove or the microwave. If you choose the microwave route, melt the soap in 20-second intervals. Remember to pause after each interval to stir vigorously, ensuring that any stubborn chunks break up and the heat is evenly dispersed.
4. While your soap is melting, mix your color additives (if applicable) with your essential oils in a separate small pinch bowl.
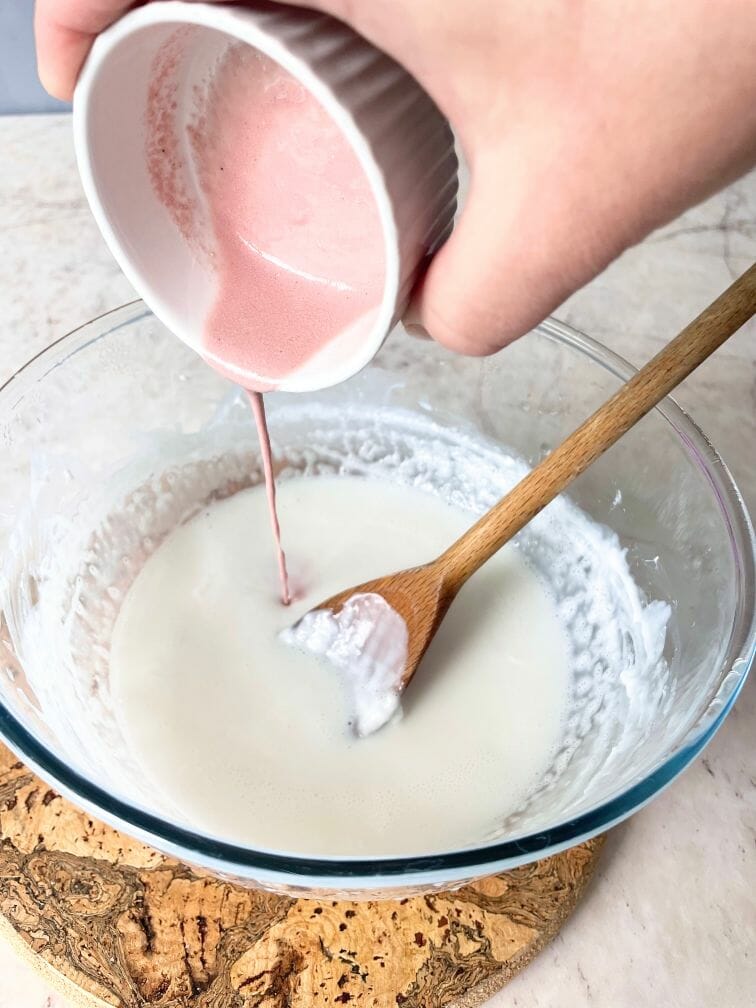
5. Once your soap liquid is fully melted, remove from heat and stir in your oil/color mixture into the soap.
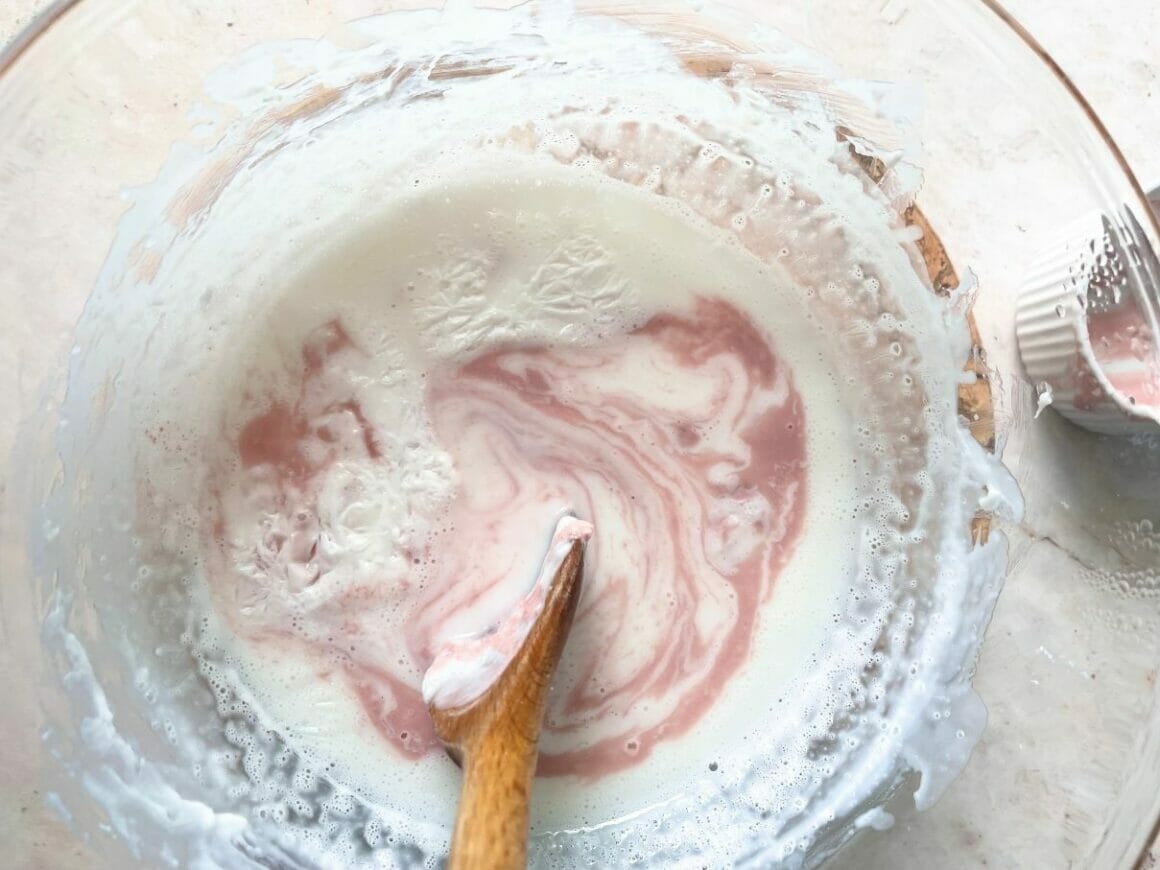
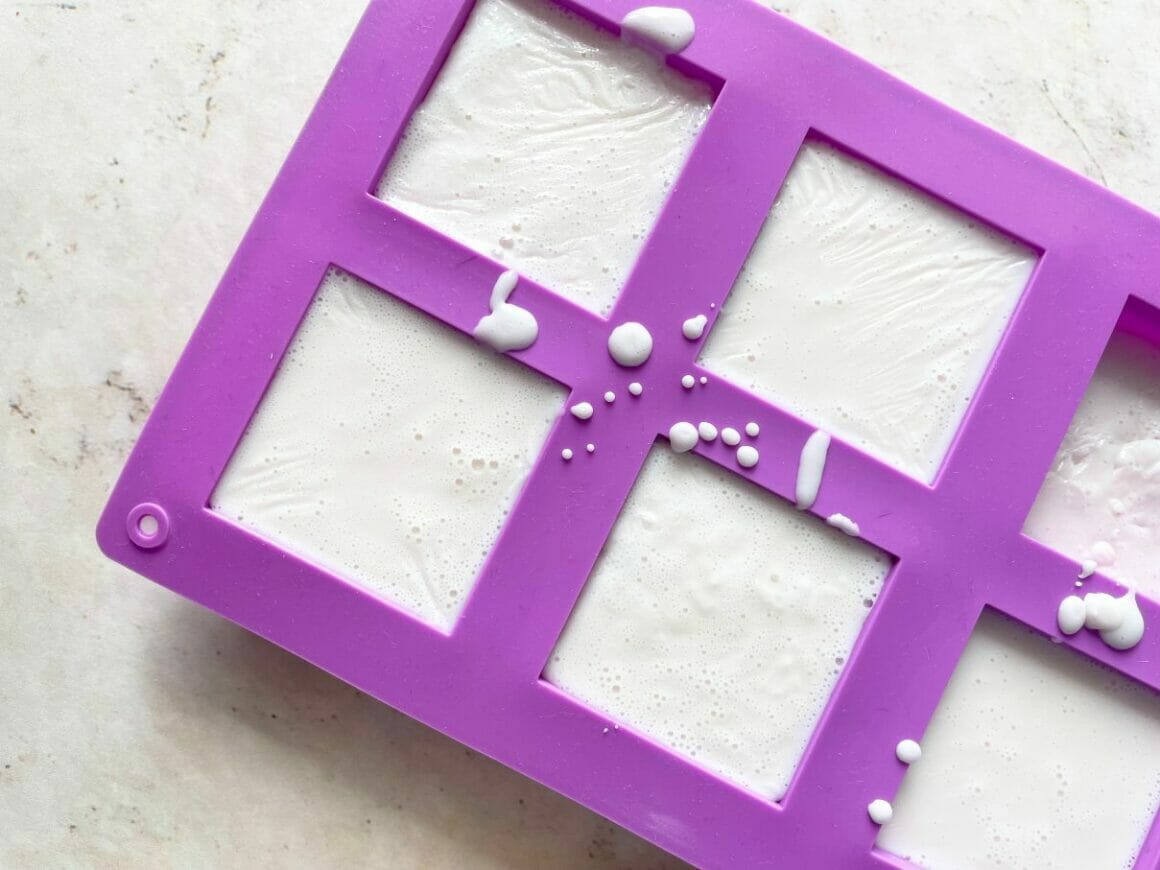
6. Carefully pour the melted soap into your soap molds. Take a moment to level out the surface by smoothing any imperfections or tapping the mold on your countertop to release air bubbles. If you’d like to achieve a bit of a textured soap, sprinkle a handful of vibrant dried flowers or create texture with a toothpick on top of the soap.
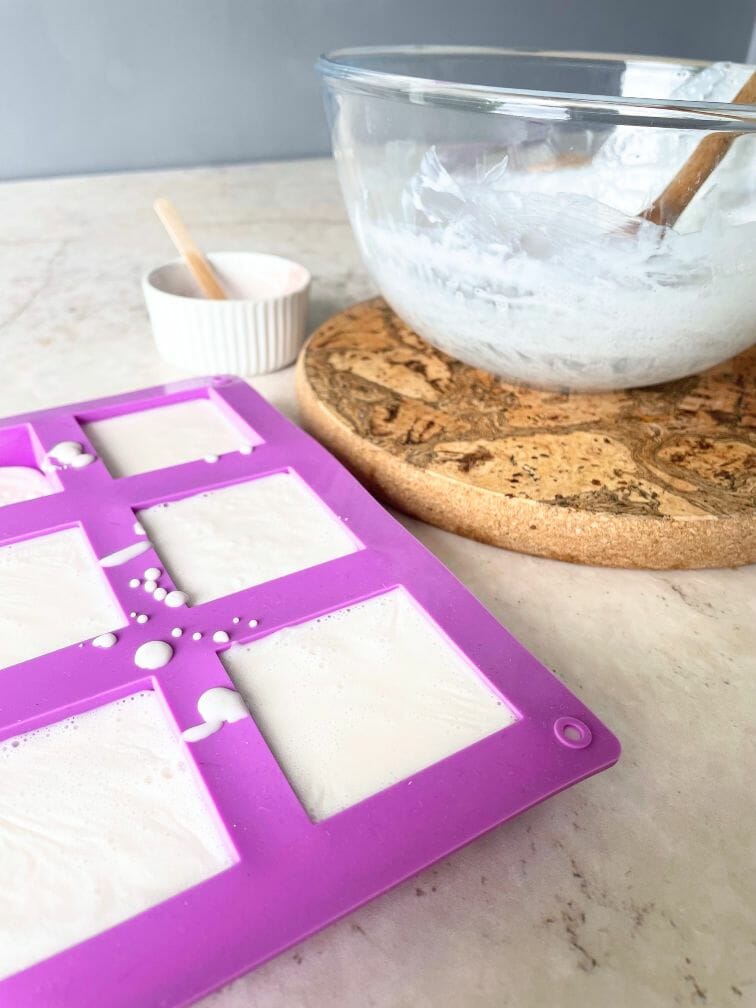
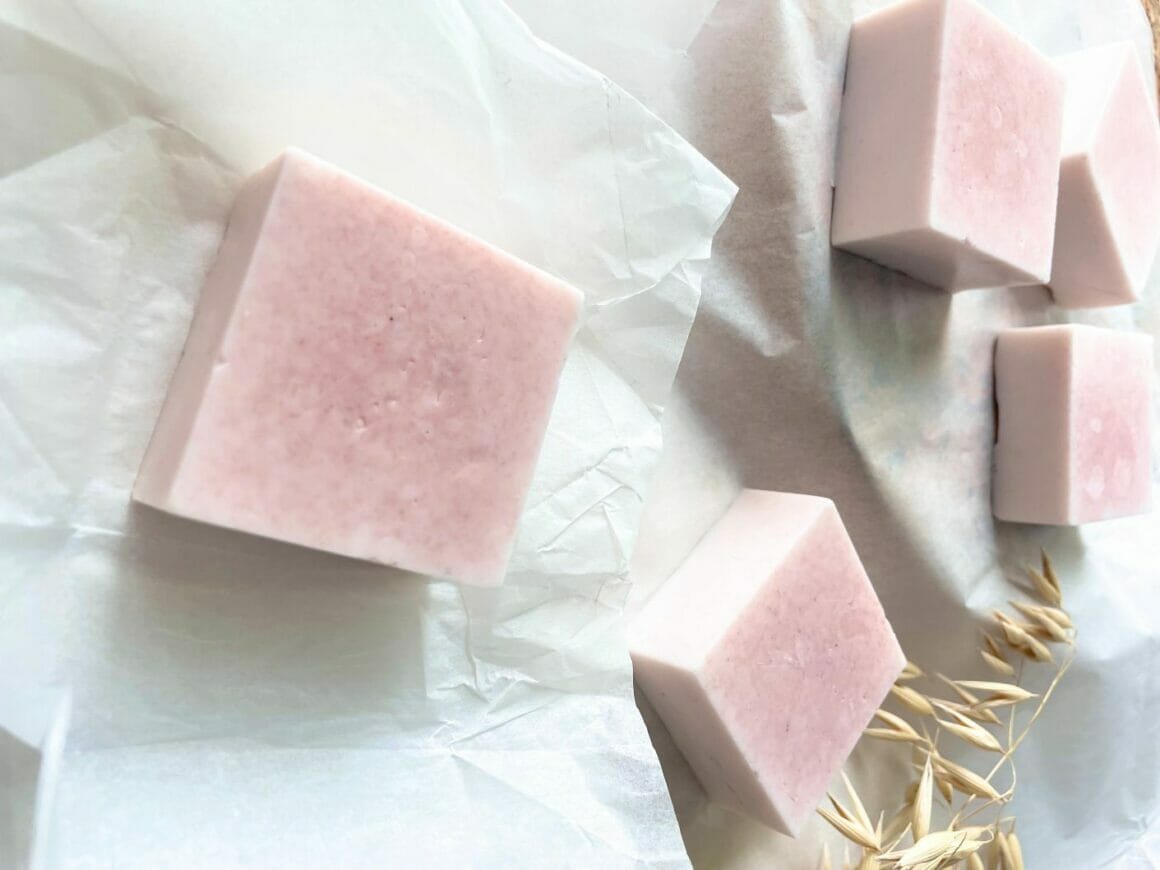
7. Let your soap cool and set. Depending on various factors, such as the complexity of your mold and your home’s ambient temperature, the drying process may take up to 4 hours, or even an entire night. Your soap should be set within an hour if using smaller molds (like in our photos).
Related: How To Make A Candle? A Step-By-Step Guide For Beginners
How to Make Cold Press Soap (With Lye)
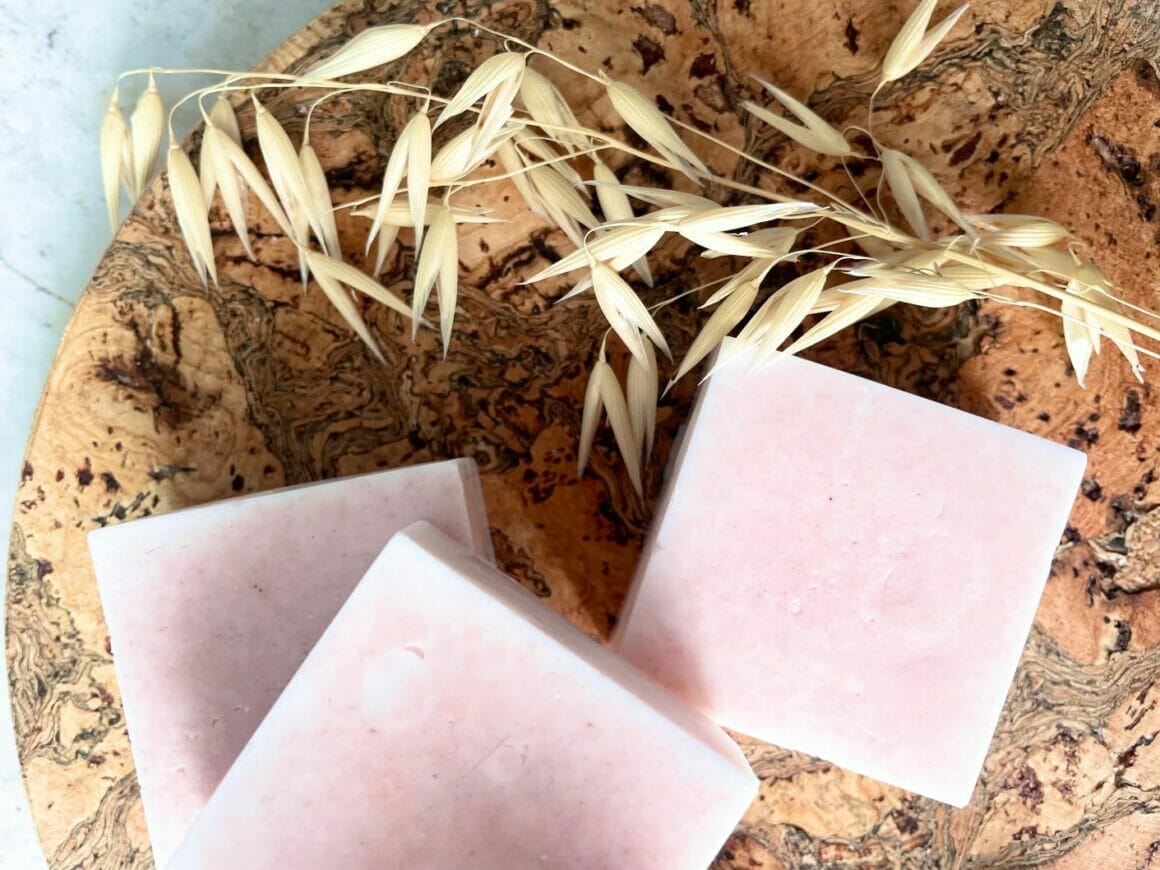
What if you want to go beyond melt-and-pour and make a soap from scratch? The traditional way to make soap is by using the cold process method. Unlike other methods, cold-process soap making involves mixing oils, fats (different types of butter), and lye together at a low temperature, which allows the ingredients to undergo a natural chemical reaction known as saponification. This requires a well-ventilated workspace and safety gloves and goggles because lye can cause chemical burns if not handled properly.
List of Ingredients for Cold and Press Soap Making
For our beginner-friendly recipe, you will need the following supplies:
• Stick or immersion blender
• Apron
• Goggles
• Kitchen gloves
• Coconut oil
• Olive oil
• Castor oil
• Large mixing bowl
• Essential oil of choice
• Measuring jug
• Digital scale
• pH testing strips
Tested-and-tried Cold Press Soap-Making Recipe
- 149g of water
- 60g of lye
- 285g of coconut oil
- 76g of olive oil
- 19g of castor oil
- 11g of essential oil
How to Make Cold Press Soap Step by Step
Before you begin, put on your goggles, gloves, and apron for safety. Then, follow closely the below-listed steps:
1. Measure water in a jug and place it in a well-ventilated area.
2. Weigh the lye in a separate container, then carefully tip into the water and stir well until the lye has completely dissolved. Do not breathe in the fumes as this chemical process takes place!
3. Measure your oils and chop up your more solid oils into smaller pieces. Place into a large mixing bowl.
4. Slowly tip the lye and water mixture into your oils and stir until the solid oils have melted. The lye activates the heat in this process!
5. With your stick blender, blend everything until you get what we call a “trace consistency,” or a definitive drizzle line across your liquid surface.
6. Stir in your essential oil (and color additive if applicable), and blend briefly until it’s mixed in.
7. Pour into your prepared soap mold, shake, and tap the mold to remove any air bubbles.
8. Decorate the top of your soap with any decorations or create textures with a toothpick as it solidifies.
9. Leave your soap mold for 24 hours and allow it to set.
10. After 24 hours, your soap should have set, but it wouldn’t have hardened completely. When it’s ready, remove it from the soap mold. If you’ve been using one large mold, this is the time to use a kitchen knife to cut into individual soap bars.
11. Allow your soap to cure for 4-6 weeks in an airy and warm (or average room temperature) environment. Keep away from tiny hands and paws by storing the soap on a shelf. During this time, the chemical reaction of the lye will complete, and the soap will dry out and harden.
12. At the 4 weeks mark, use a pH Testing Strip to see if your soap has been cured long enough and is ready to be used. The pH of lye is around 13, which is too high to be used on the skin. Anything over 10 should not be used as it will irritate your skin. Your soap will be ready when it is around 9 or 10. If not, leave it a couple more weeks and retest until you get the right pH.
Enjoy your first batch of cold-process soap!
Related: Best Candle Making Kit: Tried And Reviewed (2023)
Tips for Successful Soap Making
Making homemade soap can be a fun experience for anyone to enjoy, but it can also be tricky if you’re unfamiliar with the process. To help you achieve soap-making success, here are some tips to keep in mind:
- Use precise measurements: Soap making is a science, and accuracy is key. Make sure to measure your ingredients precisely using a digital scale to ensure the right balance of oils, lye, and water.
- Safety first: Always wear protective gear, such as goggles and gloves, when handling lye. Additionally, work in a well-ventilated area to avoid inhaling any fumes. Safety should always be your top priority.
- Start with a simple recipe: If you’re new to soap making, it’s best to start with a basic recipe that uses just a few ingredients. As you gain more experience, you can experiment with different oils and additives like colors and plant seeds to create unique soap varieties.
- Mix your oils properly: To ensure that all the oils are well blended, use a stick blender or hand whisk to thoroughly mix them together. This will help you achieve a smooth and consistent texture in your soap.
- Use the right temperature: Maintaining the right temperature throughout soap-making is crucial. When combining your oils and lye solution, aim for a temperature between 100-120 degrees Fahrenheit. This will help to ensure proper saponification and a good soap texture.
- Be patient with curing: If you’re making cold process soap, it needs to cure for a few weeks to allow the excess water to evaporate and the soap to harden. Patience is key during this stage, as the longer you wait, the better the quality and longevity of your soap will be.
By following these tips, you’ll be well on your way to mastering the art of making soap and creating beautiful homemade soap that you can enjoy or share with friends and family.
Troubleshooting Common Soap-making Issues
Even the most experienced soap makers can encounter some issues during the process. Here are some common problems and their solutions:
1. Separation: If your soap mixture separates, it means that your oils and lye water were not mixed properly. The solution is to mix them thoroughly until they reach a homogeneous consistency.
2. Air pockets: Air pockets can form in your soap mixture when it’s not poured into the mold evenly. Tap the mold on a flat surface to release any air bubbles.
3. Soft or oily soap: Soft or oily soap can occur if there’s too much oil or not enough lye in your mixture. Check your measurements and follow the recipe precisely.
4. Soap doesn’t harden: If your soap is too soft or doesn’t harden, it could mean that there’s too much water in the mixture. Let it sit for a few more days or you may need to rebatch your soap.
Soap Making Safety Precautions
When making homemade soap, it’s important to prioritize safety. Here are some key precautions to take:
1. If you use the chemical lye, always work in a well-ventilated area to avoid inhaling fumes. Also, wear protective goggles, gloves, and long sleeves to prevent skin and eye irritation.
2. Keep children and pets away from the soap-making area.
3. Use heat-resistant containers and utensils to prevent burns.
4. Keep a bottle of vinegar nearby to neutralize any lye spills or burns.
5. Follow the soap recipe instructions precisely, measuring ingredients accurately.
6. Clean up any spills immediately to prevent accidents.
7. Allow soap to cure for the recommended time before using.
8. Label your soap properly and include any potential allergens even if you’re making soap for yourself or your family. You never know and may forget!
Caring for Homemade Soap
Once your homemade soap has cured, it’s time to store it properly so it lasts longer. Keep it in a dry, cool place and away from direct sunlight. It’s best to store soap in an open container or wrapped in breathable materials like cotton or linen to prevent it from getting too moist.
When using homemade soap, wet your hands and then rub the soap until it lathers. Don’t leave it sitting in water as it will dissolve faster. Keep the soap on a well-drained soap dish to extend its lifespan.
Related: DIY Bath Bombs with Handmade Beauty Box
Conclusion
Making homemade soap is a fun and satisfying DIY project that allows you to customize your own products at a fraction of the cost of a store-bought version.
To get started, you only need a few simple ingredients – a melt-and-pour soap base, colorant, molds, and essential oils that can also be used in candles.
Not only is it enjoyable to make, but the results can be surprisingly good! The bottom line is this: making your own melt-and-pour or cold-process soap is an affordable and fun way to create your own unique bath products.

