In order to thread an embroidery needle, you will need a spool of thread and a needle. You can either use a needle threader or not. In this article, I will demonstrate both techniques. This is not meant to be used with an embroidery machine but rather for cross-stitching. In the process of embroidering and sewing, a knot is required so that the thread does not escape from the eye of the needle. The knot is tied to the side of a thread. Once performed properly, You can not only embroider and sew with confidence, the knot will not interfere with your project.
What is the easiest way to thread a needle for embroidery?
Using a needle threader is undeniably the easiest way to thread your needle. If you are using a needle threader, insert the wire through the eye of the needle from back to front. Then, hook the wire over the top of the thread and pull it through the eye of the needle.
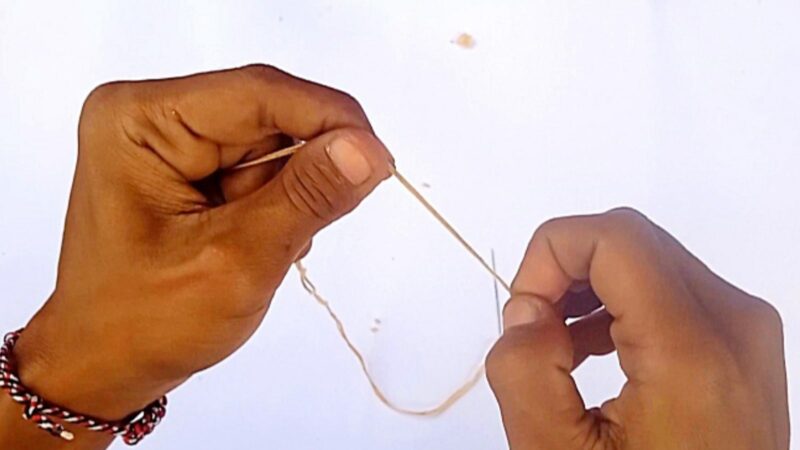
If you are not using a needle threader, simply pass the thread through the eye of the needle from front to back. Wrap the thread around your finger and pull it through until there is a loop. Insert the needle into the loop and pull it tight. Trim the excess thread.
Your embroidery needle is now ready to use!
How do you secure an embroidery thread?
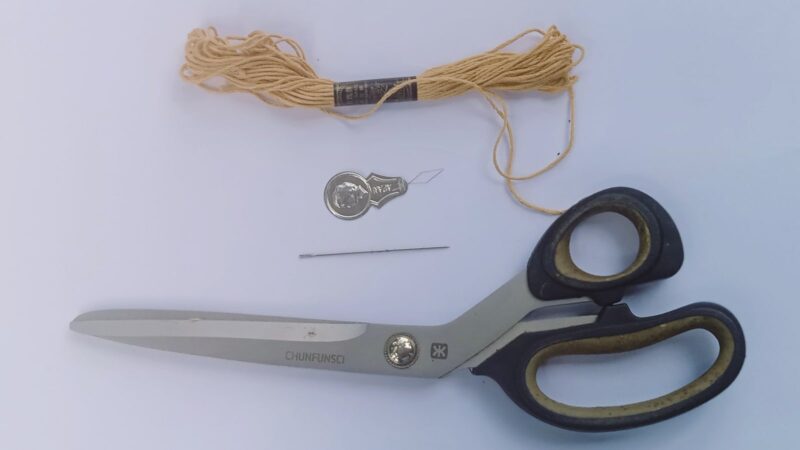
Materials needed:
- Embroidery Thread
- embroidery Needle
- Needle Threader
- Scissor
Related: 20 Essential Embroidery Stitches You Should Know
How to thread an embroidery needle without a threader
Make a node using fingers
First, prepare your thread and needle. When it comes to embroidery, there are a lot of factors that go into creating a beautiful and professional-looking design. One of the most important aspects is choosing the right thread for your project. Depending on the type of fabric you’re working with, the design you’re stitching, and the overall look you’re going for, different types of threads will produce different results.
For example, using a polyester thread on a delicate fabric like silk might cause the fabric to pucker or tear. On the other hand, using a cotton thread on a sturdy denim fabric would give your design a more rustic look.
In general, it’s always best to use the same type of thread as the fabric you’re working with. This will help ensure that your design looks clean and professional. If you’re unsure about which thread to use, consult with a professional embroiderer or fabric store employee for guidance. The type of thread you are using will dictate the type of needle you need to use.
- Choose the right needle size. When you want to make a knot, first determine the size of the needle. Needles that have large eyes are easy to use and are easy to insert. Needle sizes are usually adjusted to the type of thread.
- Determine the length of the thread according to your embroidery needs. In my tutorial, I will simply use 100 cm (about 40 inches) of thread. I will also use an “oversized” thread so that you can see better on the photos.
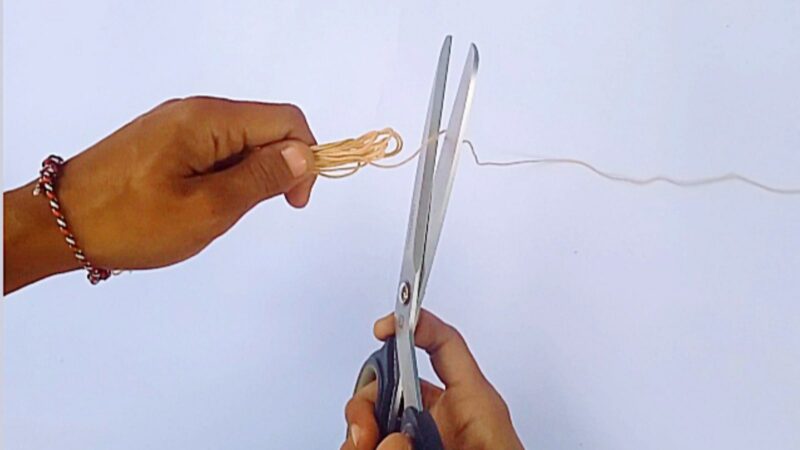
Step 1: Cut the thread to the specified size, for example, 100 cm. Handle it carefully so that the thread does not tangle.
- Prepare a needle that matches the type of thread, for example, a small needle that has a small eye for ordinary sewing thread.
- Wet the thread with water and use an acute angle of about 45 degrees to get into the eye.
- Gently push the thread into the needle.
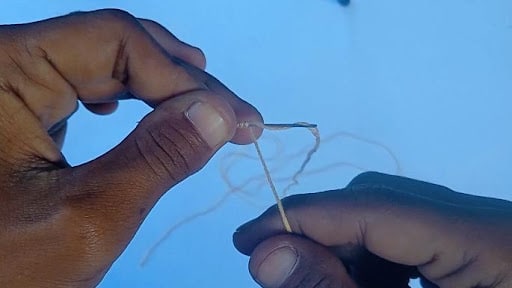
Step 2: Fold the same yarn lengthwise between each other with the ends ready to make a knot.
Step 3: After the thread is attached to the needle, flatten the end of the thread, then wrap it around your index finger.
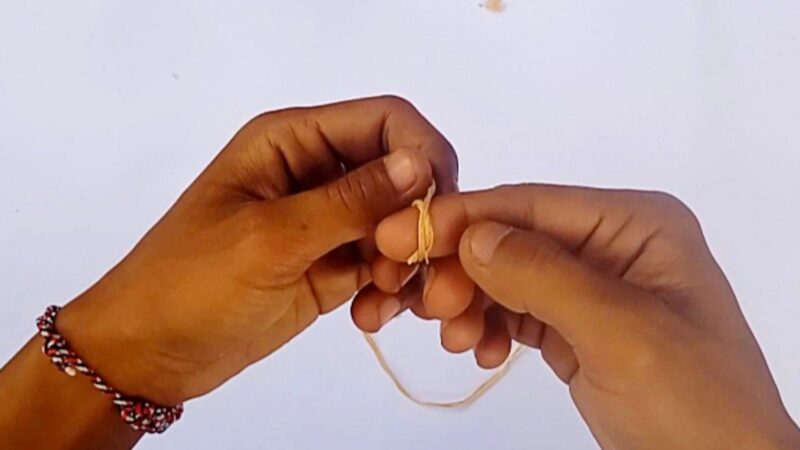
Step 4: Push the roll against your fingertips until it loosens, forming a loose knot.
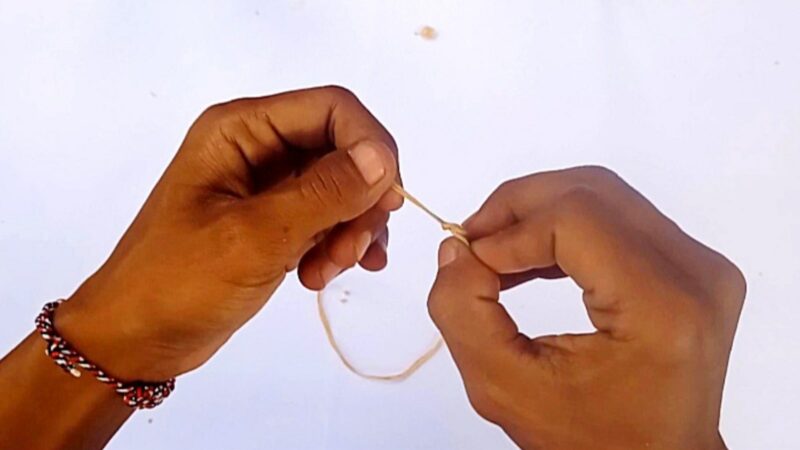
Step 5: Pull the knot in the opposite direction, the knot will be tied. Finally, the knot is finished and the thread is ready to start your embroidery project.
How to thread an embroidery needle with a threader
A needle threader is a small tool that helps to thread a needle. It consists of a metal or plastic wire with a small hook at one end. The other end is inserted into the needle’s eye. The hook catches the thread and pulls it through the eye. Needle threaders are very useful for people who have difficulty threading a needle by hand.
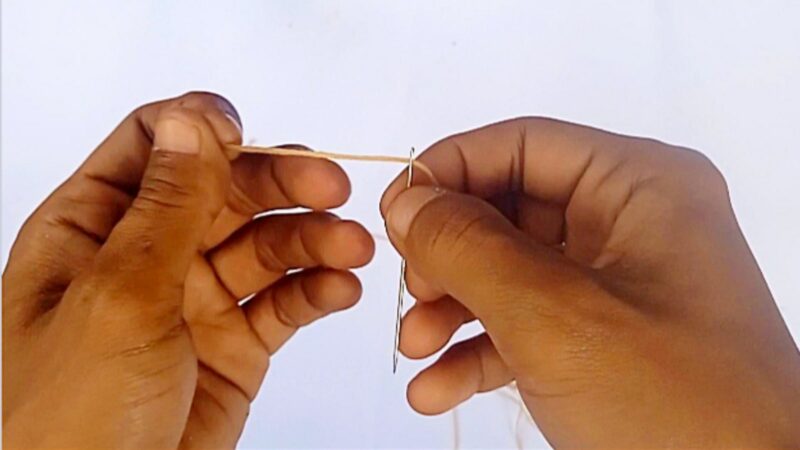
Step 1: Prepare the thread, threader, and needle. Then, cut the thread just like in the first method. In my example 100cm (40 inches)
Step 2: Insert the wire part of the threader into the needle eye.
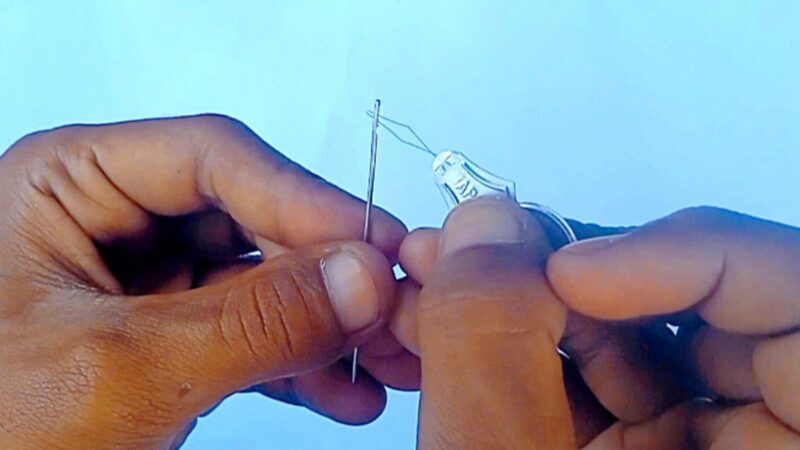
Step 2: Insert the thread through the wires of your threader.
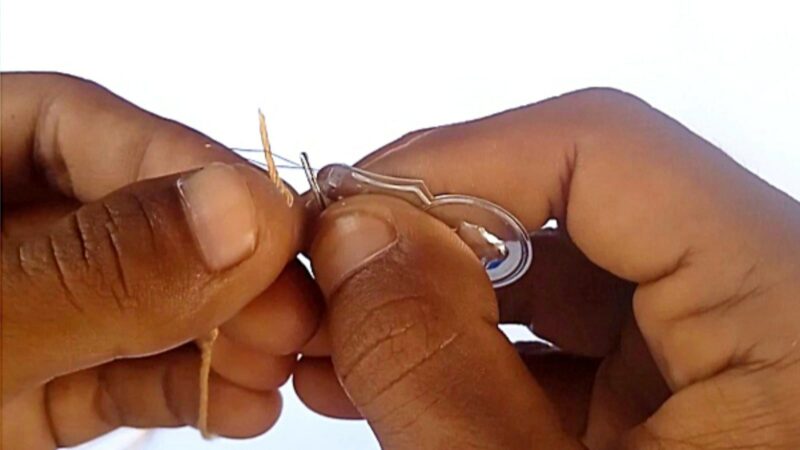
Step 3: Grasp the thread that is attached to the threader, then guide the threader out of the needle’s eye.

Step 4: Remove the thread carefully. Once the threader is completely out of the eye of the needle, grab the end of the thread on the other side.
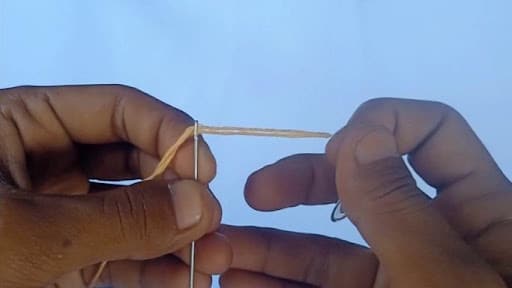
Step 5: Roll the thread that is already attached to the needle. You need to know that the yarn is divided into two, namely the very long side while the other is the short side. Hold the very long part and wrap the slightly shorter part around the needle. several times and finally insert the end of the thread in the gap provided.
Step 6: Finally, pull the thread and tighten it.

Embroidery threads and needles Q&A
What are the different threads used in embroidery?
There are a few different types of threads that can be used in embroidery, each with their own unique benefits. The most common type of thread is polyester, which is strong and durable, making it ideal for high-use items like clothing. Cotton thread is also popular, as it’s softer and more comfortable to wear next to the skin. Silk thread is another option, though it’s more expensive and can be harder to work with. Ultimately, the best thread to use will depend on the project you’re working on and your personal preferences.
How do you secure an embroidery thread?
There are a few different ways that you can secure an embroidery thread. One way is to knot the thread around the fabric before you start stitching. Another way is to use a needle with a built-in stopper, which will keep the thread from sliding out. You can also purchase special embroidery needles that have a blunt tip, which helps to prevent the thread from slipping. Finally, you can use a locking stitch to secure the thread in place.
What are the different embroidery needles?
There are many different types of embroidery needles, each designed for a specific purpose. The most common needle is the round-eye needle, which is ideal for general embroidery work. Other popular types include the sharp-point needle, which is perfect for detailed work, and the blunt-point needle, which is ideal for working with thick fabrics.
How to choose from the different embroidery needles?
When choosing an embroidery needle, it is important to consider the type of fabric you will be working with. For example, if you are working with a delicate fabric, you will need to use a sharper needle to avoid damaging the fabric. Conversely, if you are working with a thicker fabric, you will need to use a blunter needle to avoid piercing the fabric.
It is also important to consider the type of thread you will be using. For example, if you are using a thinner thread, you will need to use a smaller needle. Conversely, if you are using a thicker thread, you will need to use a larger needle.
Finally, it is important to choose an embroidery needle that is the right size for your project. If you are working on a small project, you will need to use a smaller needle. Conversely, if you are working on a large project, you will need to use a larger needle.