Happy New Year! Since I’m still waiting on the baby to arrive, I decided to distract myself with some simple sewing.
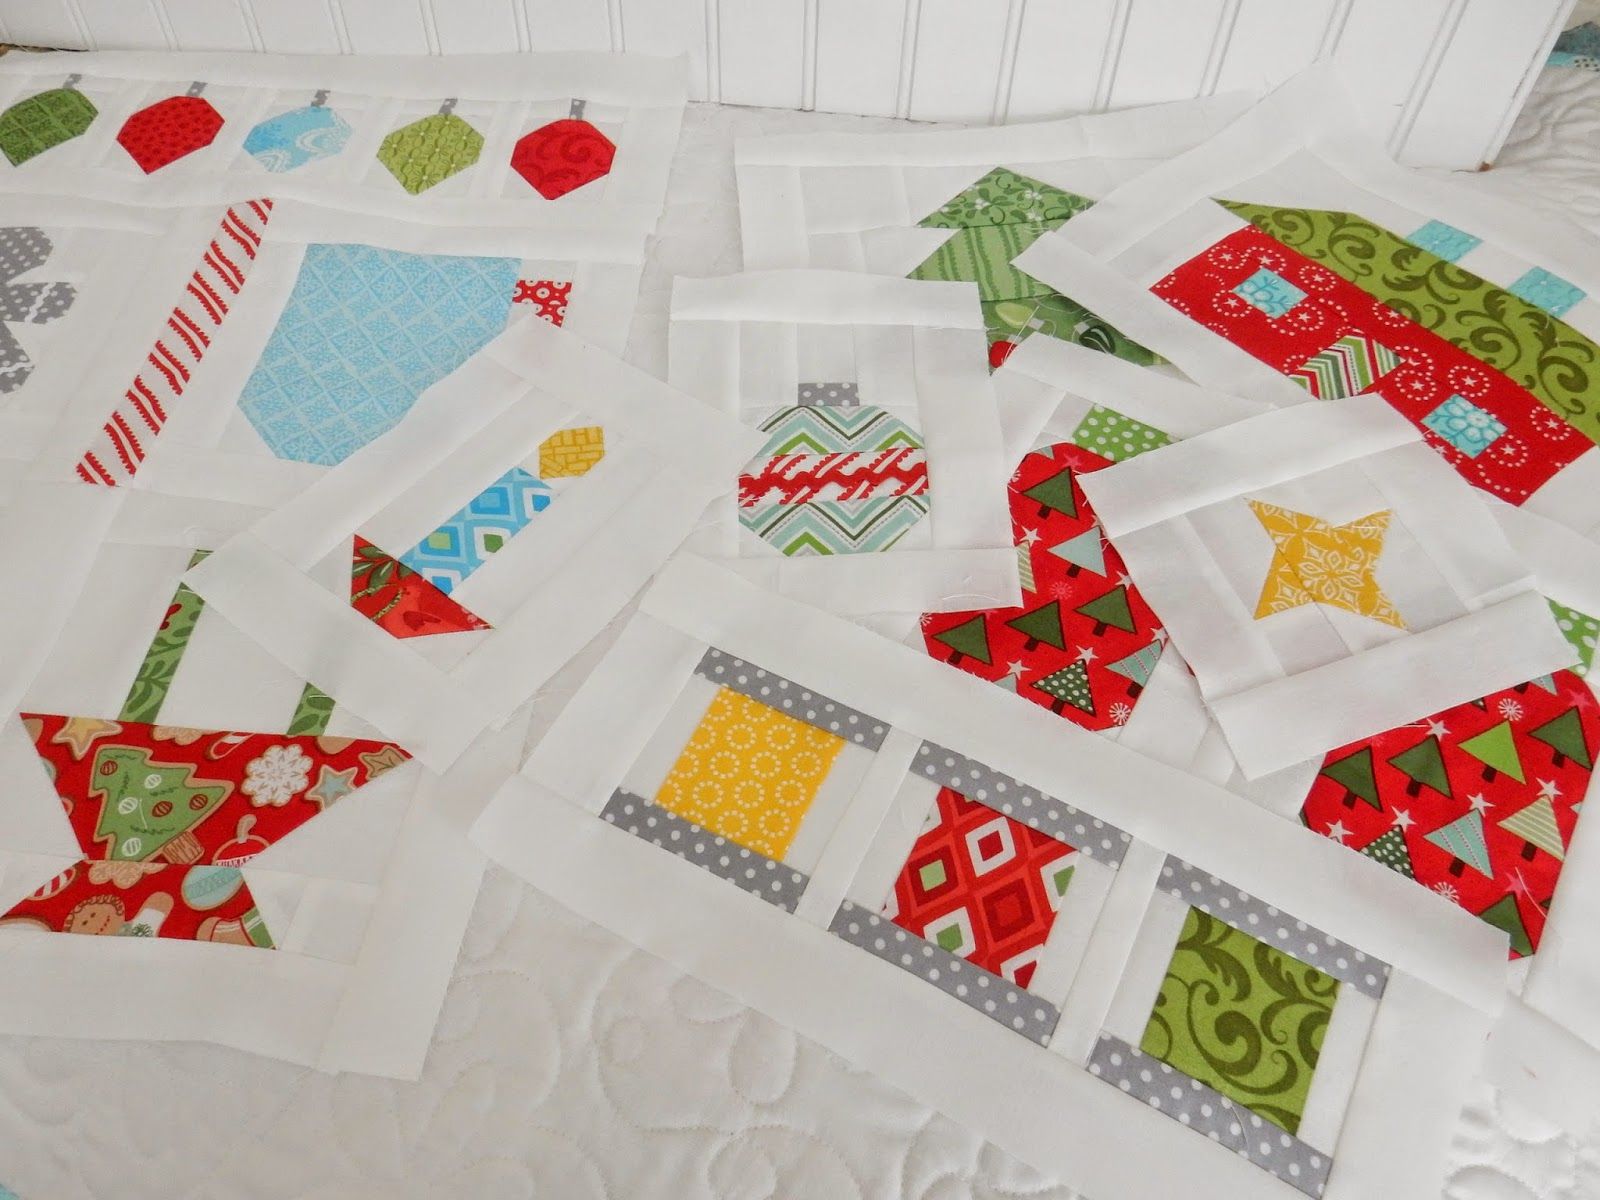
Last August, I asked my charity quilting bee if they’d like to make blocks from Modern Bee. Surprise! It’s January, and I still haven’t had a moment to assemble the blocks into a quilt until now. Thankfully, I haven’t fallen behind on any other sewing projects.
I didn’t know at the time I chose this block that I’d be hosting the Mosaic Tiles Quilt Along, but I thought the January/Mosaic Tiles would be a great choice for my bee, since we work from scrap fabrics in everyone’s stash!
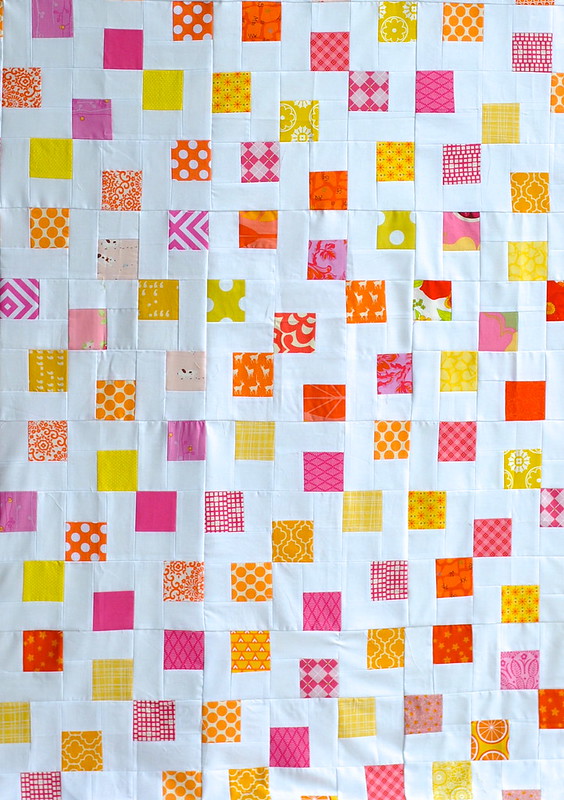
Since the prints would be mixed and matched, I chose a color scheme of bright pinks, oranges and yellows with a white background. I grabbed my color inspiration from this beautiful block I spotted on Flickr.
There are some lessons I learned through making this quilt again with a bee, and I thought I’d share some helpful tips!
1. If you are like me and don’t think you’ll be able to sew the blocks together right away, you might have better luck asking your group to press the seams to one side rather than pressing them open. I routinely press my seams open, but noticed that the blocks that arrived to me with seams pressed to the side had better staying power, while the open-pressed seams had started to unravel after six months of being stashed away.
2. Depending on your bee members’ desired seam allowance (I recommend using a scant 1/4″ seam), you might end up with some blocks that are smaller than 11″ unfinished. This is generally okay, because you should be able to stretch the blocks by at least 1/4″ as needed to join the blocks. If they blocks are much smaller though, you might have to supplement them with blocks of your own.
3. Ask your bee members to send you any extra fabric quadrants. These can be assembled quickly into new or replacement blocks!
4. This is a very forgiving quilt pattern! There is so much activity going on, that no one will notice if you have a few blocks that arrive a little wonky.
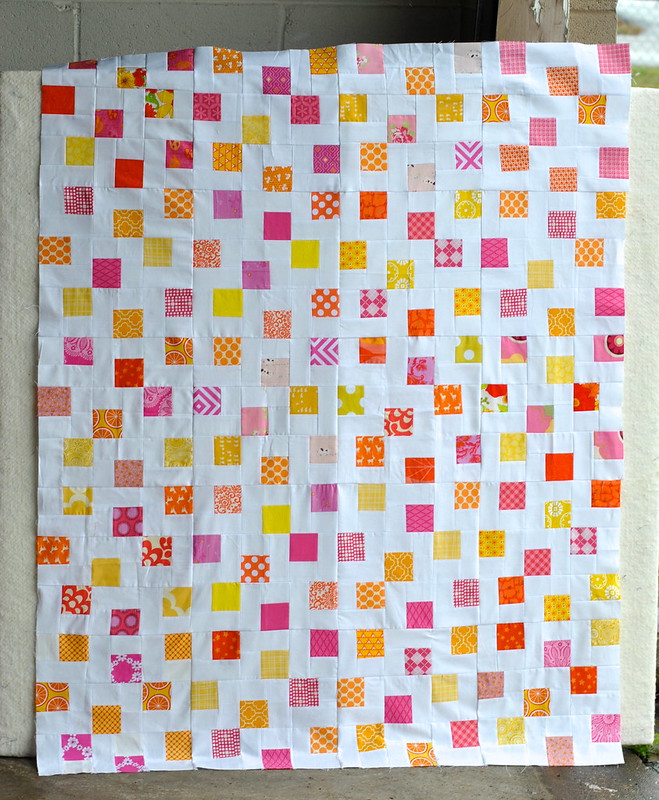
For this alternate quilt layout, I chose to use 20 blocks in a 4-by-5 grid. There is no sashing in this version, which yields a lap-size quilt. I am really happy with how it turned out, and can’t wait to share the finished quilt with you in the next month or so.
To join the new list for reminders on the Mosaic Tiles Quilt Along schedule, you may sign up for quilt along updates here! For those of you who have already commented on a post and asked to sign up, I’ve added your e-mail address to a special mailing list for Quilt Along participants. Either way, you are welcome to grab a book and join us for the quilt along at any time.
 This post is part of the Mosaic Tiles Quilt Along, which you can read about here! You can enter your project any time between now and February 14, 2014 for a chance to win some great prizes. We hope you’ll join us in this beginner-friendly and stress-free quilt along.
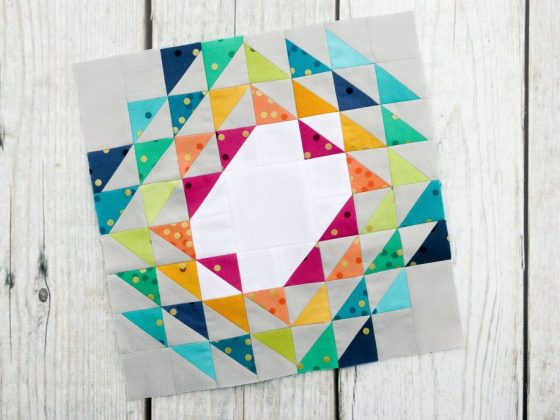


3 comments
Looks so happy! I apologize if mine were the small or wonky ones ;). I remember starching the heck out of mine and it seemed to help with wonky.
It looks great, and perfect timing on sewing it together! hope you have a wee one in your arms soon 🙂
I love this color combination. It works perfectly with this quilt pattern.