Welcome to this exciting tutorial: “How to Draw a Rose Easy Step-by-Step!” Have you ever found yourself mesmerized by the beauty of a rose and wished you could capture its elegance on paper? Well, you’re in the right place! Whether you’re a budding artist or a seasoned pro looking for a refreshing take on this classic subject, this guide will walk you through the process in an easy-to-follow, step-by-step manner. A mini video will accompany each step to ensure that you master every detail. Ready to let your creativity blossom? Let’s get started!
Table of Contents
Tips, Potential Issues & Fixes
Drawing roses can be both rewarding and challenging. Here are some tips, potential issues, and solutions to keep in mind when drawing a rose:
Tips
Start with Basic Shapes: Begin with simple shapes like circles and ovals for the center and initial petals. This will help you establish the overall structure of the rose.
Study Real Roses: Look at pictures of real roses to observe their shapes, sizes, and petal arrangements. Pay attention to details like the curves and edges of the petals.
Light Sketching: Start with light, gentle pencil strokes. This way, it’s easier to make corrections if needed. You can darken your lines later when you’re satisfied with the placement of the elements.
Layering Petals: Draw the petals in layers, starting from the center and moving outward. This will give your rose a more natural appearance.
Vary Petal Shapes: Roses have a variety of petal shapes. Some may be more open, while others are tightly curled. Experiment with different shapes to make your rose unique.
Texture and Details: Add texture to your rose by drawing small lines or curves on the petals to represent folds or creases. You can also add details like dewdrops or small imperfections to make it look more realistic.
Use References: Don’t hesitate to use reference images of roses while drawing. These can help you understand the structure and details better.
Potential Issues and Solutions:
Symmetry Problems: Roses are not perfectly symmetrical. If your drawing looks too uniform, try varying the petals’ size, shape, and positioning to create a more natural look.
Overlapping Petals: Sometimes, petals can look messy if they overlap too much or if there are too many layers. To fix this, erase and redraw any problematic areas, and pay attention to the order of petal placement.
Proportional Issues: If your rose looks out of proportion, take a step back and compare the size of the petals, center, and stem to ensure they are in balance.
Lack of Depth: To give your rose depth, use shading techniques to make some areas darker and others lighter. This will make the flower appear more three-dimensional.
Stiffness: Roses have soft, organic shapes. Avoid making your drawing too rigid by adding subtle curves and irregularities to the petals.
Leaves and Stem: If you include leaves and a stem, make sure they are appropriately sized and positioned relative to the rose. Leaves should also have realistic veins and texture.
Overworking the Drawing: Sometimes, overworking a drawing can lead to smudges or an overly busy appearance. Take breaks, and don’t overdo the details. Simplicity can be effective.
Remember, practice is essential for improving your drawing skills. Don’t be discouraged if your first attempts don’t turn out perfectly. Keep learning from your mistakes and experimenting to develop your unique style.
How to Draw a Rose Step-by-Step
Rose Sketching
Step 1: Draw the Center of the Rose
Begin your artistic journey by sketching a small circle or oval at the center of your paper. This simple shape will serve as the nucleus around which your rose will evolve.
Step 2: Draw the Inner Rose Petals
Around your initial circle, draw several small, U-shaped petals. Keep them close to the center, ensuring they overlap slightly. This overlapping effect will lend a sense of depth right from the get-go.
Step 3: Draw the Outer Rose Petals
Now it’s time to expand your rose by drawing larger U-shaped petals that encircle the inner petals. These should be more prominent and extend further outward, creating a fuller appearance. Ensure these petals also overlap with the inner set.
Step 4: Add More Petals
Continue the petal pattern, this time gradually increasing the size of the U-shaped forms as you work your way out from the center. Don’t be afraid to vary the shape and size of the petals; nature is seldom uniform, and your rose will look more authentic with some irregularities.
Step 5: Define the Petal Edges
To amp up the realism, etch some wavy or jagged edges on your petals. This subtle detailing will imbue your rose with a textured, lifelike quality.
Erasures
Use a kneaded eraser to remove any unwanted lines or initial guidelines carefully. Be cautious not to erase too much; faint outlines will help you in the subsequent stages.
Create The Rose Outline
With your preliminary sketch complete, go over your drawing to create cleaner, more defined lines. Follow the initial outlines, but aim to refine them at this stage.
Add Shading Phase 1
First Layer of Shading
To make your rose leap off the paper, begin adding shading. Focus on the mid-tones first, shading the areas that would naturally be in shadow while leaving lighter areas to represent where the light hits the petals.
Highlights
Using your kneaded eraser, gently lift off some of the pencil marks to create highlights. This technique will make certain areas pop and give your rose a more three-dimensional look.
Add Shading Phase 2
Second Layer of Shading
Now, take a darker grade of pencil and focus on the deeply shadowed areas. This additional layer of shading will enhance the depth and dimension of your drawing.
Finishing Touches
Last but not least, go over your drawing to add any final details or erase any lingering, unnecessary lines. The finishing touches are really up to you; knowing when to stop is part of the artistry. Step back and admire your work once you’re satisfied with your masterpiece. You’ve successfully drawn a rose—great job!
How to Draw a Rose Full Video Tutorial
And there you have it! You’ve just drawn a rose, and hopefully, you’ve found this tutorial both enlightening and enjoyable. Thank you for following along, and don’t forget to share your beautiful creations with us!
More Drawing Tutorials
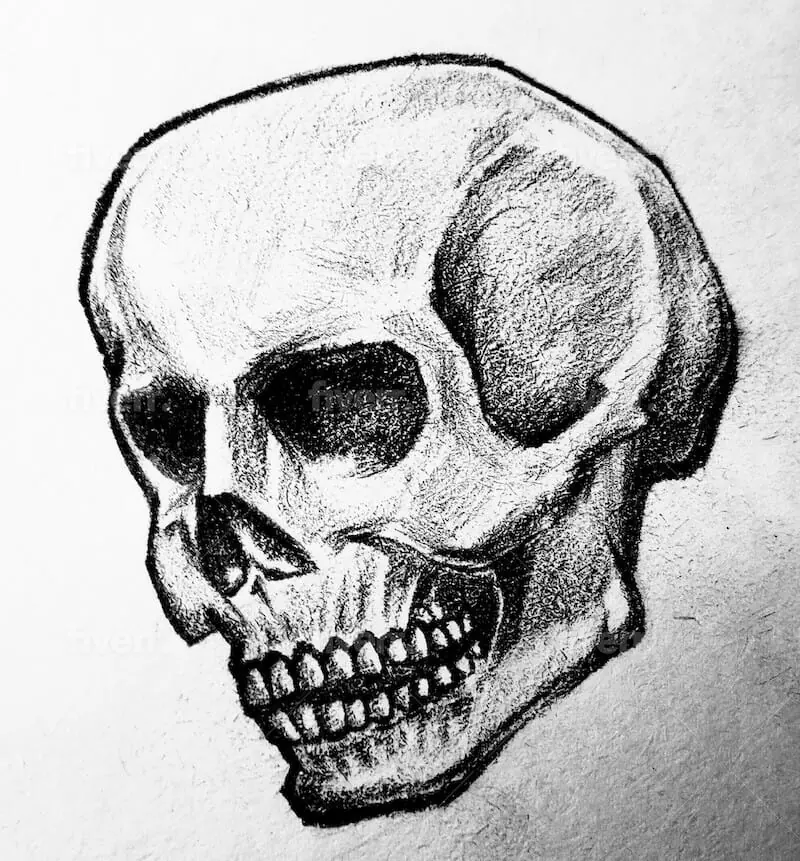
How to Draw a Skull
How to Draw a Dragon

How to Draw Eyes
Learn How to Draw a Book