
In origami, the paper is usually a square sheet, but any size of paper can be used. The most basic origami fold is the valley fold. This is where you take a corner of the paper and bring it to the opposite edge, creating a V-shape. There are many other types of folds that can be used in origami, such as the mountain fold and the petal fold. Here, I decided to use tissue paper.
It is a fun way to add some color and texture to your projects. One easy project is to make flowers out of tissue paper. This tutorial is ideal for kids and beginners.
Make sure to check my other origami video tutorial:
- How to Make a Kite Out of Paper?
- How to Make a Boat Out of Paper?
- How to Make a Heart Out of Paper?
- How to Make Fidget Toys Out of Paper?
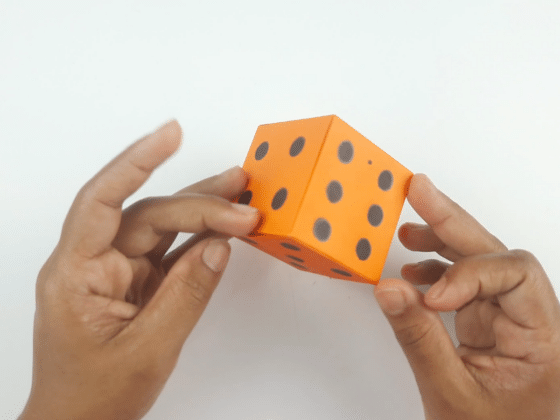
- How to make dice out of paper?
- How to make a spider out of paper?
- How to make a puppet out of paper?
- How to Make a Snowflake with Paper and Scissors?
For this project you will need:
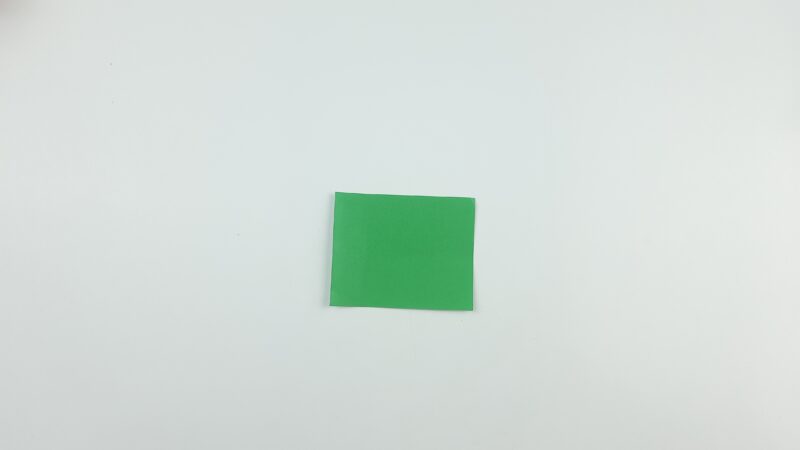
- A square piece of green paper
- A few sheets of pink tissue paper or whatever color you wish your flower to be
- A piece of yarn or string and scissors.
Step 1: Take 12-15 pieces of facial tissues.
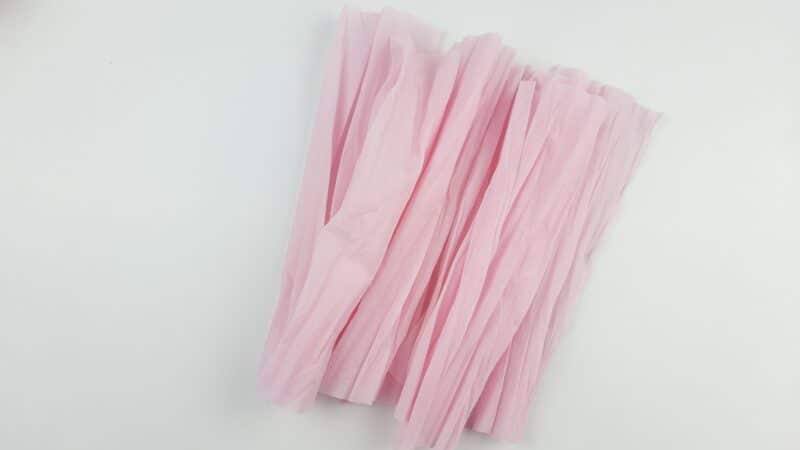
Step 2: Tie it well in the middle with yarn or thin string.
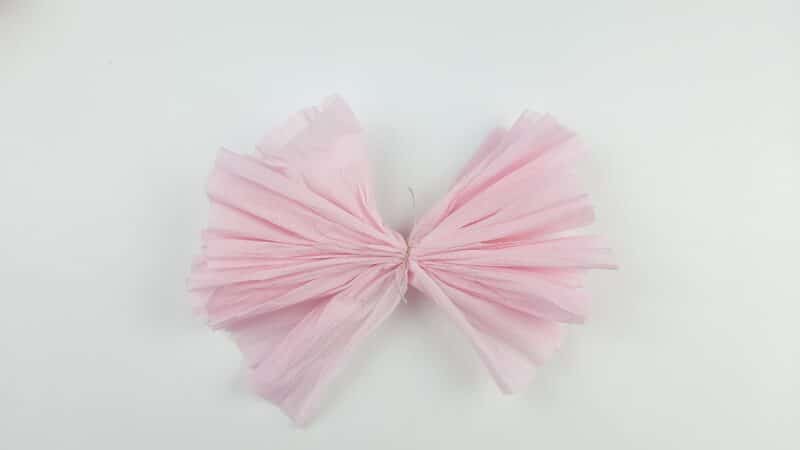
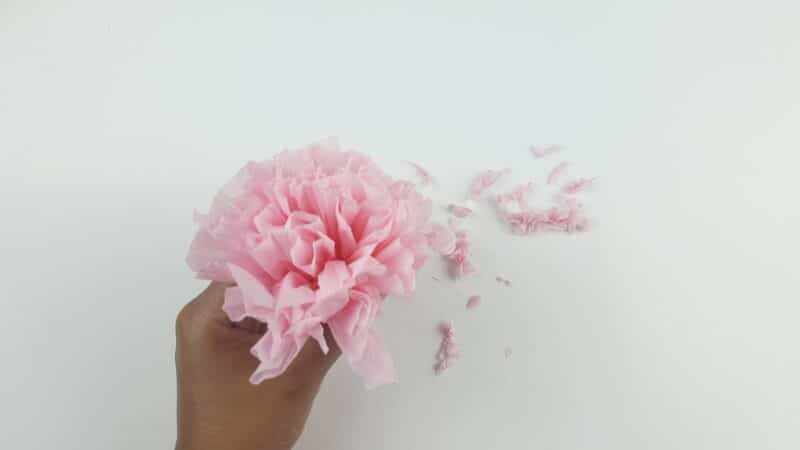
Step 3: Cut off the excess parts of tissues at the top.
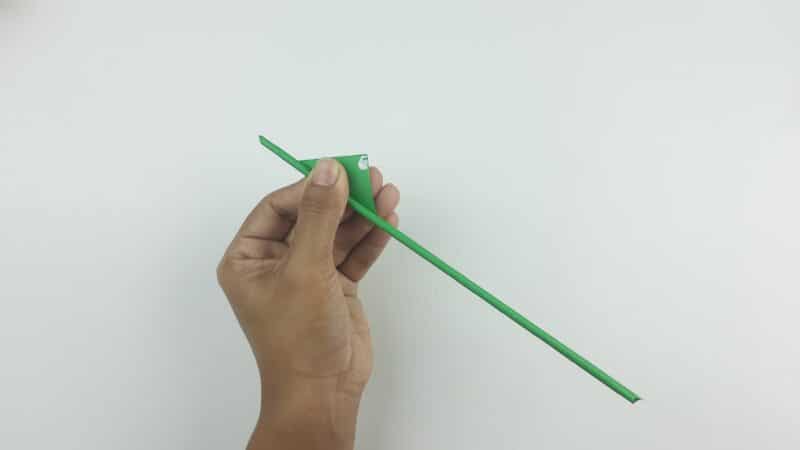
Step 4: Make a simple stick using paper.

Step 5: The stick should look like the one in the photo below. Basically like a straw.
Step 6: Cut rose flower Leaves out of some paper scraps
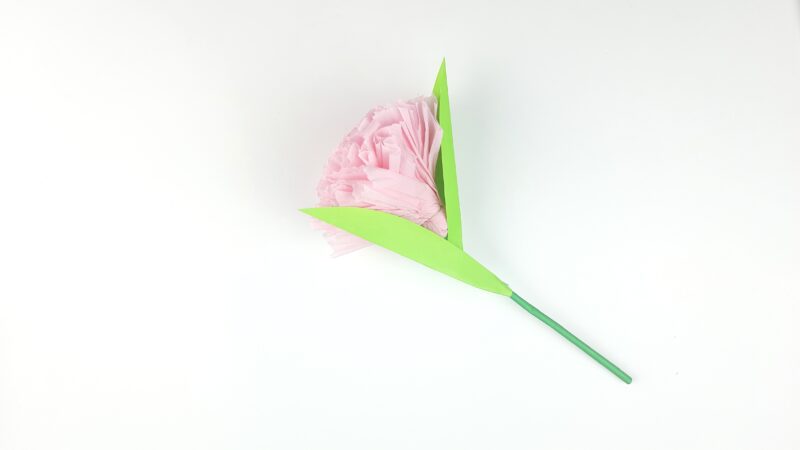
Step 7: Add the stick and leaves using glue and your flower is finished!
There are so many things you can make with tissue paper! One easy project is to make a bunch of flowers. You can also make a tissue paper garland or wreath, or decorate a present with it. Another option is to make some festive tissue paper chains. The possibilities are endless!


2 comments