Paper snowflakes are a fun winter craft that all ages can enjoy. The process of making them is simple, but the results are stunning. Paper snowflakes are a fun, easy, and inexpensive way to decorate for winter. All you need is some paper and scissors, and you can make beautiful snowflakes to hang on your windows, walls, or even ceiling!
On a side note, you can check my other origami tutorials hereunder:
- How to Make a Kite Out of Paper?
- How to Make a Boat Out of Paper?
- How to Make a Heart Out of Paper?
- How to Make Fidget Toys Out of Paper?
- How to Make Flowers Out of Tissue Paper?
- How to make dice out of paper?
- How to make a spider out of paper?
- How to make a puppet out of paper?
- How to make a cone out of paper?
If you’ve never made paper snowflakes before, don’t worry – it’s easy! Just follow these simple steps:
Step 1: Make sure you take squire paper.
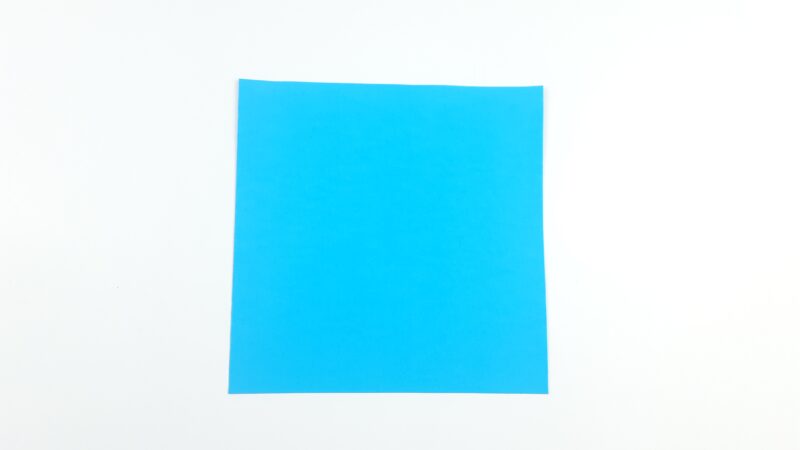
Step 2: Fold the paper bottom to the top and crease well.

Step 3: Fold the right corner to the left corner.

Step 4: Unfold.

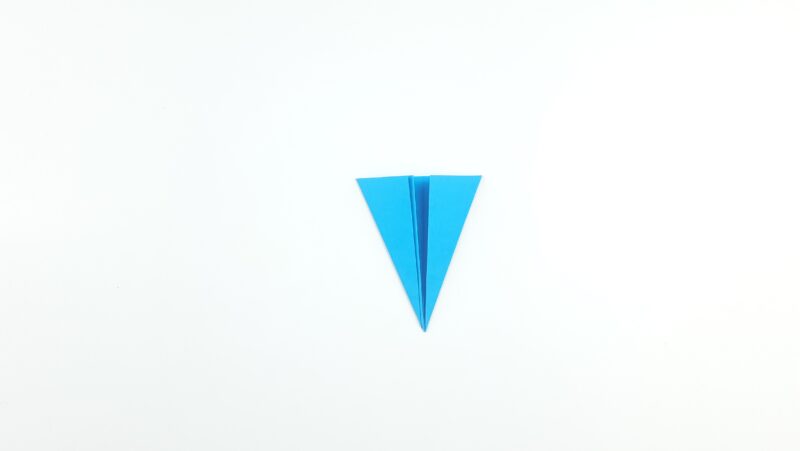
Step 5: Fold the right side into the center line.

Step 6: Fold the left side into the center line.

Step 7: Turn it over.
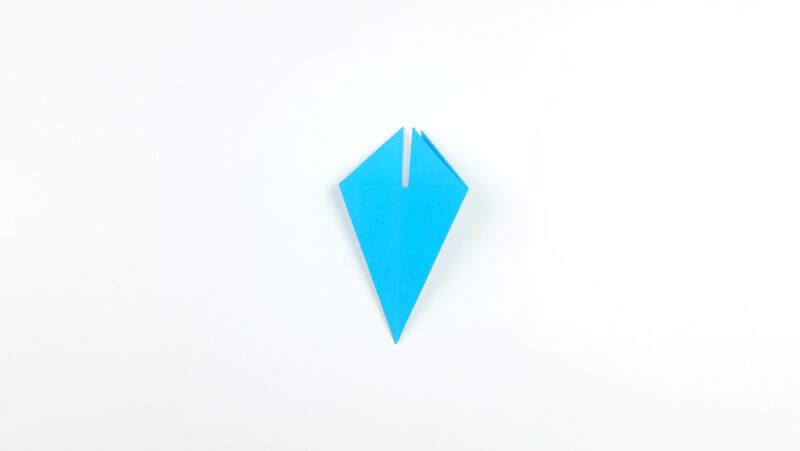
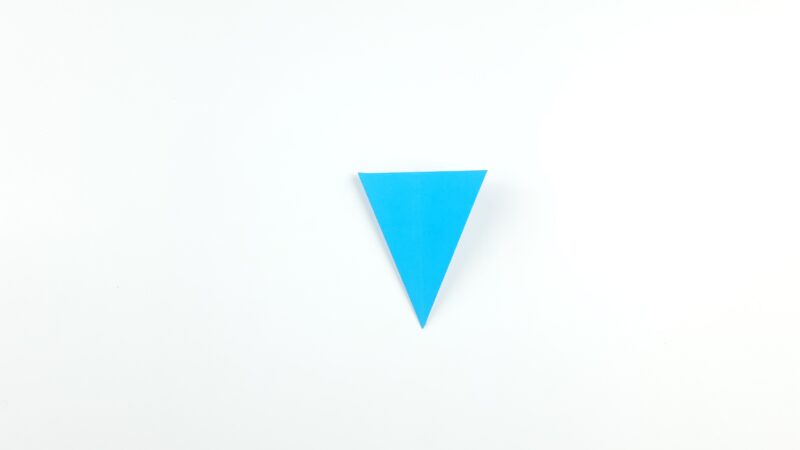
Step 8: Cut the top parts off to form a triangle.
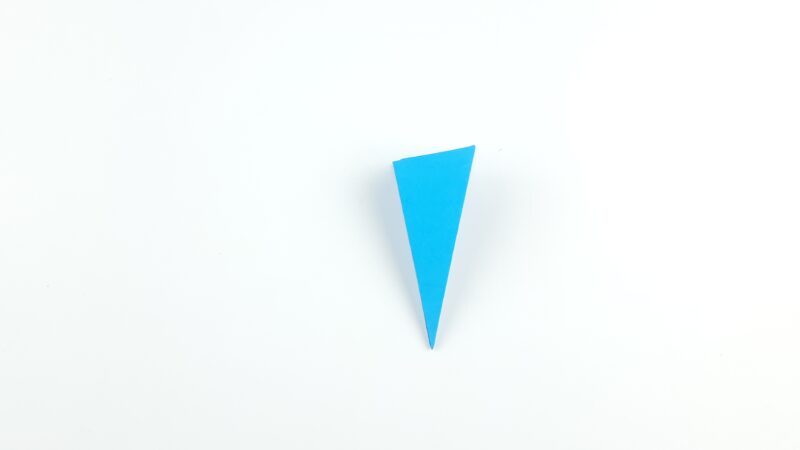
Step 9: Turn it over again.
Step 10: Fold left to right side.
Step 11: Draw snowflake design on the shape using pencil.
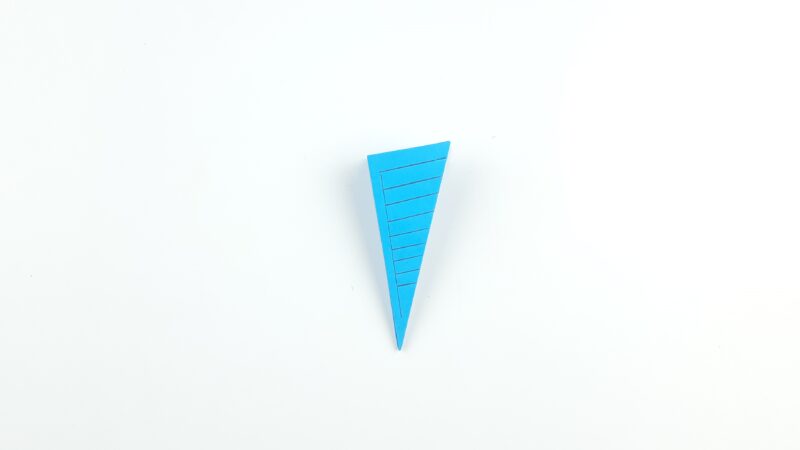
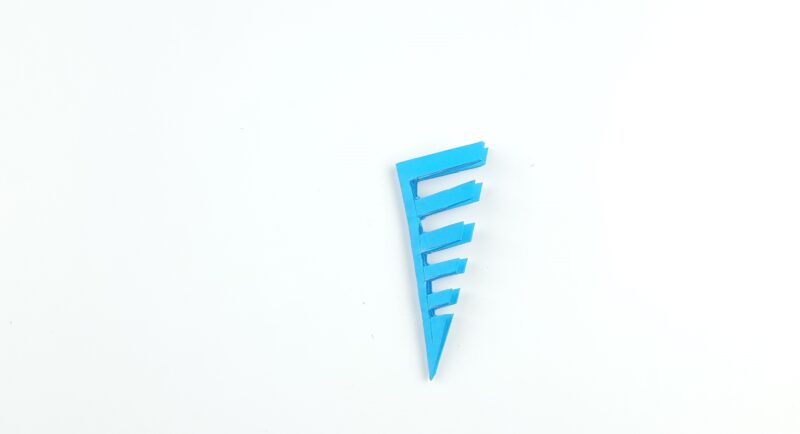
Step 12: Cut five rectangles on each side.
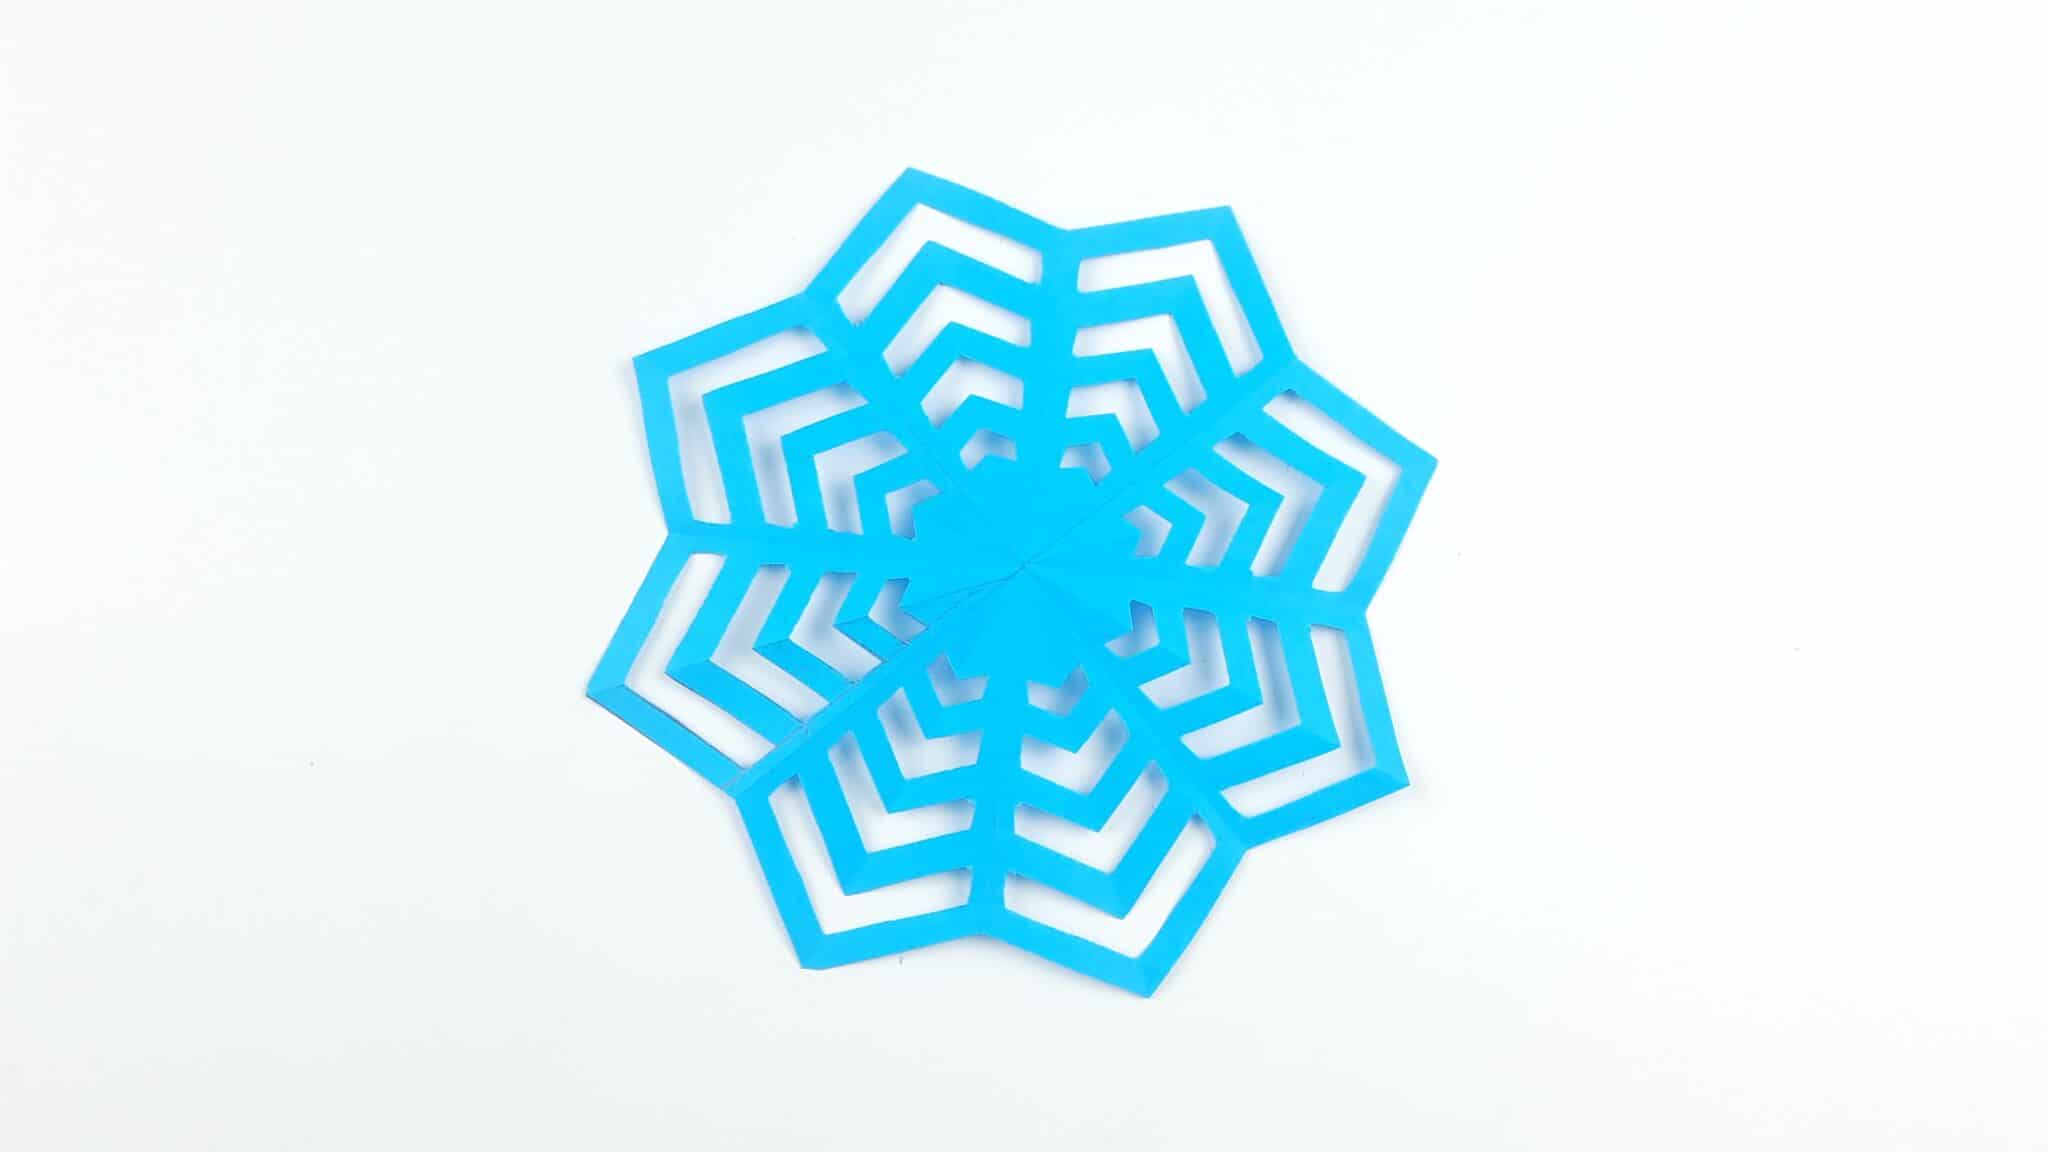
Step 13: Open all folds and it’s Finished!

How to Draw an Easy Snowflake With My Step-by-Step Video Guide
We have a treat for you—a super easy, step-by-step tutorial on how to draw a snowflake that’s perfect for kids and beginners.