Art & Craft, DIY ideas and Tutorials – Craftbuds
  • About Us
  • Needlecraft
    • Crochet
    • Knitting
    • Quilting
    • Sewing
    • Embroidery
  • Cricut
  • Jewelry Making
  • Paper Craft
    • Origami
    • Drawing
  • Engraving
  • Collectibles
    • Numismatics
43K Followers
25K Followers
1K Subscribers
Subscribe
Art & Craft, DIY ideas and Tutorials – Craftbuds
  • About Us
  • Needlecraft
    • Crochet
    • Knitting
    • Quilting
    • Sewing
    • Embroidery
  • Cricut
  • Jewelry Making
  • Paper Craft
    • Origami
    • Drawing
  • Engraving
  • Collectibles
    • Numismatics
  • Craft
  • Origami
  • Paper Craft

How to Make a Spider Out of Paper? Video Tutorial

  • Sanoara
  • Posted: March 13, 2022 - Updated at: September 15, 2023
How to Make a Spider Out of Paper?
Total
0
Shares
0
0
0

Spiders made of paper are more difficult to make than those made of other materials. They are more fragile and tend to tear more easily. Additionally, they require greater precision in their construction to maintain their structural integrity. Despite these challenges, origami paper spiders can be quite striking and are a popular project for children.

They can provide good deco ideas for Halloween when placed on a face web. With patience and practice, anyone can learn to make these unique creatures. This tutorial is a little more advanced than my latest one, so you should allow more time.

Make sure to check my other origami video tutorial:

  • How to Make a Kite Out of Paper?
  • How to Make a Boat Out of Paper?
  • How to Make a Heart Out of Paper?
  • How to Make Fidget Toys Out of Paper?
  • How to Make Flowers Out of Tissue Paper?
  • How to make dice out of paper?
  • How to make a puppet out of paper?
  • How to Make a Snowflake with Paper and Scissors?
  • How to make a cone out of paper?

How do you make a paper spider easy? Step by Step

Step 1: Make sure your paper size is a squire.

Step 1: Make sure your paper size is squire

Step 2: Fold the bottom point up to the top point and crease well.

Step 2: Fold the bottom point up to the top point and crease well

Step 3: Fold the right point over to the left point.

Step 3: Fold the right point over to the left point

Step 4: Open the right part and flatten it into a triangle.

Step 4: Open the right part and flatten it to a triangle

Step 5: Turn over.

Step 5: Turn over

Step 6: Fold to make a crease and fold back.

Step 6: Fold to make a crease and fold back

Step 7: The upper two parts fold along the middle.

Step 7: The upper two parts fold along the middle

Step 8: Flatten to a squire.

Step 8: Flatten to squire

Step 9: Turn over.

Step 9: Turn over

Step 10: Flatten to a squire.

Step 10: Flatten to squire

Step 11: Fold to make a crease and fold back.

Step 11: Fold to make a crease and fold back

Step 12: Cut it with scissors.

Step 12: Cut it with scissors

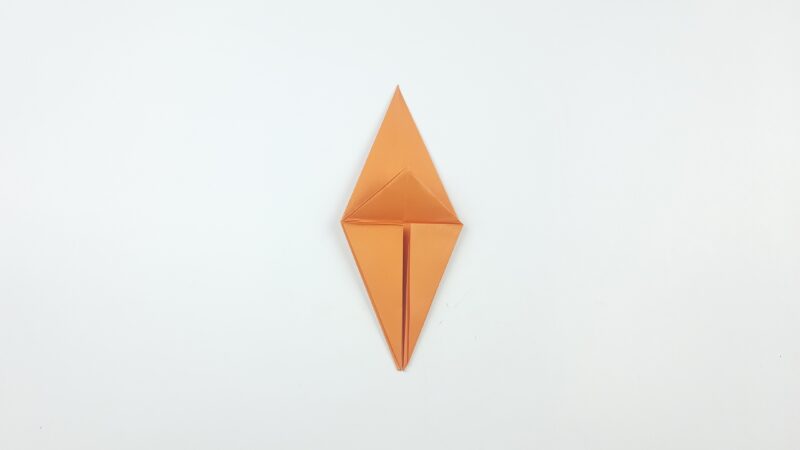
Step 13: Fold to meet the centerline. 

Step 13: Fold to meet the center line. Back is the same

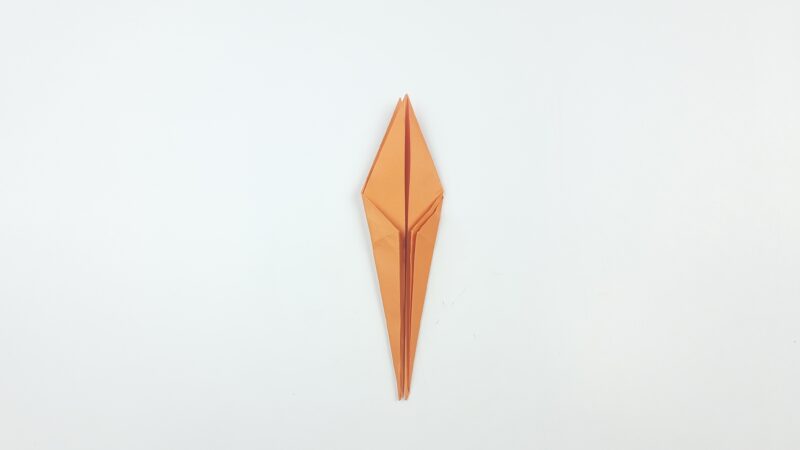
Step 14: Fold upper head into down.

Step 14: Fold upper head into down

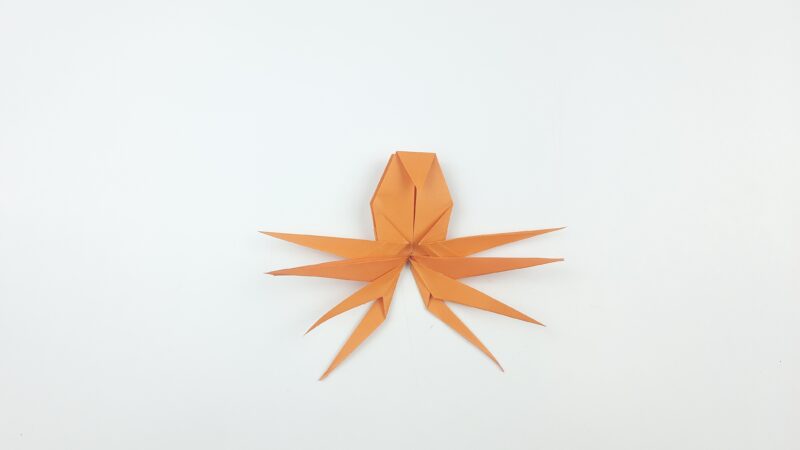
Step 15: Fold the legs one by one.

Step 15: Fold the legs one by one

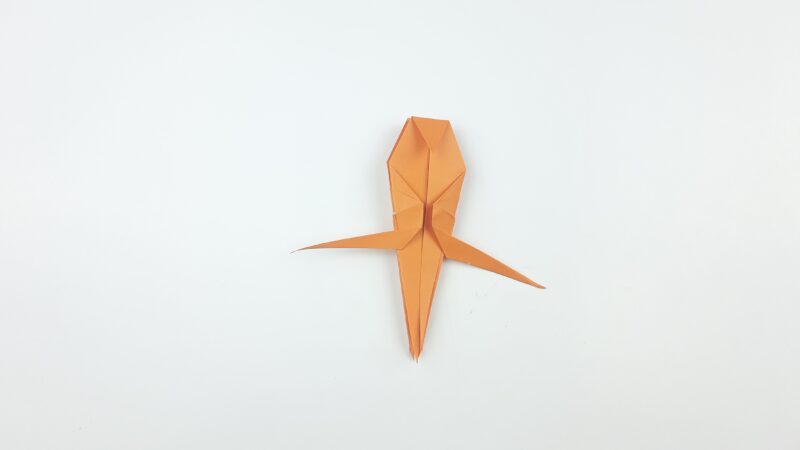
Step 16: Now legs will look like this.

Step 16: Now legs will look like this

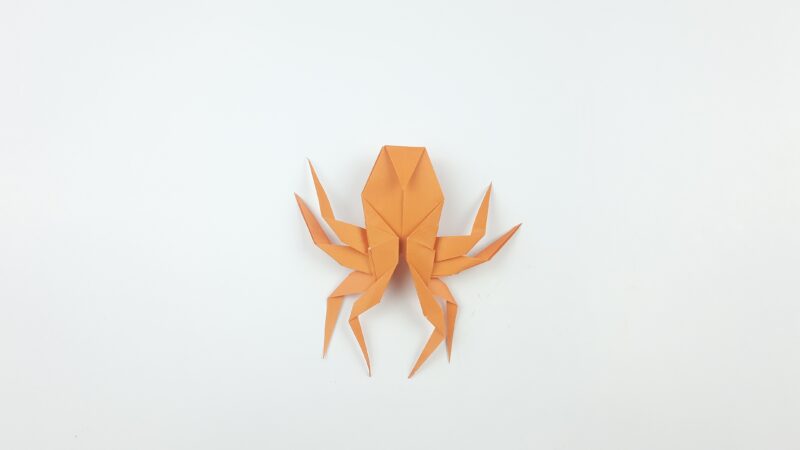
Step 17: Fold the middle of all legs.

Step 17: Fold the middle of all legs

Step 18: Turn over.

Step 18: Turn over

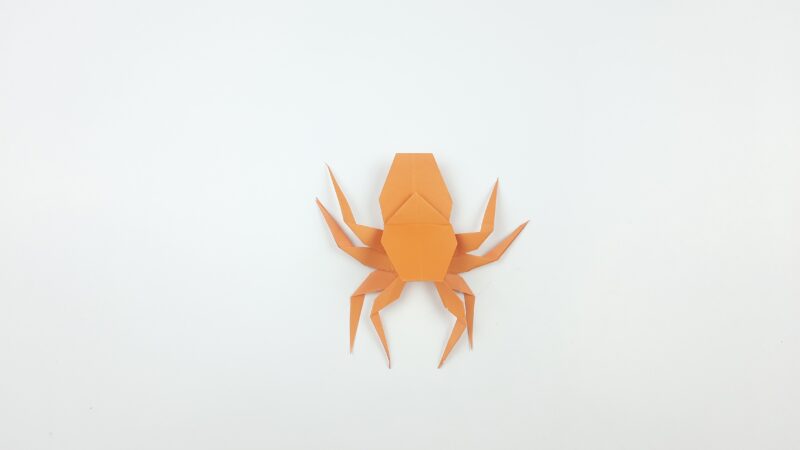
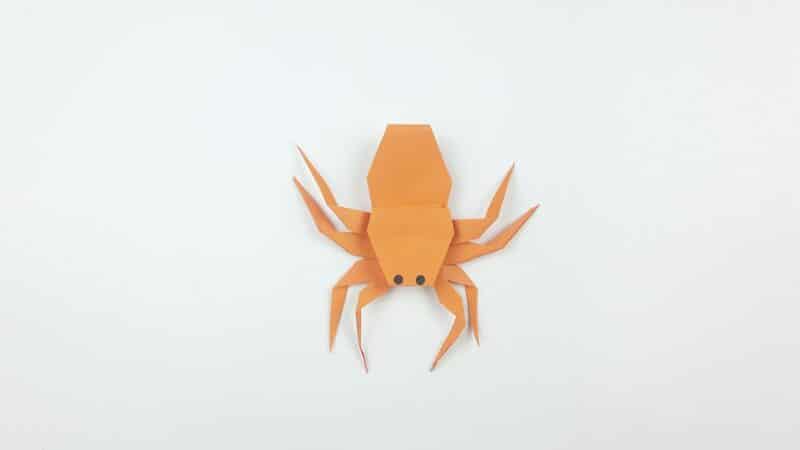
Step 19: Draw eyes, and Spider is finished!

Step 19: Draw eyes and Spider is finished!

How to decorate your paper spider?

There are a few different ways to decorate paper spiders. One way is to use markers or paints to add color and patterns to the spider’s body. You can also use stickers, sequins, or other decorations to dress up your spider. Try making different designs and combinations to create a festive spider that will spook your friends and family!

Related: How To Make An Origami Crane – Step-By-Step Video Instructions

How to make a DIY spider web?

There are many ways to make a spider web. You can use string, yarn, or even dental floss! The key is to be patient and take your time. Here is a step-by-step guide:

1. First, tie a string around a doorknob or other sturdy object.

2. Next, holding the string taut, use your other hand to wrap the string around itself in a spiral pattern.

3. Continue wrapping the string until you have reached the desired length for your spider web.

4. To finish, knot the end of the string securely. Now you have a beautiful spider web!

Total
0
Shares
Share 0
Tweet 0
Pin it 0
Sanoara

I'm not just a crafter; I'm a storyteller who brings stories to life through the delicate art of paper folding. My passion for crafting goes beyond the ordinary—I specialize in DIY Origami and paper crafts. What I do isn't just a personal hobby; it's a full-fledged enterprise designed to empower and inspire others to discover the infinite possibilities that lie in a simple square of paper.

Previous Article
Best electric fabric cutter
  • Craft
  • Product Reviews
  • Quilting
  • Sewing

Best Electric Fabric Cutter in 2023

  • Lindsay
  • Posted: March 12, 2022 - Updated at: May 18, 2022
View Post
Next Article
What is Batting in quilting
  • Craft
  • Needlecraft
  • Quilting

What is Batting in quilting?

  • Lindsay
  • Posted: March 13, 2022 - Updated at: March 16, 2022
View Post
You May Also Like
View Post
  • DIY projects
  • Home

nPhoto – Professional Photo Printing Services for Photographers: Develop Your Brand with Us!

  • Jeremie Berton
  • Posted: January 14, 2025
View Post
  • Craft
  • Outdoor

5 Great Destinations in Costa Rica for Your Next Crafting Retreat

  • Craftbuds Editorial Team
  • Posted: December 16, 2024
Why-Professional-Locksmiths-Are-Essential-for-Home-Security
View Post
  • Home

Avoiding DIY Disasters: Why Professional Locksmiths Are Essential for Home Security

  • Jeremie Berton
  • Posted: April 3, 2024
Putting Together a Wooden Nativity Set for the Holidays
View Post
  • Craft
  • DIY projects
  • Home
  • Outdoor

Putting Together a Wooden Nativity Set for the Holidays

  • Sheila Mae Pedregosa
  • Posted: February 7, 2024
How is AI Impacting Crafting
View Post
  • Craft
  • Tools & Supplies

How is AI Impacting Crafting

  • Craftbuds Editorial Team
  • Posted: December 5, 2023 - Updated at: December 7, 2023
How Funny Phrases on Shirts Have Transformed
View Post
  • Craft

The Evolution of Humor: How Funny Phrases on Shirts Have Transformed 

  • Craftbuds Editorial Team
  • Posted: October 23, 2023 - Updated at: October 24, 2023
Craft Organizers for Efficient Storage Use
View Post
  • Craft
  • DIY projects

DIY Craft Organizers for Efficient Storage Use

  • Craftbuds Editorial Team
  • Posted: October 23, 2023 - Updated at: October 25, 2023
make-christmas-more-special-for-your-loved-ones
View Post
  • Craft

5 Ways to Make This Christmas More Special For Your Loved Ones!

  • Craftbuds Editorial Team
  • Posted: September 28, 2023

Leave a Reply

Your email address will not be published. Required fields are marked *

Subscribe

Subscribe now to our newsletter

Art & Craft, DIY ideas and Tutorials – Craftbuds
  • About Us
  • Editorial Guidelines
  • Our Experts
  • Privacy Policy
  • Contact Us
Find fun and creative craft ideas and tutorials across various categories such as Knitting, Quilting, Sewing, PaperCraft, Jewelry Making and much more

Input your search keywords and press Enter.