Art & Craft, DIY ideas and Tutorials – Craftbuds
  • About Us
  • Needlecraft
    • Crochet
    • Knitting
    • Quilting
    • Sewing
    • Embroidery
  • Cricut
  • Jewelry Making
  • Paper Craft
    • Origami
    • Drawing
  • Engraving
  • Collectibles
    • Numismatics
43K Followers
25K Followers
1K Subscribers
Subscribe
Art & Craft, DIY ideas and Tutorials – Craftbuds
  • About Us
  • Needlecraft
    • Crochet
    • Knitting
    • Quilting
    • Sewing
    • Embroidery
  • Cricut
  • Jewelry Making
  • Paper Craft
    • Origami
    • Drawing
  • Engraving
  • Collectibles
    • Numismatics
  • Craft
  • Craft with Kids
  • Origami
  • Paper Craft

How to Make a Kite Out of Paper? Step by Step Video Tutorial

  • Sanoara
  • Posted: March 5, 2022 - Updated at: September 15, 2023
Total
0
Shares
0
0
0

A paper kite is a simple kite made from a sheet of paper or other lightweight material. They are popular with children and can be easy to make.

There are many designs for paper kites, but most follow the same basic construction. The kite is typically folded into a triangle shape, with the tail and bridle attached. The bridle is a piece of string or cord that attaches the kite to the tail and helps to stabilize it in the air.

Paper kites can be flown in light winds but work best in moderate breezes. They are a great way to teach kids about aerodynamics and flight, and they are also lots of fun!

If you’re looking for more simple origami ideas for kids, make sure to check my other video tutorials:

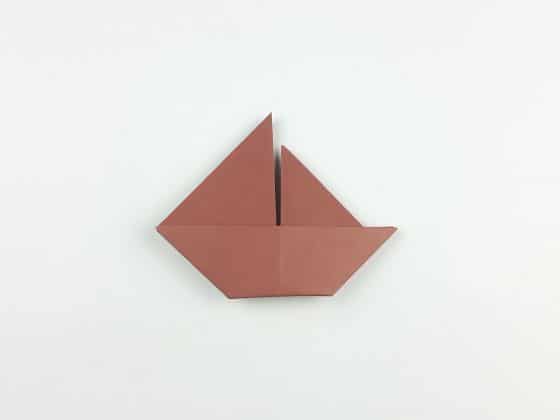
  • How to make a simple sailboat our of paper
  • How to make a heart out of paper
  • How to make a fidget toy out of paper?
  • How to make flowers out of tissue paper?
  • How to make dice out of paper?
  • How to make a spider out of paper?
  • How to make a puppet out of paper?
  • How to Make a Snowflake with Paper and Scissors?

How to make a simple paper kite in 5 steps

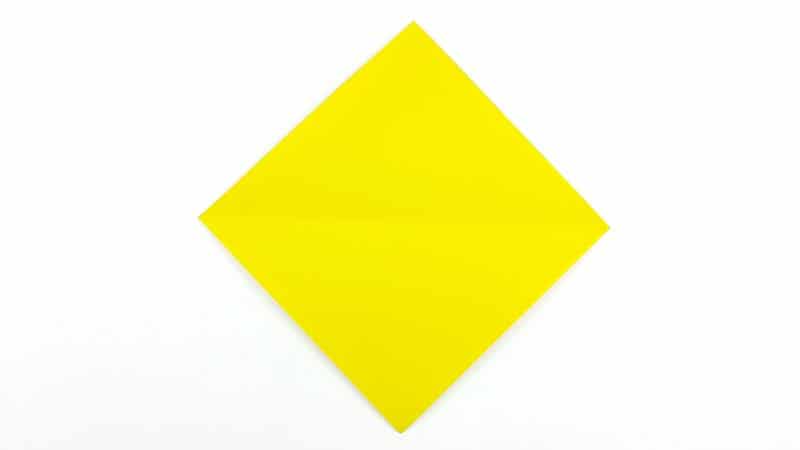
Step 1: Take a 6″ x 6″ (15x15cm) size paper

Step 1 Take a 15x15cm size paper

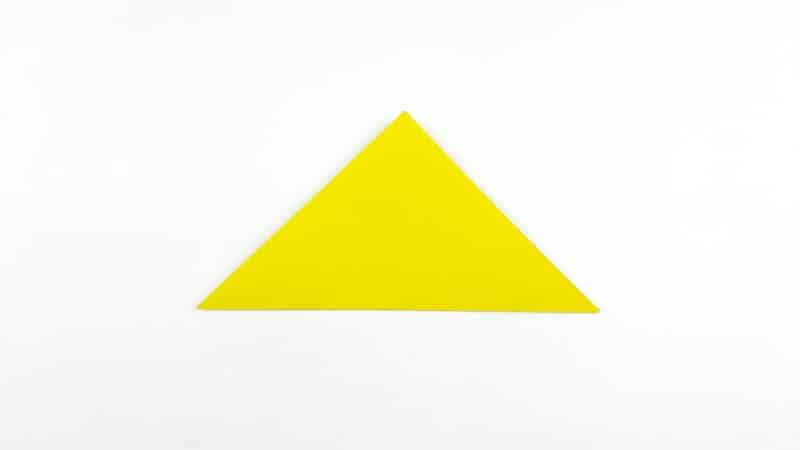
Step 2: Fold the bottom corner up to the top corner.

Step 2 Fold the bottom corner up to the top corner.

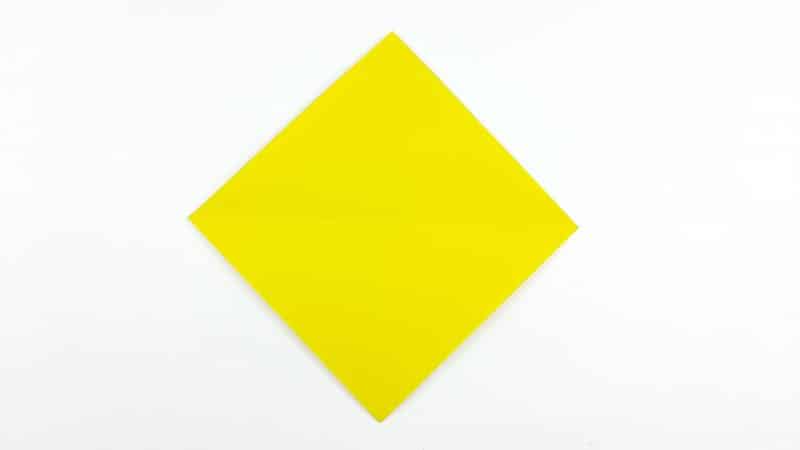
Step 3: Unfold the previous step.

Step 3 Unfold the previous step.

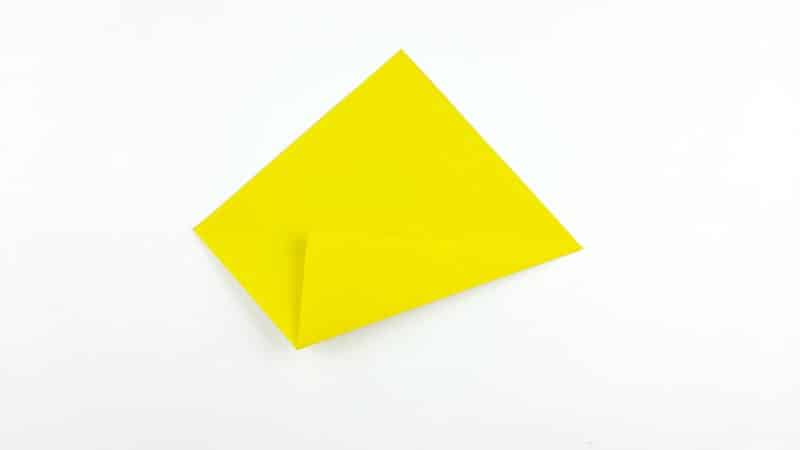
Step 4: Take the lower right diagonal edge and bring it up to align with the central crease.

Step 4 Now take the lower right diagonal edge and bring it up to align with the central crease.

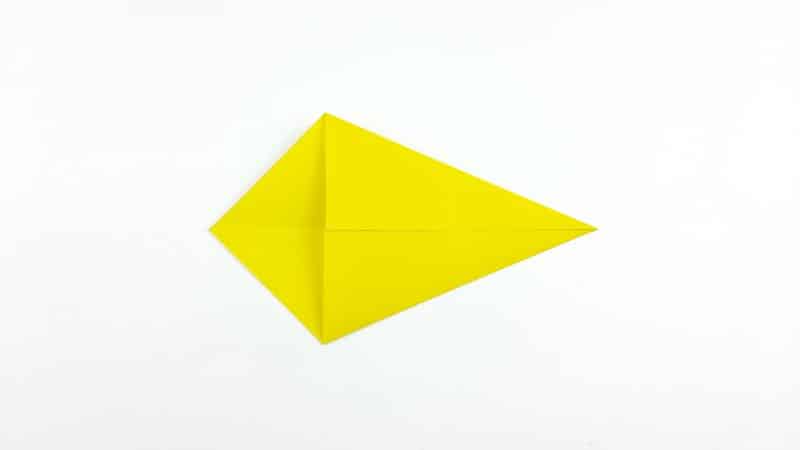
Step 5: Bring down the top right diagonal edge to align with the central crease.

Step 5 Bring the top right diagonal edge down to align with the central crease.

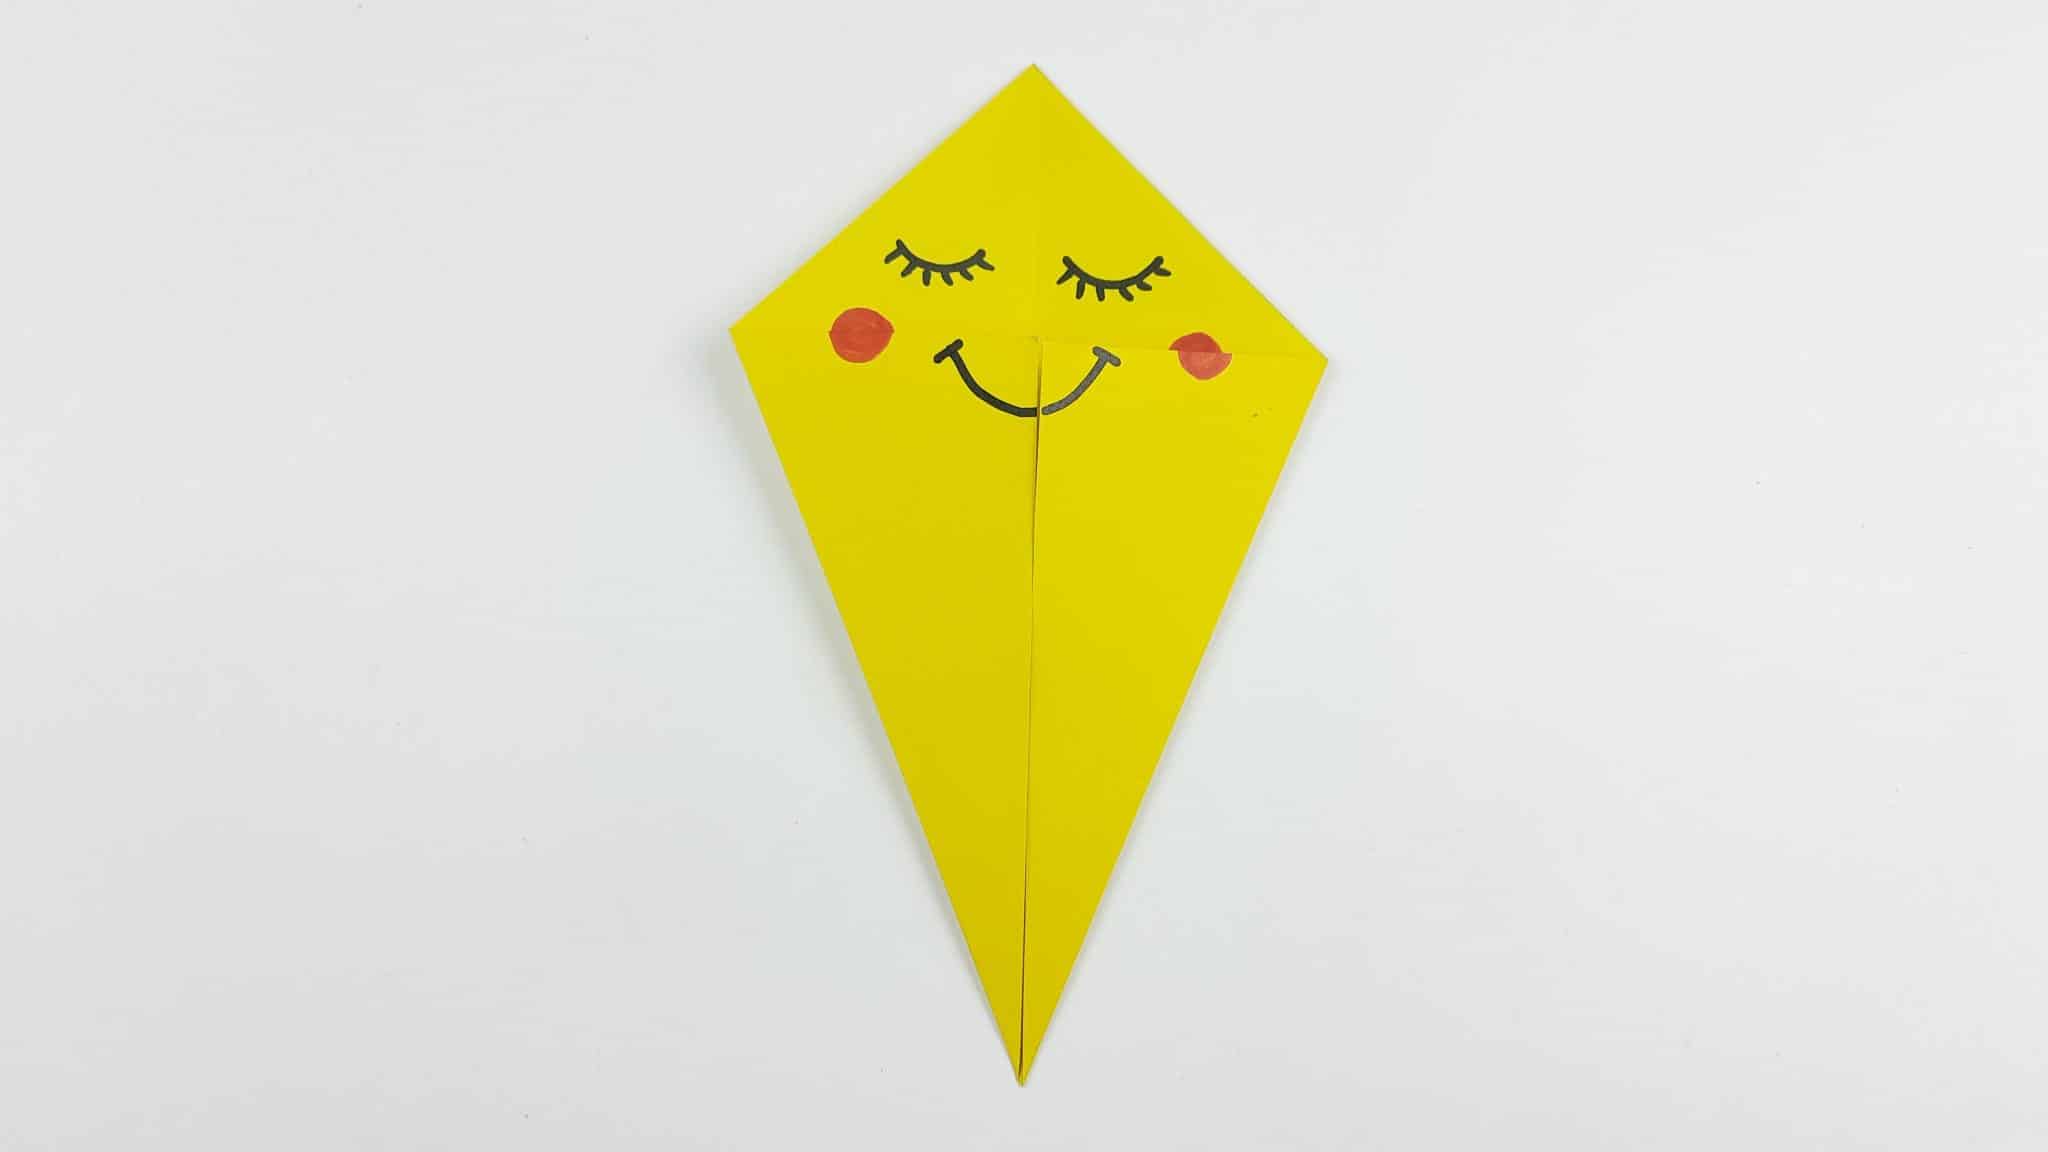
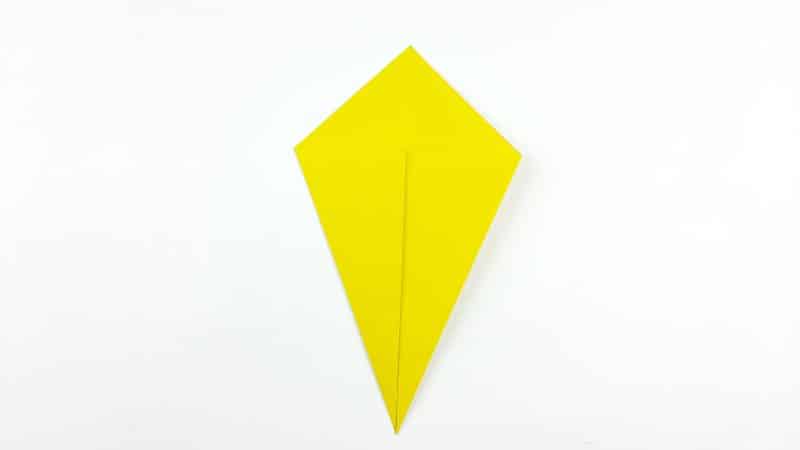
Step 6: Rotate the paper. Now it’s a kite shape! the fold is complete.

Step 6 Rotate the paper, now it's a kite shape! the fold is complete.

Step 7: Now, you can decorate your kite to make it more beautiful.

Step 7 Now you can decorate your kite as you wish to make it more beautiful.

Total
0
Shares
Share 0
Tweet 0
Pin it 0
Sanoara

I'm not just a crafter; I'm a storyteller who brings stories to life through the delicate art of paper folding. My passion for crafting goes beyond the ordinary—I specialize in DIY Origami and paper crafts. What I do isn't just a personal hobby; it's a full-fledged enterprise designed to empower and inspire others to discover the infinite possibilities that lie in a simple square of paper.

Previous Article
How to make a sailing boat out of paper
  • Craft
  • Origami
  • Paper Craft

How to Make a Boat Out of Paper? Step by Step & Video

  • Sanoara
  • Posted: March 5, 2022 - Updated at: September 15, 2023
View Post
Next Article
Best Serger Sewing Machine
  • Craft
  • Needlecraft
  • Product Reviews
  • Sewing

Best Serger Sewing Machine in 2023

  • Lindsay
  • Posted: March 5, 2022 - Updated at: May 19, 2022
View Post
You May Also Like
View Post
  • DIY projects
  • Home

nPhoto – Professional Photo Printing Services for Photographers: Develop Your Brand with Us!

  • Jeremie Berton
  • Posted: January 14, 2025
View Post
  • Craft
  • Outdoor

5 Great Destinations in Costa Rica for Your Next Crafting Retreat

  • Craftbuds Editorial Team
  • Posted: December 16, 2024
Why-Professional-Locksmiths-Are-Essential-for-Home-Security
View Post
  • Home

Avoiding DIY Disasters: Why Professional Locksmiths Are Essential for Home Security

  • Jeremie Berton
  • Posted: April 3, 2024
Putting Together a Wooden Nativity Set for the Holidays
View Post
  • Craft
  • DIY projects
  • Home
  • Outdoor

Putting Together a Wooden Nativity Set for the Holidays

  • Sheila Mae Pedregosa
  • Posted: February 7, 2024
How is AI Impacting Crafting
View Post
  • Craft
  • Tools & Supplies

How is AI Impacting Crafting

  • Craftbuds Editorial Team
  • Posted: December 5, 2023 - Updated at: December 7, 2023
How Funny Phrases on Shirts Have Transformed
View Post
  • Craft

The Evolution of Humor: How Funny Phrases on Shirts Have Transformed 

  • Craftbuds Editorial Team
  • Posted: October 23, 2023 - Updated at: October 24, 2023
Craft Organizers for Efficient Storage Use
View Post
  • Craft
  • DIY projects

DIY Craft Organizers for Efficient Storage Use

  • Craftbuds Editorial Team
  • Posted: October 23, 2023 - Updated at: October 25, 2023
make-christmas-more-special-for-your-loved-ones
View Post
  • Craft

5 Ways to Make This Christmas More Special For Your Loved Ones!

  • Craftbuds Editorial Team
  • Posted: September 28, 2023
1 comment
  1. Pingback: How to Make a Cone Out of Paper - Photo & Video Tutorial - Craftbuds

Leave a Reply

Your email address will not be published. Required fields are marked *

Subscribe

Subscribe now to our newsletter

Art & Craft, DIY ideas and Tutorials – Craftbuds
  • About Us
  • Editorial Guidelines
  • Our Experts
  • Privacy Policy
  • Contact Us
Find fun and creative craft ideas and tutorials across various categories such as Knitting, Quilting, Sewing, PaperCraft, Jewelry Making and much more

Input your search keywords and press Enter.